Autoflower Week 7: Buds, Care and Harvest Signs

Quick answer: By week 7, most autoflowers are in mid-to-late flowering: buds are swelling and getting dense, aromas are strong, white pistils are starting to darken and curl, and trichomes are turning cloudy. Keep feeding bloom nutrients (high phosphorus and potassium) and start planning your flush, watch humidity closely to prevent bud rot, and support heavy colas. Many autos are a week or two from harvest at this point, judged by trichome colour.
Week 7 is an exciting stage for autoflower growers: the plant is usually deep into flowering, with buds fattening up, resin building and the smell becoming unmistakable. It is the home stretch, where good care in these final weeks directly shapes the size, potency and quality of your harvest. Depending on the strain, a week-7 auto is often one to two weeks from being ready.
Recommended Strains
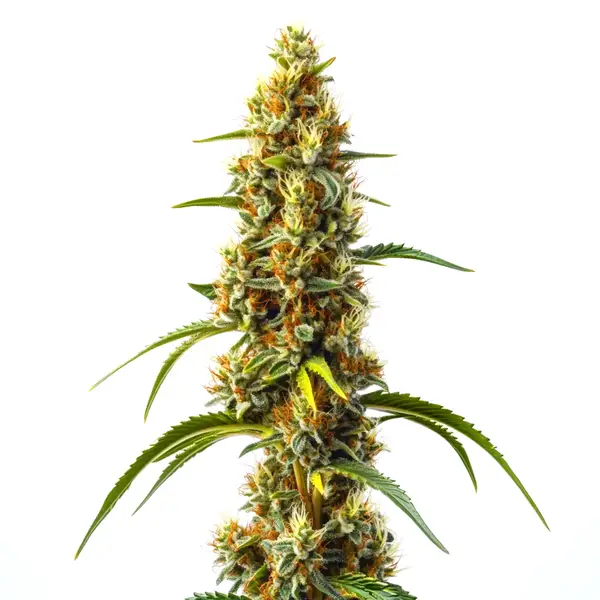
Harlequin Kimbo Kush Fast Version CBD

|
THC | 3% - 6% (Low) |

|
Type | Fast Flowering |

|
Yield | Low |

|
Phenotype | 60% Indica / 40% Sativa |
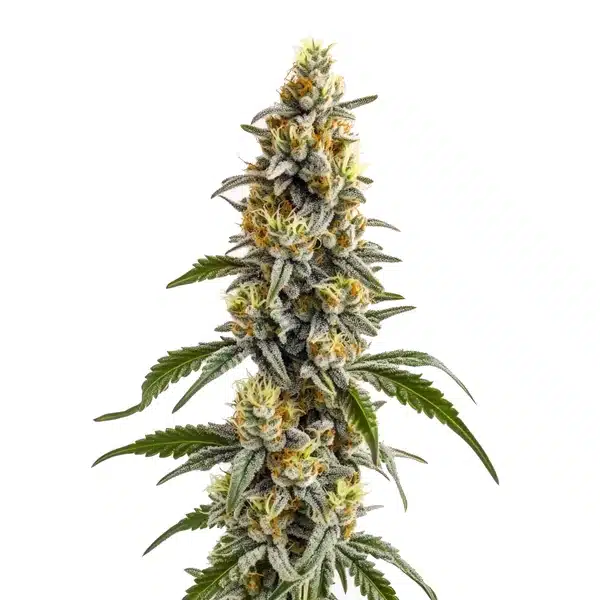
Harlequin x Bubba Kush Regular
|
|
THC | 5% - 7% (Low) |
|
|
Type | Regular |
|
|
Yield | High |
|
|
Phenotype | 90% Indica / 10% Sativa |
This guide covers what to expect in week 7, how to feed and manage the environment, common challenges like mould, and how to read the maturity signs that tell you harvest is near. As with the rest of the series, autoflower timelines vary by strain and conditions, so treat ‘week 7’ as a stage (mid-to-late flower) and let the plant, especially the trichomes, guide your final decisions.
| Autoflower week 7 | What to expect |
|---|---|
| Stage | Mid-to-late flowering: buds swelling, aromas strong |
| Pistils/trichomes | White pistils starting to darken; trichomes turning cloudy |
| Feeding | Bloom nutrients (high P/K); begin planning the flush |
| Watch for | Bud rot/mould, humidity control; support heavy colas |
What Happens in Week 7
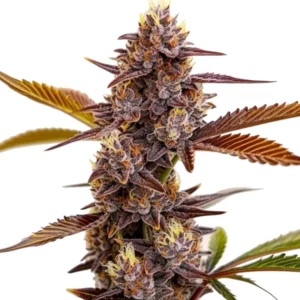
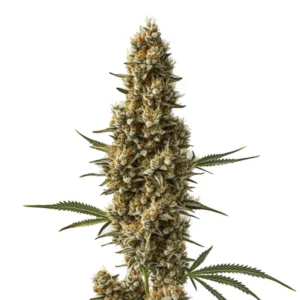
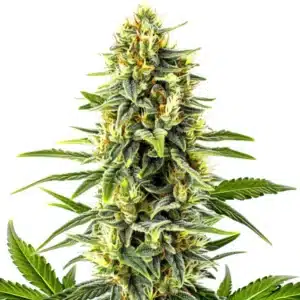
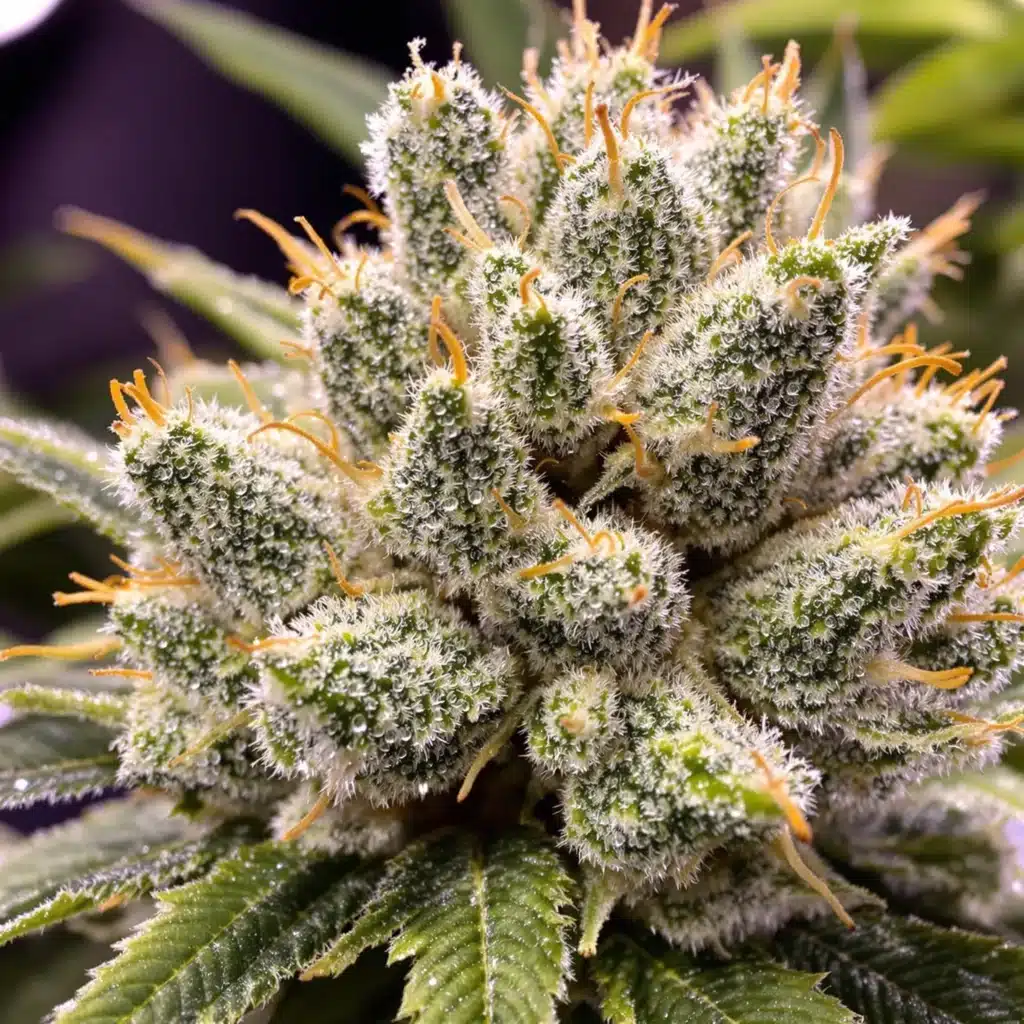
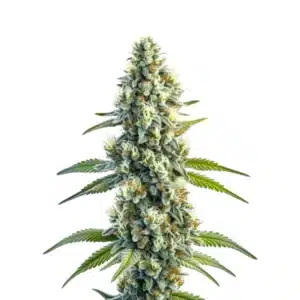
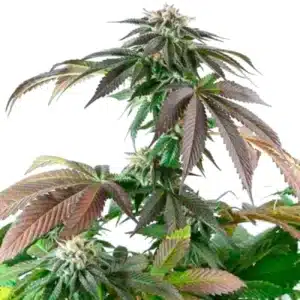
In week 7, the plant pours its energy into fattening buds. You will see colas swelling and getting denser, trichome coverage increasing (the ‘frost’), and aromas peaking as terpenes develop. The white pistils that marked early flowering begin to change, darkening to orange/brown and curling inward, an early sign of maturing. It is one of the most rewarding weeks to watch.
Most of the plant’s final bulk and resin form now, so steady, stress-free care pays off directly in yield and quality. This is late in the series’ flowering phase; if you are tracking the whole cycle, compare with the earlier transition in our guide on autoflower week 4. Keep conditions stable and resist any disruptive changes this close to the finish.
Promos & Deals
Common Week 7 Challenges (and Not Flowering)
The biggest week-7 risk is bud rot and mould: dense, swelling buds plus any excess humidity is a recipe for grey mould, so keep humidity down (ideally 40-50% in late flower), ensure good airflow, and inspect dense colas. Heavy buds may also need support (stakes or netting) so branches do not snap. Nutrient-wise, stay on bloom feeding but avoid heavy nitrogen now, and get ready for the flush.
One common worry is an autoflower that seems not to be flowering by this point. Usually it is a slow or stressed plant, or simply a strain/pheno that runs longer; genuine failure to flower is rare in autos since they are not light-dependent. Check for stress (heat, overfeeding, root issues) rather than changing the light schedule, which does not control autoflowering. Patience and stable conditions usually resolve it.
When Will a Week 7 Autoflower Be Ready?
At week 7, many autoflowers are close to harvest but not usually quite there, often one to two weeks out, though fast strains can be nearly done and slower ones longer. The reliable way to judge is not the calendar but the trichomes: using a magnifier, harvest when most trichomes have turned from clear to milky/cloudy, with a few amber, for a balanced effect (more amber for a more relaxing, sedative harvest).
Pistil colour (most darkened and curled) is a rough guide, but trichomes are the gold standard. In the final 1-2 weeks, many growers flush with plain water to clear excess nutrients for a smoother smoke. So treat week 7 as the moment to start checking trichomes closely and preparing for harvest, rather than a fixed harvest date. To grow more autos, see our autoflowering seeds.
Flushing Before Harvest
Many growers flush autoflowers in roughly the last one to two weeks before harvest, watering with plain, pH-corrected water (no nutrients) to let the plant use up stored nutrients. The aim is a cleaner, smoother smoke and less harshness from leftover salts, particularly with synthetic nutrients. In super soil or light organic feeding, flushing is less critical, since there are fewer salts to clear.
Time the flush by watching the trichomes and pistils: once the plant looks close (most trichomes cloudy, pistils darkening), begin the flush so it finishes as the plant ripens. Do not start too early on a plant that still has weeks to go, as it may show premature nutrient deficiency. In week 7, this is often the moment to assess ripeness and decide whether to begin flushing toward the finish line.

FAQs About Autoflower Week 7
What should an autoflower look like at week 7?
By week 7, autoflowers are in mid-to-late flowering: buds swelling and dense, strong aromas, white pistils darkening and curling, and trichomes turning cloudy. Keep feeding bloom nutrients, control humidity to prevent mould, and support heavy colas. Many autos are one to two weeks from harvest, judged by trichome colour rather than the calendar.
Why is my autoflower not flowering by week 7?
Usually it is a slow or stressed plant, or a strain that simply runs longer, genuine failure to flower is rare in autoflowers since they are not light-dependent. Check for stress (heat, overfeeding, root problems) rather than changing the light schedule, which does not trigger autoflowering. Stable conditions and patience normally resolve it.
How do I know when my week 7 autoflower is ready to harvest?
Check the trichomes with a magnifier: harvest when most have turned from clear to milky/cloudy, with a few amber for a balanced effect (more amber for a more sedative harvest). Darkened, curled pistils are a rough guide, but trichomes are the best indicator. Flush with plain water in the final 1-2 weeks.
Should I flush my autoflower in week 7?
Possibly, if it is within about one to two weeks of harvest. Flushing means watering with plain pH-corrected water (no nutrients) to clear stored salts for a smoother smoke, timed by trichome ripeness (mostly cloudy). If the plant still has several weeks left, do not flush yet. Super-soil and light-organic grows need little or no flush.