
Start clean
Use clean materials and purified or bottled water at room temperature. This helps protect young taproots from contamination.

A practical guide to giving every seed a strong start
Every grow starts with a seed. Give it the right balance of moisture, warmth, darkness, and oxygen, and you'll create the conditions it needs to wake up and sprout.
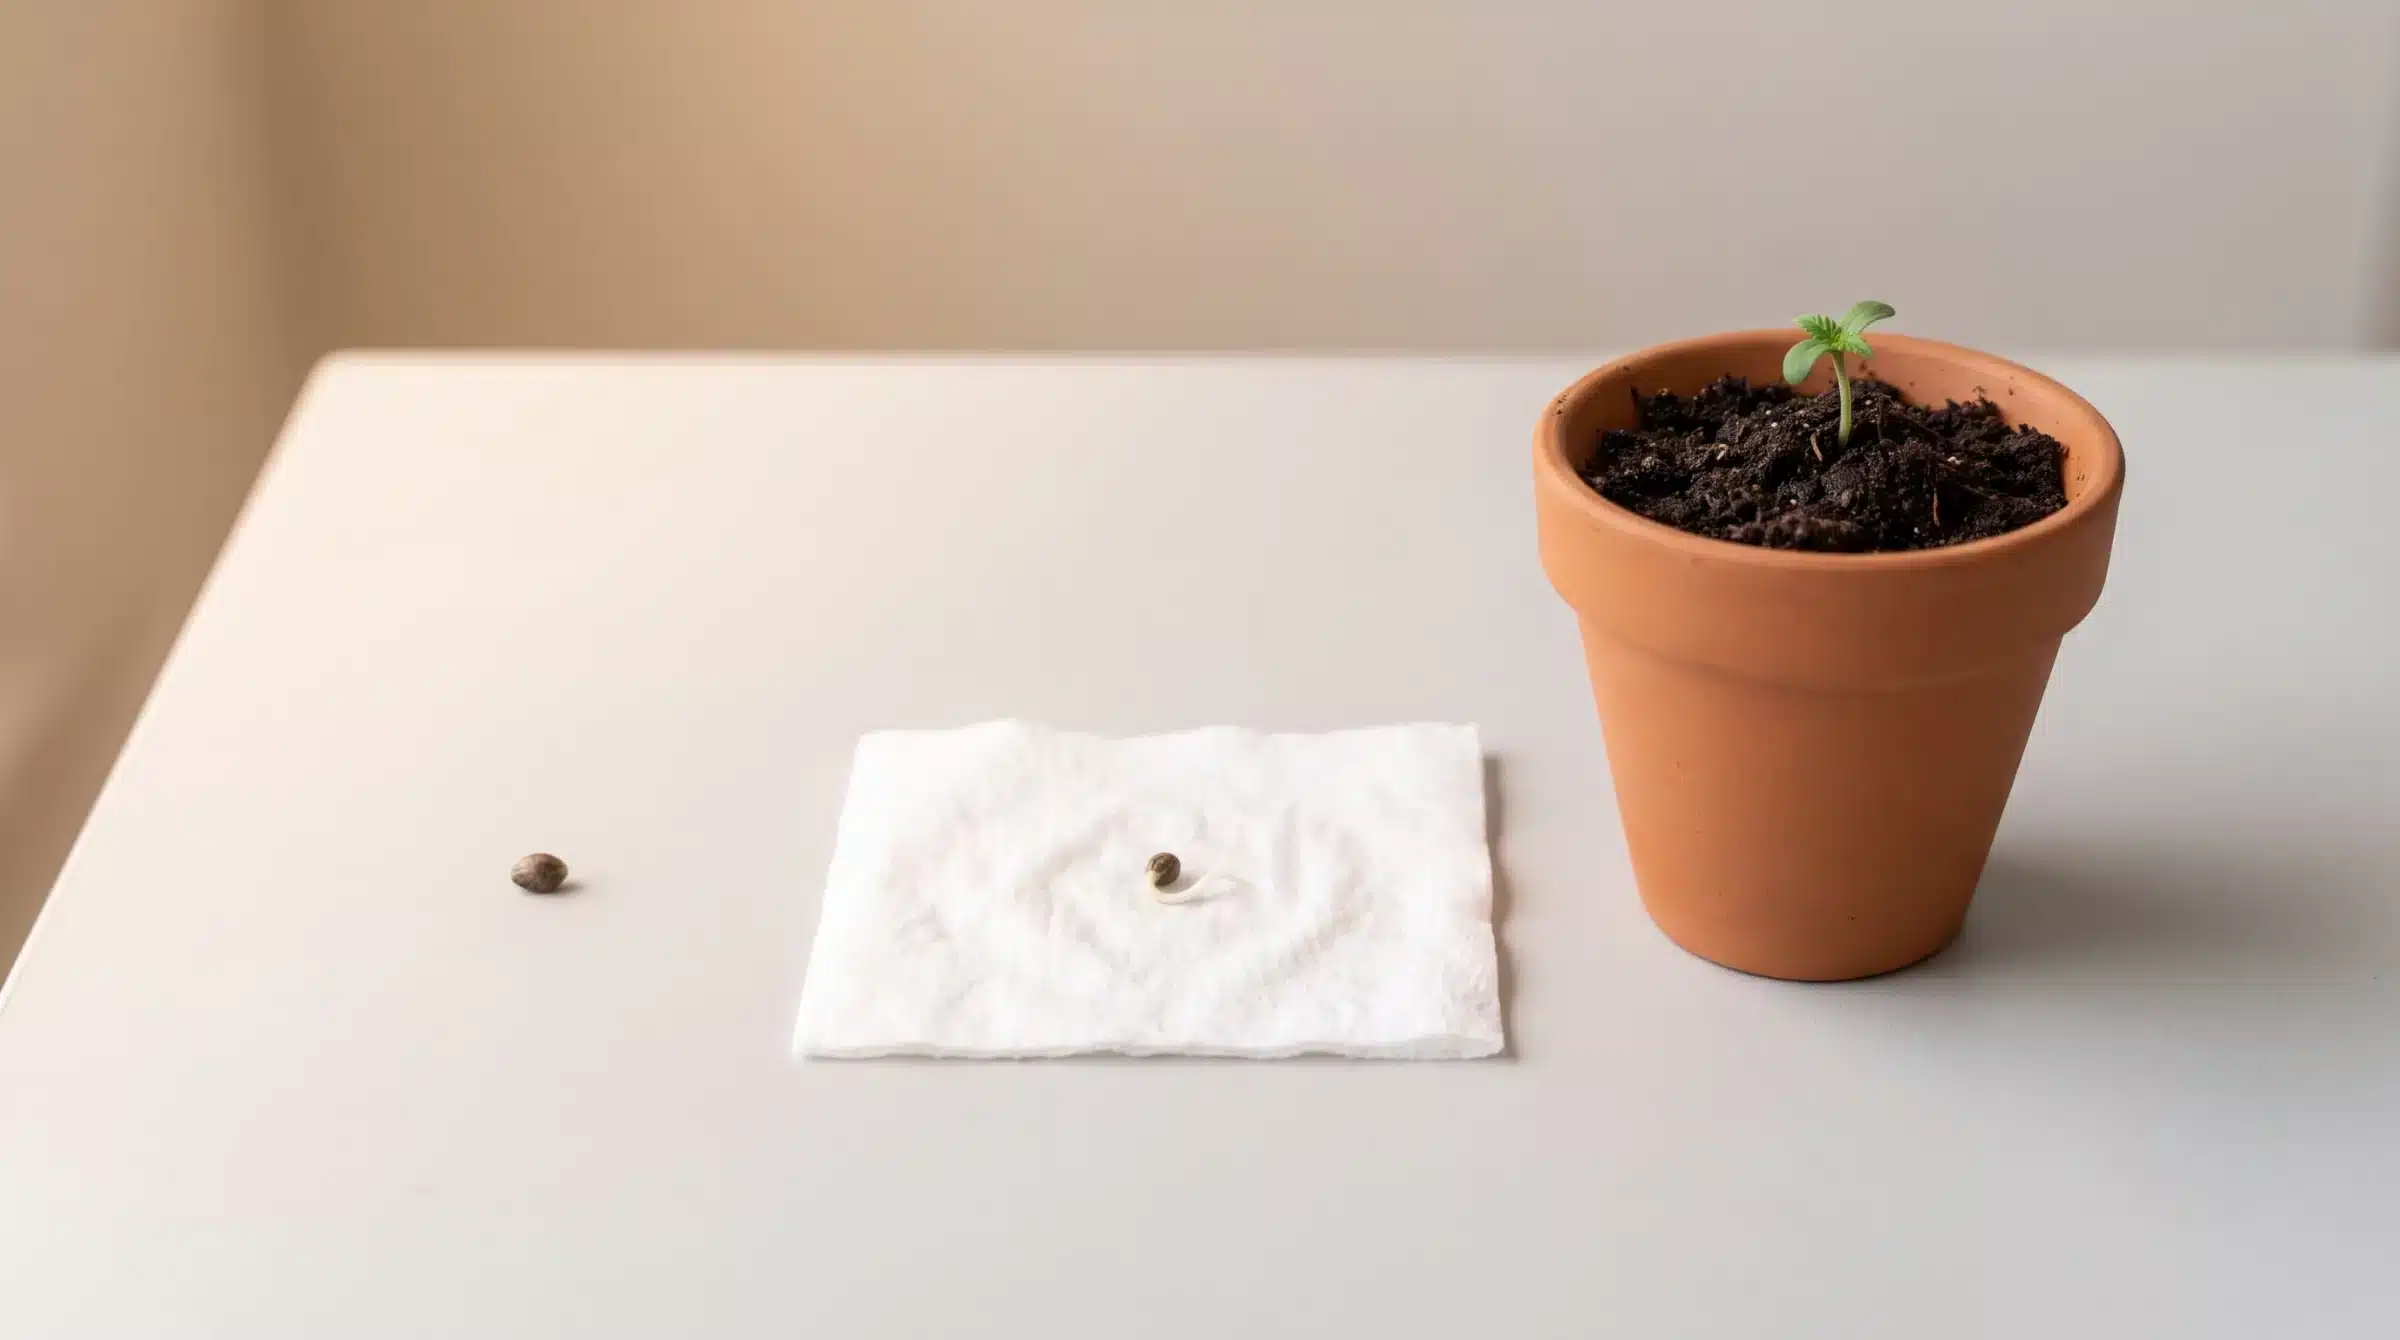
Before you start
Small habits make the biggest difference between a seed that opens and one that doesn't.
Use clean materials and purified or bottled water at room temperature. This helps protect young taproots from contamination.
Aim for 21-26°C / 70-79°F. Low temperatures can slow germination, while excessive heat can damage both the seed and the emerging taproot.
Limit light exposure to 30 seconds or less when checking or handling.
Towels or medium should stay moist, never waterlogged or dry.
Seeds need oxygen. Avoid stagnant water and oversaturated setups.
Clean tweezers help you move seeds and taproots without squeezing or touching them unnecessarily.
A warm room is usually enough. Avoid placing your setup directly on a heating mat.
Take clear photos or short videos of your germination setup from the first day, as well as any seeds that don't germinate. This helps you track progress and gives our Product Team the information needed to offer tailored advice
Four approved methods
Pick the one that fits your setup — all four are covered by our germination guarantee.
This method gives you close control over moisture, darkness, and temperature. It also makes progress easy to monitor.
Paper towels are usually easier to work with than cotton pads. Fresh taproots can catch in cotton fibers, so paper makes the move into your growing medium gentler. Opaque porcelain plates or opaque containers with lids also protect the seeds from light better than cardboard, paper, or thin translucent plastic plates.
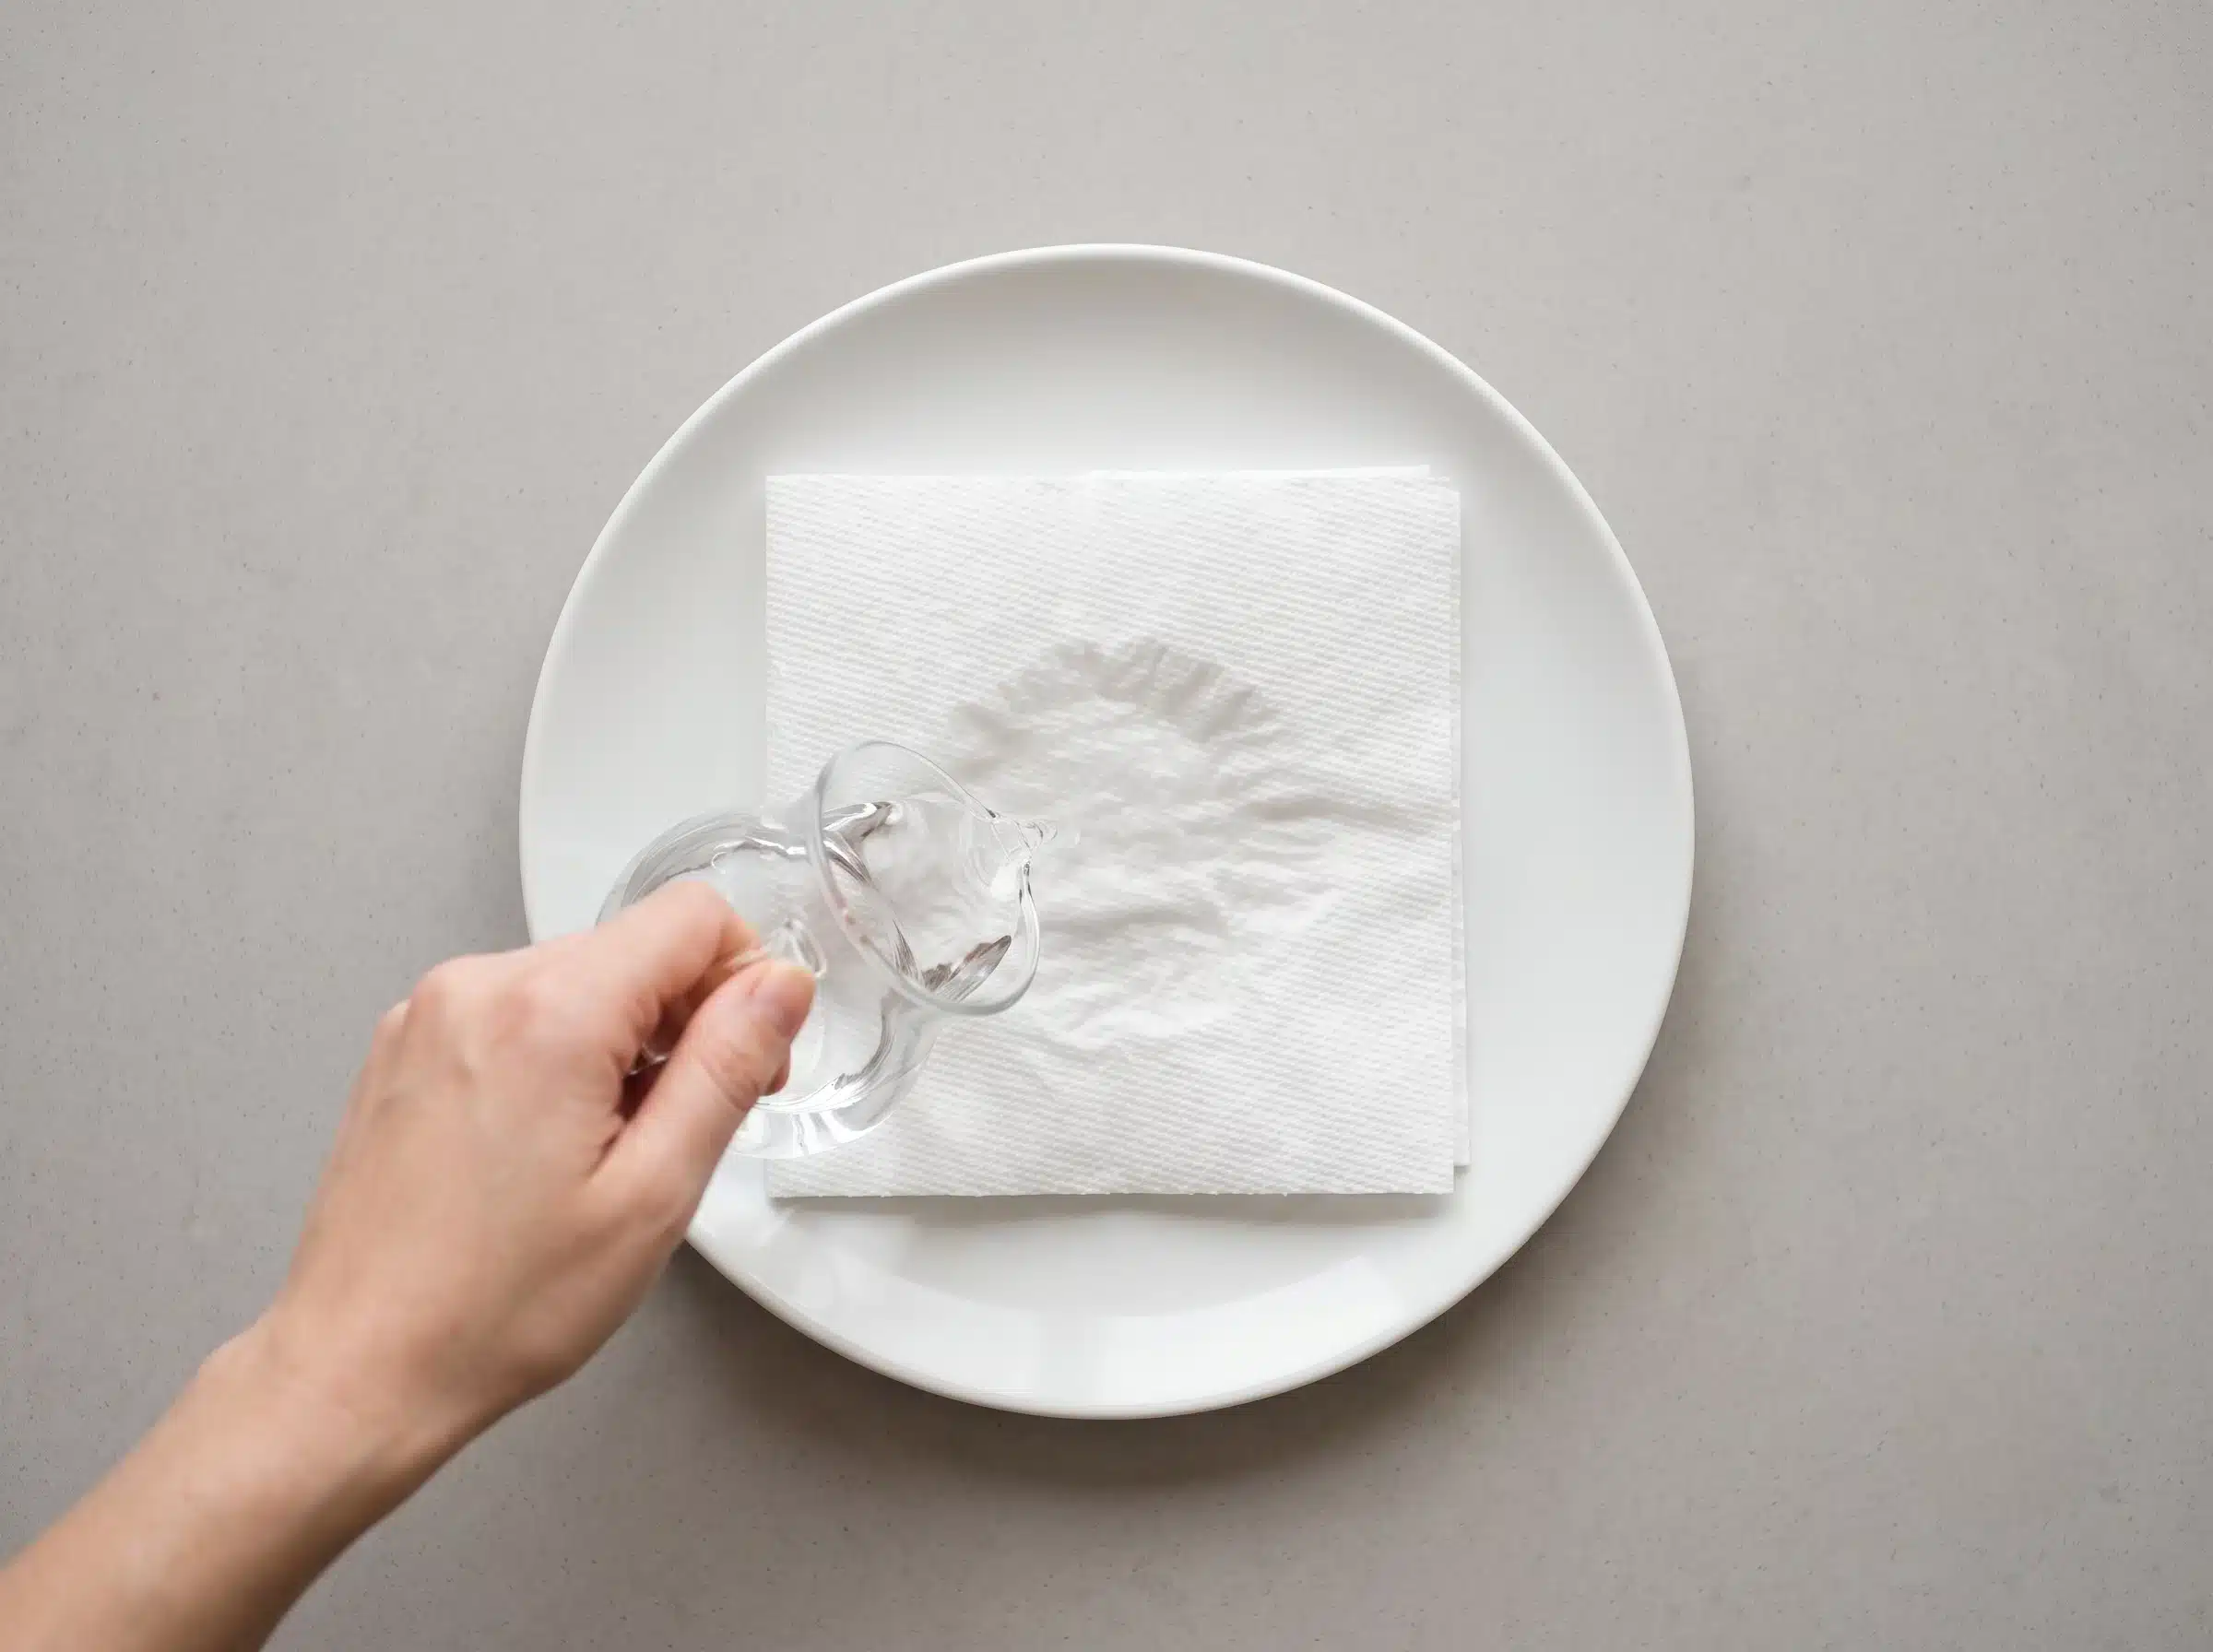
Moisten a paper towel with room-temperature water.
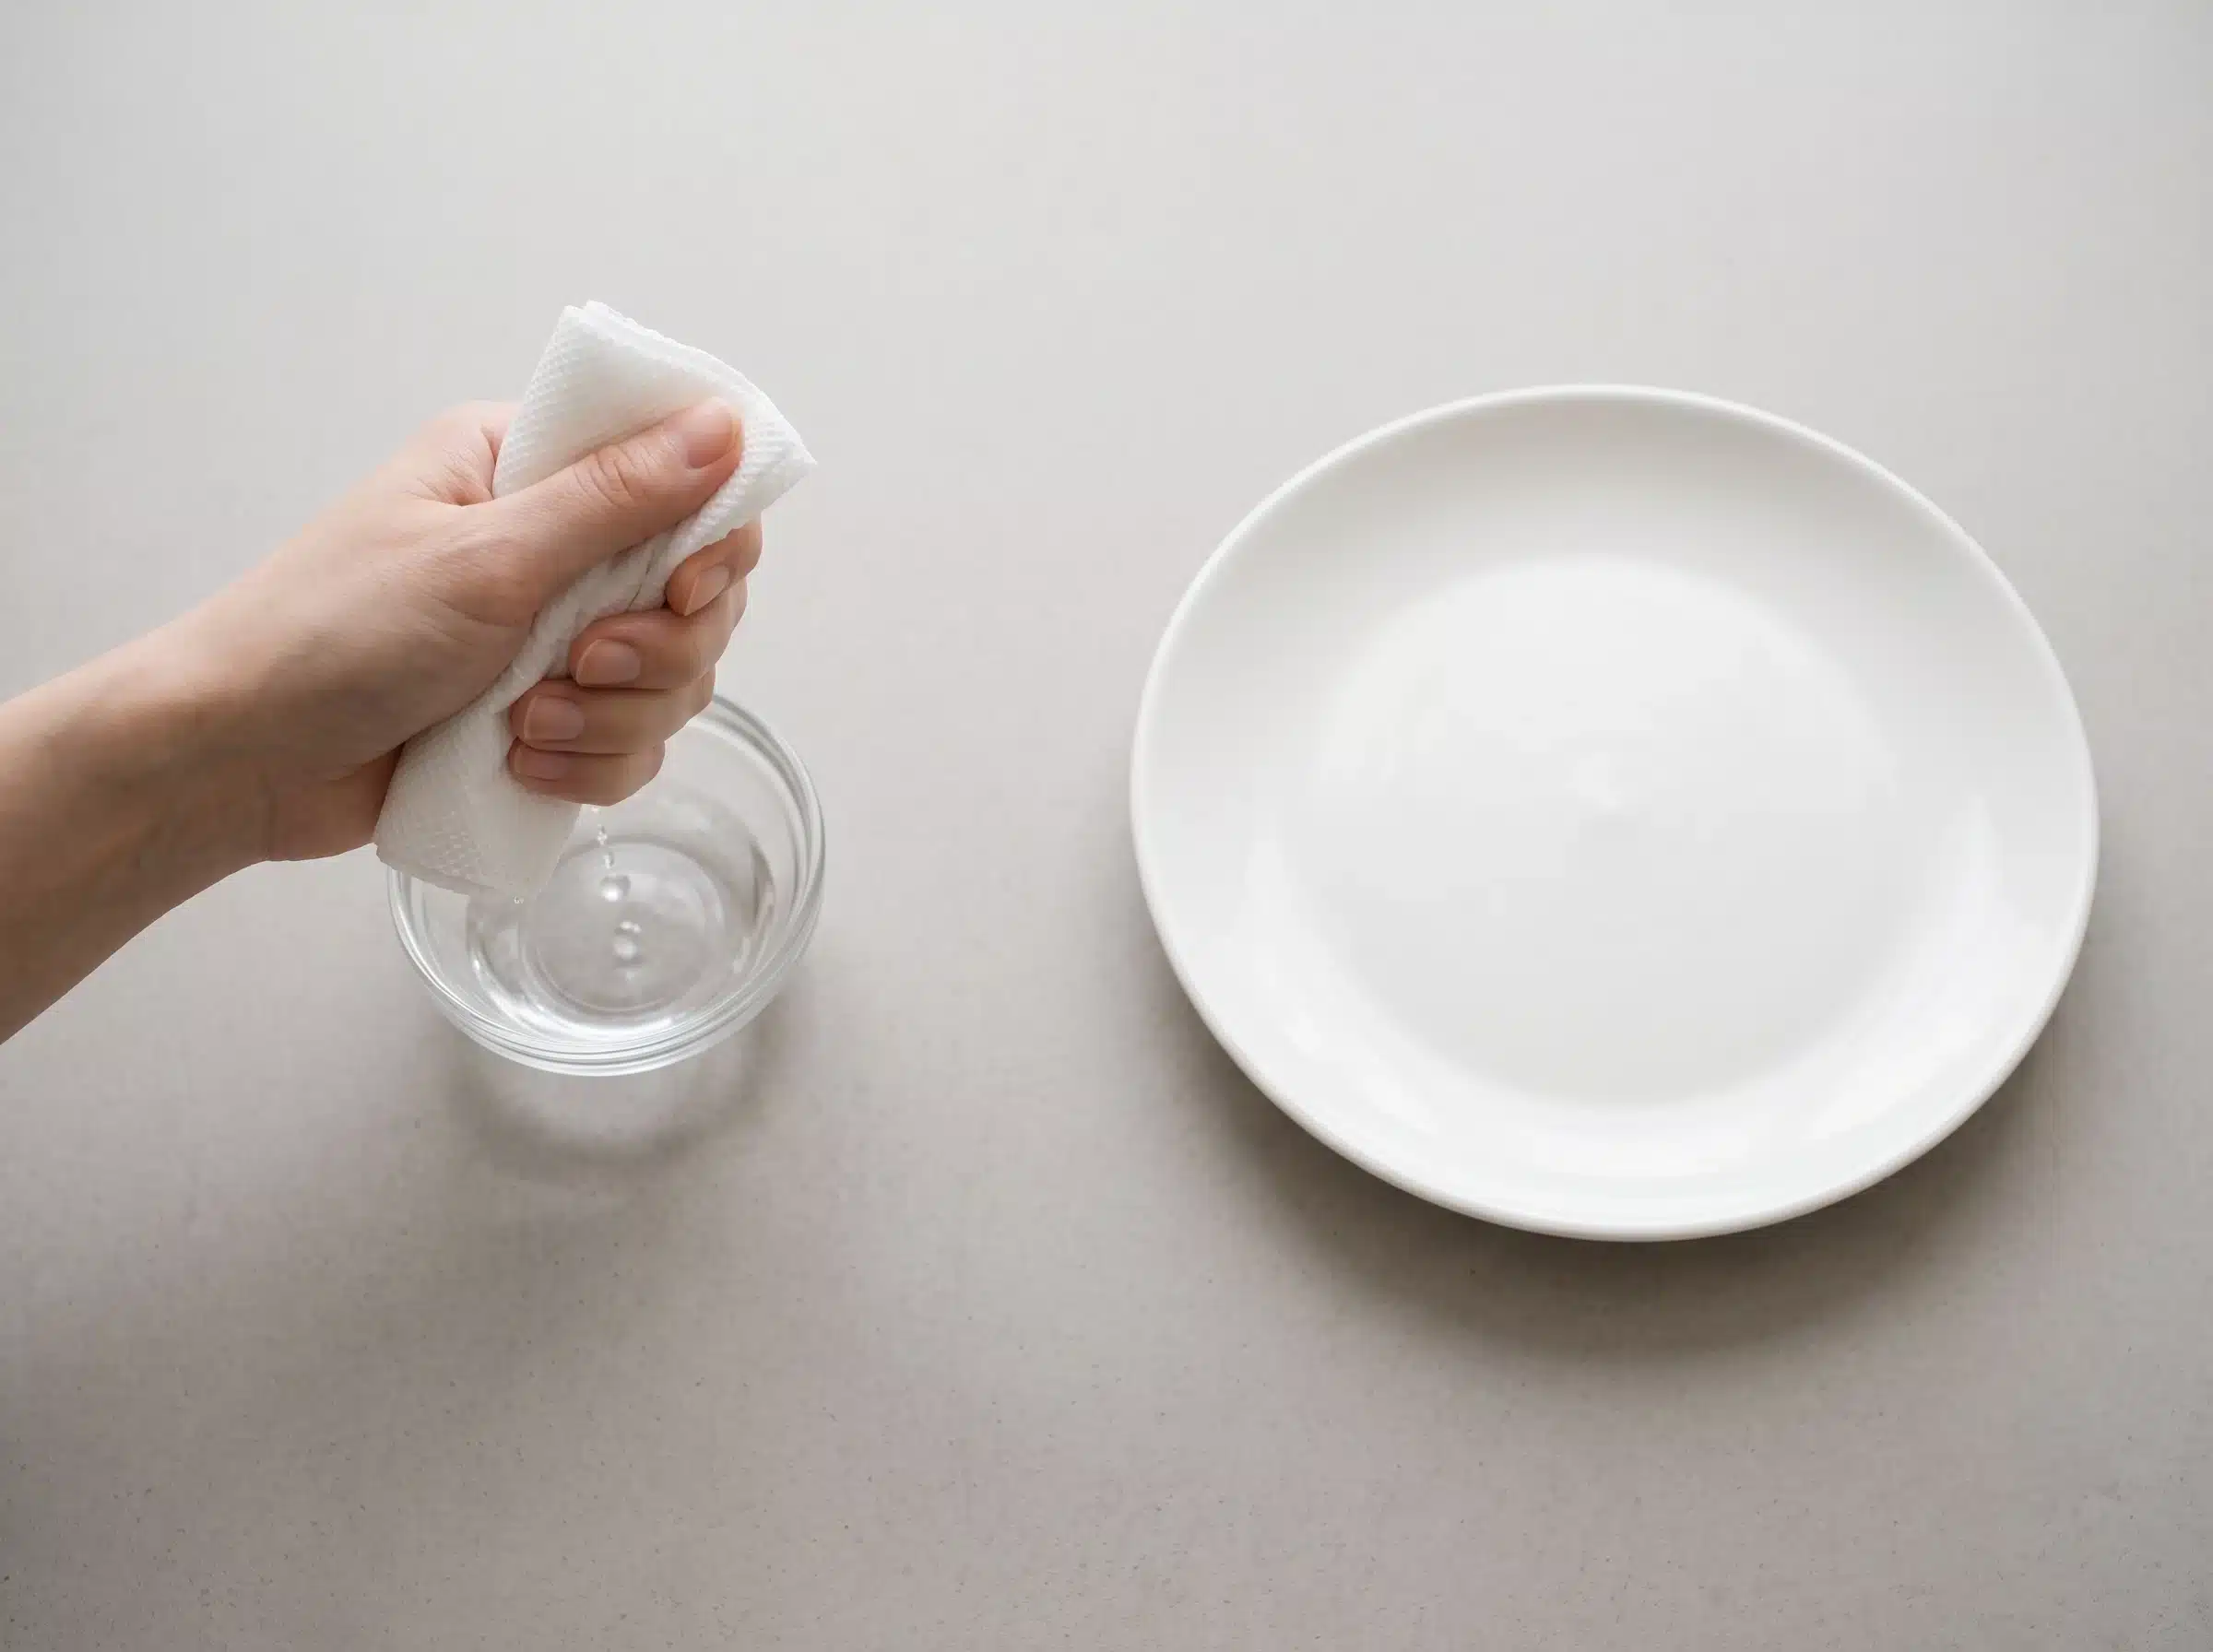
Gently remove the excess. The towel should feel damp, not drip when lifted.
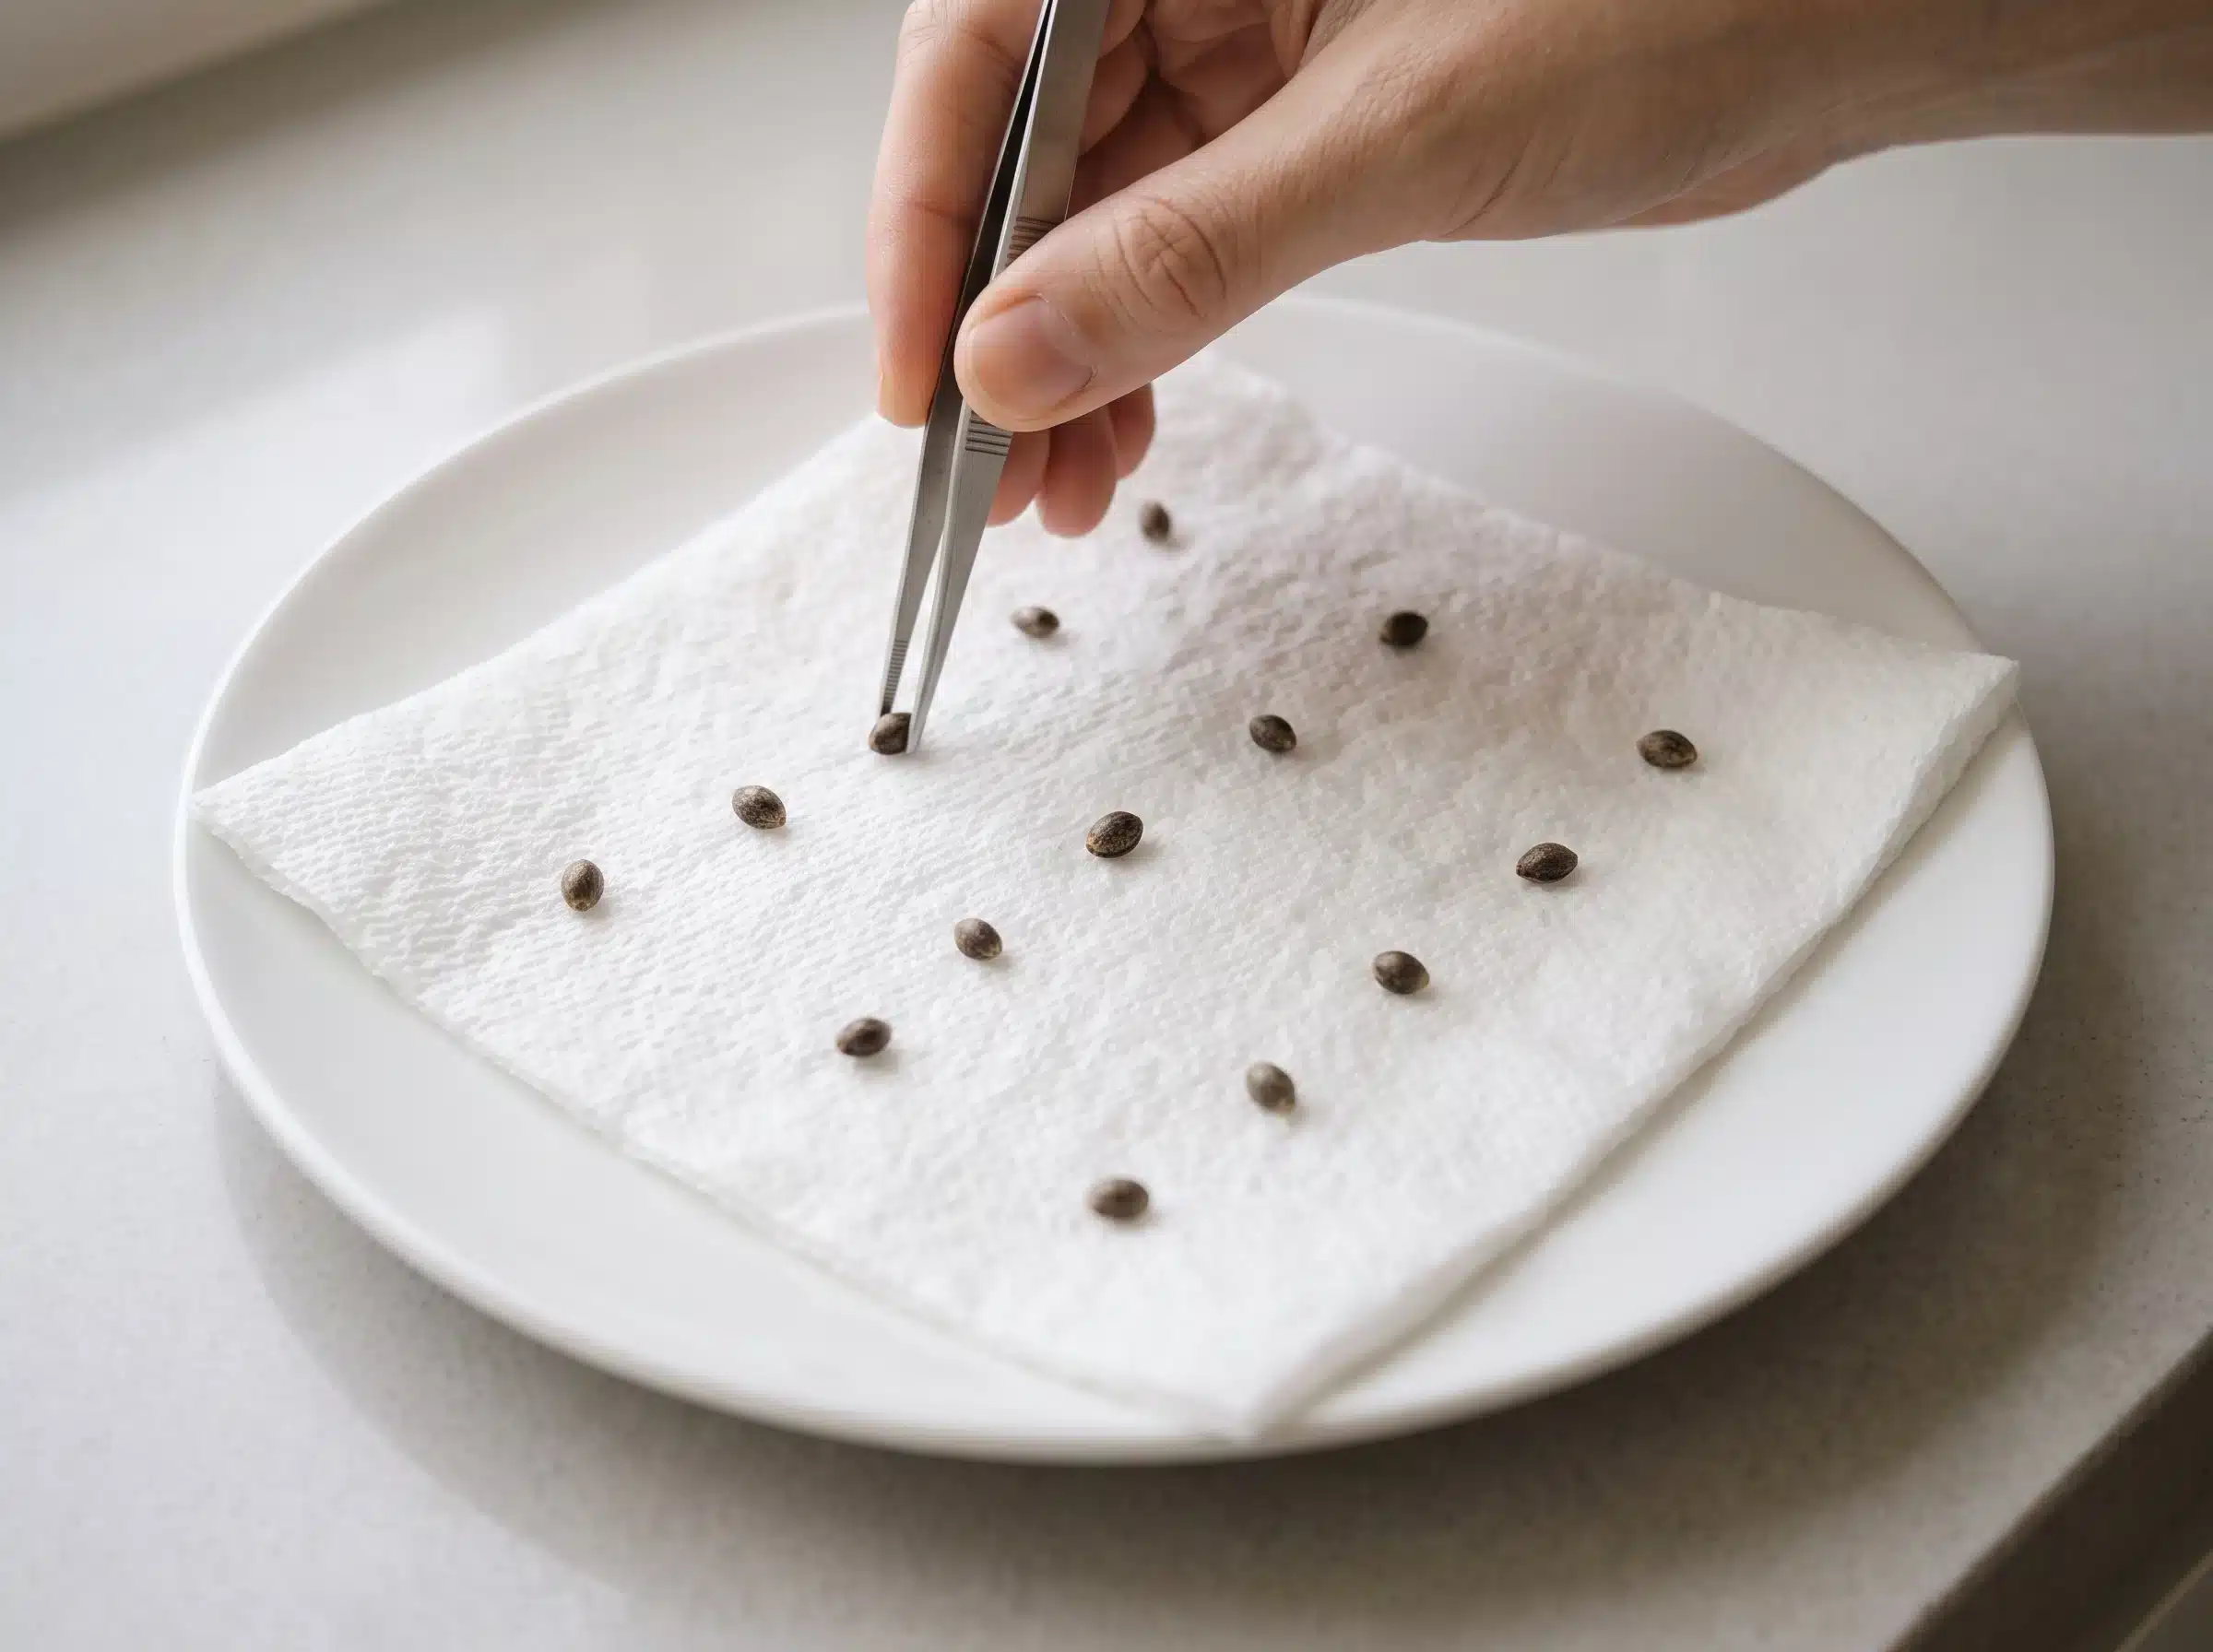
Place one towel on the plate and position the seeds about 2 cm / 0.7 inches apart.
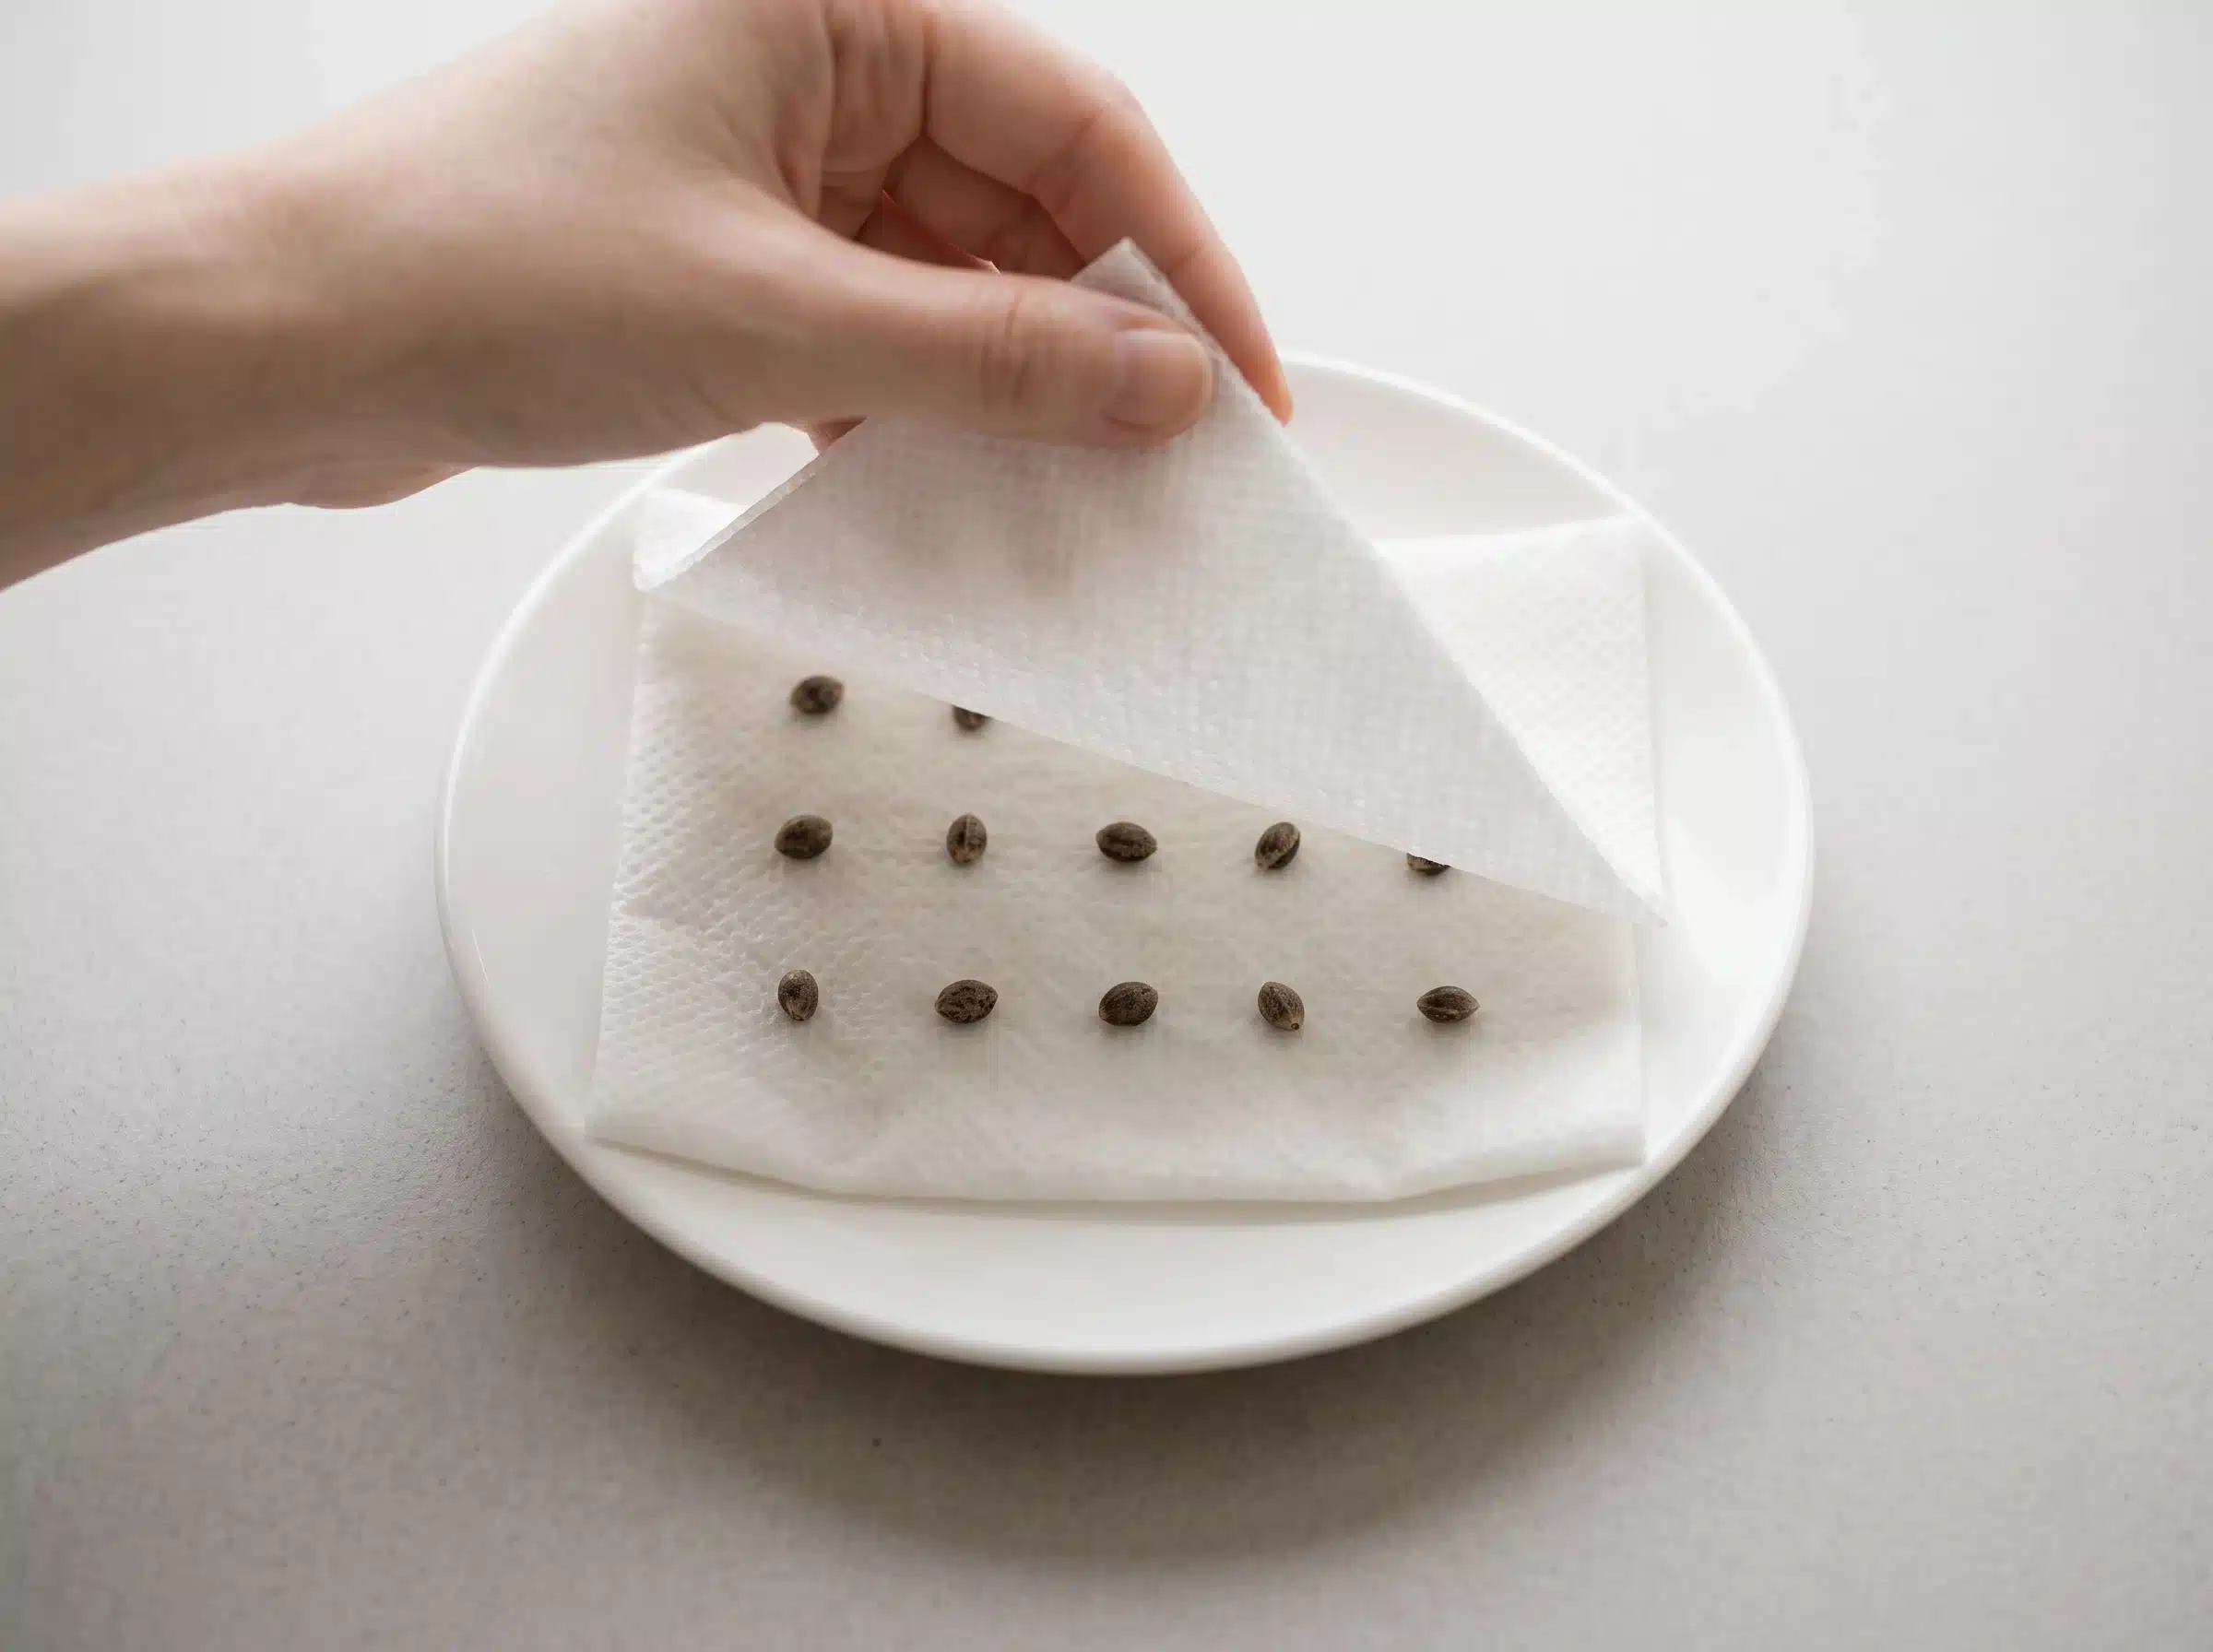
Cover the seeds with the second towel and lightly spray it with water.
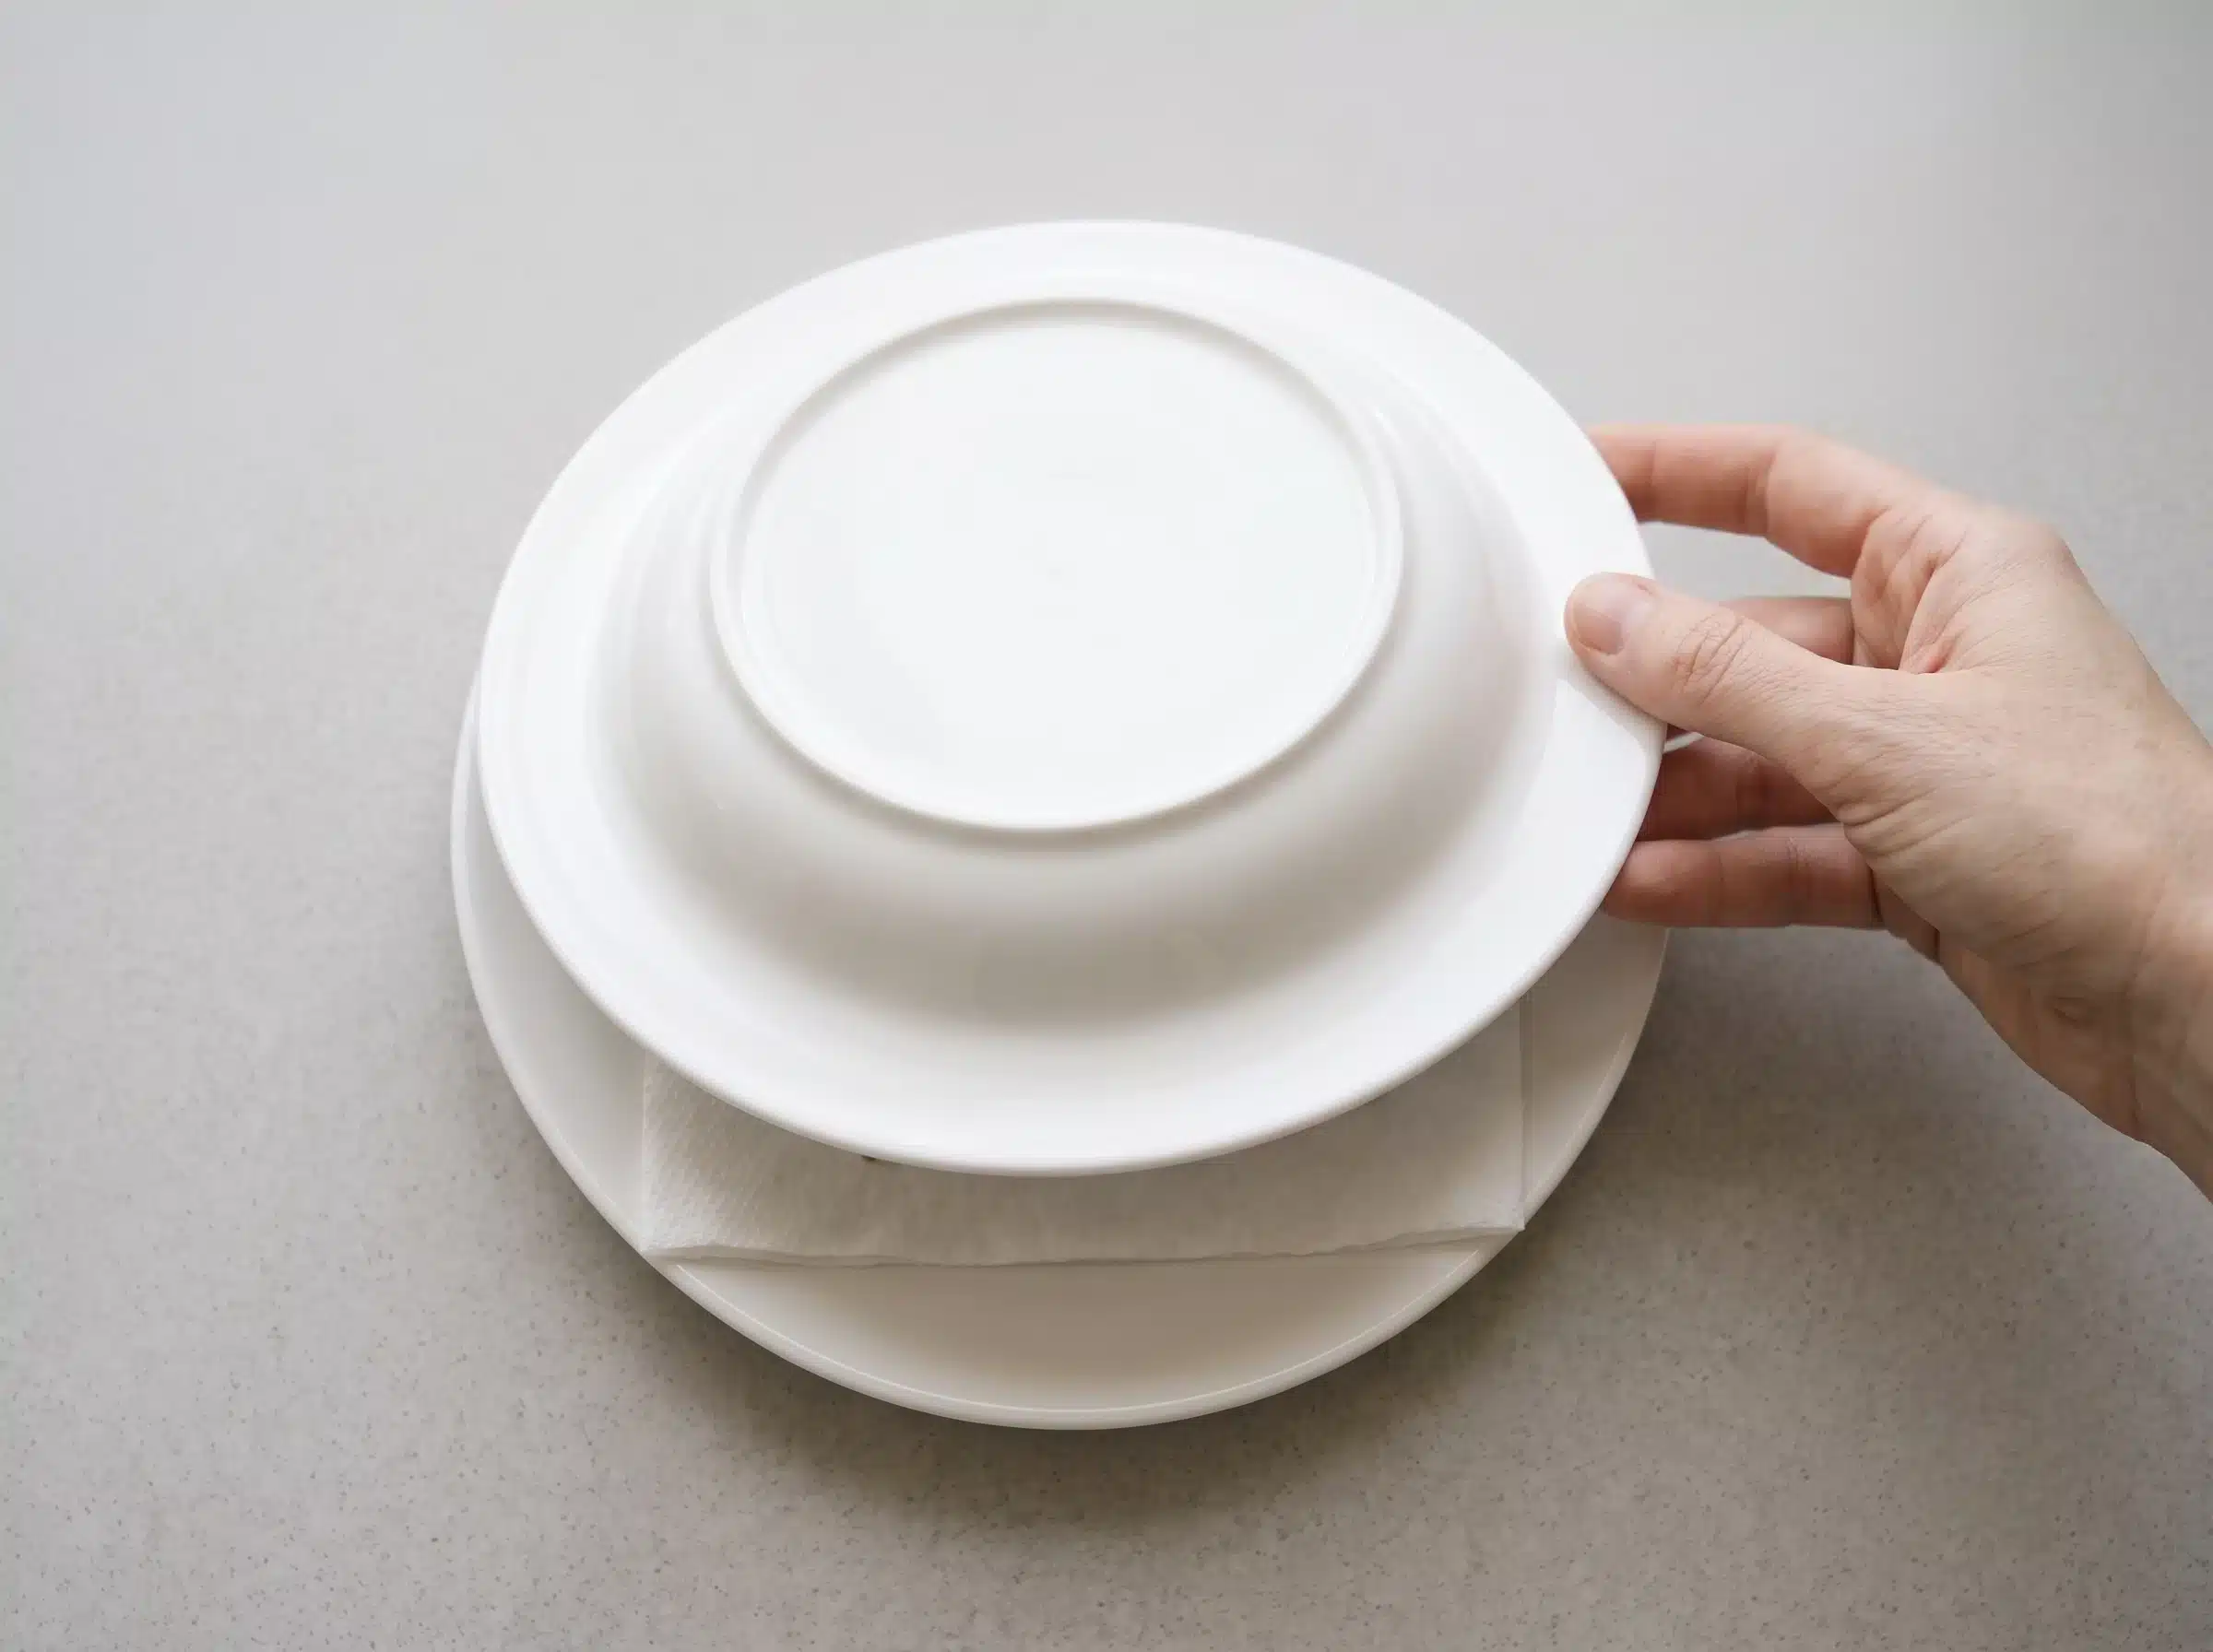
Cover the setup with the second plate or lid.
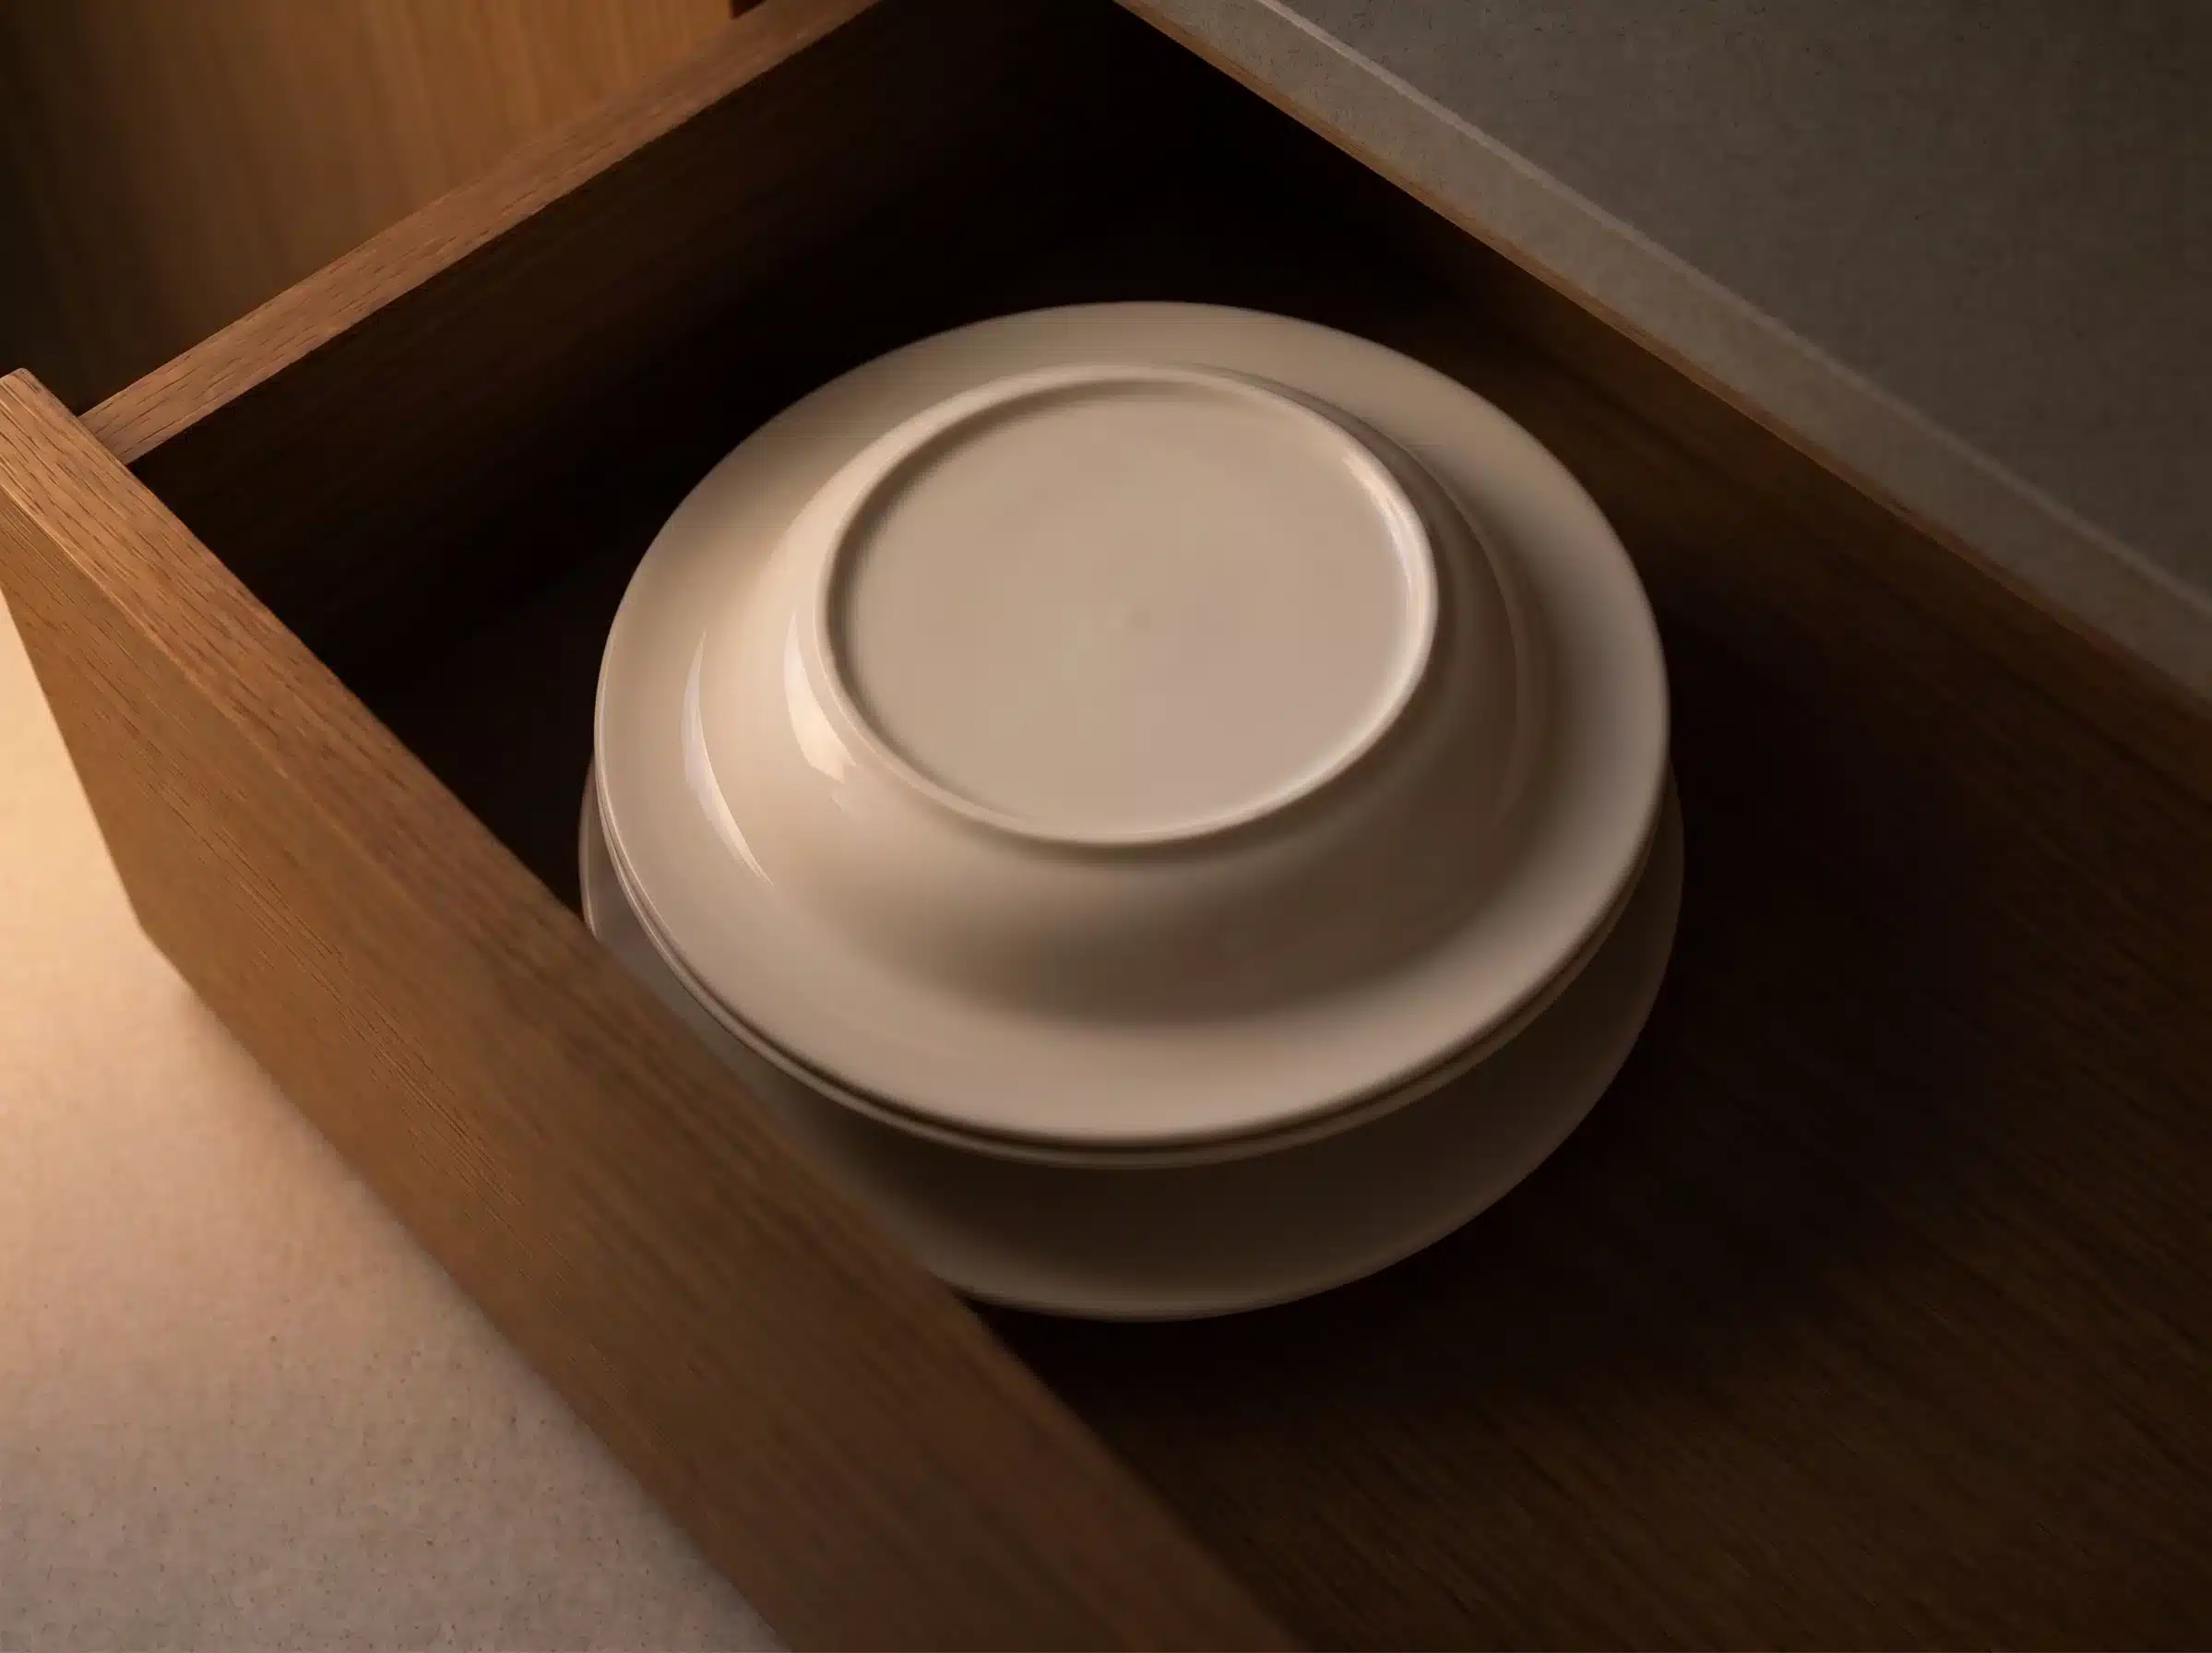
Keep it in a warm, dark place at 21-26°C / 70-79°F.
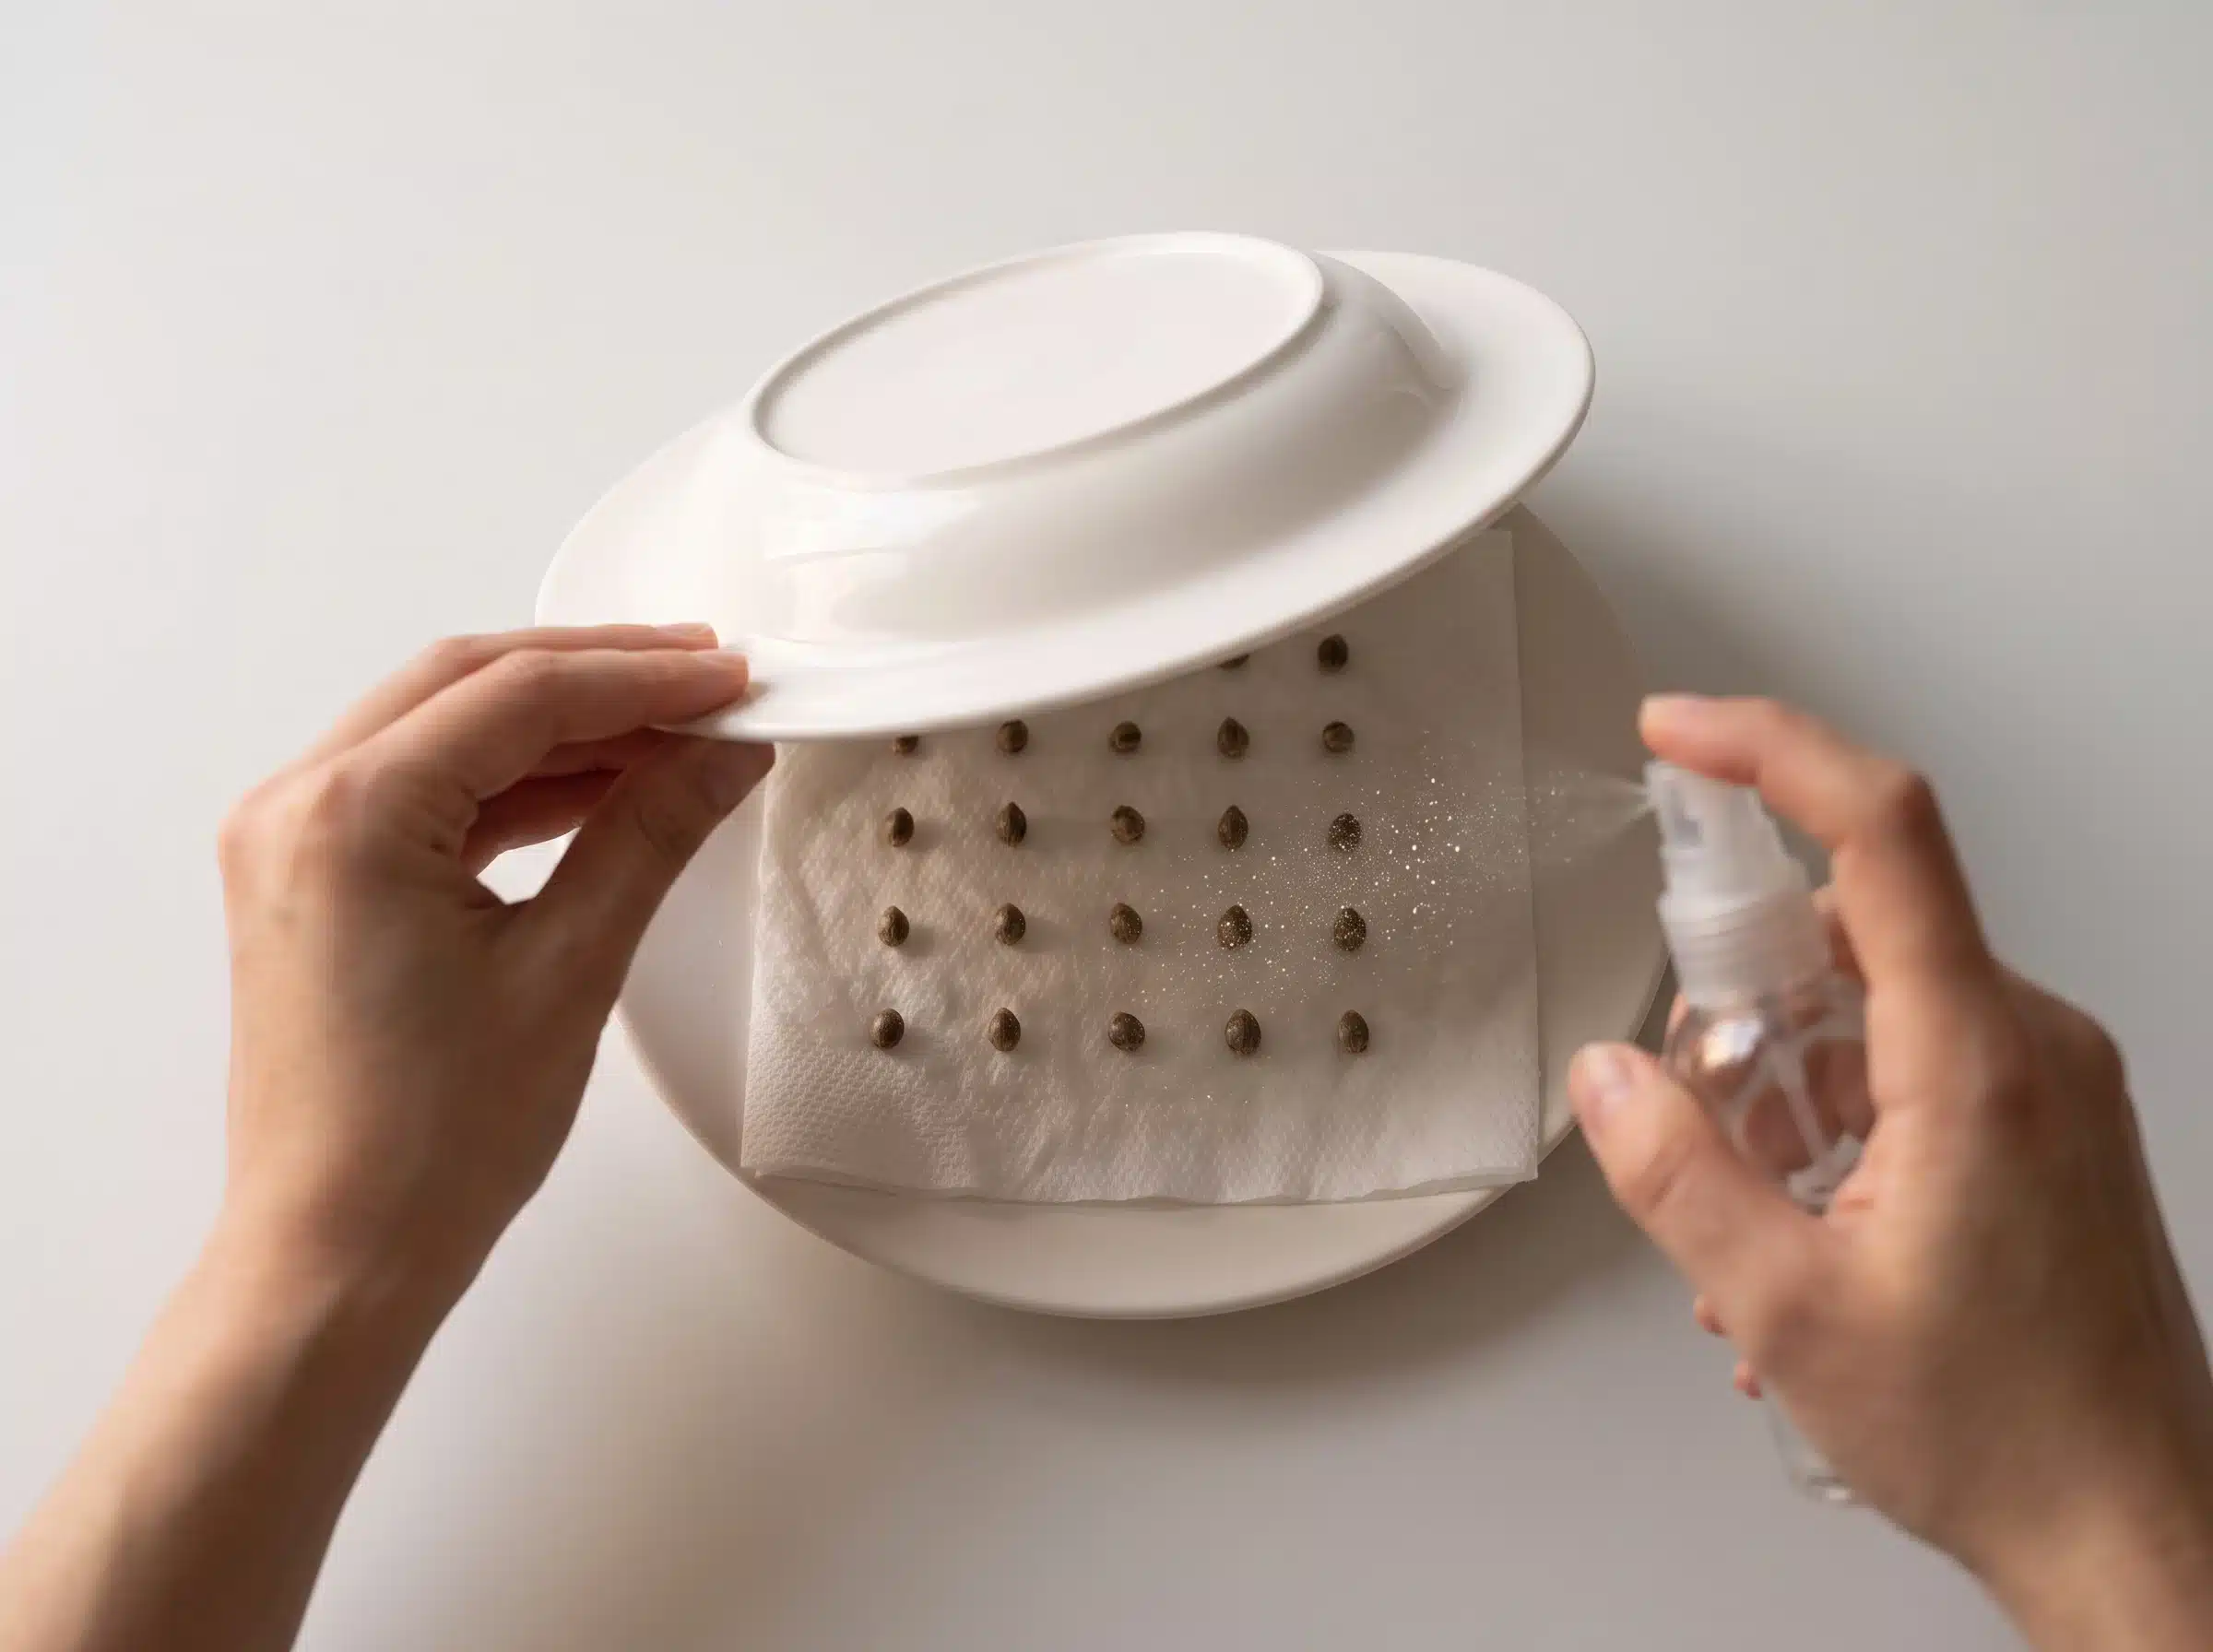
Check every 12 hours. Add a light mist of room-temperature water if the towels begin to dry.
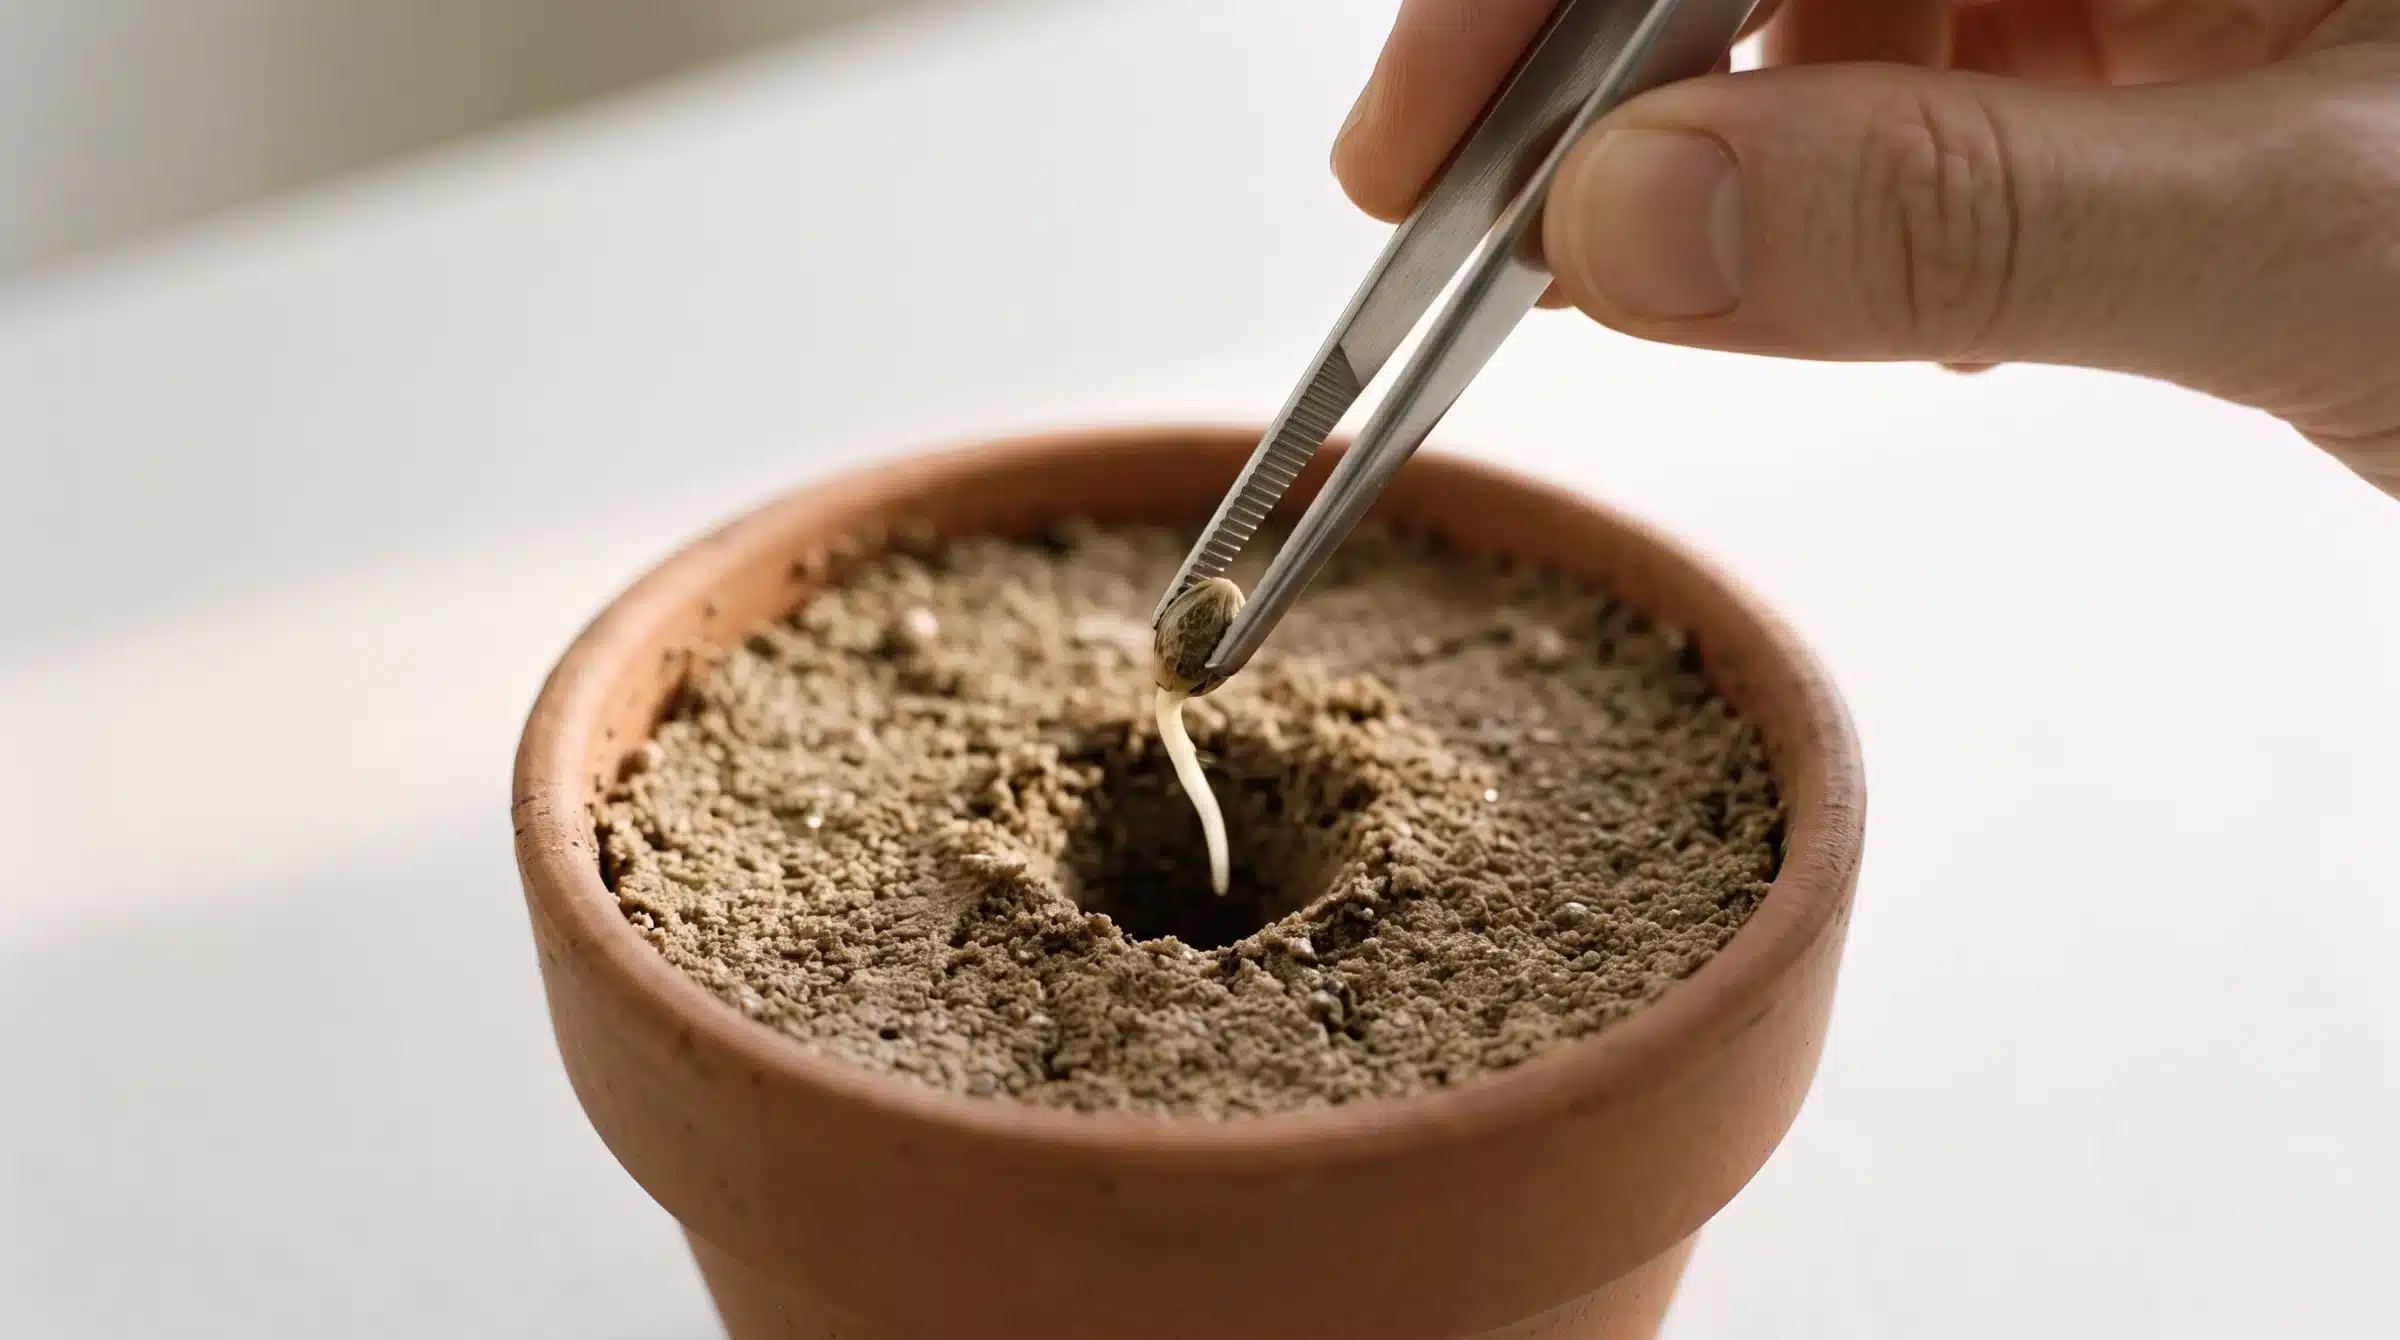
Plant the seed 1–2 cm / 0.4–0.7 inches deep, with the taproot pointing down and the shell facing up.
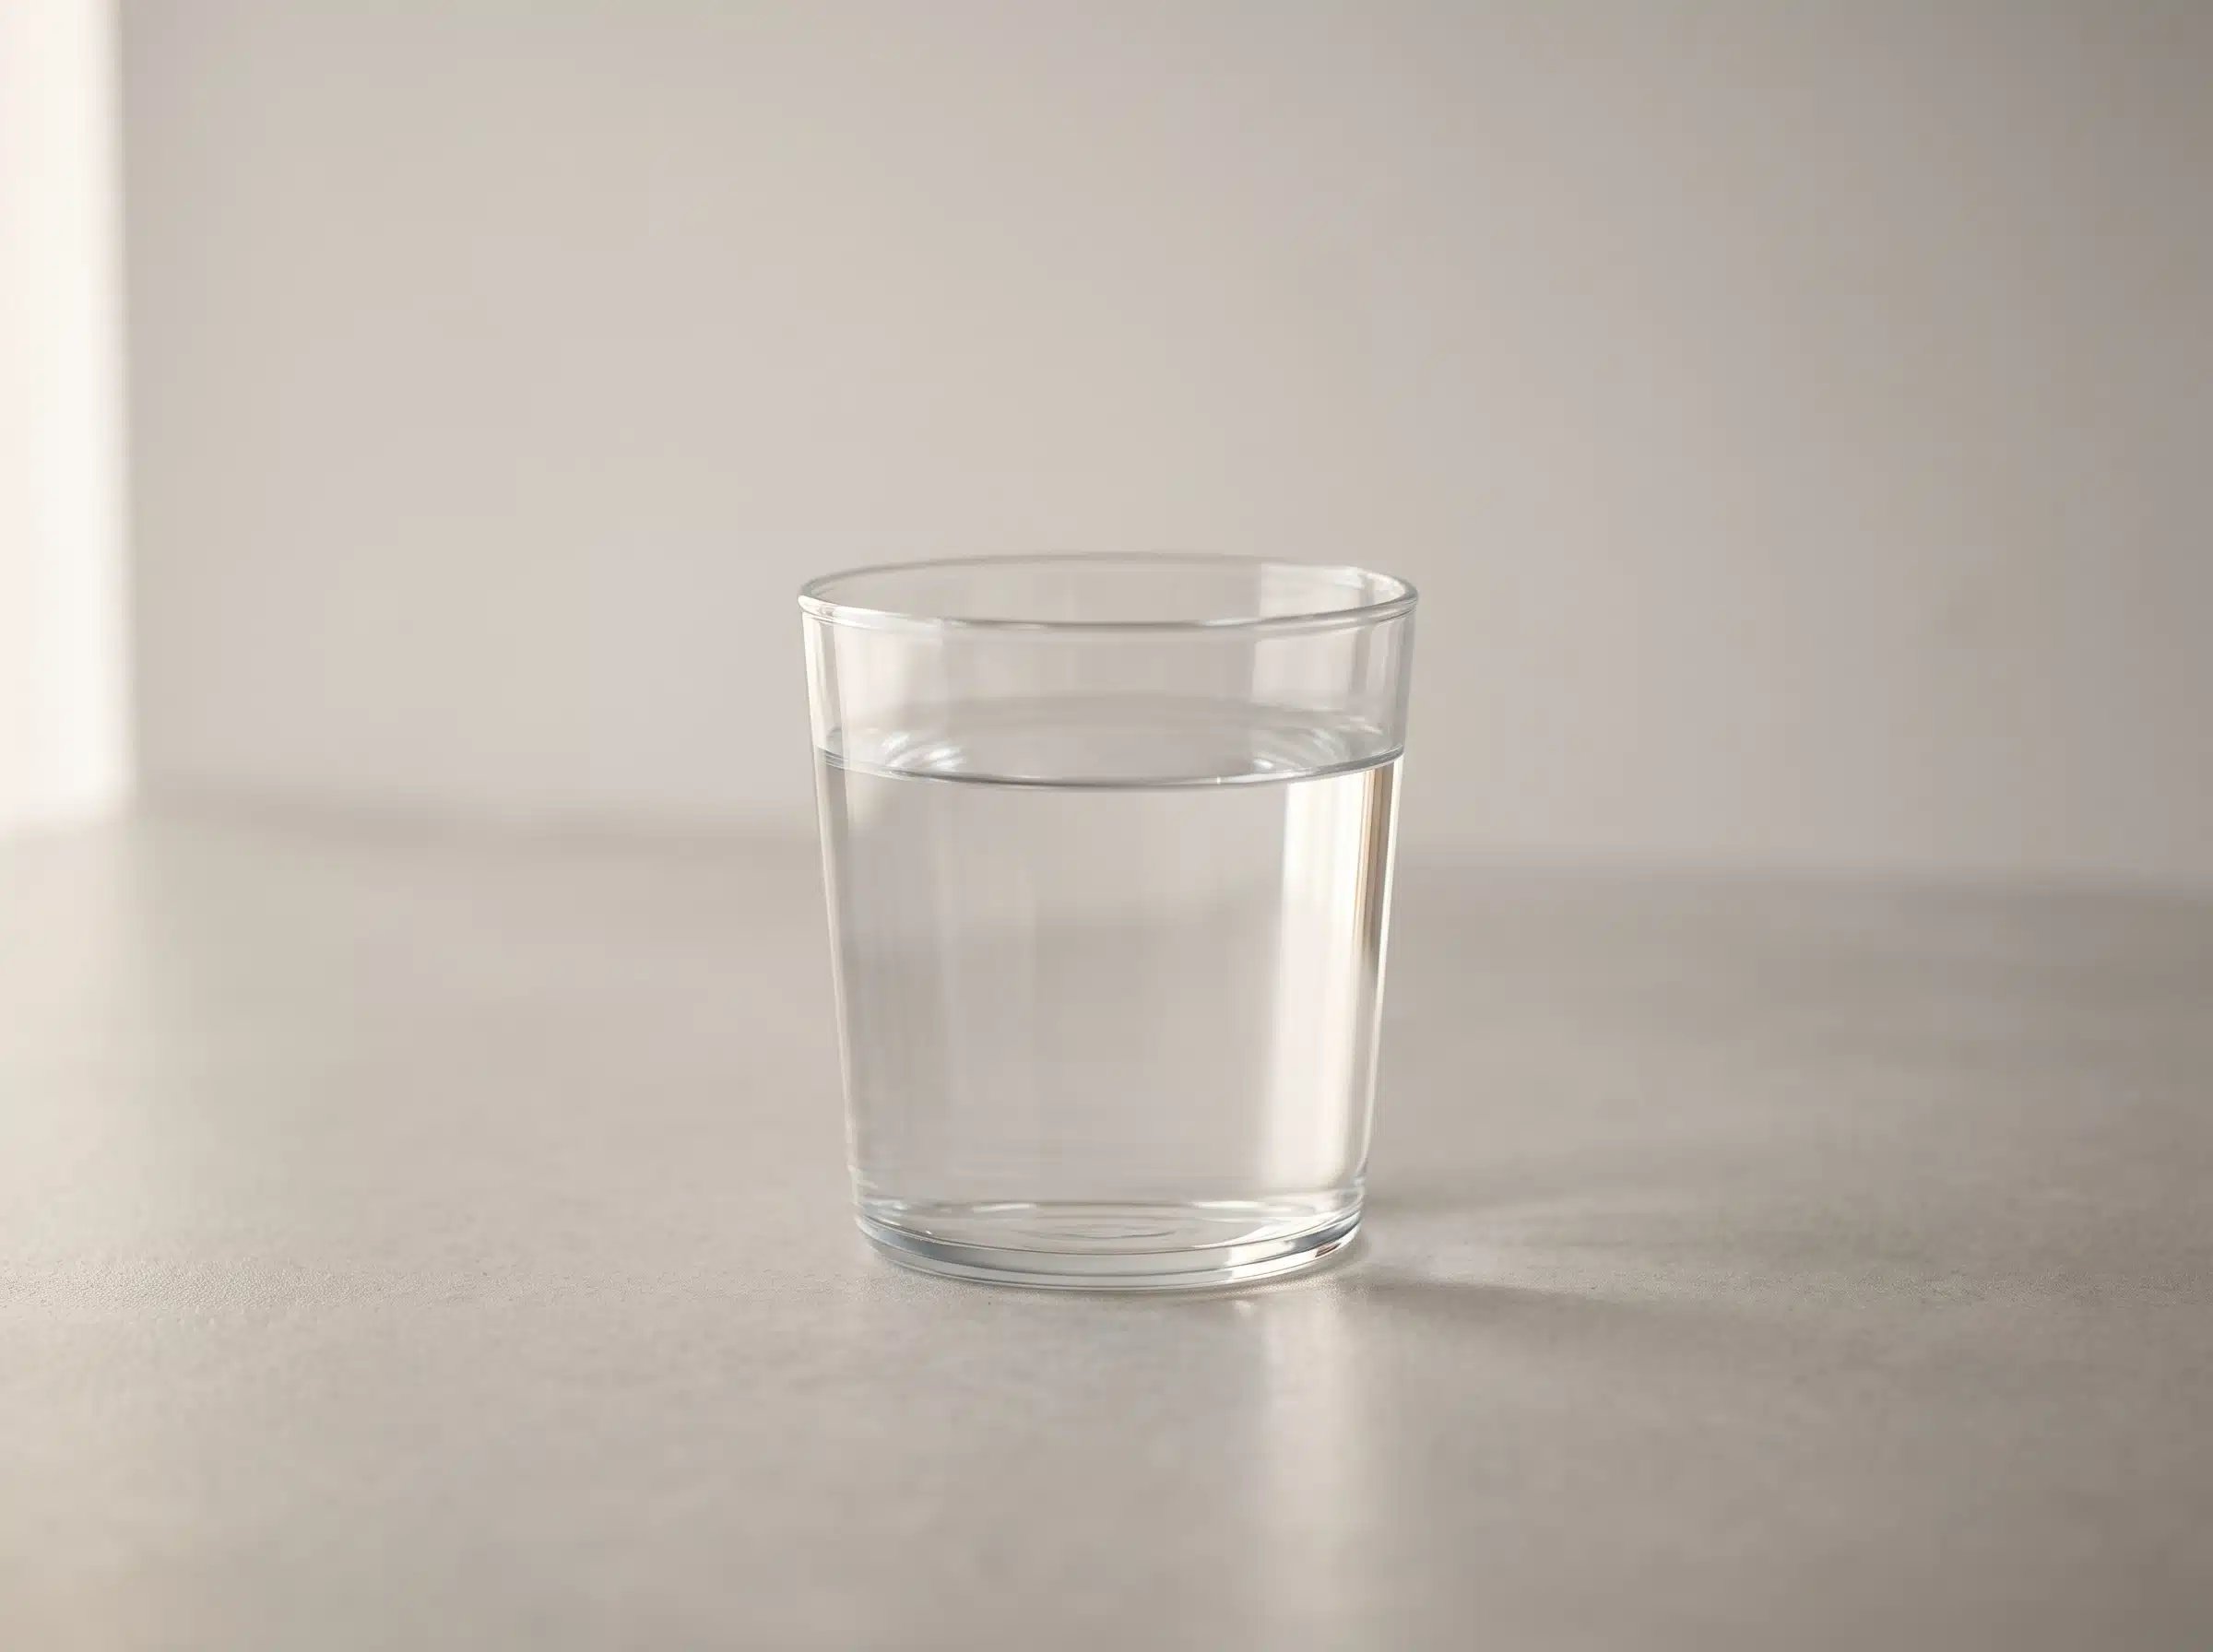
Fill a clean glass with purified or bottled water at room temperature.
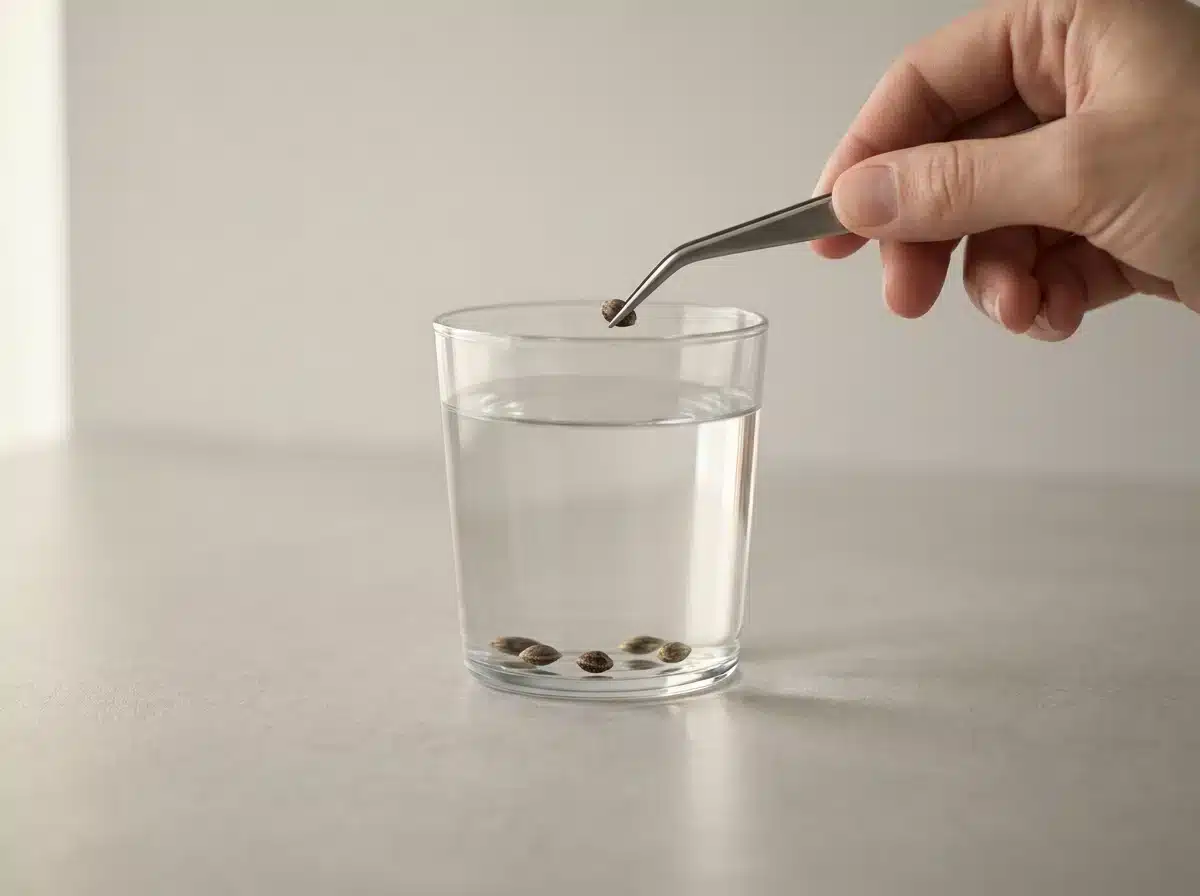
Place the seeds gently in the water and keep the glass in a warm, dark place.
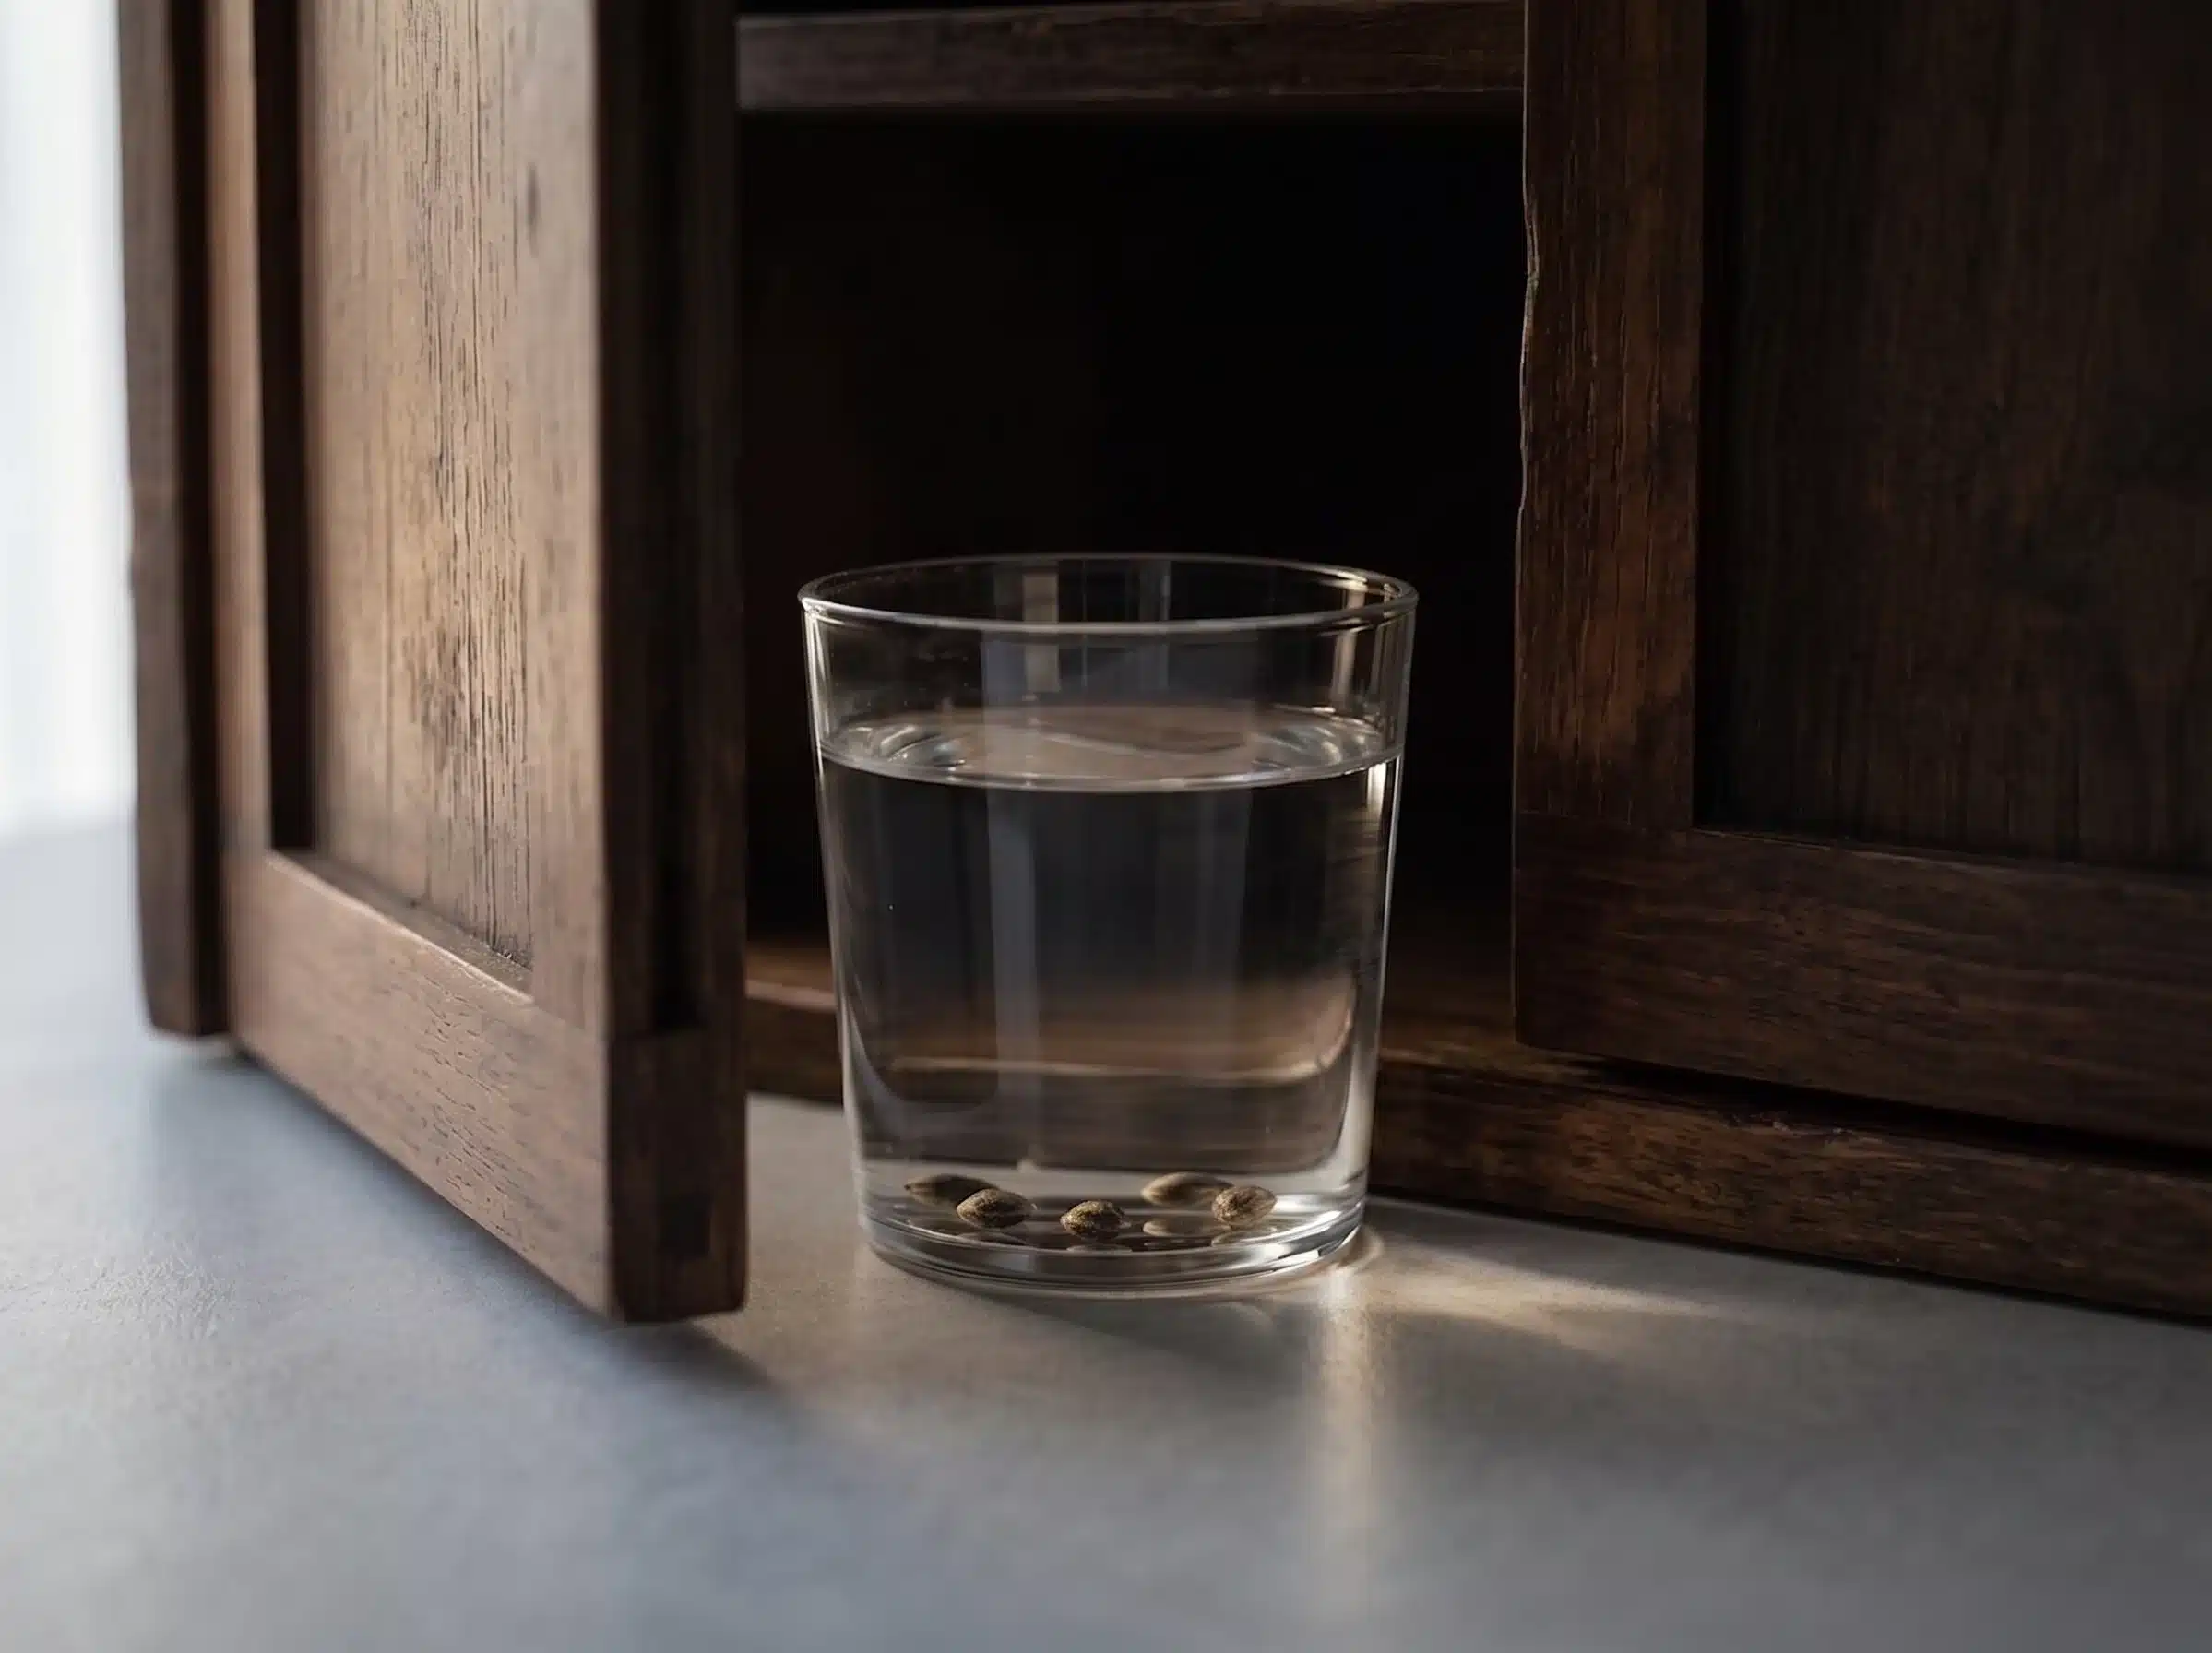
Check every 12 hours to see whether germination has started.
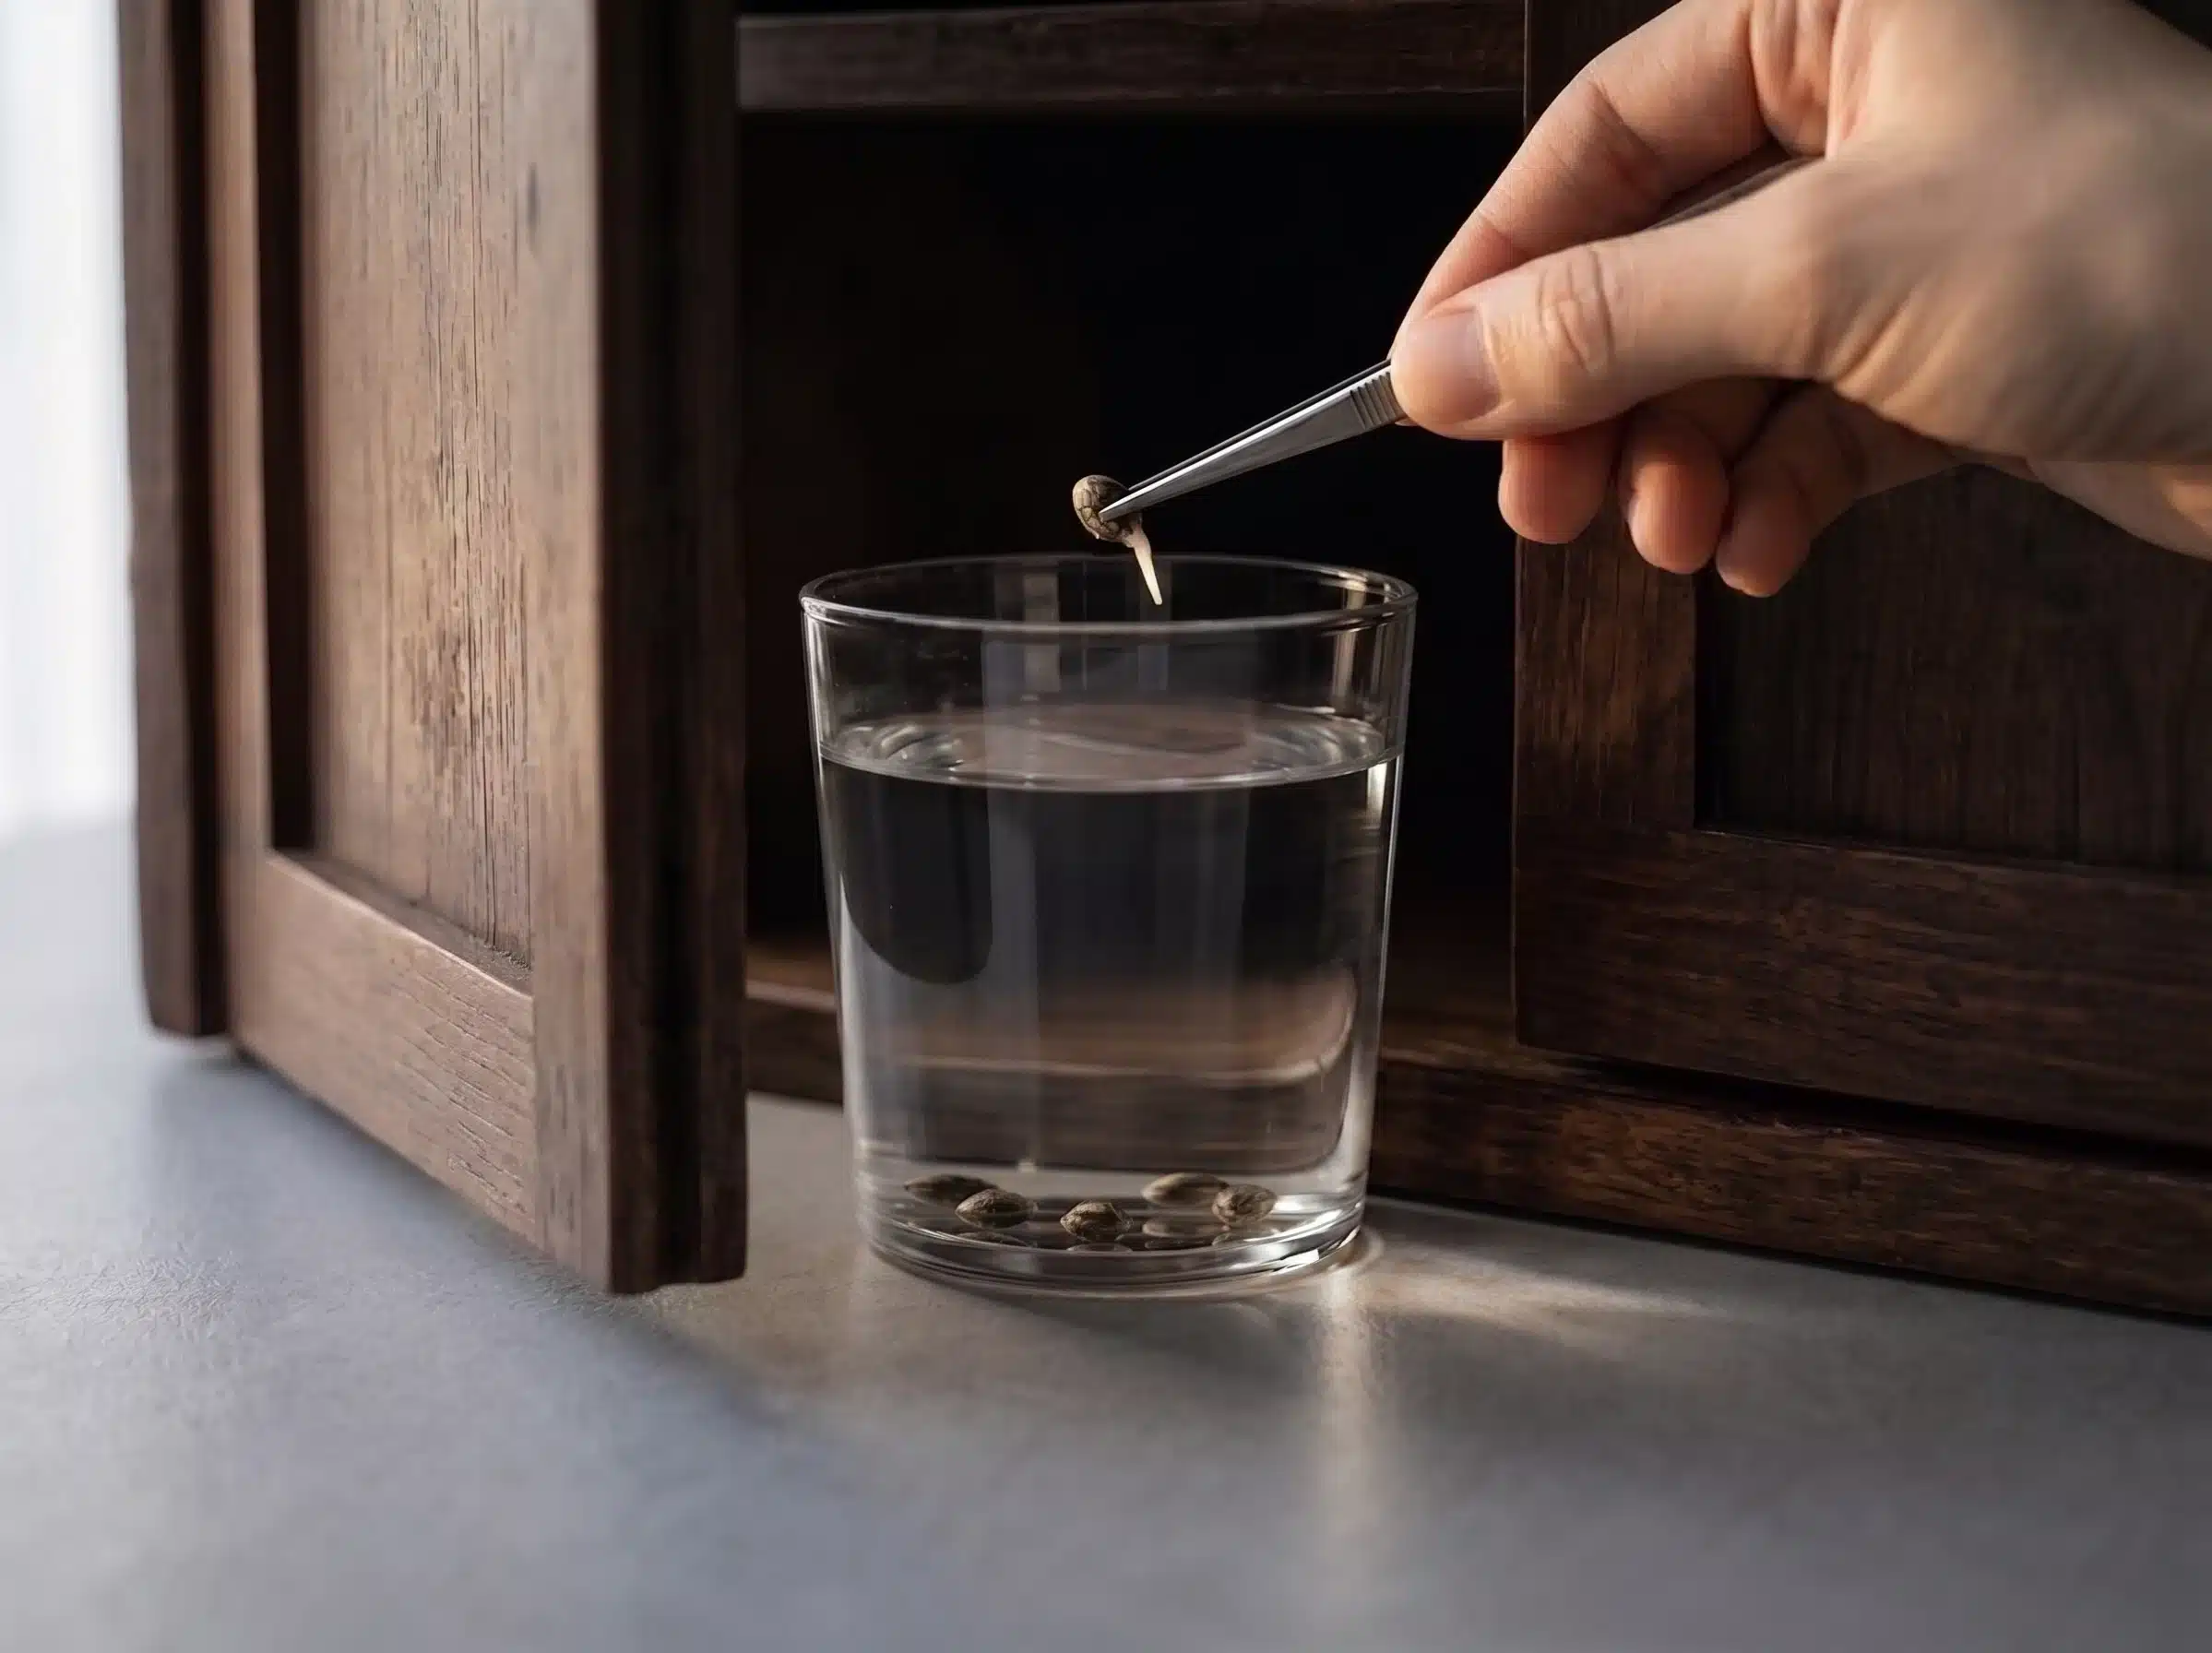
When the shell begins to open or a small taproot appears, plant each seed 1–2 cm / 0.4–0.7 inches deep, with the taproot pointing down and the shell facing up.
Use 24-48 hours as your standard soaking window. If a seed still hasn't opened, move it to damp paper towels or another accepted growing medium. By 72 hours, it should be out of the glass. Longer submersion limits oxygen and can increase the risk of damage or rot.
Still floating? That doesn't mean the seed has failed. A hard, intact, closed seed can continue germinating after it's transferred to a moist, oxygen-rich setup.
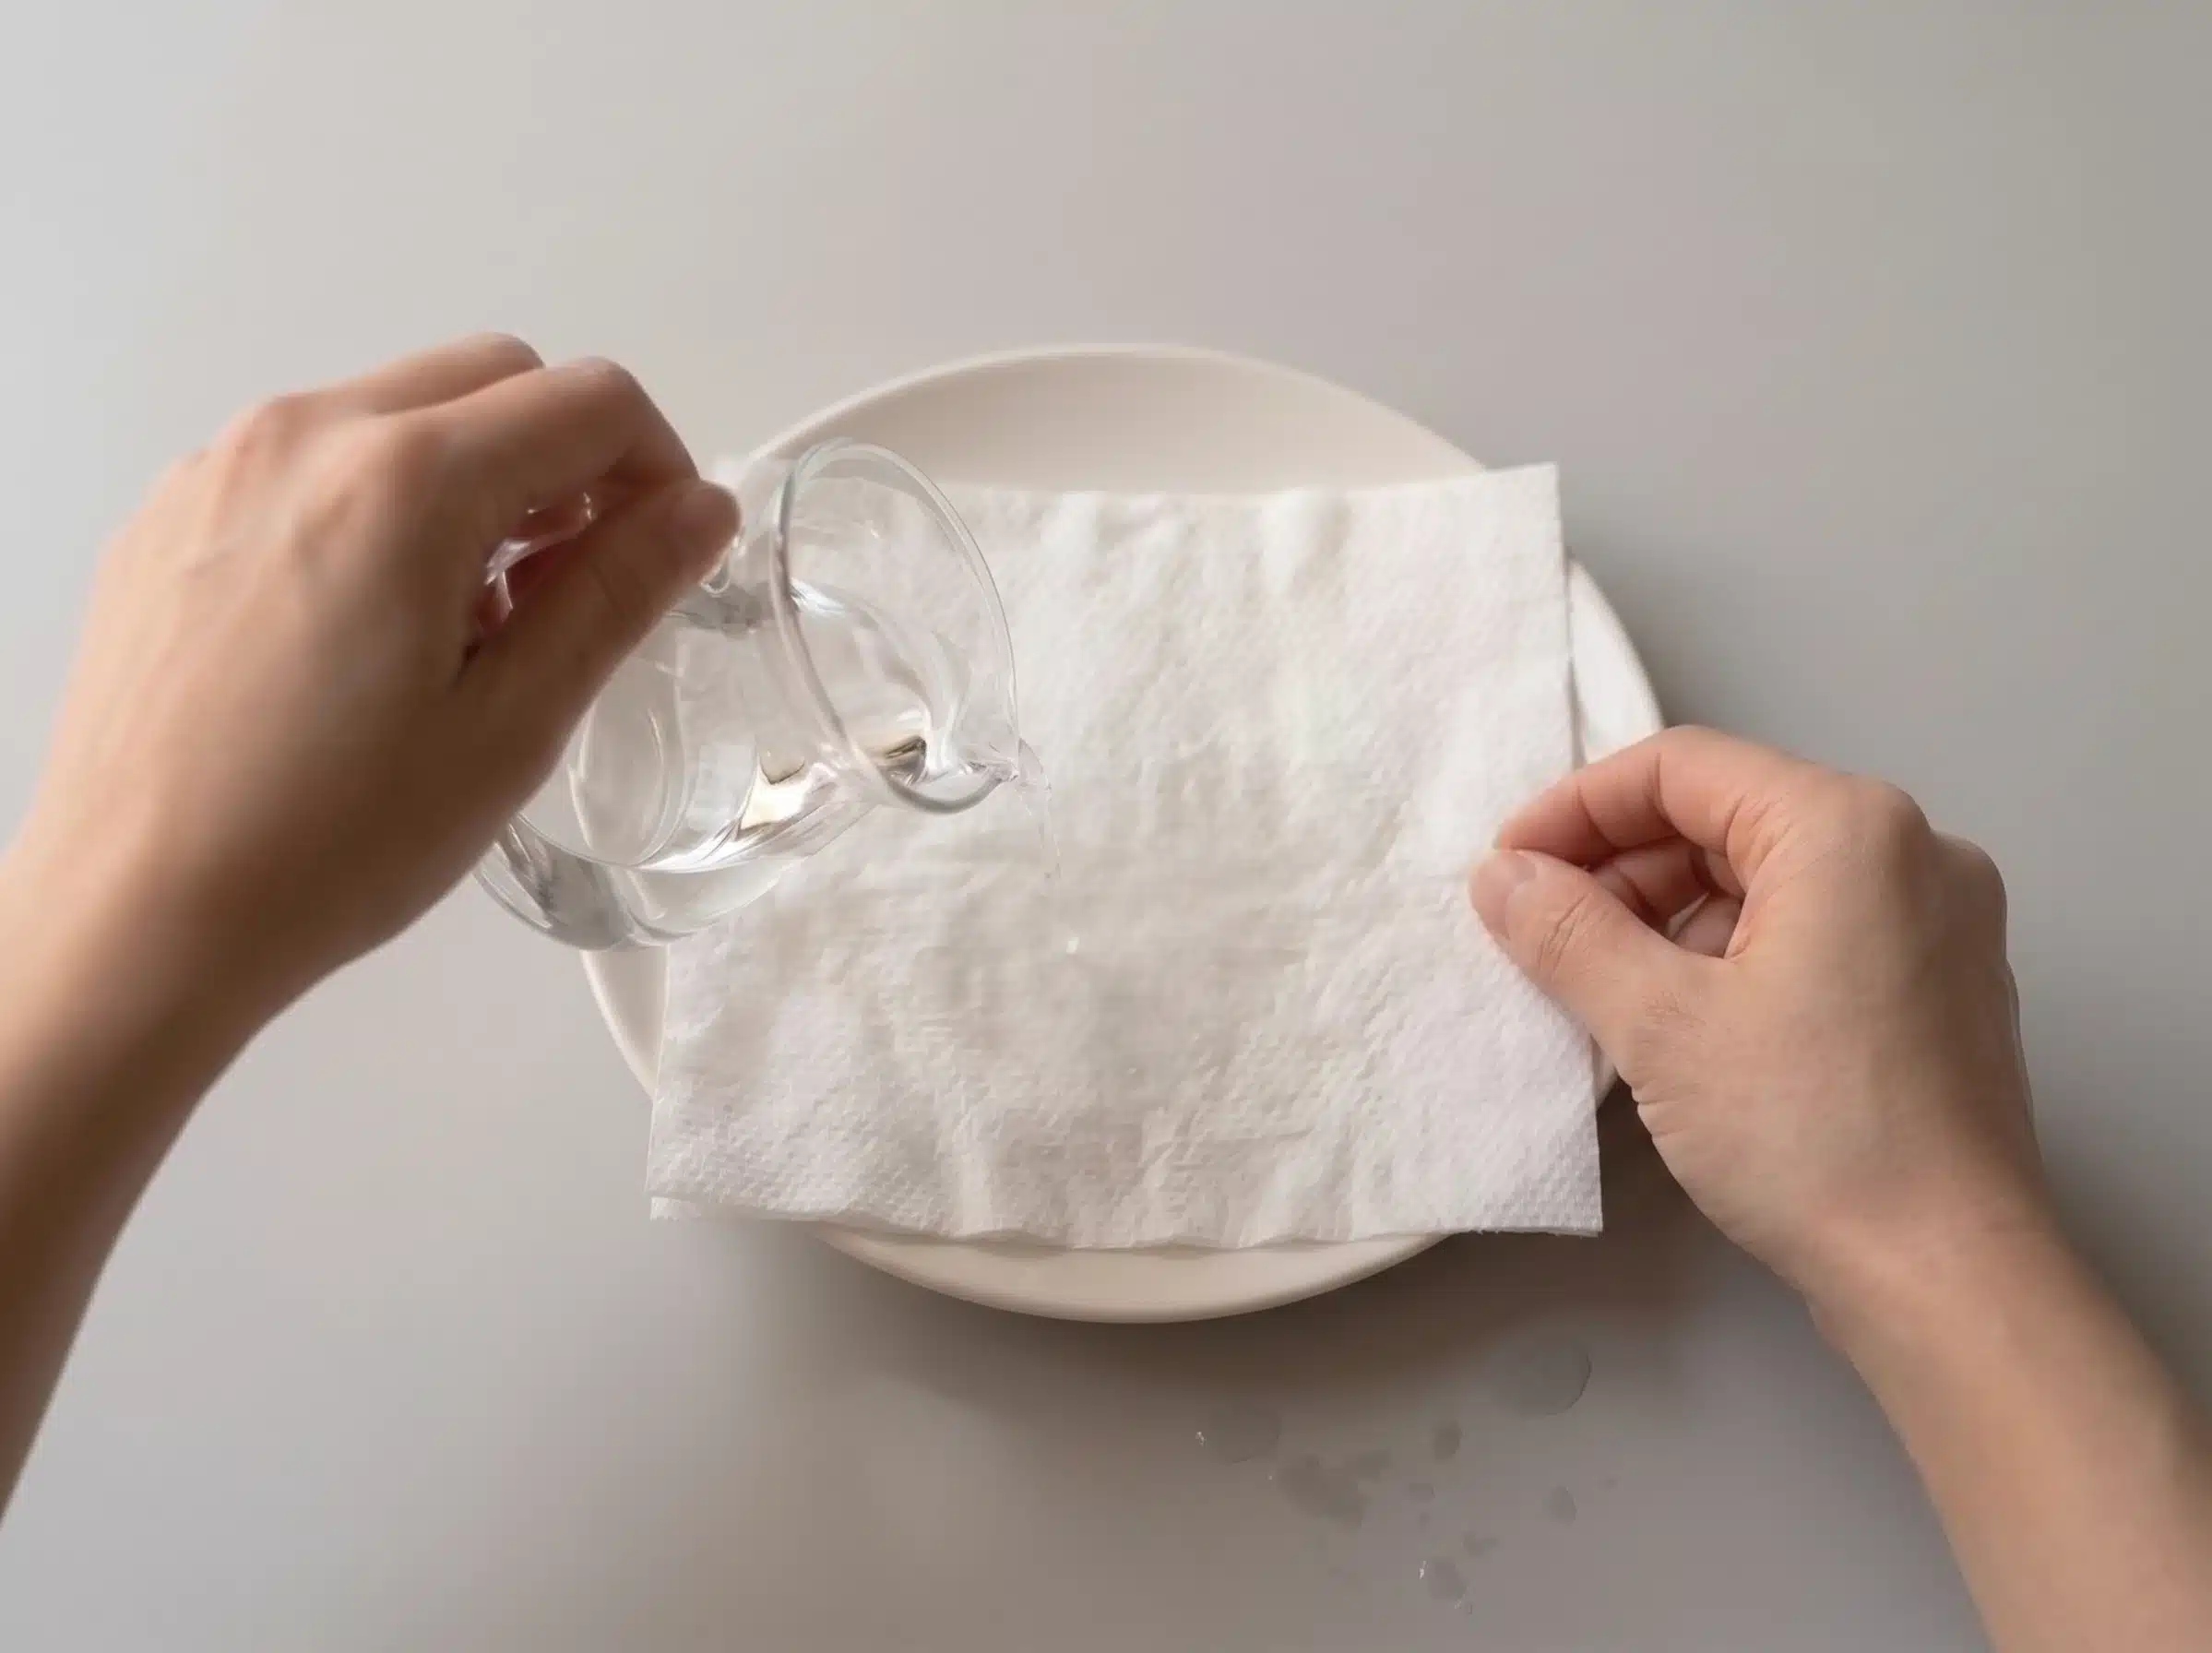
Moisten a paper towel, then remove all excess water.
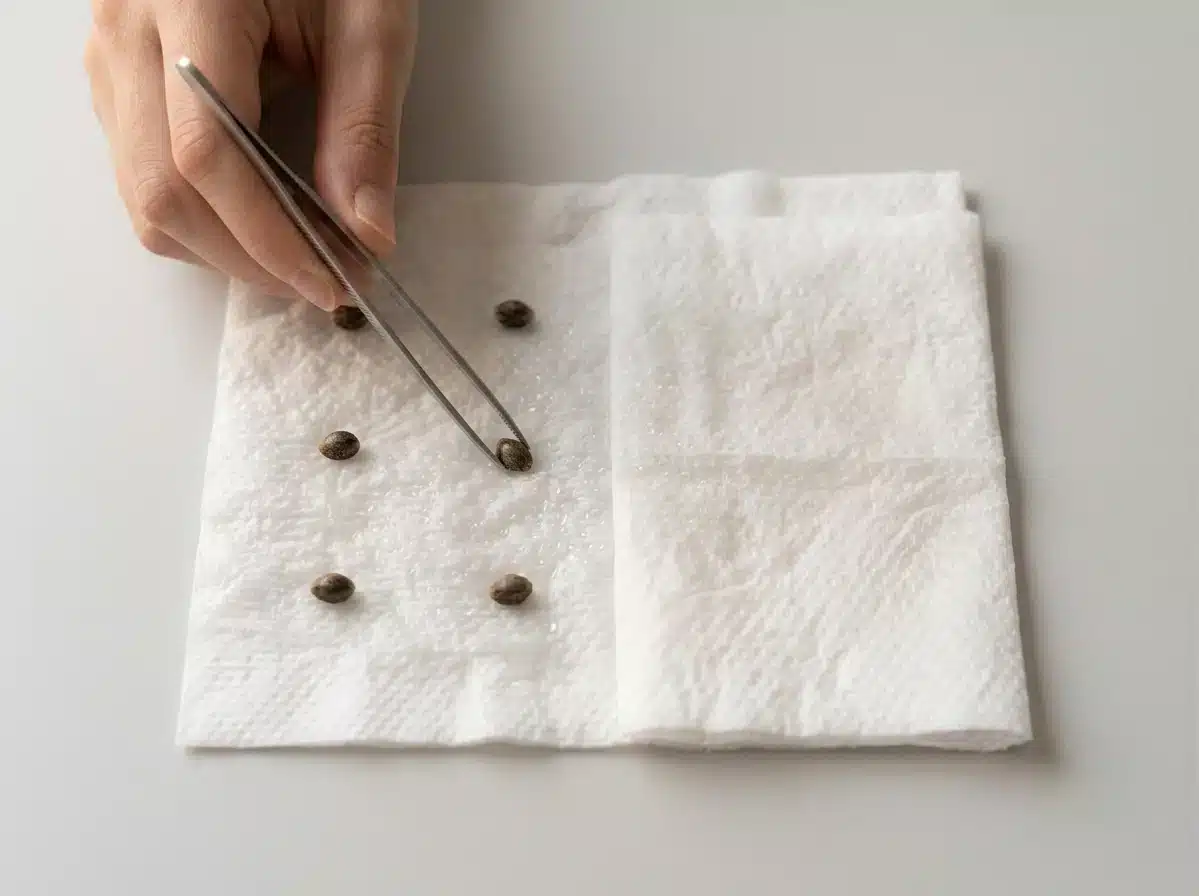
Place the seeds inside the folded paper towel.
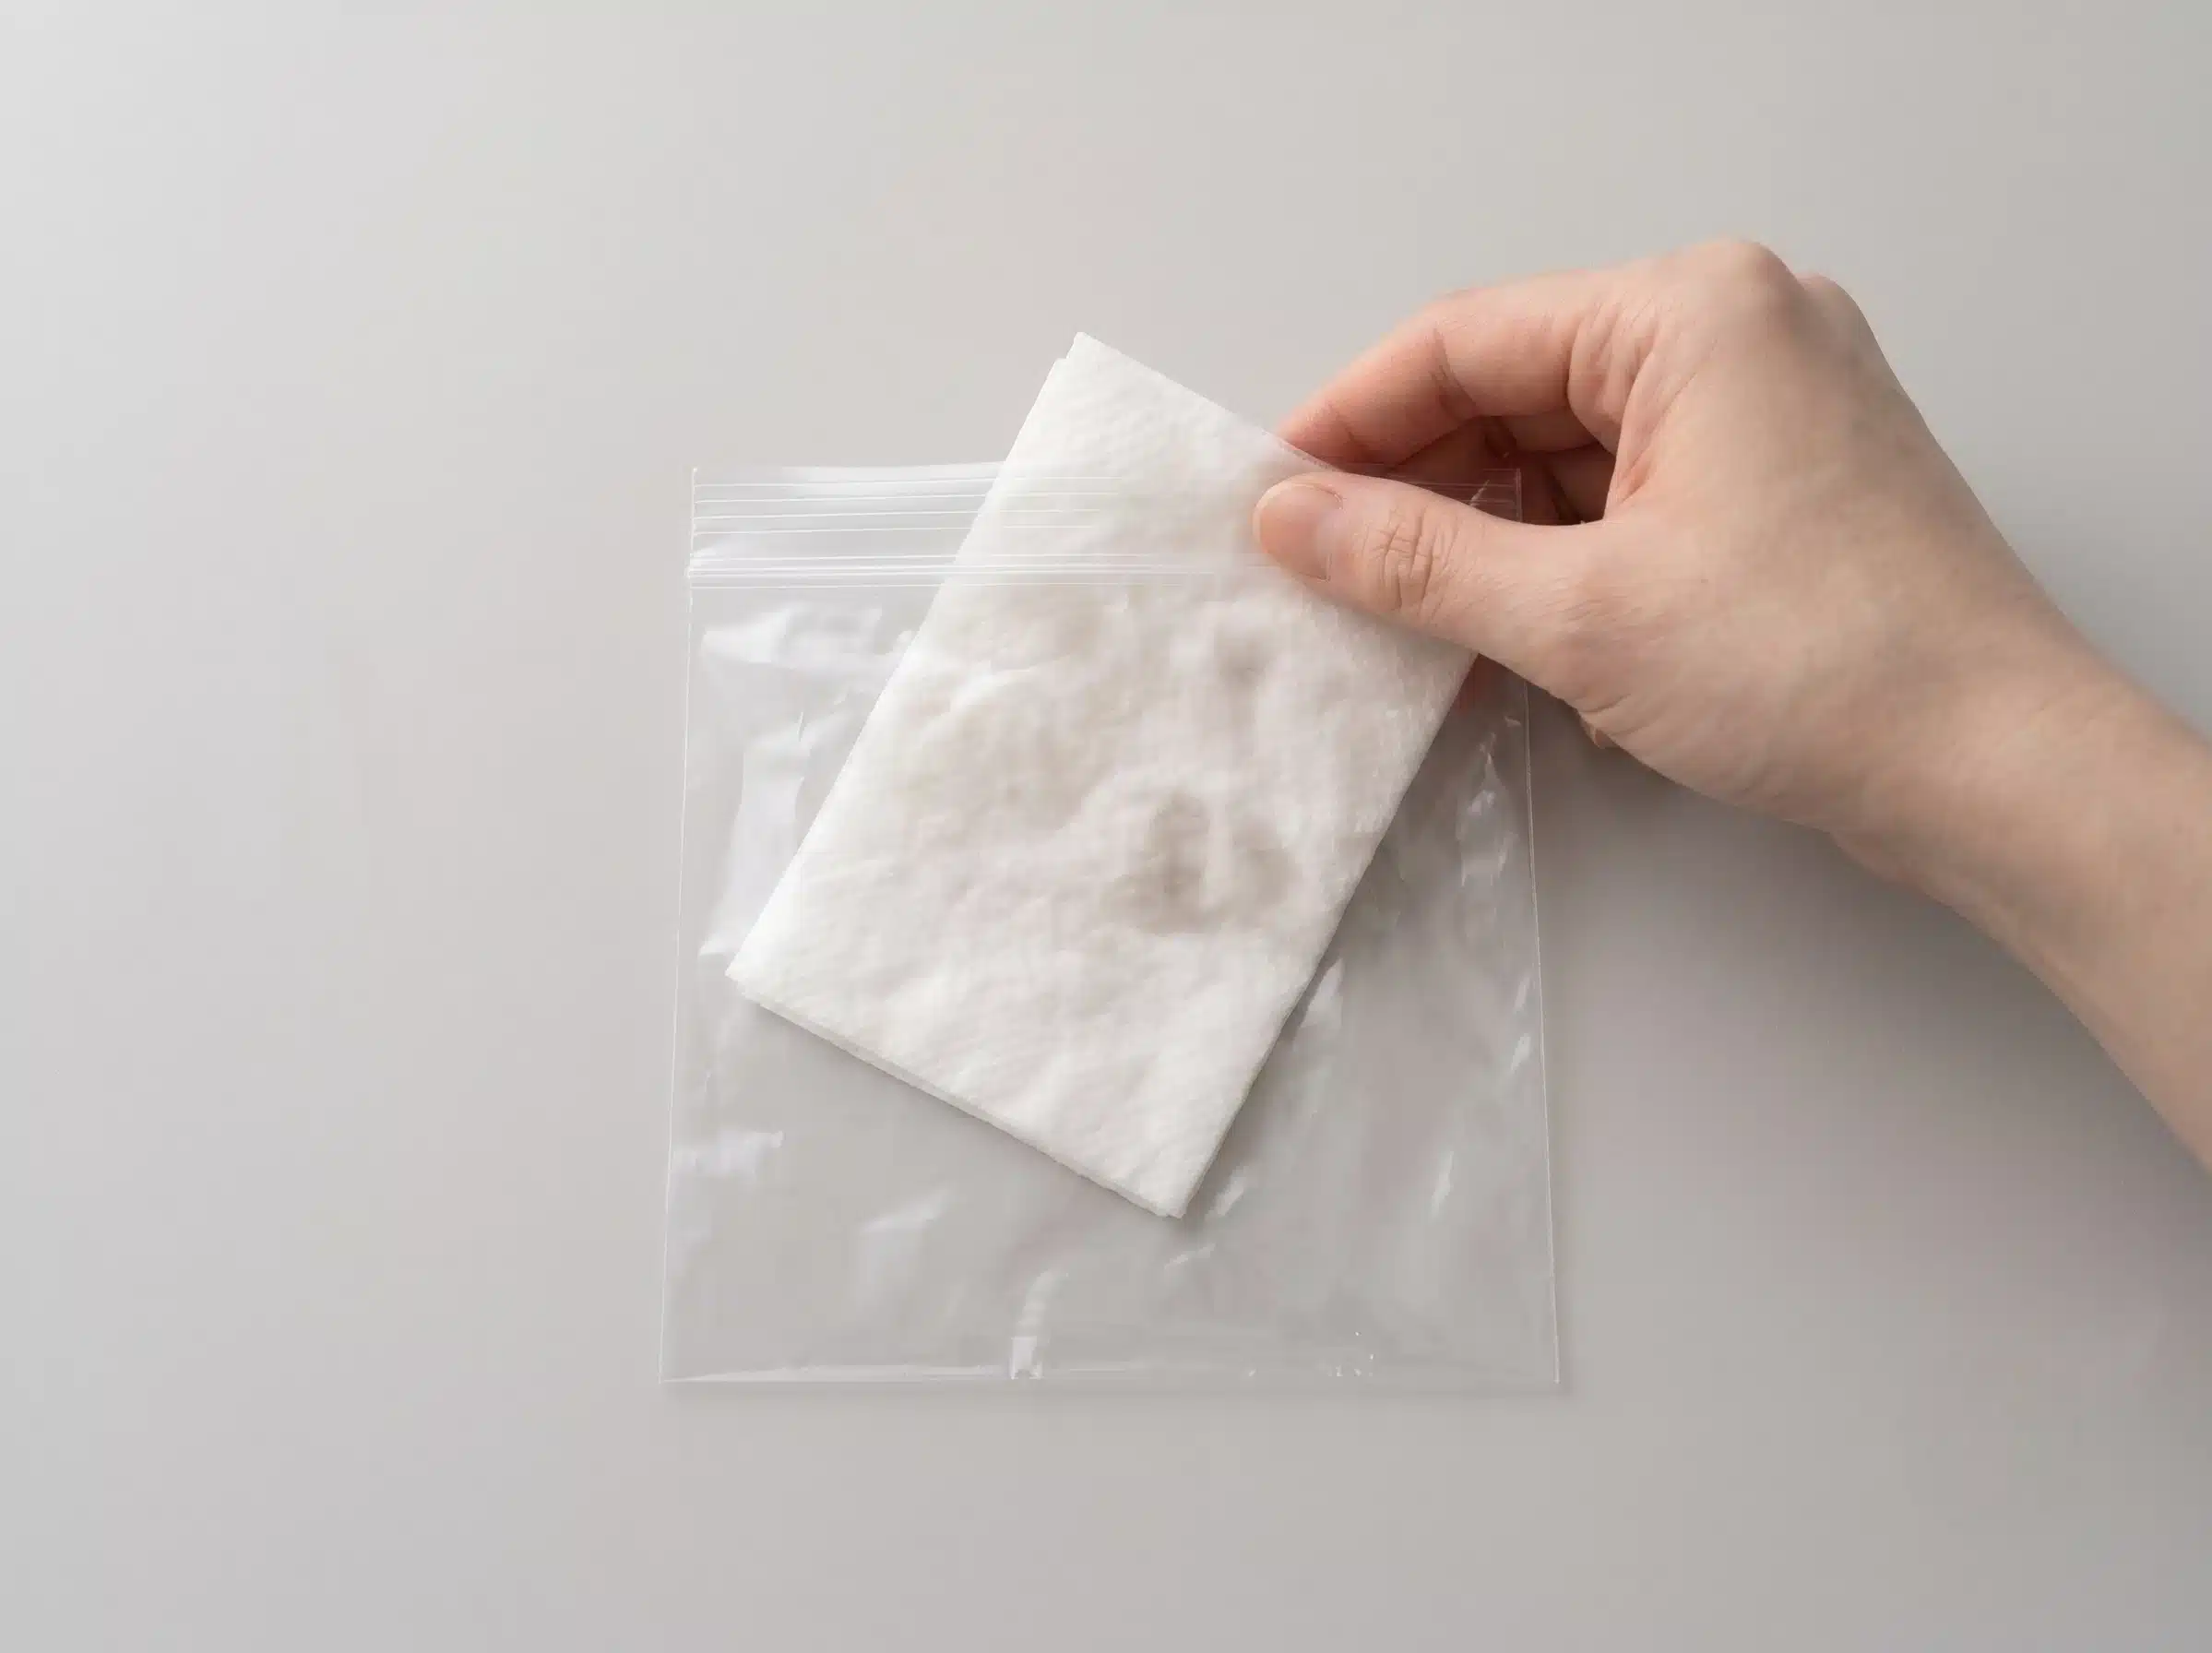
Put the towel inside a clean zip-lock bag.
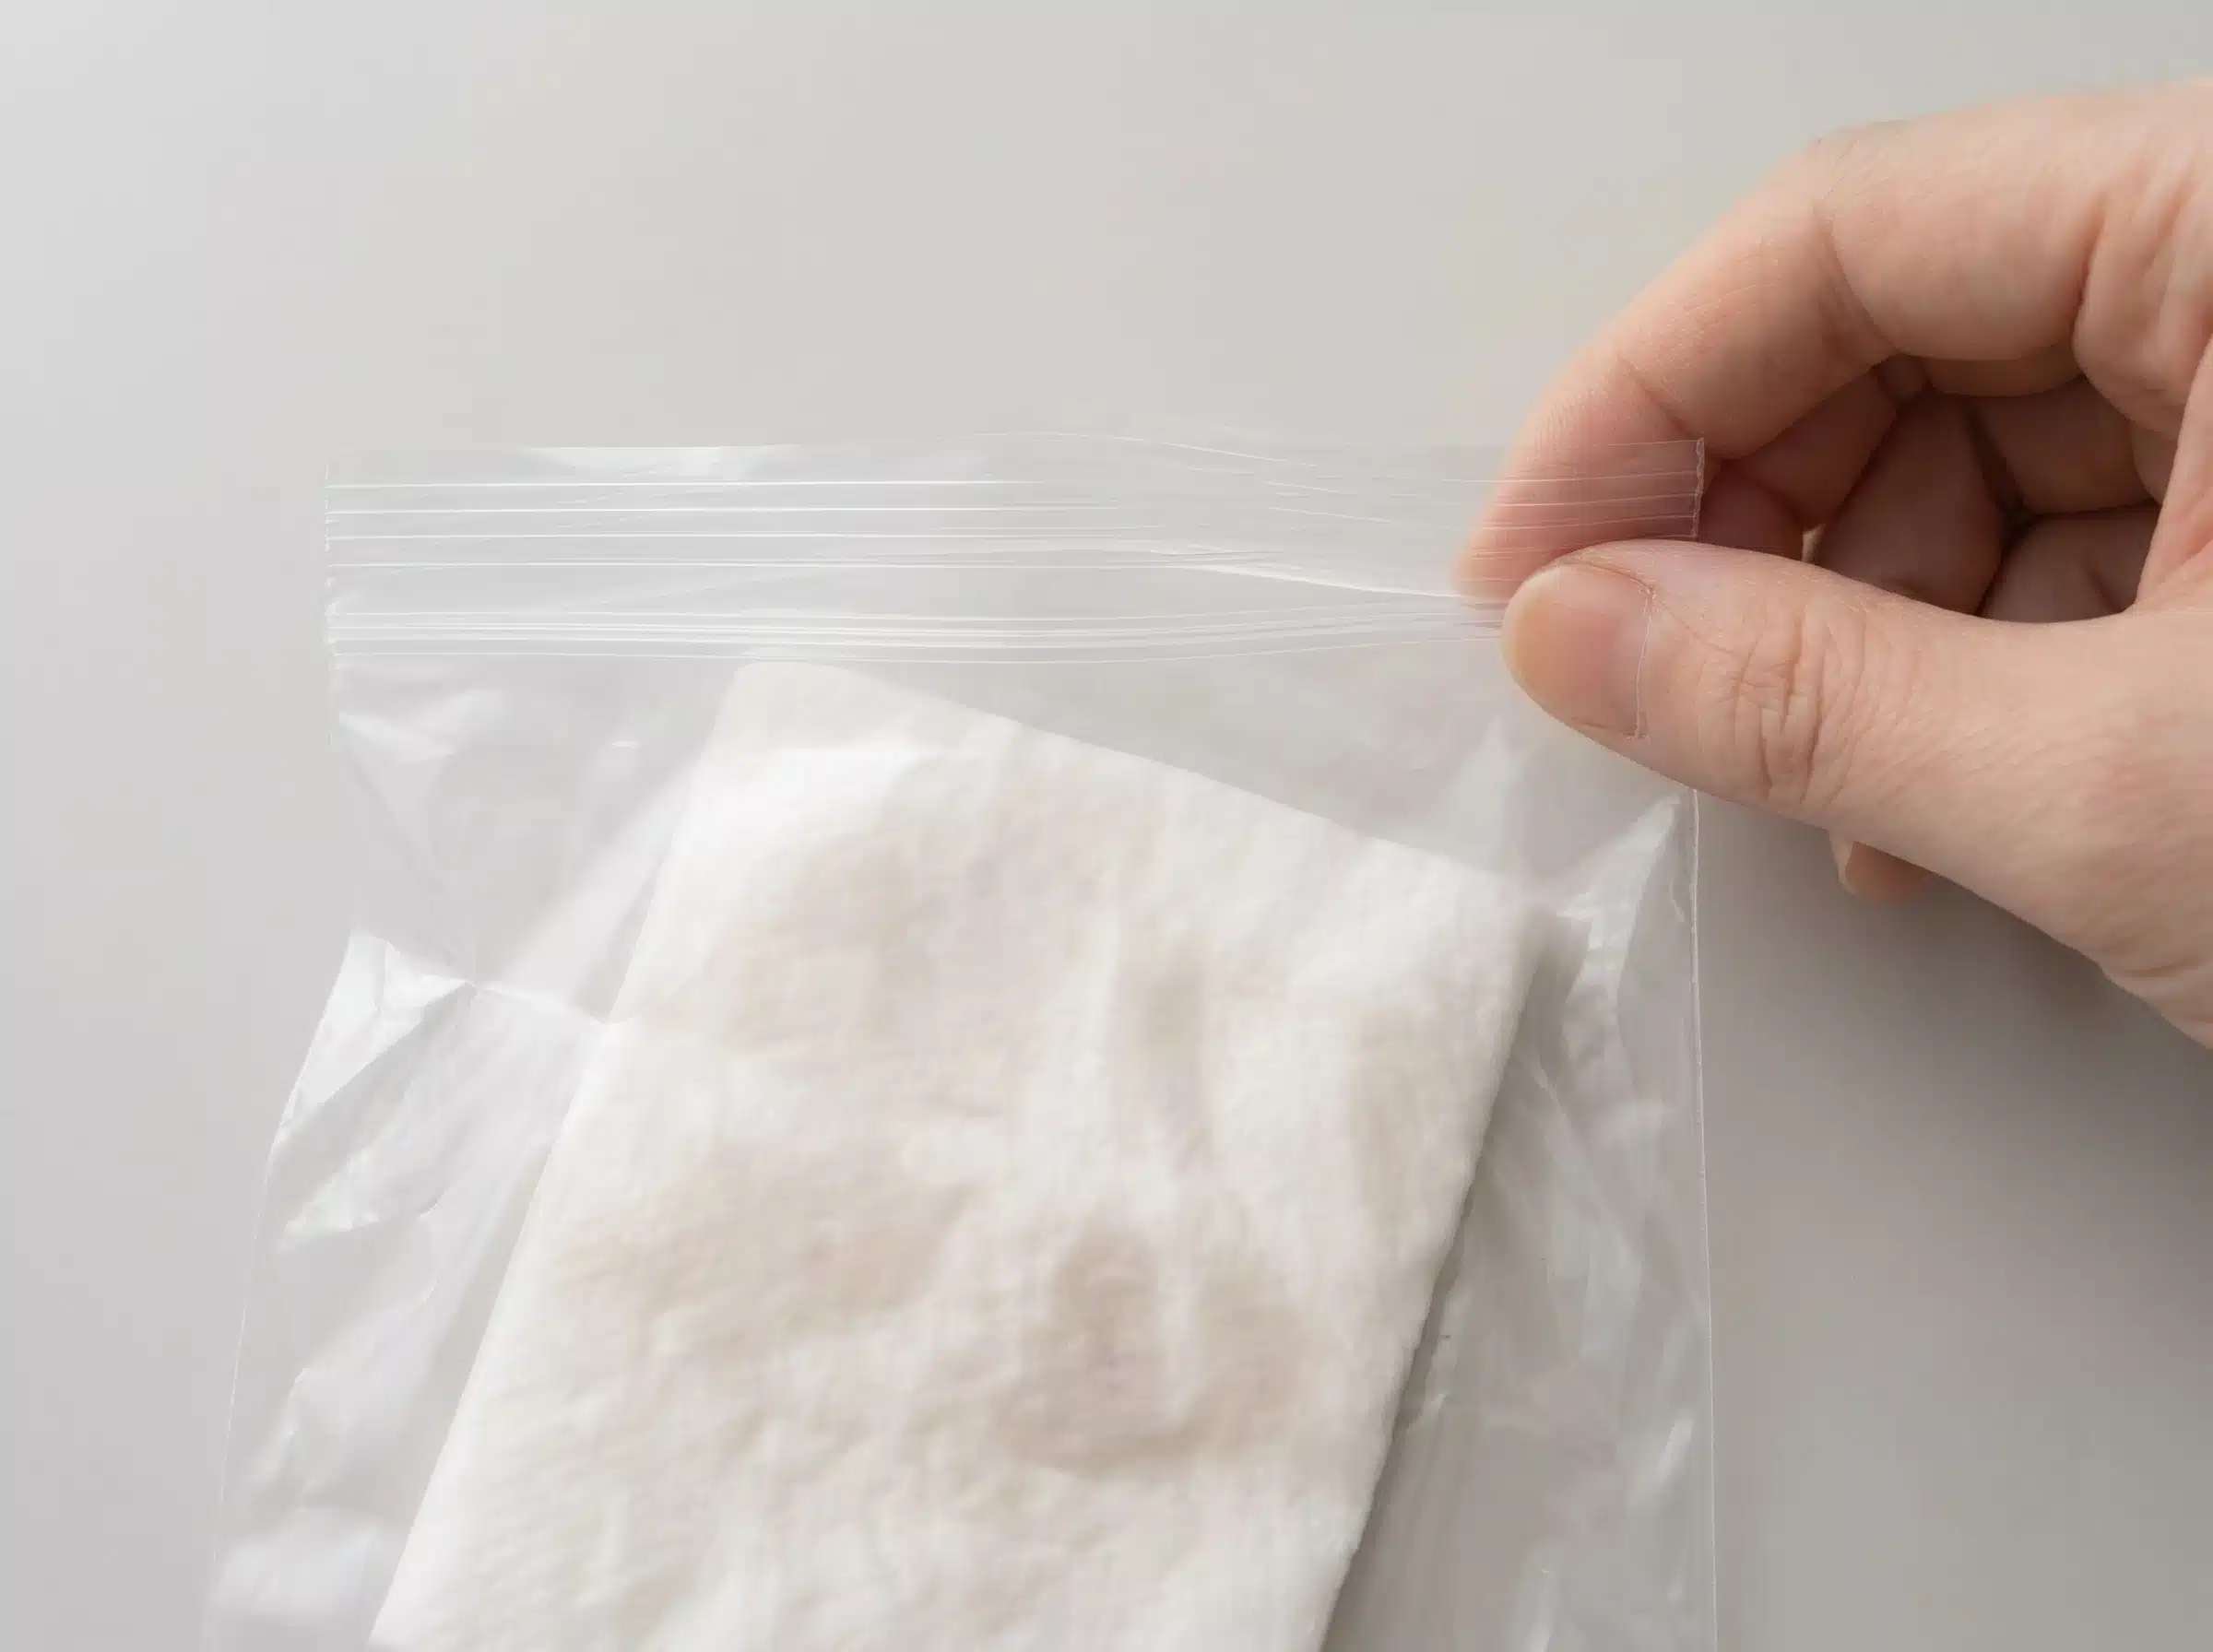
Leave a small opening so fresh air can circulate.
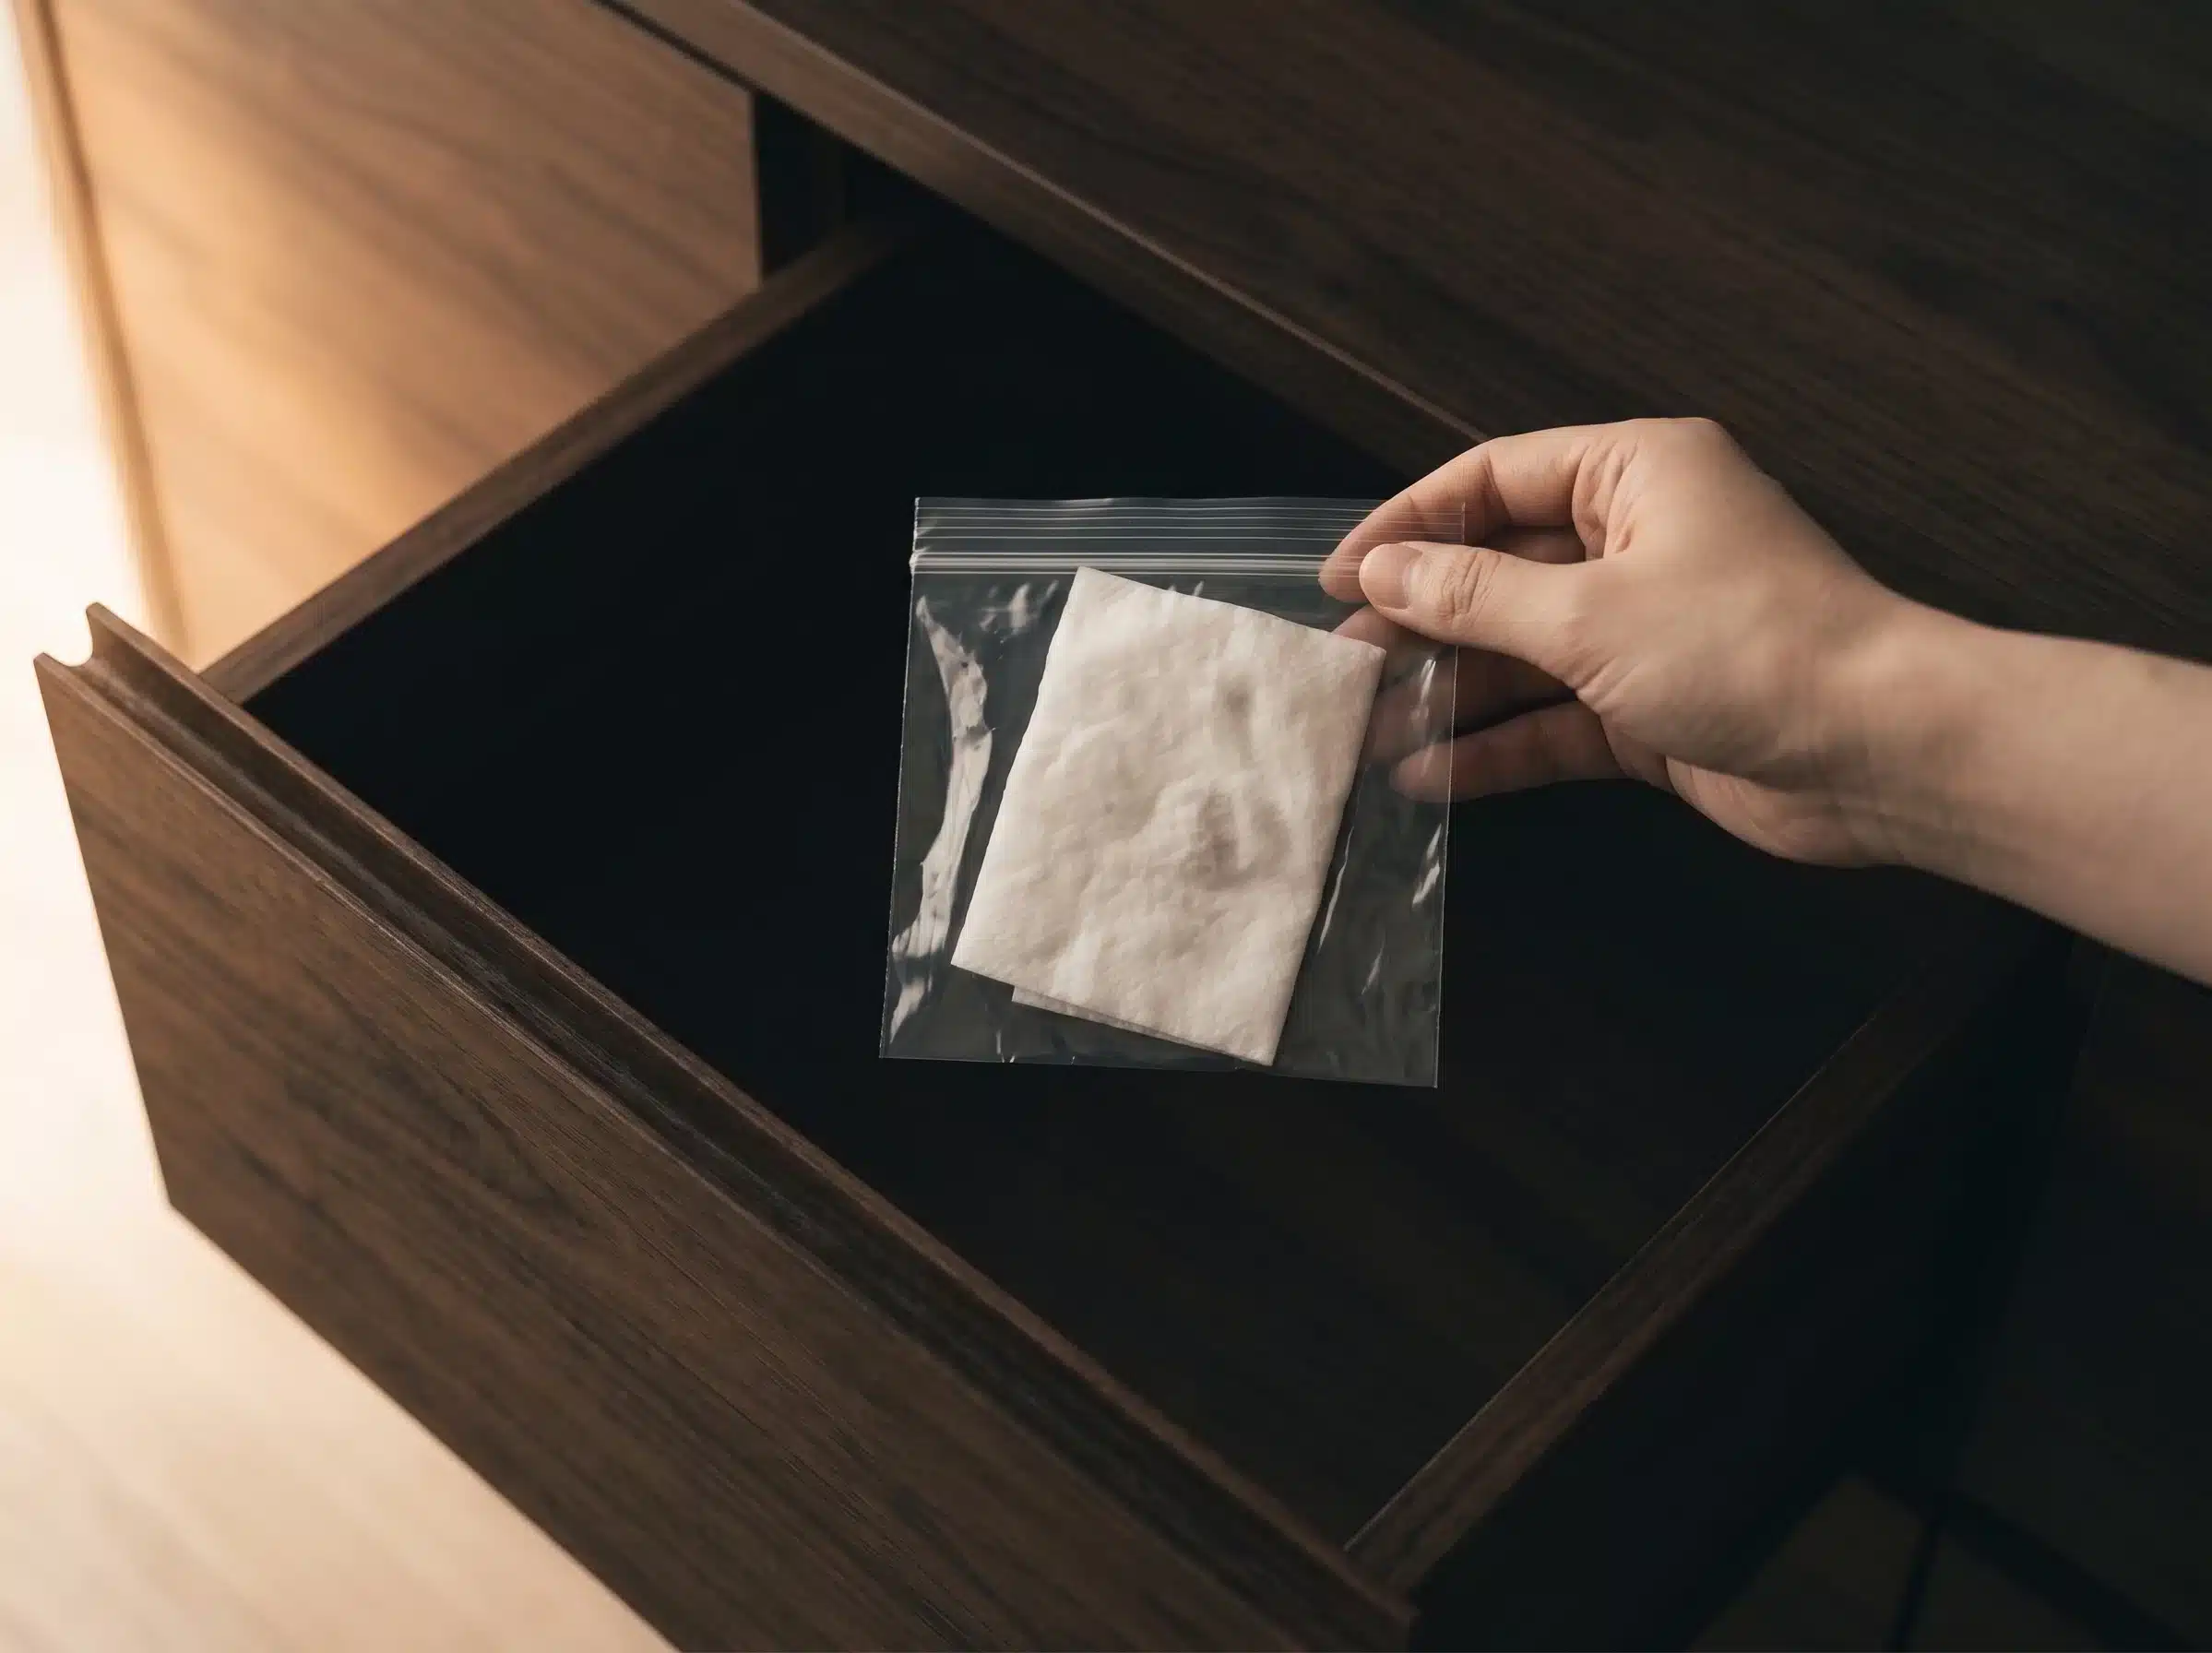
Place the bag inside an opaque container or keep it in a completely dark cupboard or drawer.
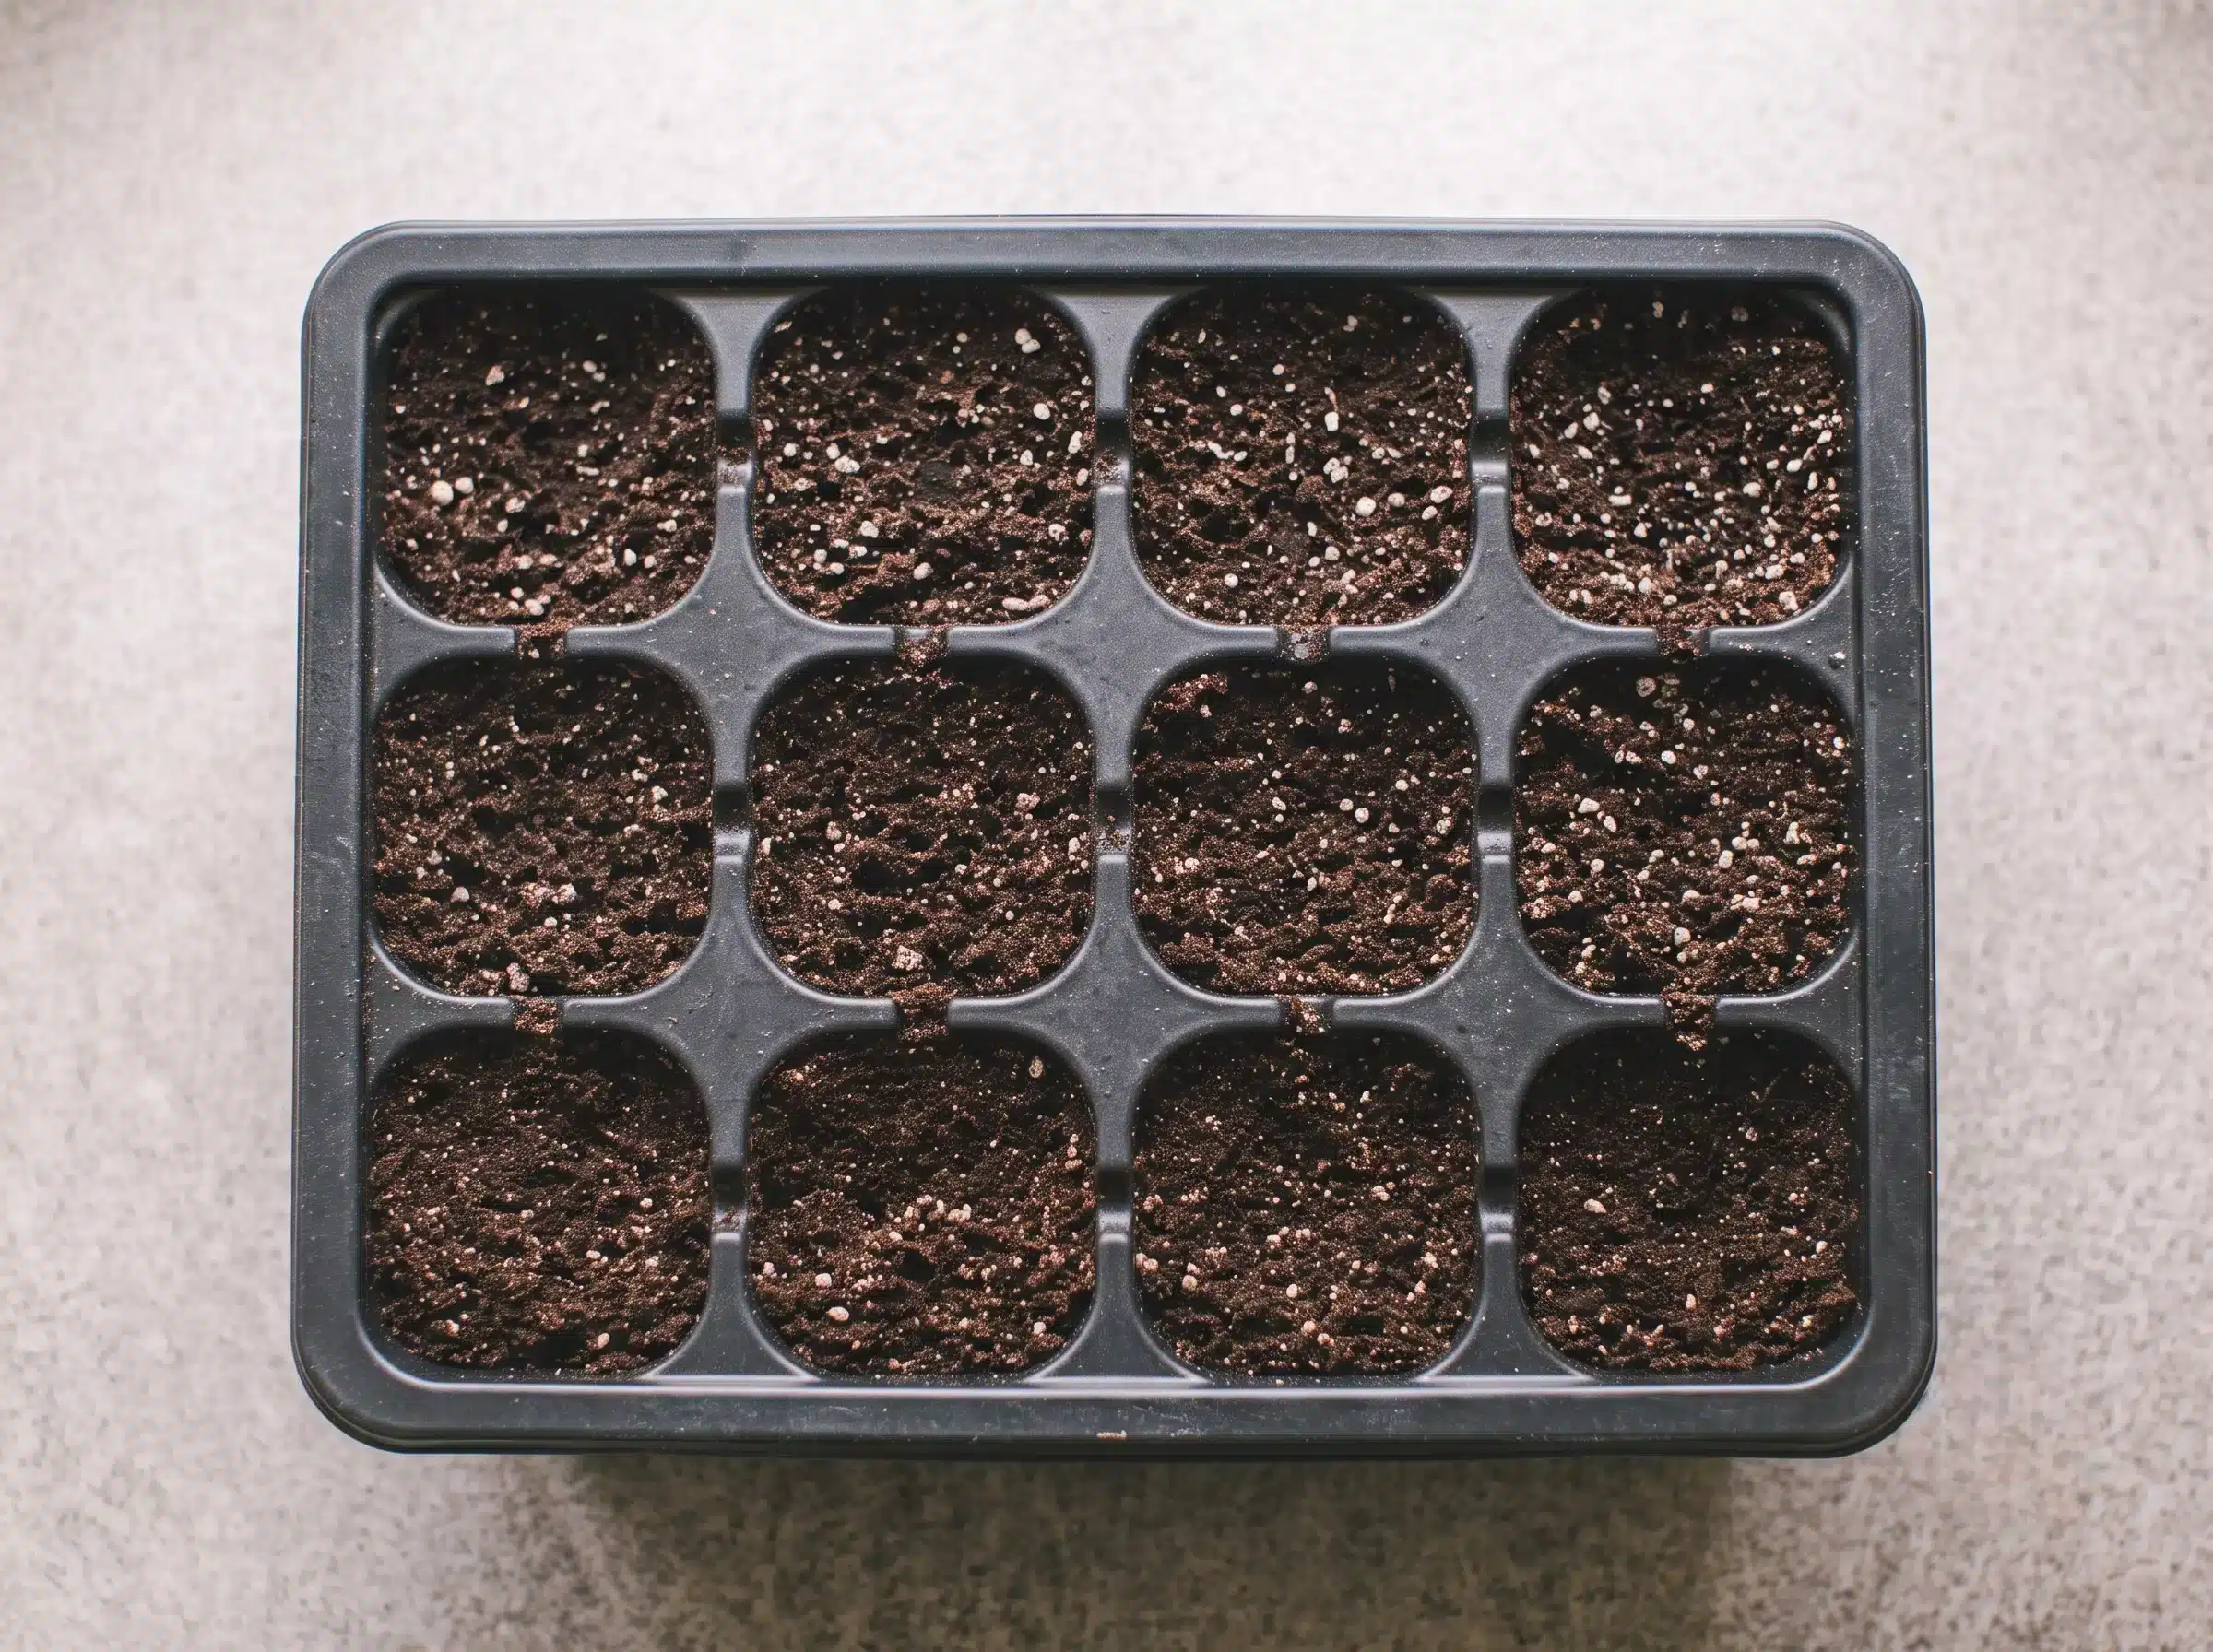
Choose a light, clean, well-draining growing medium.
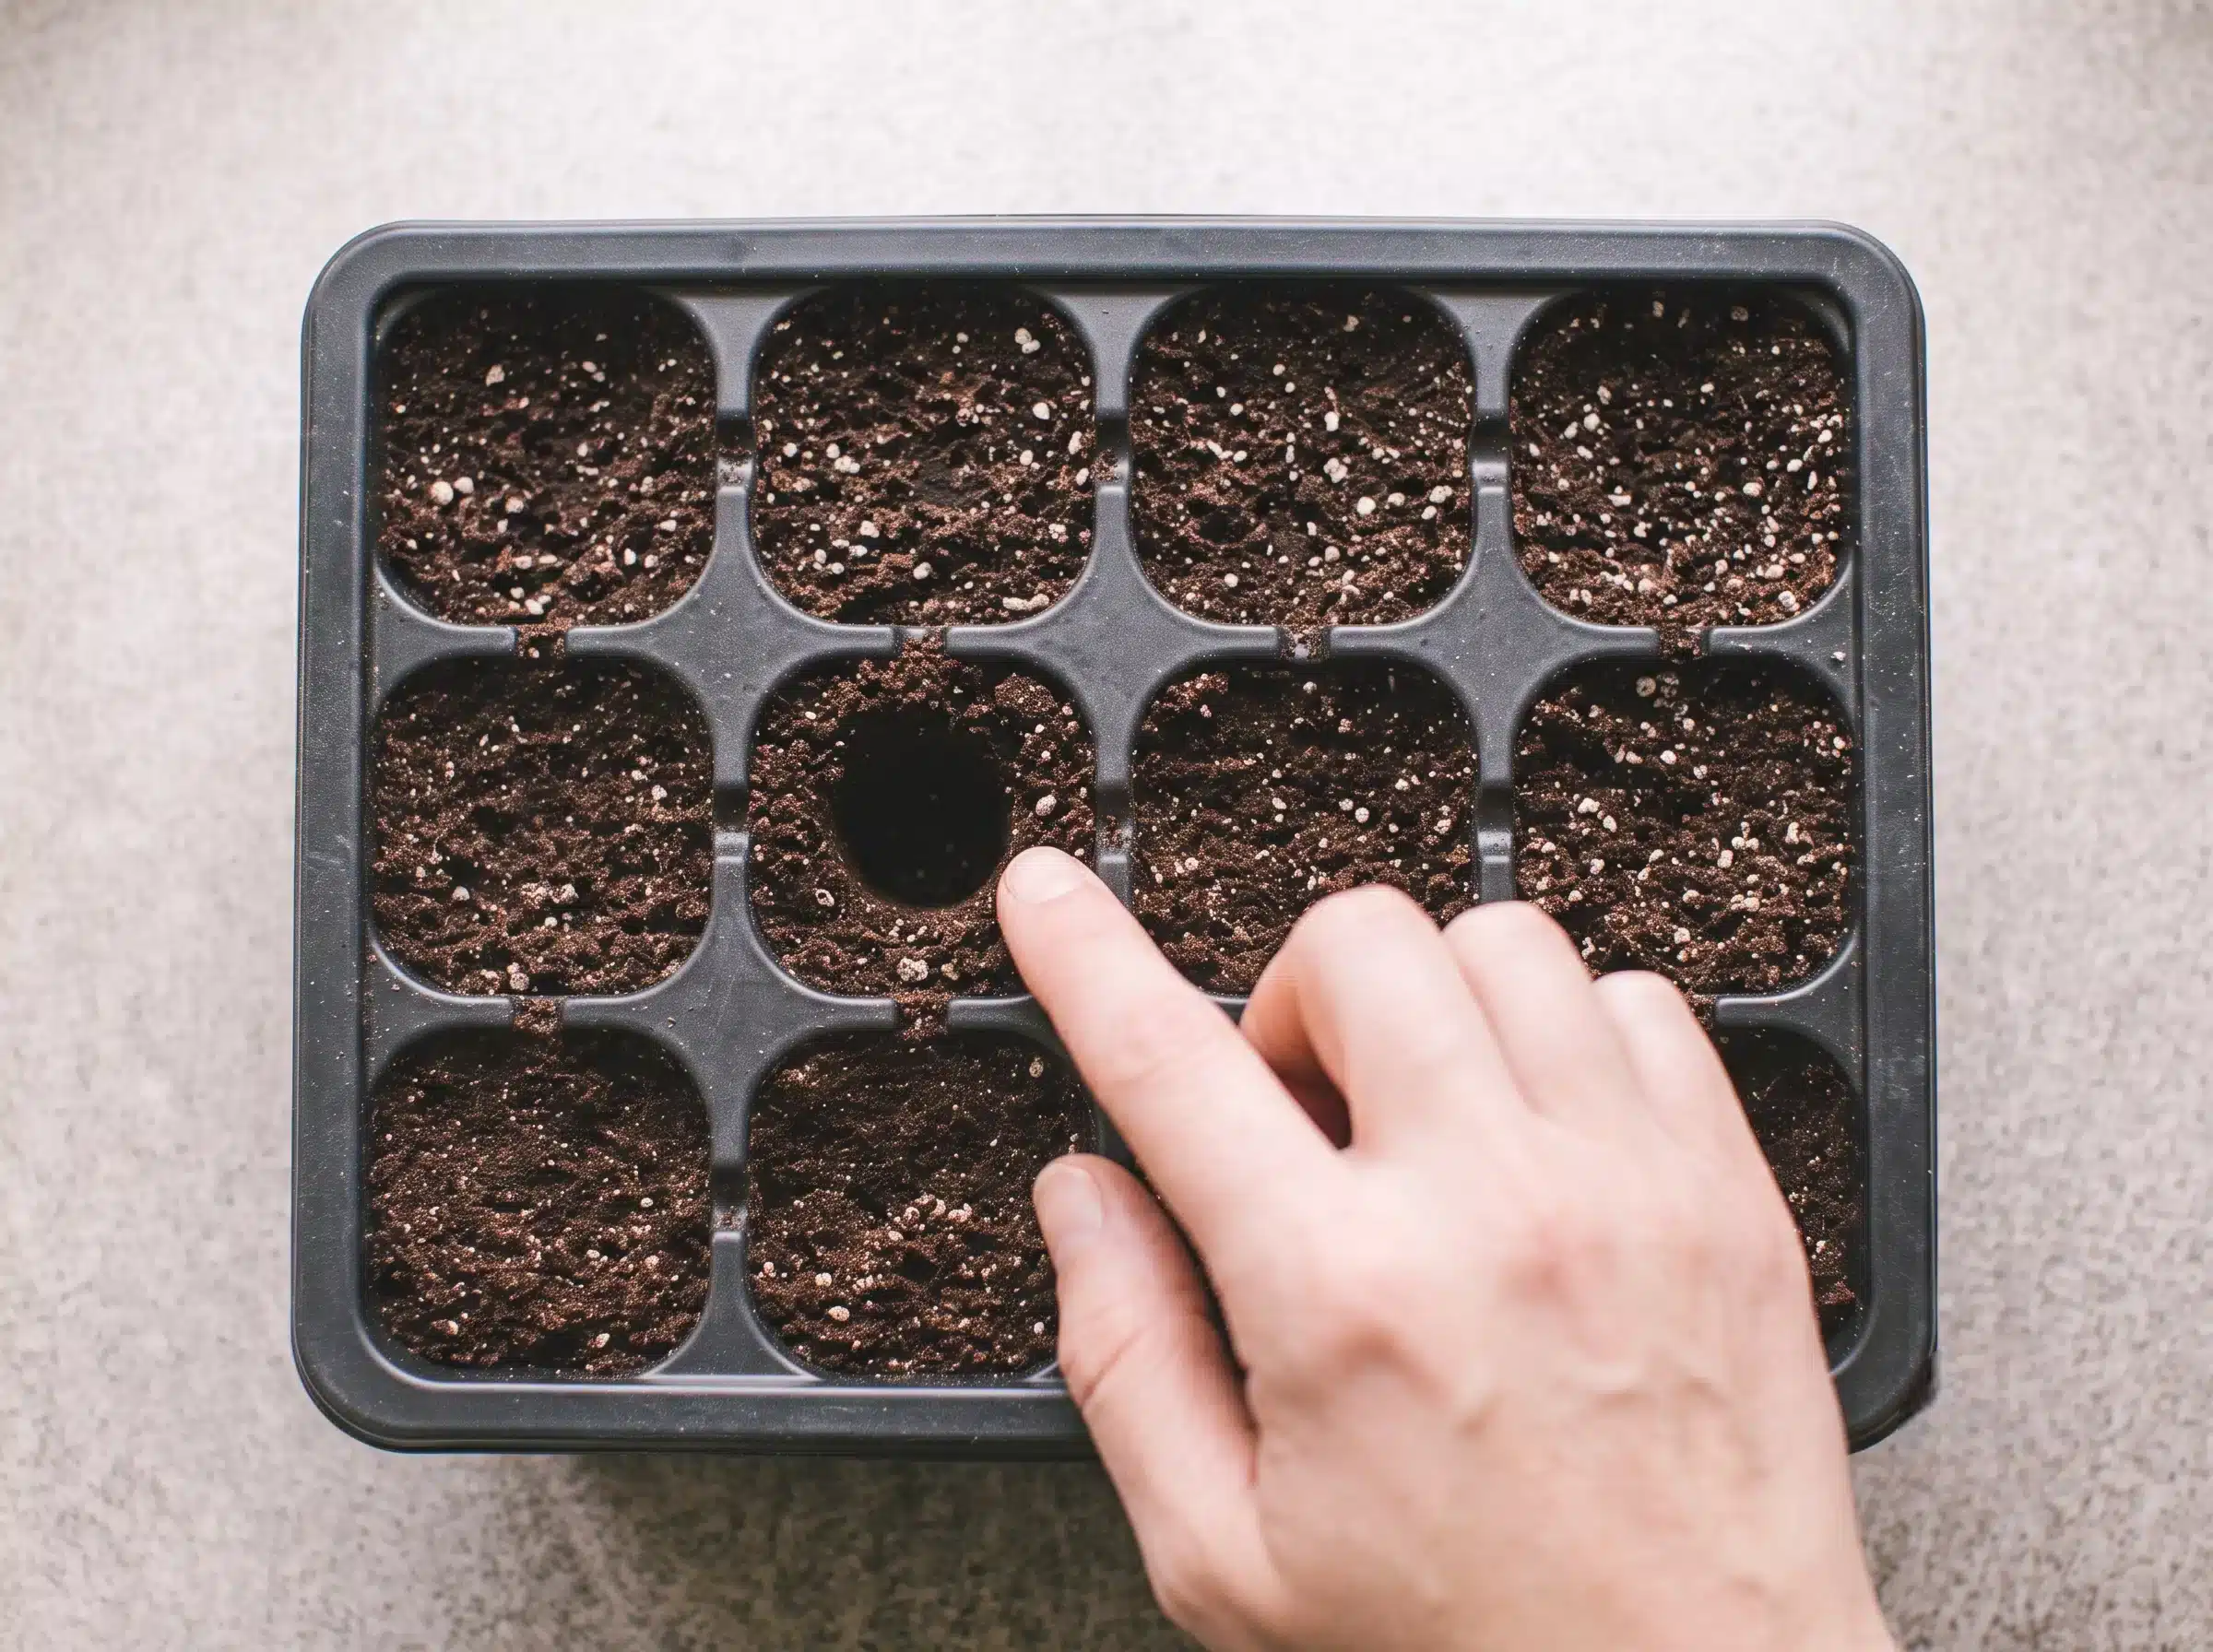
Make a hole about 1-2 cm / 0.4-0.7 inches deep.
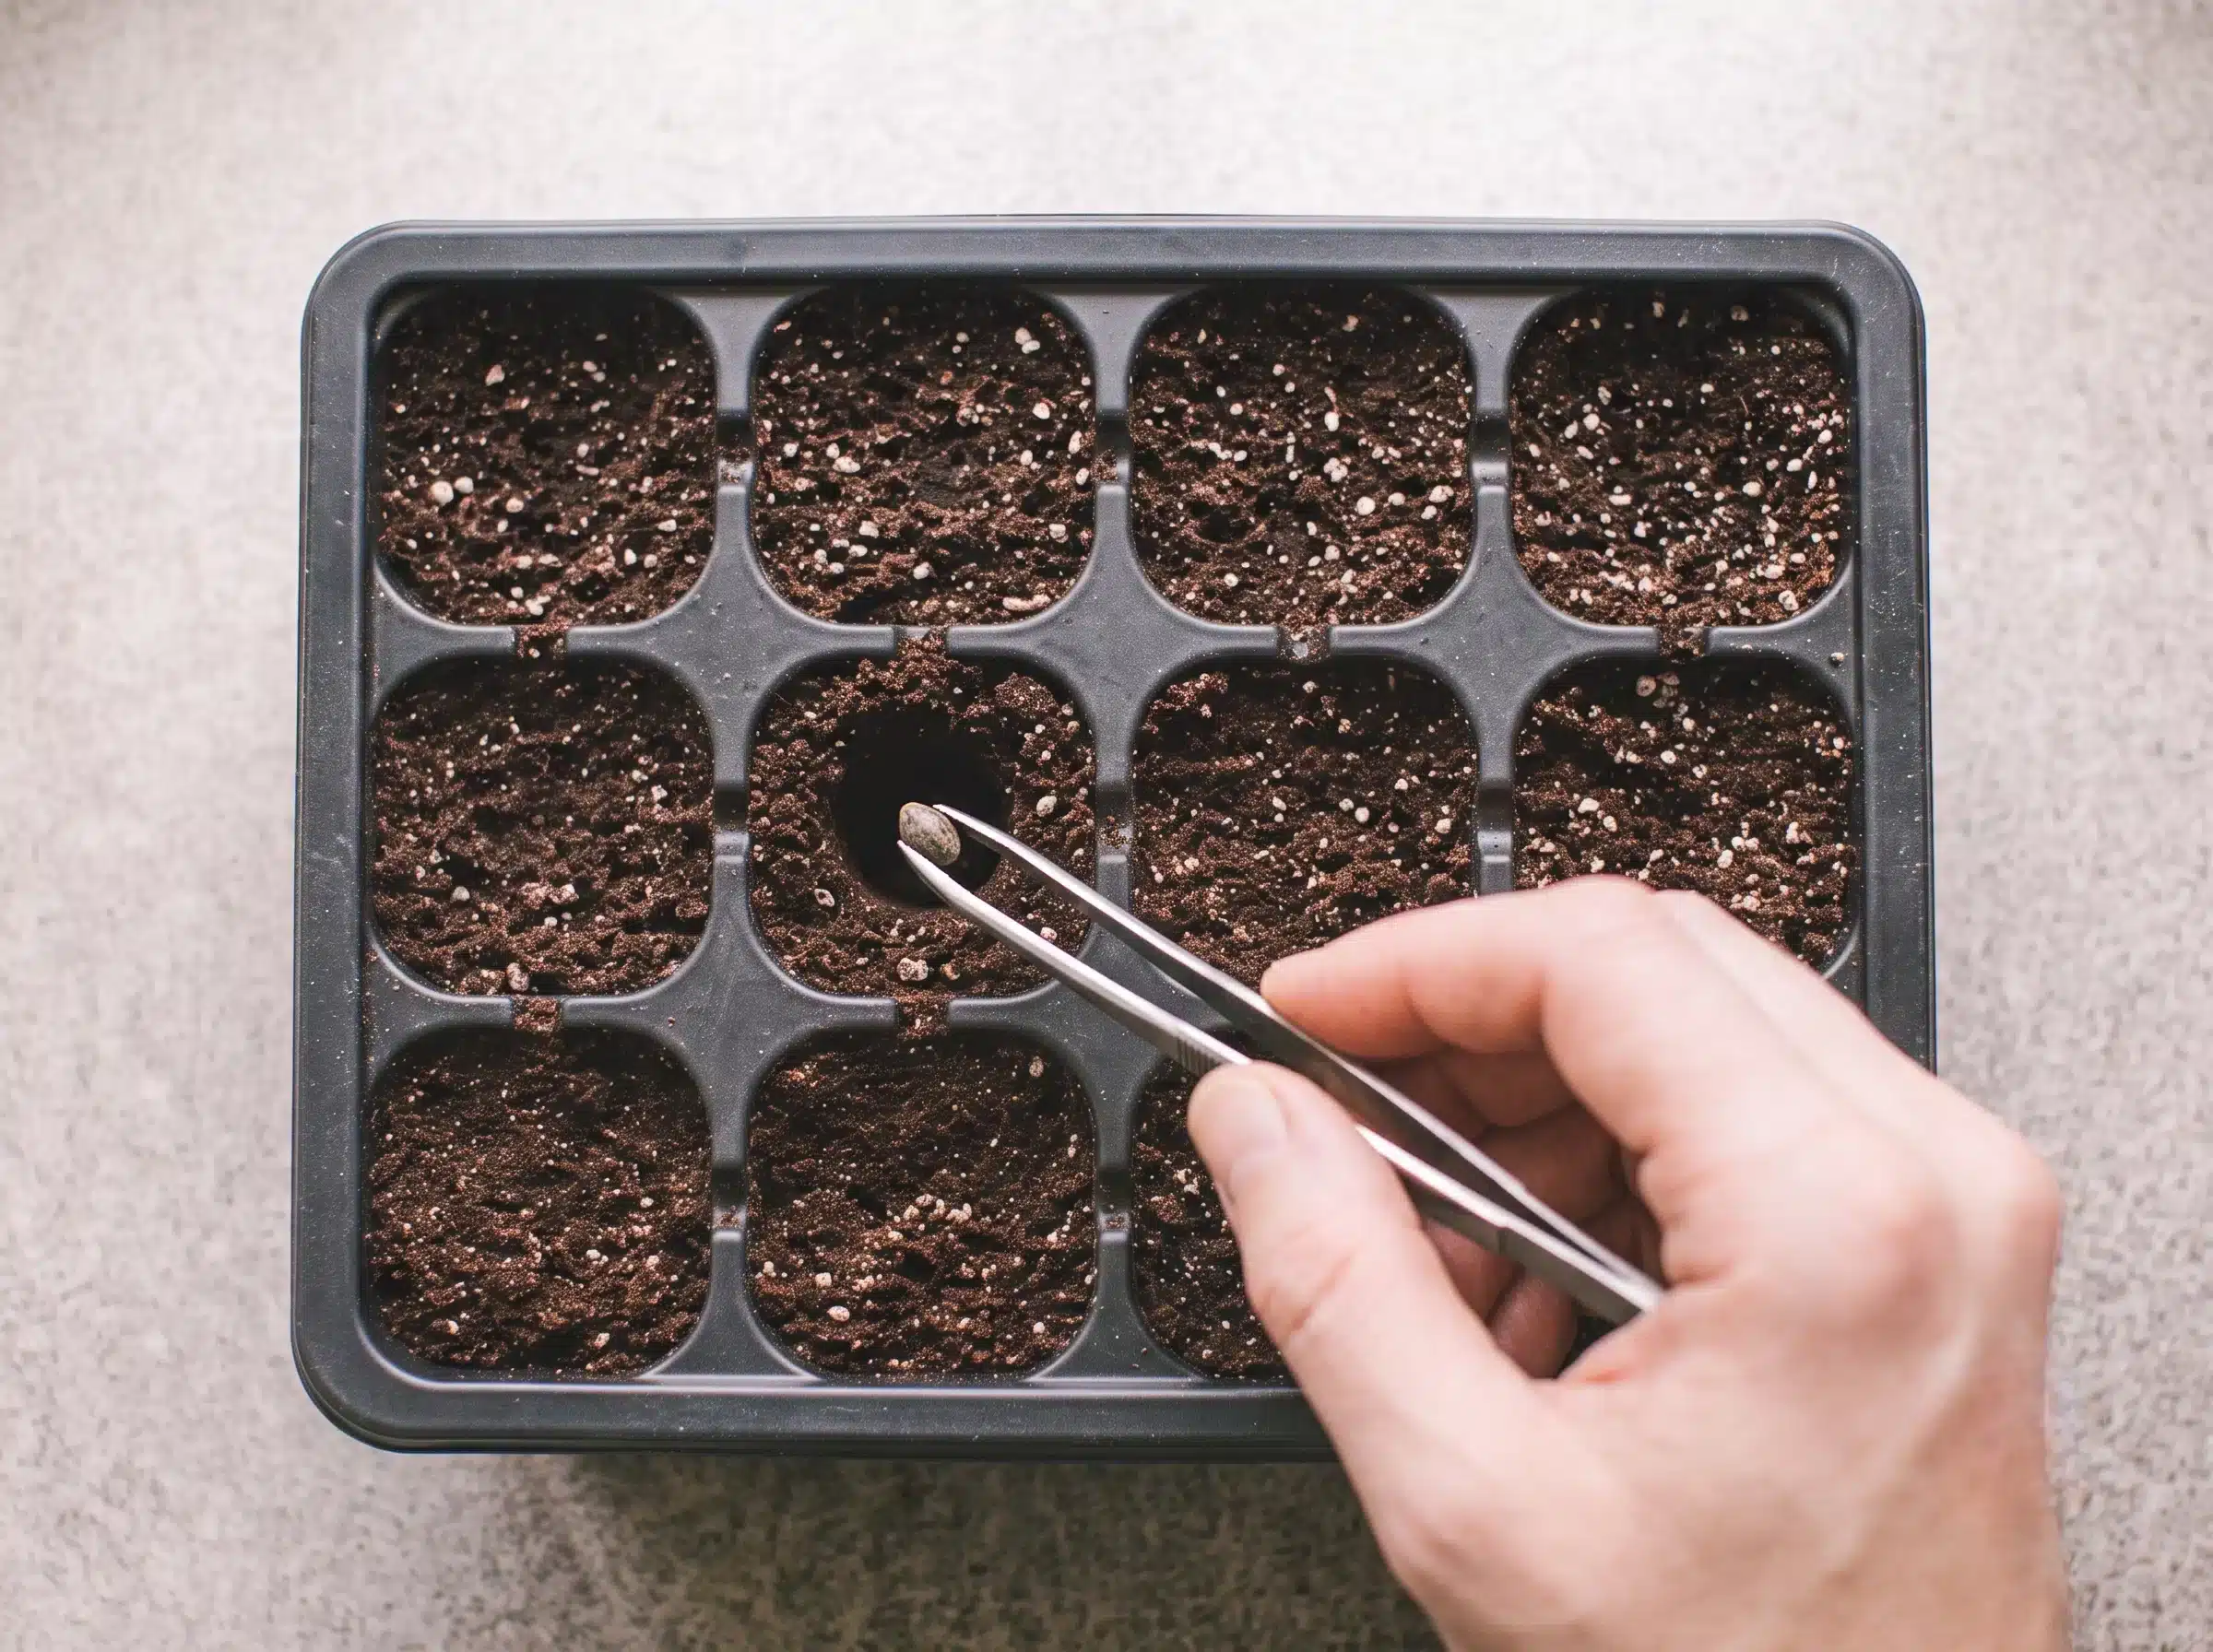
Place one seed in each hole and cover it with a thin layer of growing medium.
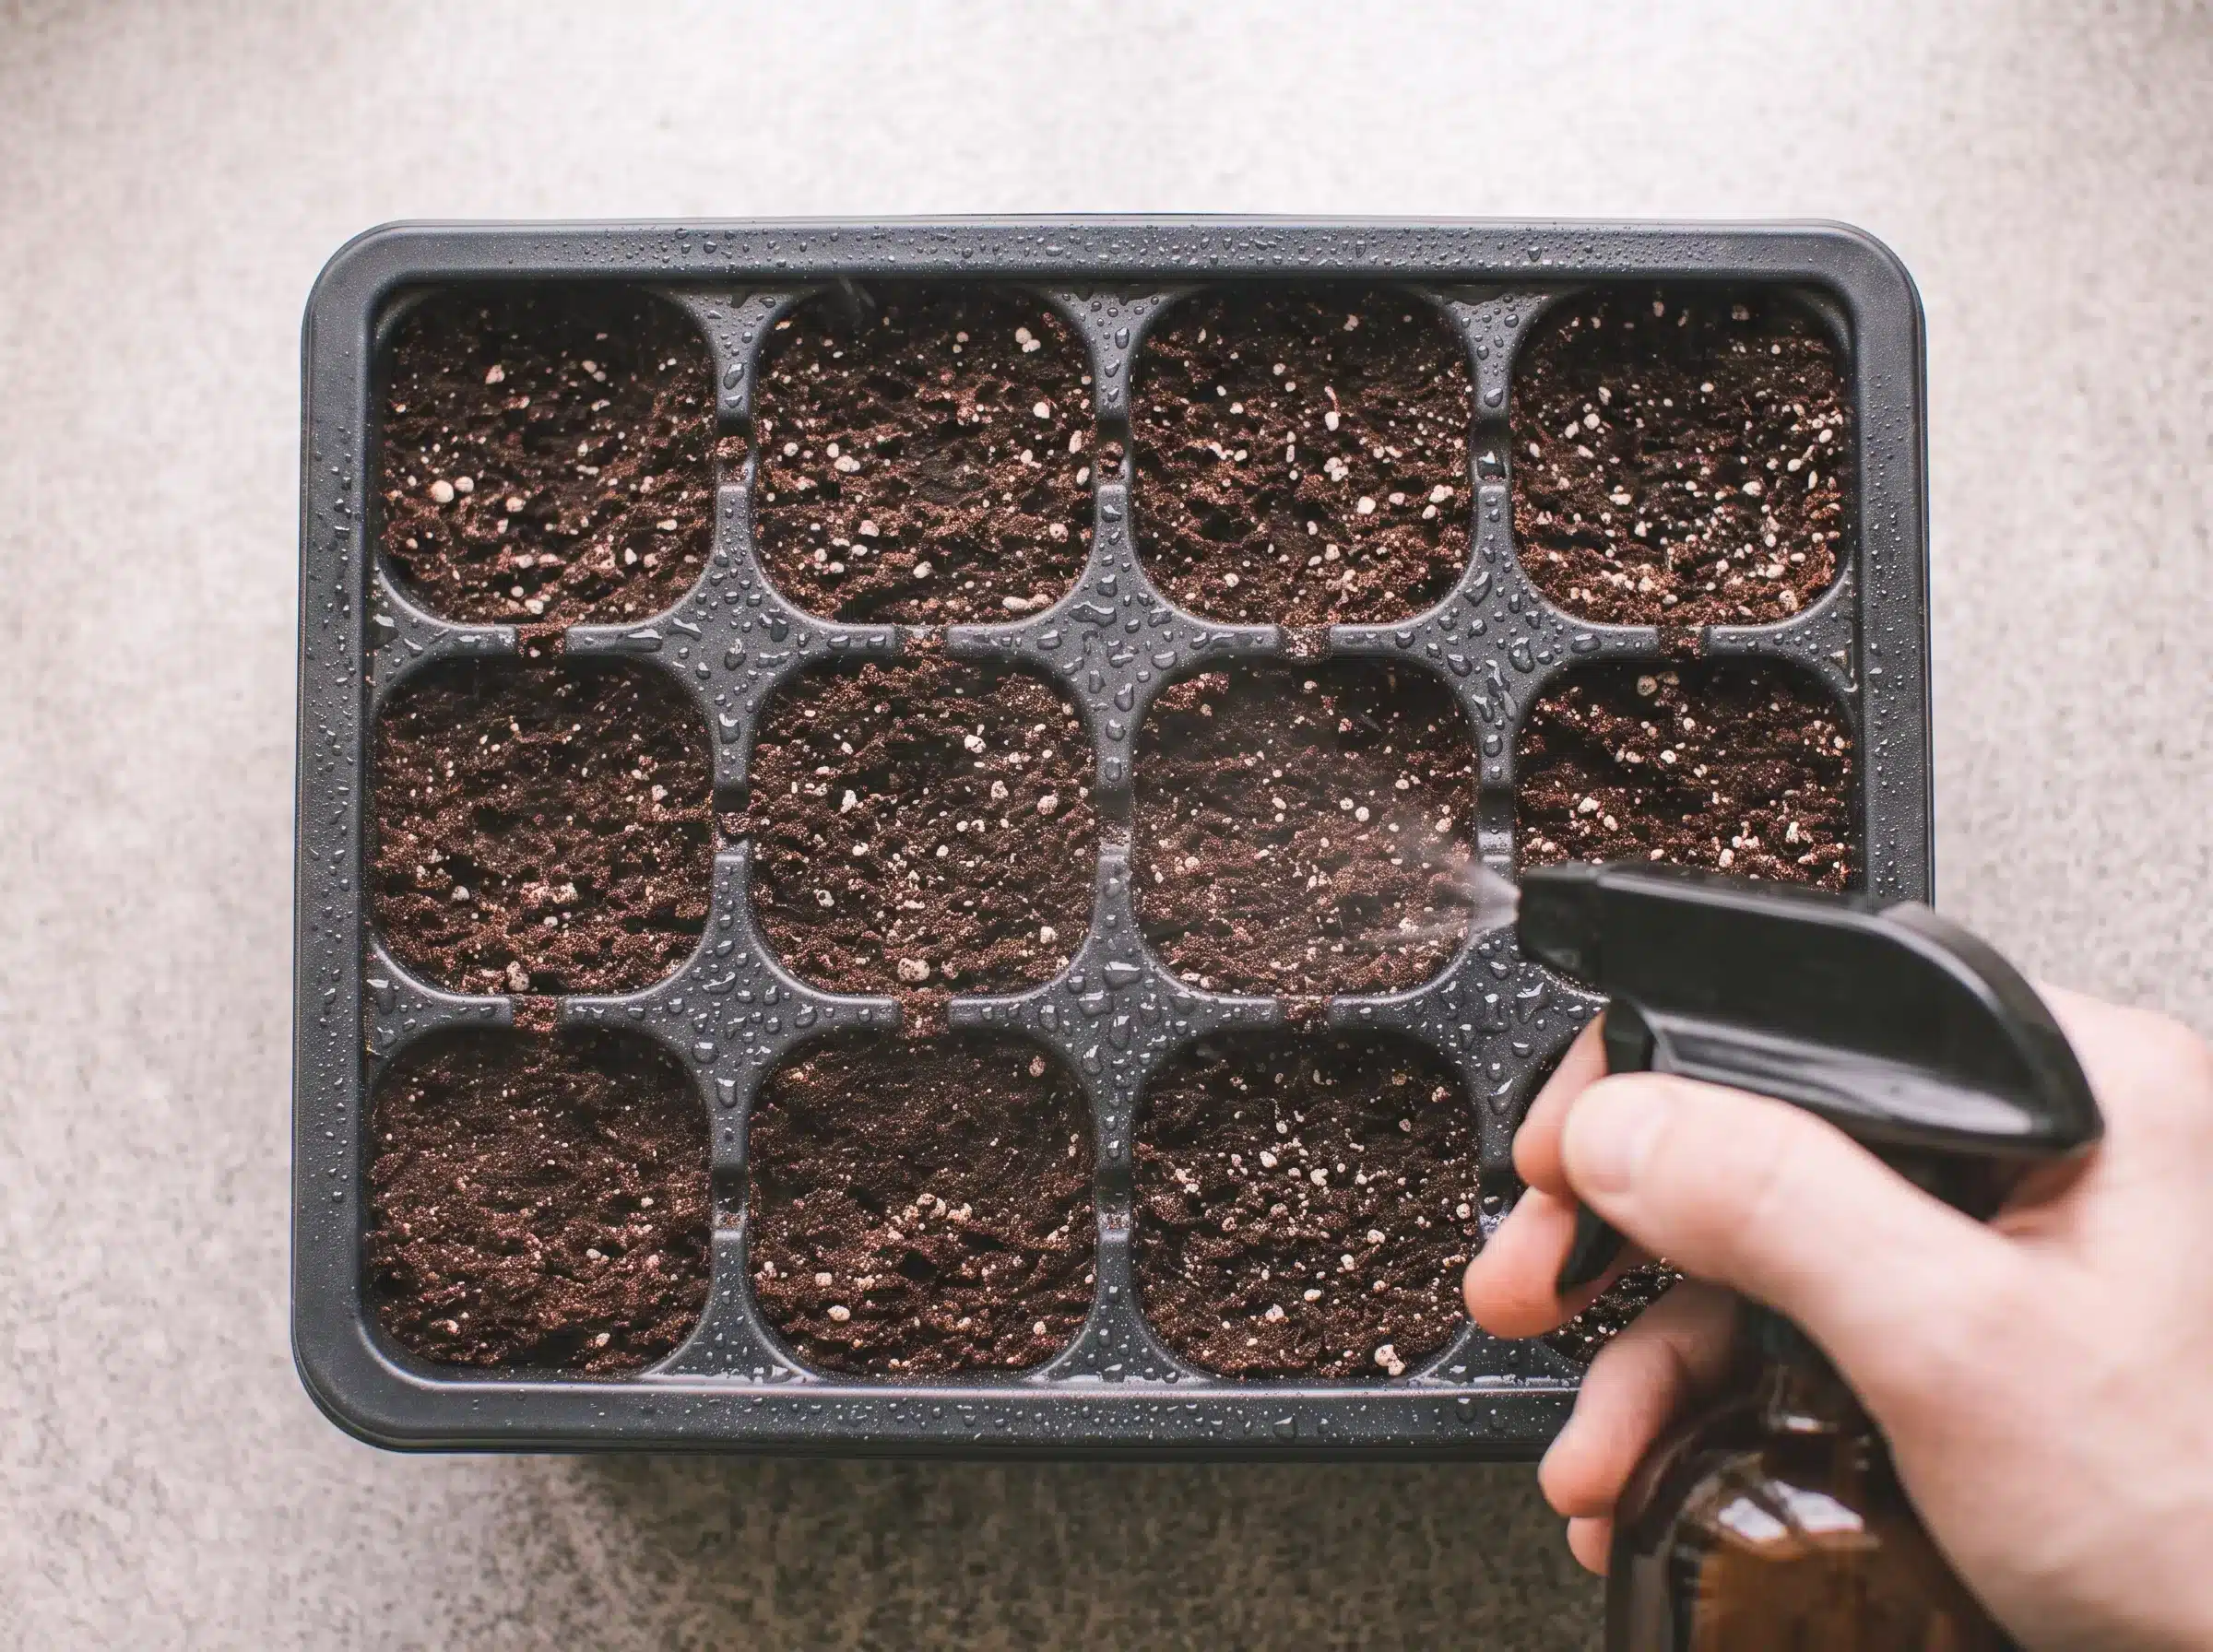
Moisten the medium gently with a spray bottle. Too much water can push the seed deeper into the pot, making it harder for the seedling to reach the surface.
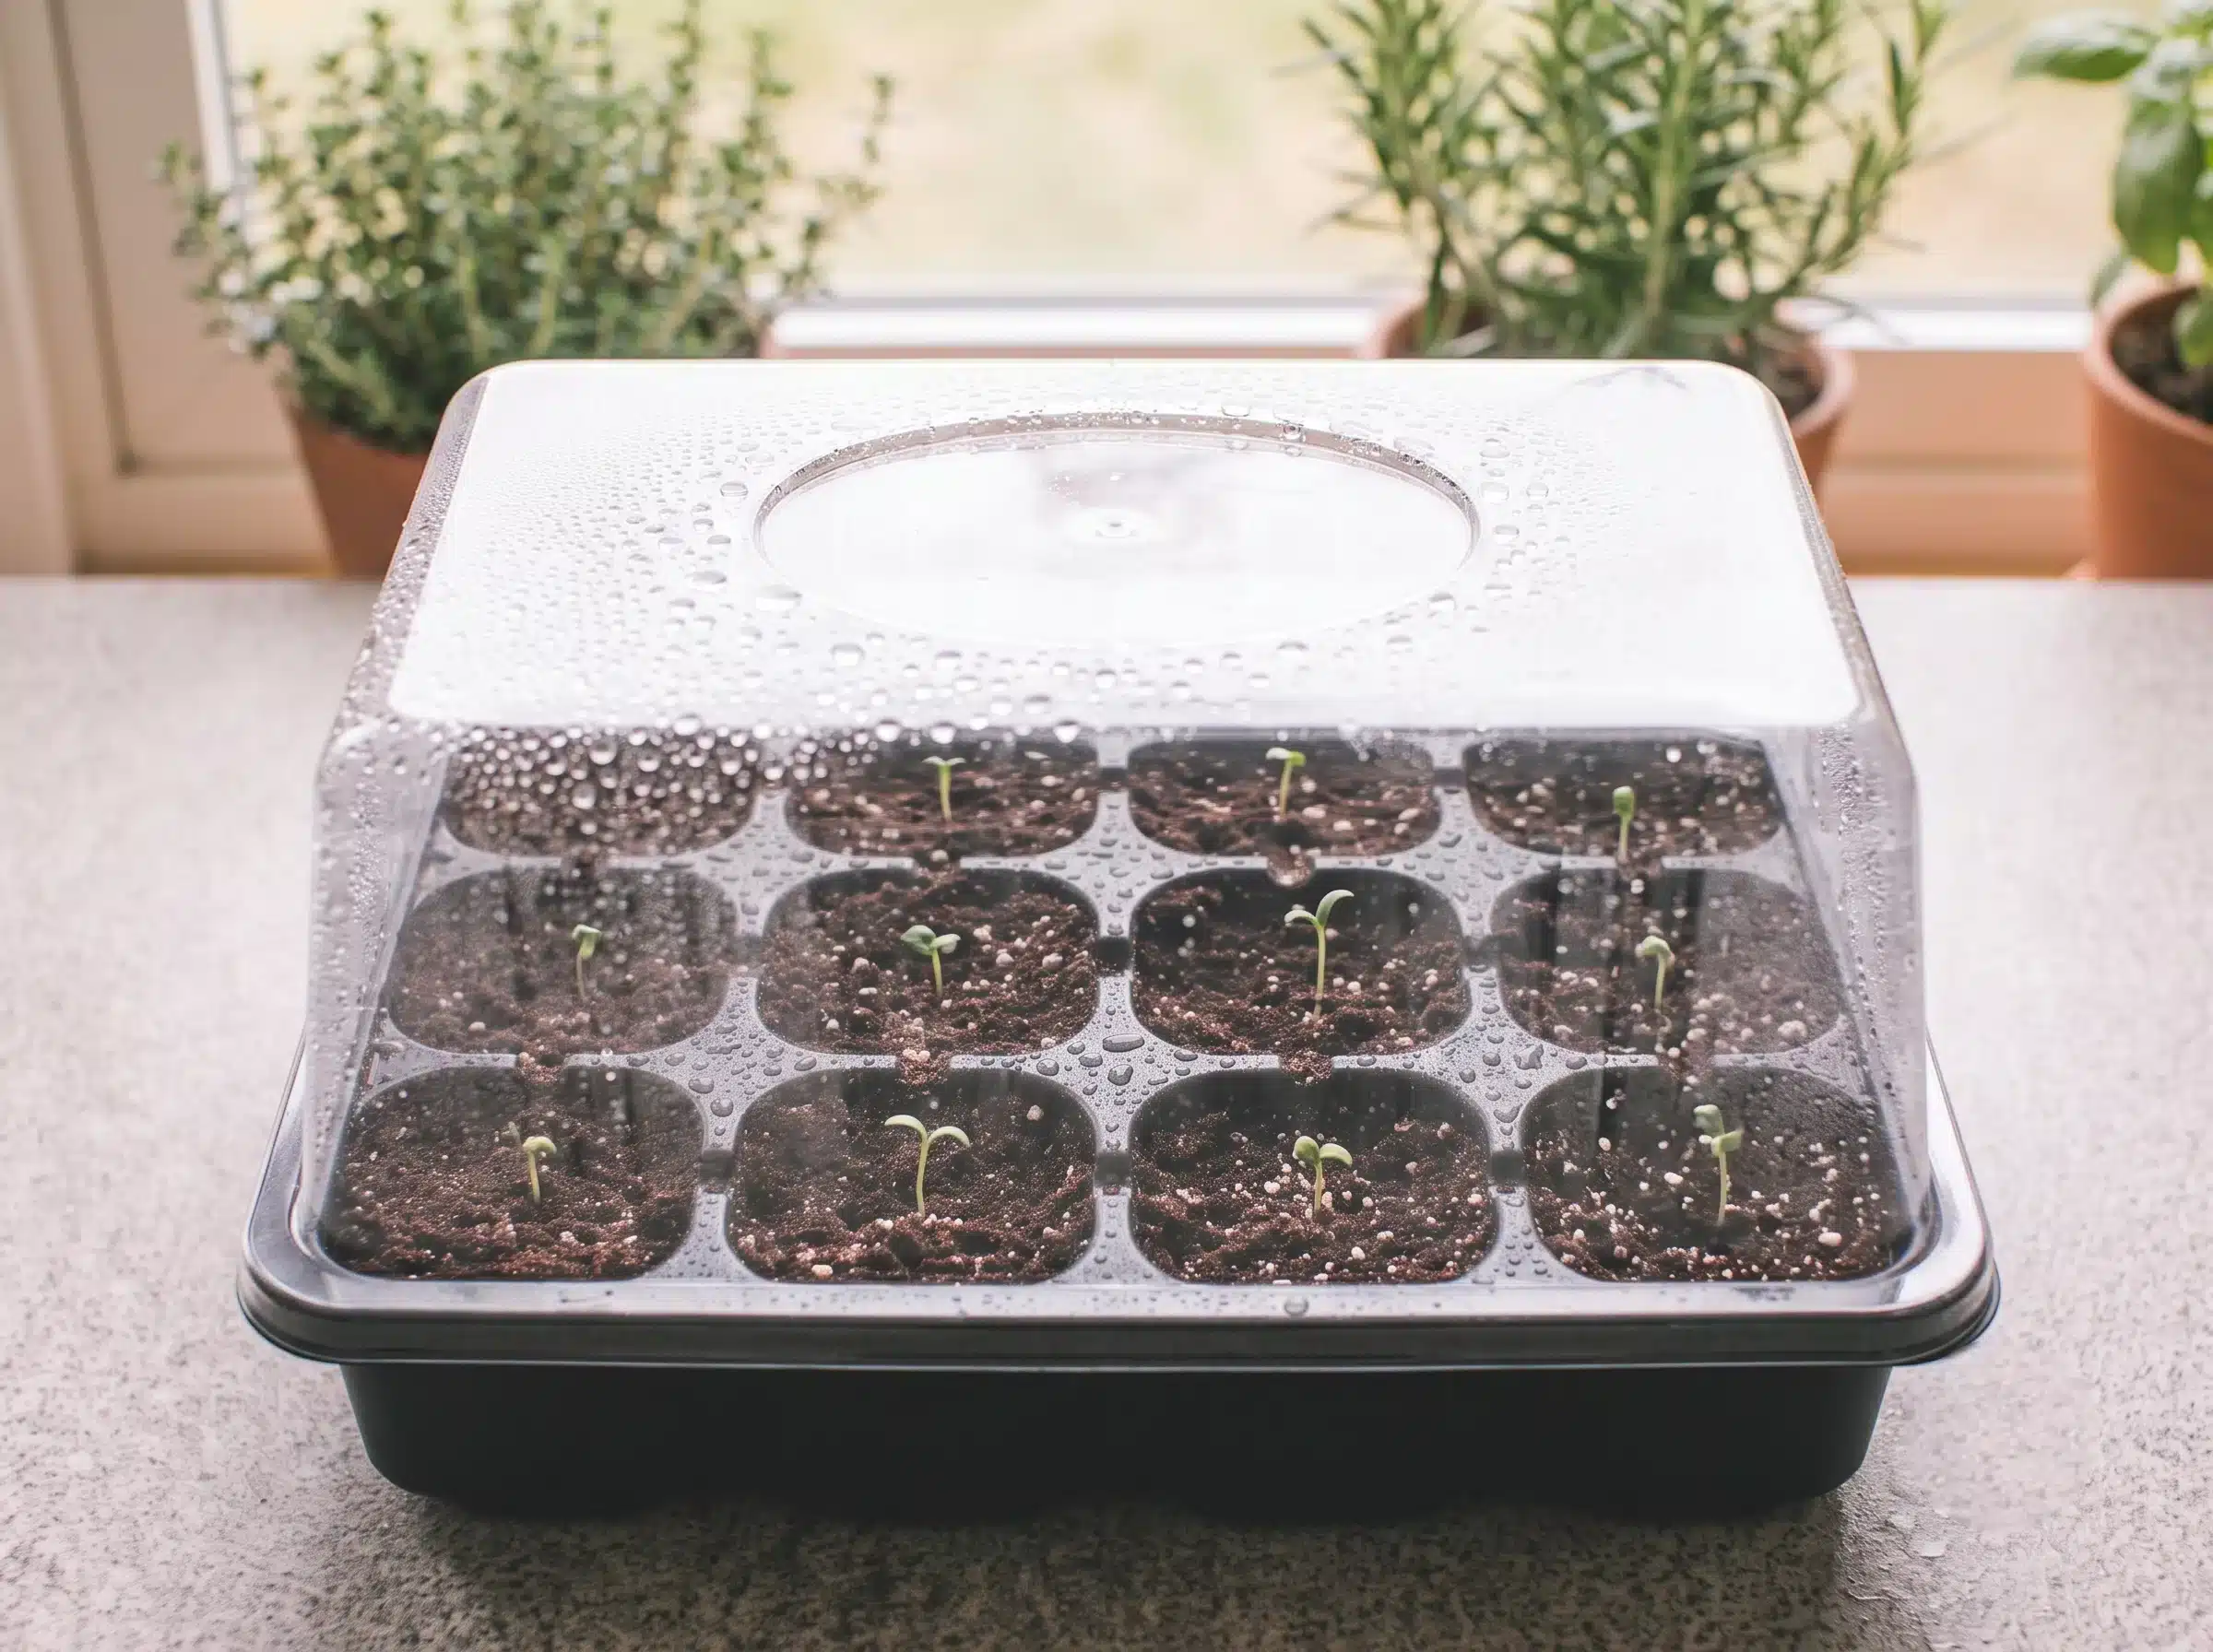
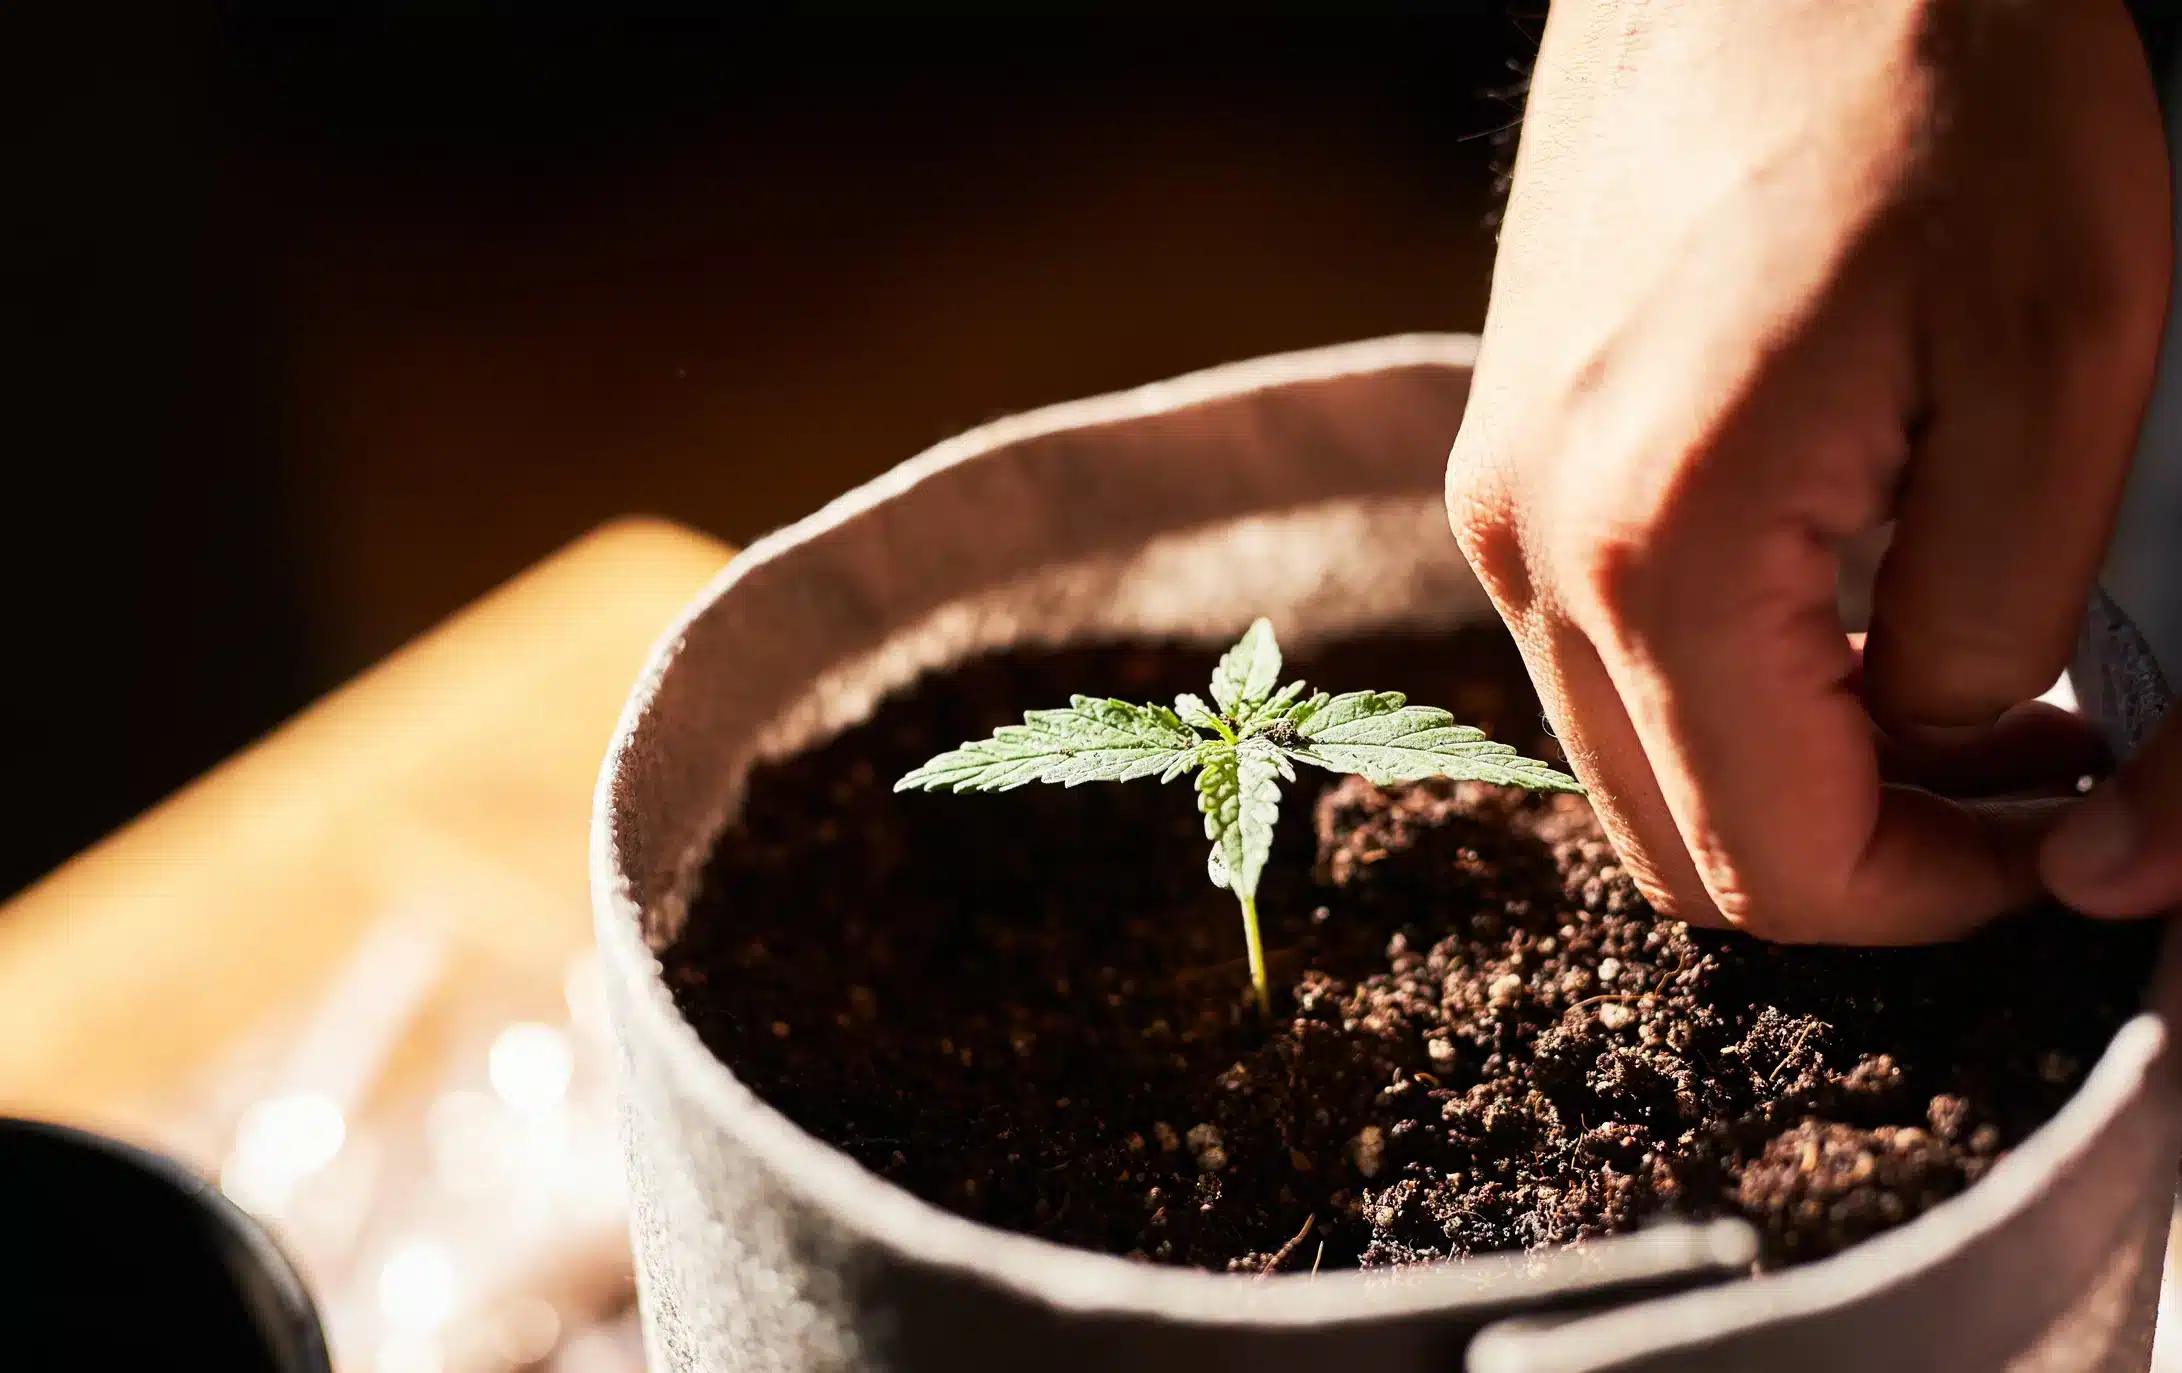
Keep the temperature stable and give the seed time. Repeated digging or disturbance can damage new growth.
Set your expectations
Every seed works on its own clock. Here's what a normal timeline looks like.
7
days - first check
14
days total in accepted methods
20
days if planted directly in soil
Patience pays off. A seed that's still hard and closed early may simply be taking its time — don't discard it too soon. Still unsure? Gently squeeze it: if it stays firm, it's still viable.
Our Germination Guarantee
We carefully select and test every batch of seeds before it reaches our customers. Although germination depends on environmental conditions and handling, we proudly stand behind our genetics with one of the industry's most transparent germination guarantees.
Our goal isn't simply to replace seeds - it's to help every grower succeed.
What our germination guarantee covers
Non-germinated seeds will be replaced when one of our accepted germination methods has been followed and clear photos or videos of the seed and setup have been shared.
After 7 days of germination, gently press the seed between two fingers to check its condition. The guarantee will apply when
What the guarantee does not cover
Before you submit a germination claim
Here to help
If something looks off, our product team is one message away.
Still have questions?
Quick answers to what growers ask us most.
Gently press the seed between two fingers without applying much pressure. If it remains hard, intact, and closed, it may still be viable. Return it to the right temperature, moisture, darkness, and airflow, then give it more time.
A soft or mushy seed may have absorbed too much water or started to break down. Review the setup for pooled water, prolonged soaking, or an overly saturated medium. If the seed was kept in a correctly maintained Jiffy, soil, or another accepted medium, take photos or videos and contact us so our team can review it with you.
Once a healthy, viable taproot appears, germination is complete. A healthy taproot is normally white or cream-colored. From this point, gentle handling and the right planting conditions help the new seedling keep moving forward.
A taproot can become stressed after it emerges. Common causes include too much light, handling, excess moisture, stagnant water, or transplanting. Move quickly but gently: protect it from light, avoid touching the root, and place it into a moist (not saturated) growing medium.