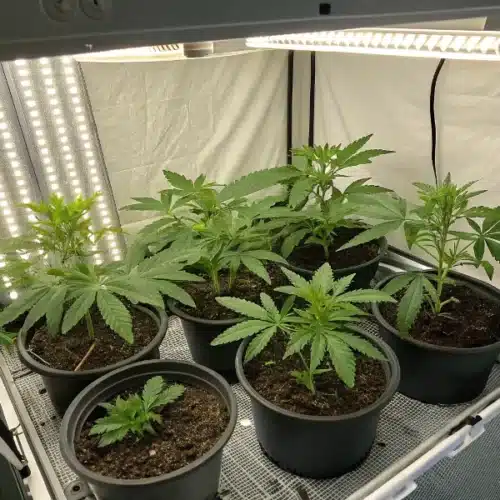
The first week of life for your cannabis seedling is a critical phase, requiring precise care and attention. Although it may seem like just a tiny plant in its early days, what you do now significantly impacts its overall health and future growth. Ensuring the proper environment and care during this stage will set the foundation for a healthy and vigorous plant. Let’s go over how to manage your 1-week-old cannabis seedling and provide the right conditions for optimal development, including tips inspired by 1 week old seedling pictures.
It’s important to remember that the initial week sets the pace for the rest of the plant’s lifecycle. Small issues that are not addressed during this stage can snowball into larger problems down the line, such as stunted growth or vulnerability to pests and diseases. By focusing on the small details now, such as correct lighting, watering practices, and environmental stability, you give your plant the best chance to succeed throughout its growth stages. Every small action during this first week has a lasting impact.
The Importance of Proper Environment for a 1-Week-Old Seedling
A cannabis seedling, at one week old, is highly delicate and sensitive to environmental factors, as seen in 1 week old seedling pictures. Any fluctuation in light, humidity, temperature, or soil condition can negatively impact its growth. Here’s what you need to know to create the ideal environment for your seedling:
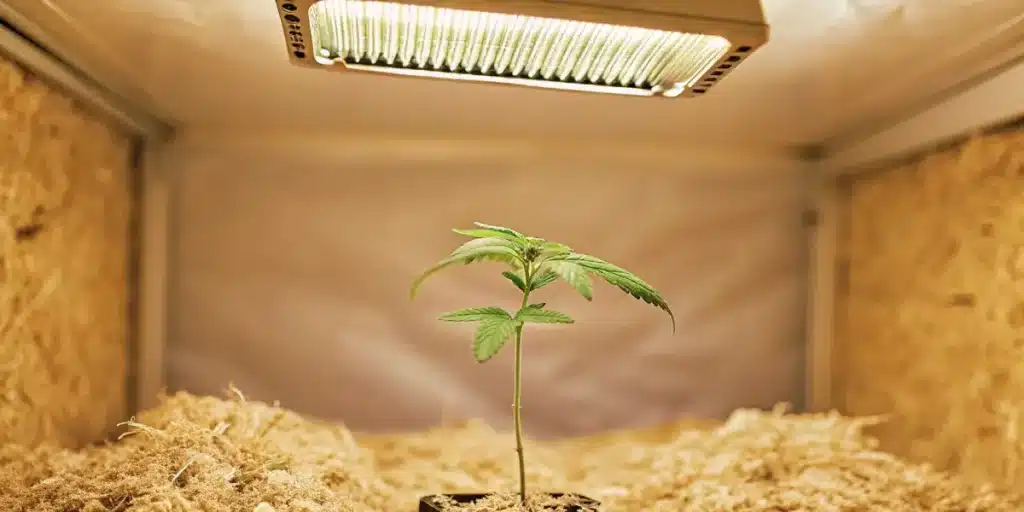
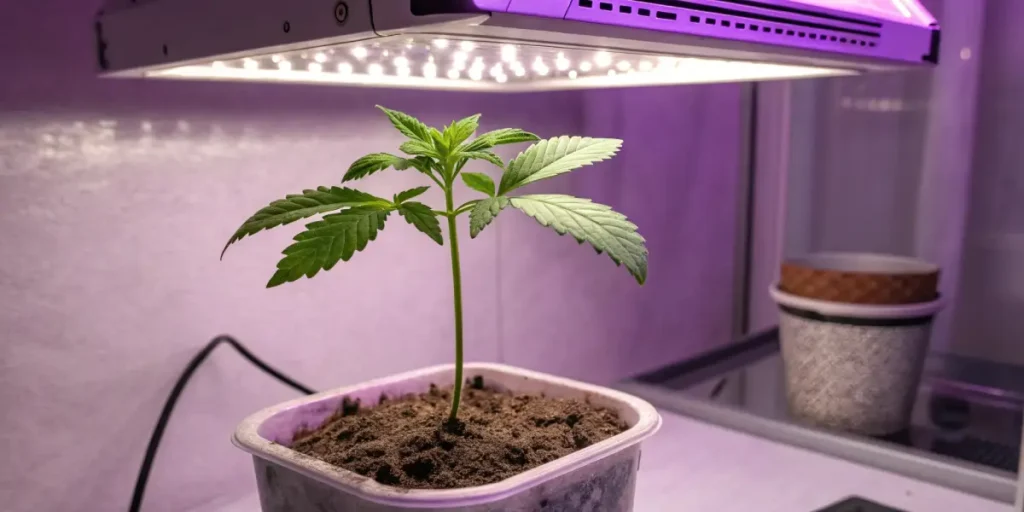
- Lighting: At this stage, cannabis seedlings require a gentle yet consistent light source. LED lights or fluorescent tubes are preferred because they emit the necessary light spectrum while producing minimal heat. Keep the light at a safe distance—about 15 to 25 centimeters (6 to 10 inches) above the seedling to avoid burning it while still providing adequate light exposure.
- Temperature: Aim for a temperature range between 20-25°C (68-77°F). This will ensure that your seedling grows without being stressed by extreme heat or cold. Keeping the temperature steady during this phase is crucial for healthy growth.
- Humidity: Maintain the relative humidity between 60-70% during the first week. Seedlings rely on moisture in the air to absorb water through their tiny leaves. A humidity dome or misting can help keep the environment humid enough for the seedling to thrive.
- Soil and Airflow: The growing medium should be light and well-aerated, with a pH level between 6.0 and 6.5. Use a light, nutrient-free soil or a seed-starting mix to avoid overloading the seedling with nutrients, which could burn the delicate roots. Make sure to provide proper airflow around the seedling to prevent mold or mildew buildup.
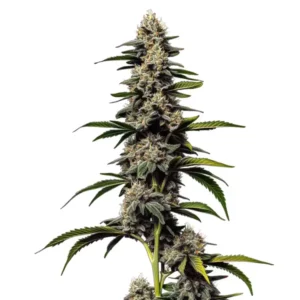
Providing the perfect environment means more than just setting up the basics—it also involves constant monitoring and adjustments. For example, if humidity drops due to environmental factors like a dry climate, adding a small humidifier or even placing trays of water near the seedlings can help balance things out. Likewise, temperature fluctuations can often occur due to heating systems or changes in external weather, so keeping a close eye on these variables ensures that the seedlings are in an optimal and stable environment at all times. This is especially important when growing sensitive strains like Blackberry Moonrocks, which require consistent conditions to thrive during the early stages.
Promos & Deals
Watering Your 1-Week-Old Cannabis Seedling
Watering is one of the most vital yet trickiest aspects of caring for your seedling. Overwatering and underwatering can both cause significant harm, so it’s essential to strike a balance.
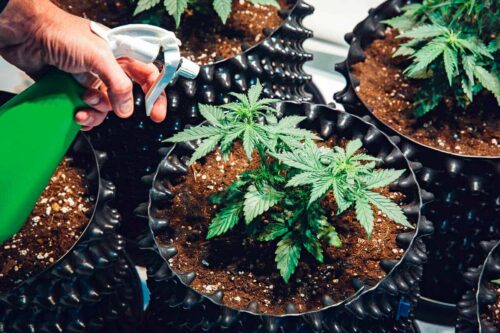
- Frequency: During the first week, cannabis seedlings don’t need too much water. Overwatering can easily lead to root rot and other issues. A light misting with a spray bottle around the base of the seedling once or twice a day should suffice.
- Method: When watering, ensure the soil remains moist but not soggy. One effective method is to water from the bottom, allowing the soil to absorb moisture gradually through capillary action. This technique encourages root growth as the roots stretch downward to access water.
- Water Quality: Make sure to use pH-balanced water (pH 6.0-6.5) that is free of chemicals like chlorine. Tap water may contain unwanted additives that can hinder the seedling’s growth. Using filtered water or letting tap water sit out for 24 hours before use can help mitigate these issues.
Besides proper watering methods, it’s crucial to pay attention to the timing of watering. The morning is often the best time to water seedlings because it gives the soil the whole day to dry out, reducing the risk of fungal growth and other moisture-related issues. This is especially important for a 1 week old seedling, which is highly sensitive to overwatering and fluctuations in moisture. Watering late in the day can lead to stagnant conditions as cooler temperatures settle in, which may promote the development of mold or mildew. Ensuring a consistent watering schedule will prevent most of the common issues faced during this stage.
Signs of Overwatering or Underwatering
Knowing the signs of overwatering or underwatering can help you make adjustments quickly:
- Overwatering: Yellowing leaves, drooping stems, and slow growth are common signs. If the soil remains too wet, the roots won’t receive enough oxygen, leading to root rot.
- Underwatering: Wilting, dry, or brittle leaves may indicate that your seedling is not receiving enough water. The soil will feel dry to the touch and may pull away from the edges of the pot.
Identifying these signs early is crucial. For overwatering, you can start by allowing the soil to dry out before watering again, or even repot the seedling in fresh, well-aerated soil. On the other hand, if underwatering is the issue, slowly increase the water amount while closely observing the seedling’s response. Small, incremental changes are usually safer than drastic corrections to prevent further stressing the plant.
Nutrients for a 1-Week-Old Seedling
At this early stage, your cannabis seedling doesn’t require many nutrients. In fact, adding nutrients too soon can be more harmful than beneficial. The seed contains enough stored energy to support the seedling’s growth for the first couple of weeks.
- Nutrient-Free Medium: As mentioned earlier, using a nutrient-free soil mix during the first week is ideal. Once the seedling has established a healthy root system and enters the vegetative stage, you can begin introducing nutrients gradually.
- Caution with Fertilizers: Avoid the temptation to feed your seedling at this stage. Fertilizing too early can lead to nutrient burn, which shows up as yellow or brown tips on the leaves.
It’s important to remember that while the seedling appears fragile, it doesn’t require constant interference. Overloading the plant with too much attention, especially in terms of nutrients, can backfire. A healthy 1 week old seedling should be observed rather than over-managed. Patience is key—wait until the plant has developed a stronger structure before incorporating nutrients. Early feeding can result in chemical burns that slow down growth or even damage the seedling permanently. Observing its growth and introducing nutrients at the right time is a much safer approach.
Managing Stretching in 1-Week-Old Seedlings
Seedlings can sometimes stretch, leading to long, thin stems. This is usually a sign that they’re not receiving enough light. Stretching makes the seedling weaker and more prone to falling over. To prevent or correct this:
- Lower the Light: If your seedling is stretching, move the light source closer to the plant, but be careful not to bring it too close and risk burning the leaves.
- Use a Fan: A gentle breeze from a fan can help strengthen the stem. This mimics outdoor conditions, where plants naturally develop stronger stems due to wind exposure.
- Transplanting: If the stem becomes too long and weak, you may need to transplant the seedling deeper into the soil, covering part of the stem to give it more stability.
Stretching can be frustrating to manage, but it’s a clear signal that the environment needs adjusting. Preventing further stretching requires quick action. In some cases, growers even use support stakes to keep the seedlings upright while they work on correcting the environmental issues. Stretching seedlings may also benefit from gradual light adjustments and monitoring to prevent stress. Once corrected, the seedling should regain its balance and continue its healthy growth.
Adjusting Light Schedule for Growth
The light schedule is crucial for your seedling’s development. During the first week, cannabis seedlings typically thrive on a light cycle of 18 hours of light and 6 hours of darkness. This gives the plant plenty of time to photosynthesize while also allowing it to rest during the dark period. A consistent light cycle helps maintain the plant’s natural rhythm and promotes healthy growth.
As the 1 week old seedling continues to grow, you can experiment with slight adjustments in light timing and intensity to optimize photosynthesis. However, consistency is key at this stage. Erratic light schedules can confuse the plant’s internal clock, leading to slow growth or even issues with future flowering. Keeping to a strict schedule will ensure the seedling remains strong and ready to move into the next phase of development without unnecessary stress.
Common Problems and How to Address Them
Even with the best care, problems may arise during the early stages of growth. Identifying and addressing issues in a 1 week old seedling can prevent unnecessary stress and support healthy development.
Yellowing Leaves
Yellowing leaves are often a sign of nutrient deficiencies, overwatering, or improper pH levels. If you notice yellowing leaves, check the soil’s pH and adjust your watering schedule. Avoid adding nutrients too early, as seedlings are highly sensitive at this stage.
In some cases, yellowing may also occur due to improper lighting, specifically if the light is too intense for the young plant. Reducing light intensity or raising the light source higher can help the seedling recover. Always ensure that the root zone is healthy since problems in the root system will directly affect the leaves’ color and overall vitality.
Mold or Mildew
A humid environment is essential for seedling growth, but too much moisture without adequate airflow can lead to mold or mildew on the soil or the seedling itself. Ensure there’s good airflow in the growing area and avoid overwatering. If mold develops, carefully remove it and increase airflow to prevent further growth.
Proactively preventing mold and mildew can also involve using sterilized tools and containers when working with seedlings. Anything that comes into contact with the seedling should be clean to minimize the risk of contamination. Additionally, ensuring that your grow space is regularly sanitized can help in keeping mold spores at bay, especially in closed environments like grow tents.
Slow Growth
If your seedling is growing slowly, check the environment for issues. Improper lighting, temperature fluctuations, or overwatering can all slow growth. Make sure your seedling has the right conditions and adjust as needed to encourage steady growth.
At times, slow growth can also be linked to genetic factors or weak seeds. Not all seeds are created equal, and some may simply take longer to sprout and grow. For instance, a 1 week old seedling may appear underdeveloped compared to others, even if conditions are ideal. Ensuring that your seeds come from a reputable source helps reduce the likelihood of slow-growing seedlings. If all environmental conditions are optimal and growth is still slow, patience is often the best approach, as some seedlings just need a little extra time.
When to Transplant Your Seedling
Once your seedling has reached about two weeks of age, or when it has several sets of leaves and its roots are beginning to outgrow the initial container, it may be time to transplant it into a larger pot. Ensure the new pot has plenty of room for root growth, and choose a soil mix with light nutrients to support the next stage of growth.
When transplanting, be gentle with the roots and avoid shocking the plant. Proper handling during transplanting will allow your seedling to adjust quickly and continue to grow strong.
Transplanting too early or too late can impact the seedling’s health, so timing is key. If transplanted too early, the seedling may experience shock and take longer to recover. If transplanted too late, the root system may become root-bound, stunting growth. It’s important to monitor root development carefully and choose the right moment to provide your seedling with more space to flourish.
FAQs About 1-Week-Old Seedlings
How much light does a 1-week-old cannabis seedling need?
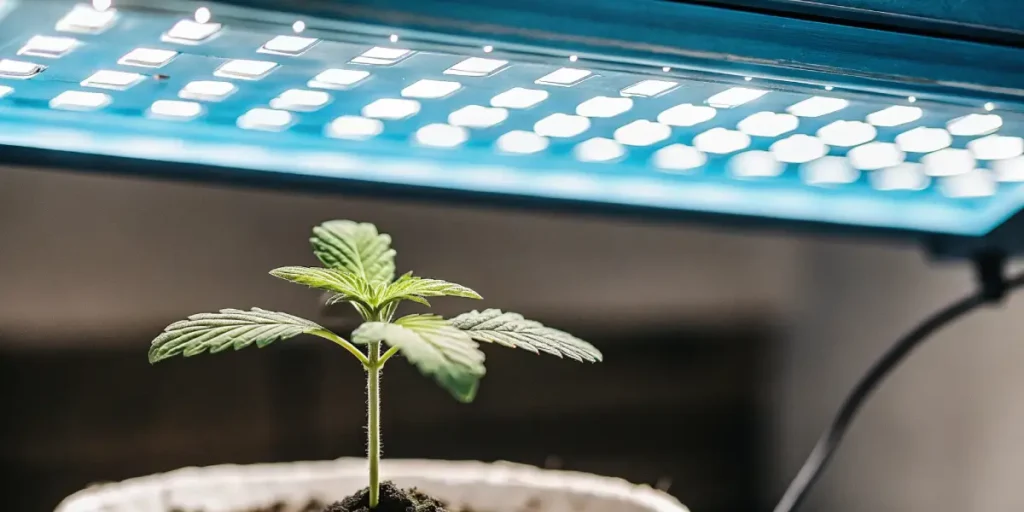
Cannabis seedlings, particularly those in their first week, typically require around 18 hours of light and 6 hours of darkness each day. This extended light period helps the week one seedling photosynthesize efficiently, promoting growth. At this stage, it’s important to ensure that the light provided is not too intense. LED or CFL lights are usually the best options, as they provide the necessary spectrum of light while minimizing heat output, which could potentially damage the delicate seedling. Maintaining the right distance between the light source and the seedling is also crucial, as highlighted by 1 week old seedling pictures showing proper setups. Typically, keeping the light 15 to 25 centimeters (6 to 10 inches) away prevents stretching and burning, fostering healthy growth.
Why are the leaves of my seedling turning yellow?
Yellowing leaves during the seedling stage can arise from several issues, most commonly overwatering, incorrect pH levels, or even insufficient light. Overwatering is one of the most frequent culprits, as it drowns the roots, preventing them from absorbing oxygen and nutrients effectively. If the pH of the soil or water is too high or low, it can block the seedling’s ability to uptake vital nutrients, leading to nutrient deficiencies, often manifesting as yellow leaves. Lastly, improper lighting—either too intense or too dim—can stress the seedling, causing color changes in the foliage. It’s essential to regularly monitor and adjust these factors to keep the seedling healthy. Checking pH levels with a meter, adjusting watering practices, and ensuring optimal light conditions can quickly remedy the yellowing.
When should I start feeding nutrients to my cannabis seedling?
During the first week of growth, cannabis seedlings do not typically require additional nutrients. The seed itself contains sufficient stored energy and nutrients to support the plant during its early development. Feeding the seedling too early can lead to nutrient burn, where the plant’s delicate root system is overwhelmed by too many nutrients at once, which can manifest as yellow or burnt tips on the leaves. Generally, most growers wait until the seedling has developed its third set of true leaves before introducing light nutrients. At this point, you can start with a quarter-strength nutrient solution, gradually increasing the strength as the plant matures and its root system becomes more robust. Keeping an eye on the plant’s growth will help guide you on when it’s appropriate to begin feeding.
What is the ideal temperature for growing seedlings?
The ideal temperature for cannabis seedlings is between 20-25°C (68-77°F). Maintaining this temperature range ensures that the seedling is warm enough to grow without being stressed by excess heat. Consistency is key, as sudden drops or spikes in temperature can shock the seedling, slowing its growth or leading to other problems like stunted growth or even death in extreme cases. To maintain stable temperatures, especially if growing indoors, use a thermometer in the grow area and adjust your heating or cooling systems as necessary. If the grow room becomes too hot, using a fan to circulate air and reduce heat buildup around the seedlings can be effective. Conversely, during cooler periods, using a heat mat or keeping the seedlings in a warm area can help maintain optimal conditions.

