Autoflower Week 4: Growth Tips & Troubleshooting

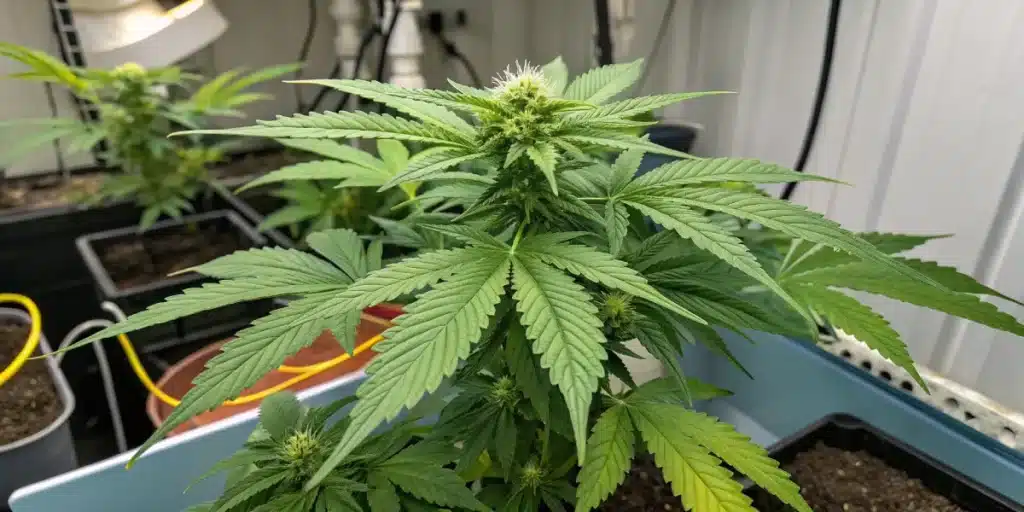
Autoflower week 4 is a pivotal growth stage: During this phase, plants transition from vegetative to early flowering, marked by pistil formation and increased nutrient demands. Maintaining temperatures between 68-78°F (20-26°C) and humidity around 50% is crucial. Proper care at this stage ensures robust bud development and maximizes yields. Monitor environmental conditions closely to prevent stress and optimize growth.
In the fourth week of your autoflowering cannabis plants’ lifecycle, the transition from vegetative growth to early flowering begins. This stage is characterized by increased foliage and the initial formation of pistils, indicating the start of bud development. Ensuring optimal conditions, such as maintaining a temperature range of 68-78°F (20-26°C) and humidity around 50%, is vital for healthy growth and maximizing yields.
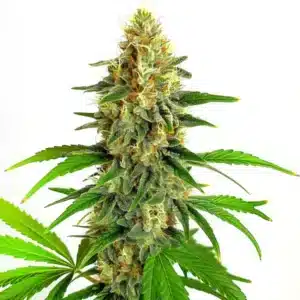
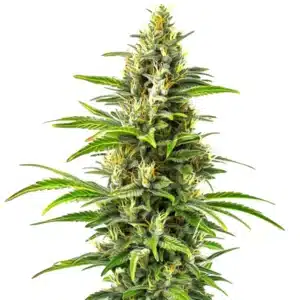
Recommended Strains
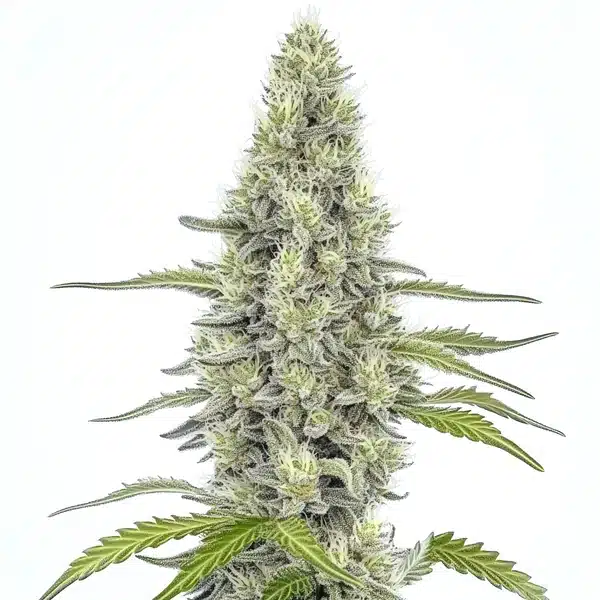
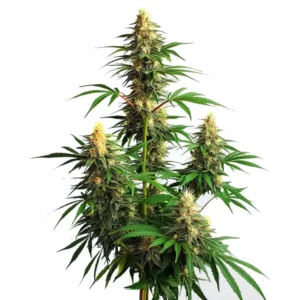
Mazar
|
|
THC | 20% (Medium) |
|
|
Type | Feminized |
|
|
Yield | Medium |
|
|
Phenotype | 90% Indica / 10% Sativa |
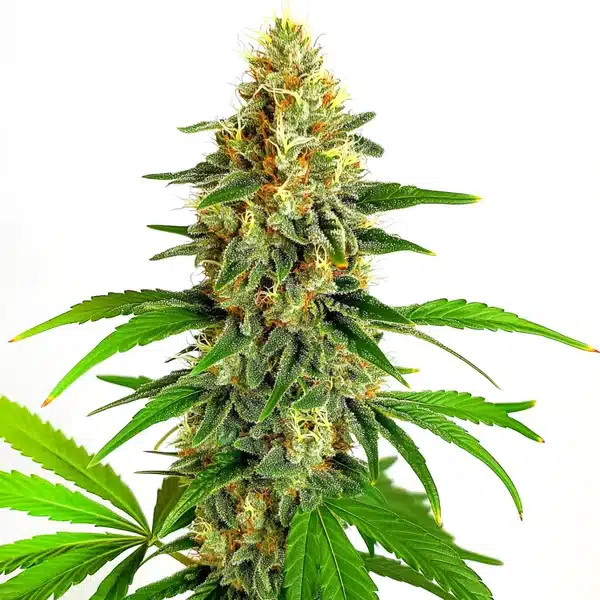
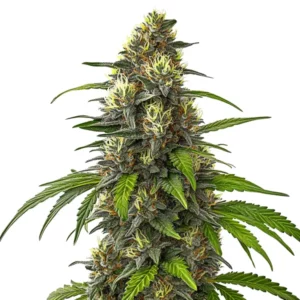
Mazar Auto
|
|
THC | 8% - 10% (Low) |
|
|
Type | Autoflowering |
|
|
Yield | High |
|
|
Phenotype | 65% Indica / 35% Sativa |
Growth Expectations in Week 4
Transition from Vegetative to Flowering
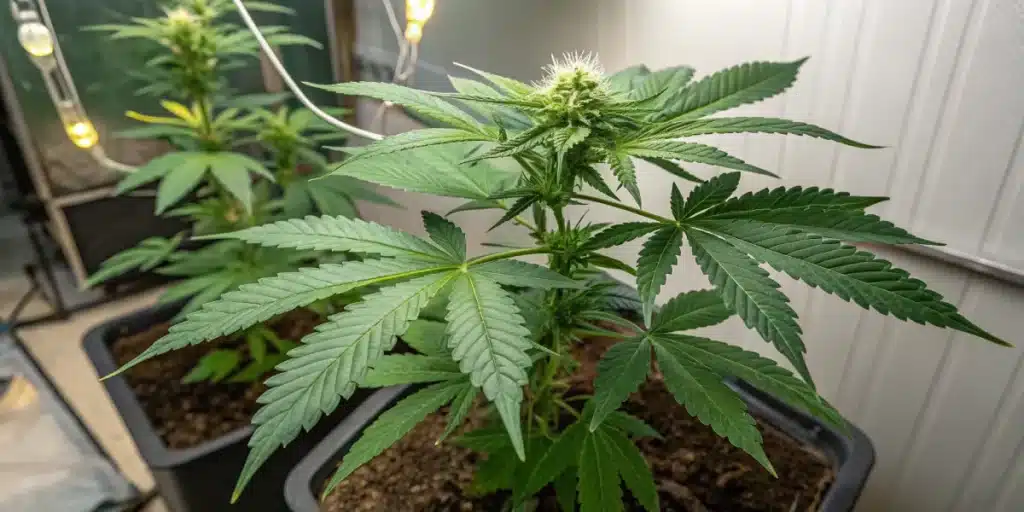
By week 4, autoflower plants typically show significant growth, with a mature structure and bushy foliage. This period marks the transition from vegetative growth to early flowering, where pistils begin to form. These pistils are the first signs of bud development, crucial for future yields. The plant’s energy demands increase, requiring a steady supply of water and nutrients to support this growth phase.
During this transition, maintaining a consistent environment is key. Sudden changes in temperature or humidity can stress the plants, hindering their development. Aim for a stable light schedule and monitor environmental conditions closely to ensure the plants remain healthy and productive. Regularly check for signs of stress, such as leaf discoloration or wilting, which can indicate environmental imbalances.
Ideal Environmental Conditions
Creating the right environment is essential for autoflower plants during week 4. Aim to keep temperatures between 68-78°F (20-26°C) to prevent stress and promote healthy growth. Lower the relative humidity to around 50% to reduce the risk of mold and mildew, which can damage the developing buds. Proper air circulation is also crucial to prevent stagnant air and promote healthy transpiration.
Invest in tools like hygrometers and thermometers to monitor these conditions accurately. Maintaining a well-ventilated environment minimizes the risk of diseases and pest infestations, ensuring your plants remain healthy and vigorous. Consistent monitoring and adjustments can significantly impact the overall health and yield of your autoflower plants.
Promos & Deals


Nutrient Requirements and Feeding Schedule
Adjusting for Bloom Nutrients
As your autoflowers enter week 4, their nutrient needs shift to support flowering. Transition to a feeding schedule that emphasizes bloom nutrients, gradually decreasing nitrogen intake. Essential nutrients like phosphorus and potassium become crucial, promoting strong root and flower development. Calcium and magnesium are also vital to prevent common deficiencies during this stage.
Ensure your feeding solution includes a balanced mix of nutrients. Aim for a phosphorus (P) level of 1.5-2% and potassium (K) at 2-3%. Micronutrients like zinc and iron support metabolic functions, while amino acids enhance nutrient absorption. Balancing these nutrients effectively prevents deficiencies and toxicities, ensuring healthy growth and development.
Training Techniques for Optimal Growth
Week 4 is an excellent time to implement low-stress training (LST) techniques. These methods help optimize light penetration and bud exposure, leading to higher yields. Gently bending branches creates an even canopy, while defoliation removes large fan leaves to improve airflow. Support structures like stakes can also help manage future bud weight.
Consider using a Screen of Green (ScrOG) technique, which utilizes a net to maximize light distribution. Supercropping, or carefully pinching stems, encourages bushier growth. Training methods should be done with care to avoid stressing the plants excessively. Proper timing and techniques can result in a more uniform canopy, enhancing light distribution and overall plant health.
Understanding the Role of CO2 in Photosynthesis
CO2 is a critical component of photosynthesis, the process by which plants convert light into energy. In week 4, as your autoflowers transition to flowering, ensuring adequate CO2 levels can enhance growth. CO2 enrichment can increase photosynthetic rates, leading to faster growth and larger yields. Aim for CO2 levels between 800-1200 ppm for optimal results.
Implementing CO2 enrichment requires careful monitoring to prevent toxicity. Use CO2 meters to maintain safe levels, and ensure your grow space is well-ventilated to prevent CO2 buildup. Proper CO2 management can significantly impact the health and productivity of your plants during this critical growth stage.
| Feature | Blue Dream Auto | Mimosa Cake Auto | Neville Haze Auto |
|---|---|---|---|
| THC Content | 20-24% | 22-26% | 18-22% |
| Dominant Terpene | Myrcene | Limonene | Pinene |
| Flavor Profile | Berry, Sweet | Citrus, Sweet | Pine, Earthy |
| Flowering Time | 9-10 weeks | 8-9 weeks | 10-12 weeks |
| Yield | 1.5-2 oz/ft² (450-600 g/m²) | 1.8-2.2 oz/ft² (550-670 g/m²) | 1.2-1.6 oz/ft² (360-480 g/m²) |
Professional Tips for Autoflower Week 4
- Maintain 68-78°F (20-26°C) to prevent stress. Temperatures outside this range can stunt growth or cause heat stress.
- Lower humidity to 50% to avoid mold. High humidity can lead to bud rot, especially as pistils form.
- Use a balanced nutrient solution with 1.5-2% phosphorus and 2-3% potassium to support flowering.
- Implement low-stress training techniques to optimize light exposure and increase yield potential.
- Ensure consistent air circulation to prevent stagnant air and promote healthy transpiration.
- Monitor soil moisture with a digital hygrometer to prevent overwatering and root rot.
FAQs About Autoflower Week 4
What week do autoflowers fatten up?
Autoflowers typically begin to fatten up around weeks 5 to 7. During this period, the buds increase in size and density. It’s crucial to maintain optimal nutrient levels and environmental conditions to support this growth phase. Expect significant changes in bud structure as the plant focuses its energy on flowering.
Should I remove fan leaves during flowering?
Removing fan leaves during flowering can improve light penetration and airflow. However, it’s essential to do this sparingly to avoid stressing the plant. Focus on removing leaves that block bud sites or are damaged. This technique helps maximize light exposure and can enhance bud development.
What week do autoflowers start to bloom?
Autoflowers typically start to bloom around week 4. This is when you will notice the formation of pistils, indicating the beginning of the flowering phase. During this time, adjust your nutrient regimen to focus on bloom nutrients to support the plant’s transition.
What should week 5 of flowering look like?
In week 5 of flowering, expect to see significant bud development. The buds should be visibly larger and denser, with more trichome production. Maintain optimal environmental conditions and nutrient levels to support this critical growth phase. Regularly inspect for signs of nutrient deficiencies or pest issues.
How to optimize light exposure during flowering?
To optimize light exposure during flowering, maintain a consistent 18/6 or 20/4 light schedule. Ensure that the lights are positioned at an appropriate distance from the canopy to prevent light burn. Regularly rotate plants to ensure even light distribution across all bud sites.