Autoflower Week 2: Growth and Care Guide

Autoflower Week 2 Overview: During the second week of an autoflower’s life cycle, the plant transitions from seedling to vegetative growth, focusing on root development and the emergence of true fan leaves. Key care priorities include maintaining a stable environment with temperatures between 68°F and 77°F (20°C – 25°C) and preventing overwatering to support healthy development.
In week 2 of your autoflowering cannabis journey, expect a shift towards vegetative growth. This period is marked by increased nutrient uptake and the development of a robust root system. Focus on maintaining humidity levels between 60-70% and ensure adequate light exposure to promote healthy leaf expansion and overall plant vigor.
Recommended Strains

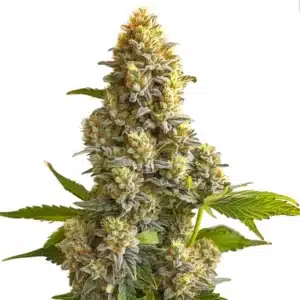
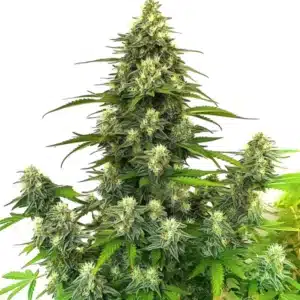
Silver Surfer Haze
|
|
THC | 20% - 25% (High) |
|
|
Type | Feminized |
|
|
Yield | High |
|
|
Phenotype | 20% Indica / 80% Sativa |

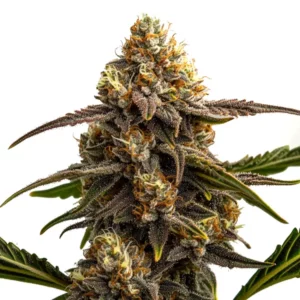
Super Silver Haze
|
|
THC | 22% - 24% (High) |
|
|
Type | Feminized |
|
|
Yield | High |
|
|
Phenotype | 10% Indica / 90% Sativa |
What to Expect in Week 2
Visual Growth Indicators
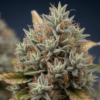
As your autoflower enters week 2, you’ll notice significant changes in its appearance. The plant will start developing its first true fan leaves, which are larger and more complex than the initial seed leaves. This is a clear sign that your plant is transitioning into the vegetative stage, a critical period for establishing strong growth foundations.
Monitor the plant’s height and leaf spread, as these are indicators of its health and vigor. Typically, you can expect the plant to reach about 2-4 inches (5-10 cm) in height by the end of this week. The development of a vibrant green canopy is a positive sign of adequate nutrient uptake and environmental conditions.
Ensure that your plants are receiving sufficient light, ideally 18 hours on and 6 hours off, to support photosynthesis and energy production. This light schedule is crucial for maximizing growth potential during this stage, setting the stage for future flowering success.
Temperature and Humidity Control
Maintaining optimal temperature and humidity is vital in week 2. Aim for temperatures between 68°F and 77°F (20°C – 25°C) to facilitate enzymatic activities and nutrient absorption. Humidity levels should be kept between 60-70% to prevent stress and encourage healthy leaf development.
Use a hygrometer to monitor these conditions closely. High humidity can lead to mold, while low humidity can cause leaf desiccation. Adjust your ventilation and dehumidification systems accordingly to maintain a stable environment that supports plant health.
Promos & Deals


Essential Care Tips
Nutrient Requirements
Week 2 is the time to introduce a light feeding regimen. Start with a nutrient solution diluted to 20% of the recommended strength, focusing on nitrogen to support leafy growth. This nutrient is crucial for chlorophyll production and overall plant vigor, but be cautious of overfeeding, which can cause nutrient burn.
Monitor your plants for signs of nutrient deficiency, such as yellowing leaves or stunted growth, and adjust your feeding schedule accordingly. A balanced N:P:K ratio of 3:1:2 is recommended for this stage to promote healthy development and prepare the plant for the flowering phase.
Watering Techniques
Proper watering is essential in week 2 to prevent root rot and encourage healthy root development. Allow the top inch of soil to dry out before watering again, ensuring that the roots receive adequate oxygen. This practice helps prevent overwatering, a common issue that can lead to root damage and plant stress.
Observe your plants for signs of overwatering, such as drooping leaves or yellowing foliage, and adjust your watering routine accordingly. Conversely, if the leaves appear wilted or dry, it may indicate underwatering, requiring you to increase the frequency or volume of water provided.
| Feature | Grape Killer Haze Auto | Bruce Banner X Grape | Cbd Critical Mass 11 |
|---|---|---|---|
| THC Content | 20-24% | 25-28% | 5-8% |
| Dominant Terpene | Myrcene | Caryophyllene | Limonene |
| Yield | 1.5 oz/ft² (450 g/m²) | 2 oz/ft² (600 g/m²) | 1 oz/ft² (300 g/m²) |
| Flowering Time | 8-9 weeks | 9-10 weeks | 7-8 weeks |
| Effect | Relaxing | Euphoric | Calming |
Common Issues and Solutions
Overwatering vs. Underwatering
Overwatering is a frequent problem for novice growers, leading to root rot and stunted growth. Ensure that your pots have adequate drainage and that the soil is not constantly saturated. Use a soil moisture meter to check the moisture level before watering to avoid this pitfall.
Underwatering, on the other hand, can cause wilting and reduced growth rates. Ensure that your plants receive enough water to keep the soil evenly moist but not waterlogged. Adjust your watering schedule based on the plant’s needs and environmental conditions to maintain optimal hydration levels.
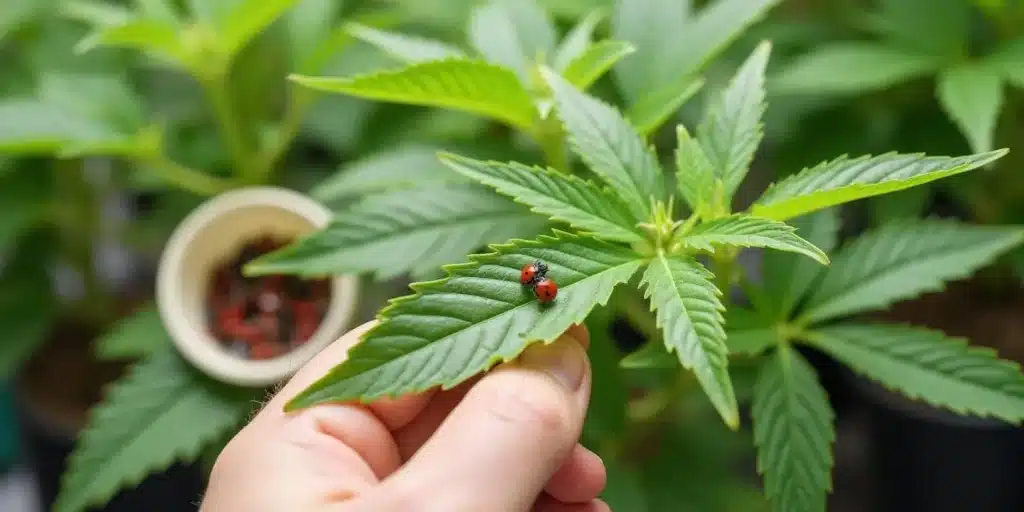
Pest and Disease Management
During week 2, it’s crucial to inspect your plants regularly for signs of pests or diseases. Common pests include aphids, spider mites, and whiteflies, which can damage leaves and stunt growth. Use natural pest control methods, such as neem oil or introducing beneficial insects, to keep these pests at bay.
To prevent diseases, maintain good air circulation and avoid overcrowding your plants. This reduces humidity levels and minimizes the risk of fungal infections. Regularly clean your grow area and tools to prevent the spread of pathogens and ensure a healthy growing environment.
Professional Tips for Week 2 Care
- Maintain 68°F – 77°F (20°C – 25°C) for optimal enzymatic activity. Below 68°F can slow growth, while above 77°F may cause heat stress. Use a digital thermometer for accuracy.
- Ensure 18/6 light schedule for energy production. Deviating from this can disrupt growth cycles and reduce yield potential. Use a timer to maintain consistency.
- Start with 20% nutrient strength to prevent burn. Overfeeding can lead to nutrient lockout, stunting growth. Gradually increase based on plant response.
- Allow top inch of soil to dry before watering. Constant moisture can cause root rot within days. Use a moisture meter for precise readings.
- Inspect plants for pests weekly. Early detection prevents infestations that can devastate crops. Employ natural remedies like neem oil for control.
- Use a hygrometer to keep humidity at 60-70%. High humidity promotes mold, while low can dry out leaves. Adjust ventilation as needed.
FAQs About Week 2
What should an autoflower look like after 2 weeks?
After 2 weeks, an autoflower should exhibit a small but robust structure with several sets of true leaves. The plant typically reaches 2-4 inches (5-10 cm) in height, displaying vibrant green foliage. This growth indicates healthy root development and adequate nutrient uptake, setting the stage for the upcoming vegetative phase.
What does week 2 of flowering look like?
In week 2 of flowering, plants begin to show initial signs of bud formation. You may notice small white pistils emerging at nodes, indicating the start of flower development. The plant continues to stretch, reaching new heights as it transitions from vegetative growth to the flowering stage.
What week do autoflowers start to bud?
Autoflowers typically begin to bud around week 3 to 4 from seed. This period marks the transition from vegetative growth to flowering, characterized by the appearance of pistils and the development of bud sites. Environmental conditions and genetics can influence the exact timing of this phase.
Can you defoliate in week 2 of a flower?
Defoliation in week 2 of flowering is generally not recommended. At this stage, plants are focusing on bud development, and removing leaves can stress them, potentially hindering growth. If necessary, limit defoliation to removing only damaged or yellowing leaves to maintain plant health.
How to optimize light exposure for autoflowers?
To optimize light exposure for autoflowers, maintain a consistent 18/6 light schedule. This balance ensures maximum photosynthesis without overstressing the plant. Use LED grow lights with an intensity of 600-900 µmol/m²/s for best results, adjusting height to prevent light burn while maximizing coverage.