Sous vide Decarboxylation, mason jar, microwaving… are various methods available for decarbing cannabis at home, the most effective way to do so is by using a standard oven. If you don’t have a full-sized oven, a toaster oven can also be used, though you might need to decarb your cannabis in multiple batches depending on the quantity needed.
Decarb weed with mason jar
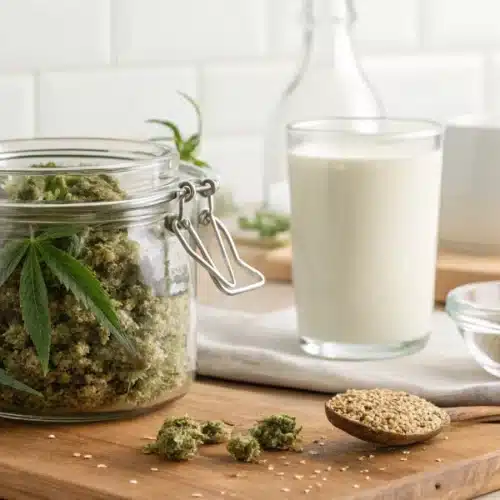
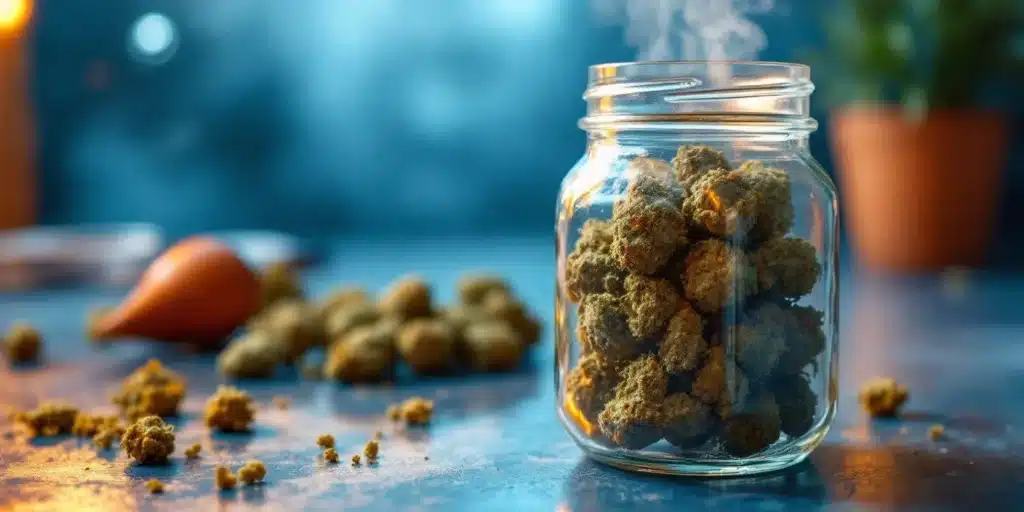
For those worried about odors during cannabis decarboxylation at home, consider using the mason jar method. This approach not only helps retain terpenes for your infusion but also reduces the risk of overheating your buds. Here’s what you’ll need and how to decarb using a mason jar:
Materials for Mason Jar Decarboxylation of Cannabis:
- Heat-resistant canning jar with a secure lid
- Baking sheet or shallow glass baking dish
- Hemp or traditional cannabis flower
- Oven mitts or pot holders
- Damp kitchen towel
Procedure for Mason Jar Decarboxylation of Cannabis:
- Preheat your oven to approximately 225℉.
- Break cannabis into small pieces and fill the jar no more than two-thirds full. If planning to use the same jar for infusion, consider lightly grinding the flowers.
- Line the baking tray with the folded damp towel.
- Place the jar on its side on the towel-covered tray to prevent rolling.
- Bake the cannabis for at least 60 minutes. Every 20 minutes, gently shake the jar to ensure even decarboxylation. Use oven mitts to handle the hot jar.
- After about an hour, remove the tray from the oven and allow it to cool before proceeding with your infusion.”
This version integrates the target keywords in a natural way while providing the necessary information on decarboxylation using a mason jar method.
Promos & Deals
Sous Vide Decarb Weed
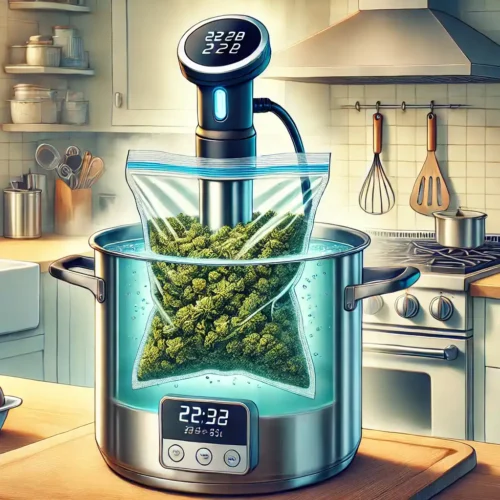
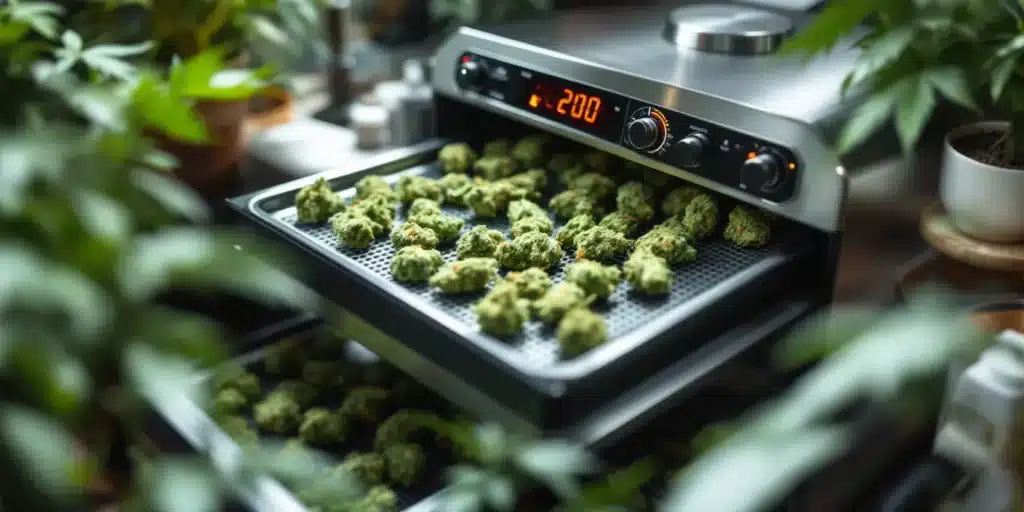
The sous vide method requires an initial investment in an immersion circulator, but it’s an excellent decarbing technique for those planning to create numerous batches of edibles. The sous vide decarb mason jar method offers a significant advantage by preserving maximum terpenes and allowing for a more discreet cannabis preparation compared to other methods.
An immersion circulator of high quality typically costs about $200, which can also be used for precisely cooking eggs or chicken for everyday meals. Additionally, you’ll need a suitable container for your device; some sous vide machines come with containers featuring liquid measurement markings, while a large cooking pot or plastic tub can suffice if your circulator doesn’t include one.
Materials Needed for Sous Vide Decarboxylation:
- Sous vide machine (immersion circulator)
- Container
- Large plastic freezer bag or vacuum sealer kit
- Marijuana or hemp flower
Procedure for Sous Vide Decarboxylation:
- Grind your herb finely using a coffee grinder to maximize surface area; the sous vide method eliminates concerns about burning the buds. Allow trichomes to settle back into the ground bud before opening the grinder lid and consider scraping any powder from inside.
- Fill the container with hot tap water as per the manufacturer’s instructions for your immersion circulator. Preheat your sous vide device to approximately 200℉.
- Place the ground buds into a freezer bag, expelling as much air as possible. Use a vacuum sealer for a tight, flat layer in the bag.
- Seal the bag and submerge it into the sous vide container with water. Let it heat for at least 90 minutes before removing from the water bath. Once cool enough, dry the bag’s exterior. Transfer the decarbed cannabis into a tightly sealed glass container, storing it in a cool, dark place until ready for use in infusions.
Decarb weed in Microwaving
Microwaving cannabis to decarb isn’t the most optimal approach. However, if you’re pressed for time, using the microwave can suffice. Nonetheless, careful monitoring is crucial as cannabis can quickly burn in this method. It’s advisable to start with a small batch to perfect the timing. Here’s how to decarb cannabis in the microwave:
- Grind or break up your cannabis by hand.
- Spread the herb evenly in a microwave-safe glass dish.
- Microwave the cannabis on medium heat for about 90 seconds.
- Stir the cannabis and microwave for another 60 seconds.
- The finished product should be a golden brown color without charring. These steps provide four straightforward methods for decarboxylating cannabis at home. Now you can proceed to infuse butter and oils for edibles or create tinctures for topical use.
How To Make Cannabis Butter with Sous Vide
You can also use sous vide to make cannabutter or cannabis-infused coconut oil. For maximum saturation, follow this rule of thumb: the ratio for most fats/oils is 16 parts fat or oil to 1 part decarboxylated cannabis (except for coconut oil, which has a ratio of 8:1—adjust your recipe accordingly if using coconut oil).
Ingredients and Hardware for Sous Vide Cannabutter
- 500g butter
- 30g decarbed herb
- 2x 850ml (or 1l) canning jars with lids
- Immersion sous vide circulator
- Pot deep enough for the circulator
- Water
- Strainer/cheesecloth
- Storage container
Instructions on How to Decarb Your Herb and Make Cannabutter
- Divide Butter and Herb: Put half of the butter in each jar and add half of the decarbed herb to each jar.
- Prepare Jars: Screw the lids on the jars until they’re snug.
- Prepare Water Bath: Fill the pot with water and set the sous vide circulator to 85ºC, clipping it to the pot.
- Heat Jars: When the water reaches the set temperature, gently place the jars inside the pot.
- Heat for 4 Hours: Allow the butter to heat for 4 hours before removing the jars.
- Cool and Strain: Cool the mixture until it’s safe to handle, but not cold. Strain the butter into a clean jar or other container, discarding the plant matter.
- Solidify Butter: Allow the butter to cool completely until it returns to a solid state.
This method provides the best way to decarb weed using sous vide, ensuring a perfectly infused product every time. Whether you are learning how to decarb weed or searching for the optimal sous vide decarboxylation process, this guide will help you achieve great results.
Advantage of Make Edible With Sous Vide Decarb
Achieving the perfect infusion with canna oil hinges greatly on temperature control. If too cold, THC binding to the oil slows or doesn’t happen at all; too hot, and some psychoactive components may evaporate, reducing potency. Higher temperatures speed up activation, requiring less cooking time, but temperatures above 140 degrees Celsius risk vaporizing compounds, while those below 90 degrees Celsius may not convert sufficiently within 24 hours. Unlike traditional methods, a sous-vide cooker maintains a precise temperature (+/- 1°) throughout, simply set via digital display or smartphone. Once you nail down a recipe and method that works, you can reliably replicate it, avoiding accidental cannabis wastage due to temperature mishaps.
Making cannabis oil can be a lengthy process that requires occasional attention during cooking. With sous vide, the main concern is water evaporation, but using a secure lid or plastic wrap eliminates the need for constant monitoring during infusion. If you’re comfortable leaving a slow cooker unattended at home, you can feel equally at ease with sous vide.
Decarboxylating cannabis in the oven and infusing oil on the stovetop can create strong odors, which may not be ideal if you have neighbors with sensitive noses or prefer to keep your cannabis use private. However, cooking cannabis in a sealed, airtight container submerged in water significantly reduces the smell. This method allows you to prepare delicious cannabis edibles without filling your kitchen with odors.
How to Increase spray Terpenes in Edibles with Soud Vide weed
Maximizing terpenes not only enhances the flavor of your edibles but can also improve the quality of your high through the entourage effect. If you’re wondering how to decarb your herb while preserving terpenes, here’s what you need to know:
Best Way to Decarb Weed While Preserving spray Terpenes
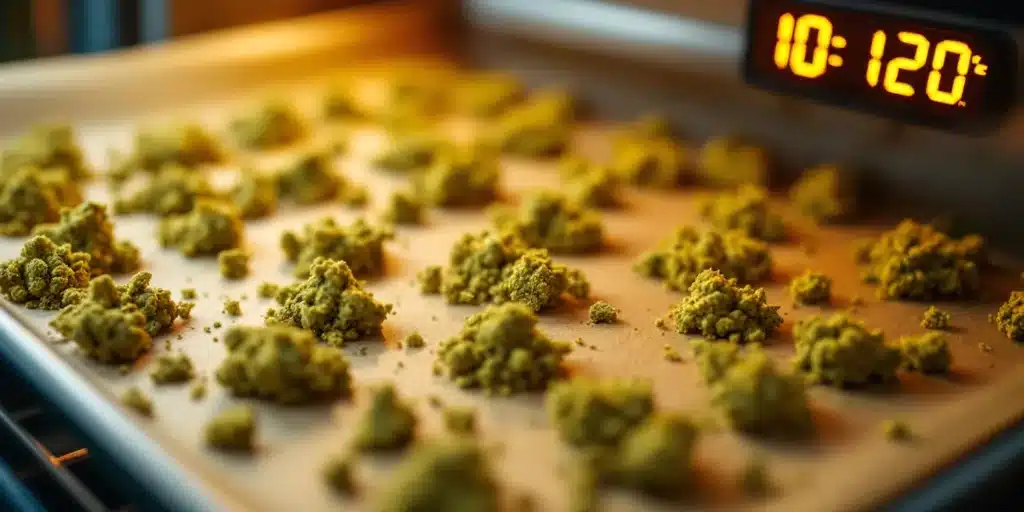
Minimize Heat During Decarboxylation: Excessive heat can cause terpenes to evaporate or degrade. To protect terpenes, lower your decarb temperature to 230°F in the oven, ensuring you don’t lose efficiency.
Sous vide decarb mason jar: This method is excellent because it maintains a maximum temperature of 212°F (the boiling point of water), preventing any risk of burning your herb.
Low-Temperature Decarbing: Some opt to decarb at the oven’s lowest setting or use a slow cooker. While effective, this method is slower and might be less efficient.
Slow No-Heat Decarb
For the ultimate terpene preservation, consider a no-heat method:
Natural Decarboxylation: Store your herb in an air-tight container in a dark place. Over time, it will decarb naturally, though this process can take years and may reduce potency due to oxidation. Speed up the process by making an oil extract.
Naturally-Decarbed Oil Extract:
- Make a herb-infused tincture with non-decarbed herb.
- Allow the alcohol to evaporate in a well-ventilated area, leaving extract oil.
- Store the oil in a sealed container in a cool, dark place for two months.
- Test every few weeks for psychoactivity.
Fast No-Heat Decarb
Citric Acid Decarboxylation: This method decarbs without heat in just a week.
How to Citric Acid Decarb:
- Ingredients Needed:
- 5g fresh bud
- 2 ½ tsp citric acid powder
- 2 tsp water
- Glass mason jar
- Mortar and pestle
- Directions:
- Grind bud and citric acid in a mortar.
- Add water and continue grinding.
- Store the mixture in a mason jar in a cool, dark place for a week.
- For a dry product, spread the mixture on a sheet for a couple of days.
Your decarbed herb is ready to use. You can eat it, put it in capsules, or add it to recipes. Note that it will have a significant sour taste due to the citric acid.
By following these methods, you can decarb your weed effectively while preserving the terpenes, ensuring a flavorful and potent end product.

