Proper Wooden Pipe for Cannabis: A Step-by-Step Manual

Creating your own wooden pipe for smoking cannabis is not only a rewarding process, but it also gives you a unique and personalized piece to enjoy. Whether you’re a seasoned craftsman or just starting out, this guide will walk you through each step, helping you select the right wood, use the necessary tools, and finish your pipe to perfection. Let’s dive into how you can make a high-quality wooden pipe, tailored to your cannabis experience.
How to Make a Wooden Pipe for Smoking
Making your own wooden pipe is a blend of artistry and functionality. It’s important to focus not only on the appearance but also on airflow and durability. The right wood and tools will make all the difference in creating a pipe that offers a smooth, enjoyable smoking experience.
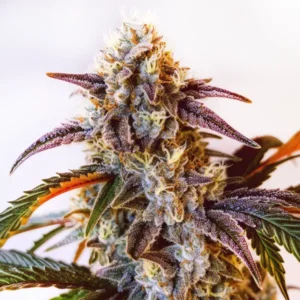
Recommended Strains

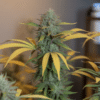
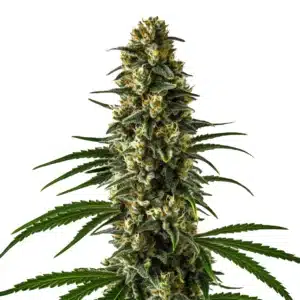
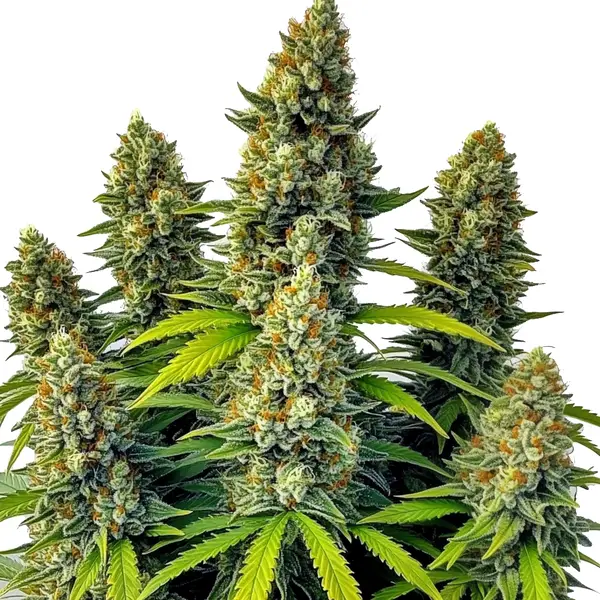
Chemdog #4
|
|
THC | 18% - 26% (High) |
|
|
Type | Feminized |
|
|
Yield | High |
|
|
Phenotype | 60% Indica / 40% Sativa |
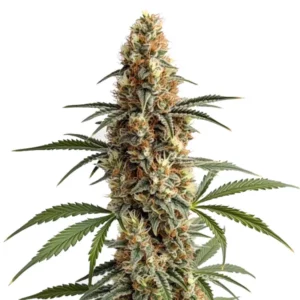
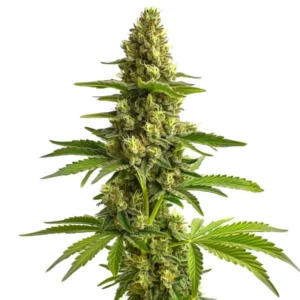
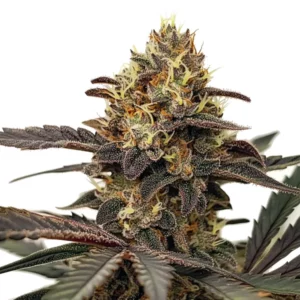
Chemdog Auto
|
|
THC | 18% - 20% (Medium) |
|
|
Type | Autoflowering |
|
|
Yield | Medium |
|
|
Phenotype | 60% Indica / 40% Sativa |
Choosing the Right Wood for Your Pipe
Selecting the proper wood is the foundation for crafting a great wooden pipe. The type of wood you use affects not only the appearance but also the durability and taste. Hardwoods are generally preferred for pipe making because they are dense, durable, and heat-resistant, making them perfect for withstanding repeated use without cracking or burning.
Some excellent wood choices include:
- Maple: Known for its smooth grain and ease of carving, maple offers a light, natural flavor that doesn’t overpower the taste of your cannabis.
- Cherry: A favorite for pipe making due to its beautiful reddish hue and long-lasting durability.
- Oak: This wood is strong and has a rich, earthy flavor that some users prefer when smoking.
Avoid softwoods like pine or cedar, as they can produce an unpleasant taste and are prone to cracking from the heat.
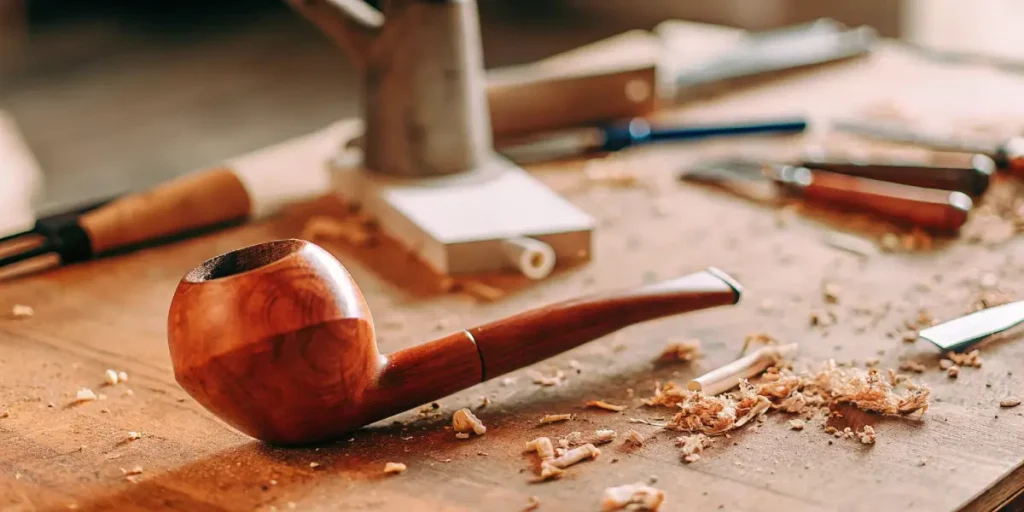
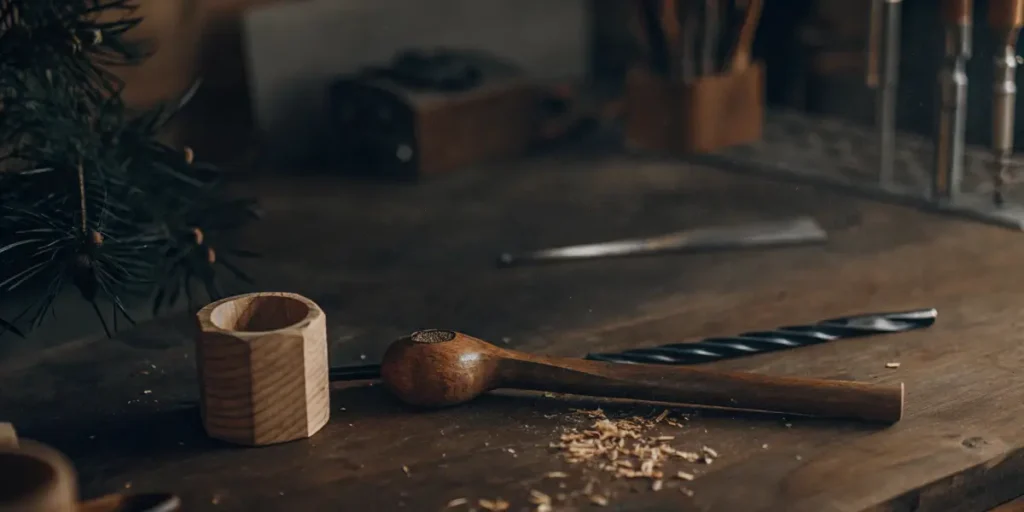
Tools You’ll Need to Craft a Wooden Pipe
To get started, you’ll need a few essential tools to shape and finish your wooden pipe. Here’s a list of the basic tools you’ll need:
- A hand saw or electric saw: To cut your wood block to the right size.
- A drill with various bits: To create the bowl and air chamber.
- Carving tools or a whittling knife: To shape the bowl and stem.
- Sandpaper: For smoothing the surface and ensuring the pipe is comfortable to hold.
- Finishing oil or wax: To seal the wood and enhance its appearance.
Having the right tools ensures that you can shape the wood precisely, resulting in a well-crafted, durable pipe that provides a smooth smoking experience.
Step-by-Step Guide to Crafting a Wooden Pipe
Now that you’ve selected the wood and gathered your tools, it’s time to start crafting your wooden pipe. Here’s a simple guide to follow:
- Cut your wood block: Start by cutting a block of your chosen wood to the desired size. A typical size for a pipe block is around 4-5 inches long and 2 inches wide, but you can adjust this based on your preferences.
- Drill the bowl: Using a drill with a wide bit, carefully drill a hole into the top of the block where the bowl will be. The bowl should be deep enough to hold your cannabis but not so deep that it’s difficult to light. Aim for about ¾ inch to 1 inch deep.
- Drill the airway: With a smaller bit, drill a hole from the side of the block into the bottom of the bowl. This airway is essential for proper airflow when smoking. Be sure to keep the airway straight and smooth for the best smoking experience.
- Shape the bowl and stem: Using your carving tools or whittling knife, begin shaping the bowl and stem of the pipe. Be creative with the design, but ensure the bowl is easy to grip and the stem is comfortable to hold in your mouth.
- Smooth the pipe: Once you’re satisfied with the shape, sand the entire pipe until it’s smooth to the touch. Start with a coarser grit sandpaper and work your way to finer grits to achieve a polished finish.
- Finish and seal the pipe: Apply a natural oil or wax to protect the wood and bring out its natural beauty. Allow it to dry fully before using.
With these steps, you’ll have your very own handcrafted wooden pipe, perfect for enjoying cannabis in style.
Promos & Deals
Selecting the Best Wood
The wood you choose for your pipe has a significant impact on both its functionality and longevity. The best woods for wooden pipes are durable, heat-resistant, and enhance the smoking experience without imparting an unwanted taste.
Hardwoods vs. Softwoods: Which is Better?
When it comes to pipe-making, hardwoods are always the better choice. Hardwoods, such as maple, cherry, and oak, are dense and less likely to burn or crack under heat, making them ideal for pipes. They are also easy to carve and finish, offering a smooth, polished look.
Softwoods, like pine or cedar, on the other hand, are not recommended. These woods are prone to cracking and can release unpleasant flavors when exposed to heat. Softwoods also absorb moisture more easily, which can lead to a soggy pipe that’s difficult to clean and maintain.
For a high-quality wooden pipe, always opt for a hardwood that provides both durability and a pleasant smoking experience.
Popular Wood Types for Pipe Making (Maple, Oak, Cherry)
Each wood type brings its own unique characteristics to a wooden pipe. Here’s a closer look at some popular choices:
- Maple: This light-colored wood has a fine, smooth grain that makes it easy to work with. Maple pipes are known for their clean, neutral flavor, making them ideal for those who want to taste only their cannabis.
- Oak: A denser wood with a rich, dark grain, oak adds a bit of earthiness to the smoking experience. It’s strong and durable, ensuring your pipe will last for years with proper care.
- Cherry: Cherry wood pipes are prized for their beautiful reddish hue and sweet, mild flavor. Cherry also ages well, developing a rich patina over time that enhances the pipe’s appearance.
Choosing the right wood for your pipe ensures that you not only have a durable, long-lasting piece but also one that enhances the overall smoking experience.
Why Wood Grain and Density Matter for Pipe Durability
The grain and density of the wood are key factors in the durability of a wooden pipe. A fine, tight grain means the wood is less likely to crack or warp, even after repeated use. Dense woods are also better at withstanding the heat generated during smoking, ensuring your pipe lasts longer.
When selecting your wood, look for pieces with a straight grain and few imperfections. Knots or cracks in the wood can weaken the structure and lead to breakage over time. By choosing a dense, tightly grained wood, you’ll create a pipe that not only looks beautiful but also stands the test of time.
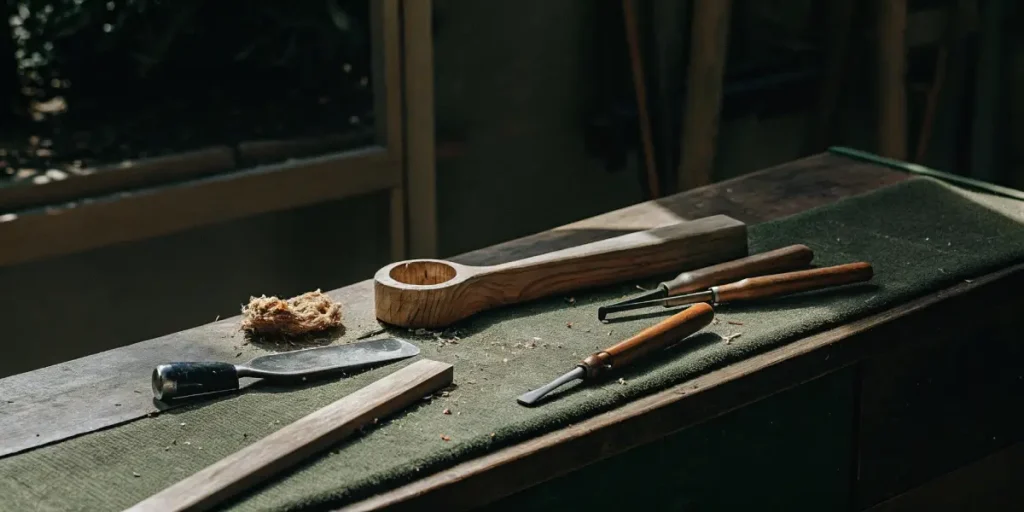
Crafting the Bowl and Stem
The bowl and stem are the most critical components of your wooden pipe. The bowl is where you’ll place your cannabis, and the stem is how you’ll inhale the smoke. Crafting these parts with precision will ensure your pipe functions well and provides an enjoyable smoking experience.
Shaping the Bowl for Optimal Airflow
The shape of the bowl significantly impacts the smoking experience. A well-crafted bowl should be deep enough to hold your cannabis but not so deep that it becomes difficult to light evenly. The bowl’s design also affects the airflow, which in turn influences how smooth the smoke is.
To shape the bowl:
- Start by drilling the hole for the bowl using a wide drill bit. Aim for a depth of about ¾ inch to 1 inch.
- Use a rounded carving tool to smooth the inner walls of the bowl, tapering the sides slightly toward the bottom to enhance airflow.
- Consider making the top of the bowl slightly wider to make packing and lighting easier. This design helps cannabis burn more evenly, reducing the need for relighting.
Taking the time to carefully shape the bowl ensures that smokes smoothly and burns the cannabis efficiently.
Drilling the Smoke Chamber and Airway
The smoke chamber, or airway, connects the bowl to the stem and allows smoke to travel through the pipe. A properly drilled airway is essential for smooth airflow and a satisfying smoking experience.
Here’s how to drill the airway correctly:
- Using a smaller drill bit, drill horizontally from the side of the pipe block into the bottom of the bowl. This hole should be straight and centered to allow for even airflow.
- Ensure that the airway is smooth, using a thin file or sandpaper to remove any rough edges inside the hole.
- The connection between the bowl and the airway should be airtight to ensure a consistent, smooth draw.
The size of the airway affects the pipe’s draw. A narrower airway creates more resistance, while a wider one allows for a smoother, easier draw. Balancing the size of the airway is essential for creating a functional wooden pipe.
Carving and Sanding the Stem for a Comfortable Fit
Once the bowl and airway are complete, it’s time to carve and sand the stem of your wooden pipe. The stem should be long enough to cool the smoke but short enough to comfortably fit in your mouth. The goal is to create a smooth, comfortable fit that feels natural when held and smoked.
To craft the stem:
- Begin by roughly carving the stem to your desired length and shape. You can use a carving tool or knife to do this. Taper the stem slightly for a more comfortable grip.
- Use progressively finer sandpaper to smooth the stem, ensuring there are no rough edges that could cause discomfort.
- Round the end of the stem that goes into your mouth to make it comfortable to hold between your lips. Some prefer adding a slight indent or groove for better ergonomics.
A well-carved and sanded stem ensures is comfortable to use, adding to the overall smoking experience.
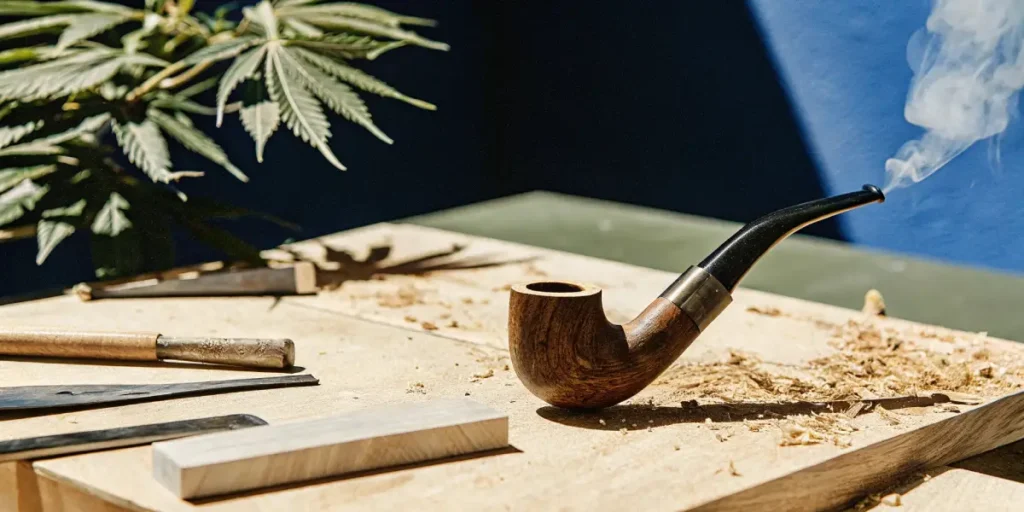
Finishing Touches of your Wooden Pipe
The finishing process gives your wooden pipe a polished appearance and protects the wood from heat, moisture, and wear. A properly finished pipe will last longer and maintain its beauty over time.
Sanding and Smoothing the Surface
After shaping the bowl and stem, it’s important to sand the entire surface of the pipe. This will give your wooden pipe a smooth, comfortable feel and prepare it for sealing.
Here’s how to finish the sanding process:
- Start with medium-grit sandpaper (120 grit) to remove rough edges and smooth the surface.
- Move to finer grit sandpaper (240-320 grit) to create an even smoother surface.
- Finish with extra-fine grit sandpaper (400 grit or higher) to give the wood a silky finish.
Sanding thoroughly ensures that feels great in your hand and mouth, enhancing both its appearance and functionality.
Sealing the Wood for Long-Lasting Use
Sealing your wooden pipe protects the wood from moisture and heat, which can cause it to crack or dry out. A good sealant also enhances the wood’s natural grain, giving your pipe a rich, polished look.
Here’s how to seal your pipe:
- Apply a food-safe oil, such as beeswax, mineral oil, or walnut oil, to the surface of the pipe. These oils penetrate the wood and protect it from moisture.
- Rub the oil into the wood using a soft cloth, then let it sit for 15-20 minutes before wiping away any excess.
- Repeat this process 2-3 times for deeper protection. For extra durability, you can apply a coat of wax after the oil has dried.
Sealing will enhance its appearance and protect it from damage, ensuring it lasts for years.
Optional Stains and Finishes to Customize Your Pipe
If you want to give a unique touch, consider applying a stain or finish to change its color. Stains can enhance the natural grain of the wood, giving your pipe a one-of-a-kind look.
When staining your pipe:
- Choose a food-safe, non-toxic stain that won’t affect the taste or safety of your pipe.
- Apply the stain evenly with a soft cloth or brush, making sure to cover the entire surface.
- Let the stain dry completely before applying a final coat of oil or wax to seal the color.
Customizing with a stain or finish allows you to create a unique, personalized piece that reflects your style while remaining functional.
Caring for Your Homemade Wooden Pipe
After you’ve crafted your beautiful wooden pipe, proper care is essential to ensure it lasts for years. Regular cleaning and maintenance not only extend the life of your pipe but also preserve the quality of your smoking experience. A well-maintained wooden pipe will continue to provide smooth, flavorful hits without the buildup of residue or unwanted flavors.
How to Clean and Maintain
Cleaning your wooden pipe after each use prevents resin buildup and keeps the airway clear for smooth smoking. Here’s a step-by-step guide on how to properly clean:
- Disassemble the pipe (if applicable): Some wooden pipes have removable stems. If your pipe is designed this way, carefully separate the bowl from the stem to make cleaning easier.
- Empty the bowl: After each session, tap out any remaining ash or burnt cannabis from the bowl. Use a pipe tool or small brush to remove any leftover debris.
- Clean the airway: Run a pipe cleaner through the stem and airway to remove any tar or resin buildup. For heavily used pipes, you may need to dip the pipe cleaner in alcohol (such as isopropyl) to break down the residue. Be sure to let the pipe dry fully before using it again.
- Wipe down the bowl: Use a soft cloth to wipe out the inside of the bowl. If there is resin buildup, gently scrape it away with a pipe tool or knife. Avoid using sharp tools that could scratch or damage the wood.
- Reapply oil or wax: Every few uses, apply a small amount of oil or wax to the exterior of the pipe to keep the wood hydrated and protected.
Regular cleaning ensures your wooden pipe stays in good condition and prevents any unpleasant flavors caused by old resin or debris.
Tips for Extending the Life
Taking a few extra steps in your daily routine can greatly extend the life of your wooden pipe. Here are some tips to keep your pipe in excellent condition for years to come:
- Rotate your pipes: If you own multiple wooden pipes, try not to use the same one every day. Rotating between pipes gives each one time to dry out fully between uses, which prevents moisture buildup that could cause cracking.
- Avoid overheating the bowl: Prolonged exposure to heat can cause the wood to dry out or crack. When smoking, allow the bowl to cool between hits to prevent overheating. Packing smaller bowls can help with this.
- Store your pipe in a cool, dry place: Moisture is the enemy of wood, so avoid leaving your pipe in humid areas. Store it in a case or stand to protect it from excess moisture and accidental damage.
By following these tips, your wooden pipe will remain a reliable and enjoyable tool for smoking cannabis for years.
Best Practices for Storing a Wooden Pipe
Proper storage is key to maintaining the quality and longevity of your wooden pipe. Here are a few best practices to ensure your pipe stays in top condition when not in use:
- Use a pipe stand or case: Storing your pipe in a stand prevents it from being damaged or dropped. A case also protects the pipe from dust, moisture, and physical damage.
- Keep it dry: Moisture can warp or crack wood over time, so be sure to store your pipe in a dry environment. If you live in a humid area, consider storing your pipe in a dehumidified room or container.
- Avoid extreme temperatures: Both heat and cold can affect the wood’s integrity. Avoid leaving your pipe in direct sunlight or near heaters, and don’t store it in areas that get extremely cold, like a car during winter.
With proper storage, your wooden pipe will remain in pristine condition, ready to provide an enjoyable smoking experience whenever you need it.
FAQs
What type of wood is best for making a cannabis wooden pipe?
Hardwoods like maple, cherry, and oak are the best choices for crafting a wooden pipe. They are dense, heat-resistant, and durable, ensuring a smooth smoking experience and long-lasting use. Avoid softwoods such as pine or cedar, as they can crack and produce unpleasant flavors when exposed to heat.
How do I properly maintain and clean a homemade wooden pipe?
To keep your wooden pipe in excellent condition, clean it after each use by removing ash and running a pipe cleaner through the airway. Apply food-safe oil or wax periodically to keep the wood hydrated and protected. Avoid exposing the pipe to moisture or extreme heat, as this can damage the wood over time.
Can I customize the design and finish of my wooden pipe?
Yes, you can personalize your wooden pipe by shaping it to your preferred style and applying food-safe stains or finishes. This not only enhances its appearance but also protects the wood. Finishing oils or waxes bring out the natural grain and ensure the pipe remains functional and durable for years.