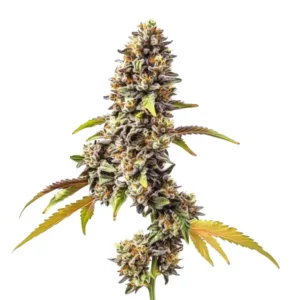
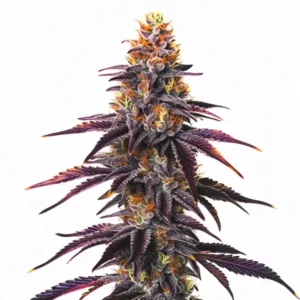
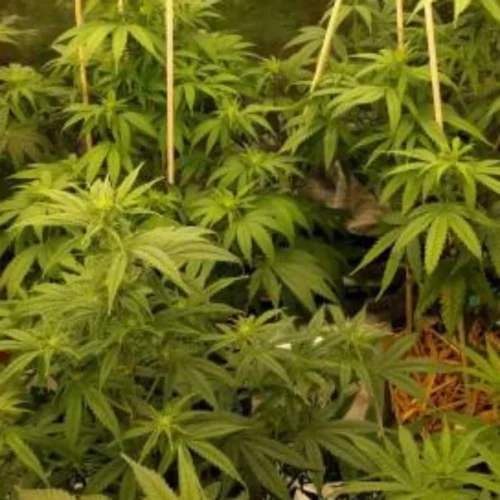
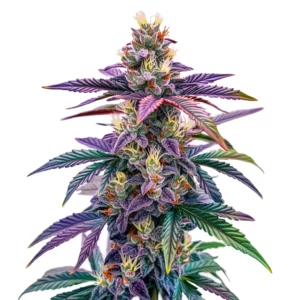
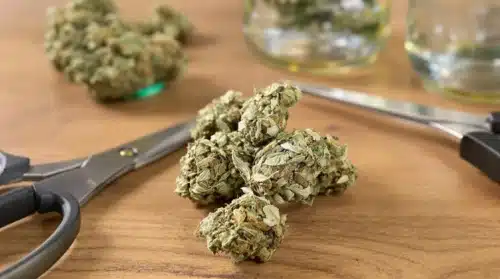
En el world of cannabis cultivation, one term that has gained significant traction in recent years is “autoflower seeds” or “autoflowering seeds.” These seeds have revolutionized the way people grow cannabis, making it easier and more accessible for beginners and experienced growers alike. In this comprehensive guide, we will explore the fascinating world of autoflower seeds, their advantages, how to grow them successfully, and the best autoflower strains to consider.
What Are Autoflower Seeds?
Autoflower seeds, often referred to as auto flower seeds or autoflowering seeds, are a type of cannabis seed that is genetically designed to automatically transition from the vegetative stage to the flowering stage without the need for specific light conditions. In traditional cannabis cultivation, photoperiod strains require a change in the light cycle to trigger the flowering stage. Autoflowering seeds, on the other hand, have been bred to flower based on their age rather than the light cycle, making them incredibly convenient for growers.
History of Autoflowering Cannabis
The history of autoflowering cannabis dates back to the work of a Russian botanist named Dr. Ruderalis. He discovered a unique cannabis subspecies known as Cannabis Ruderalis in the harsh climates of Siberia and Eastern Europe. Unlike traditional cannabis varieties, Ruderalis plants naturally transitioned from the vegetative stage to the flowering stage based on their age and not the light cycle. This discovery laid the foundation for the development of modern autoflowering cannabis strains.
Promos & Deals
Advantages of Autoflower Seeds
1. Quick Harvests One of the most significant advantages of autoflower seeds is their rapid growth and shorter life cycle. While photoperiod strains can take anywhere from 3 to 5 months to mature, autoflowering strains can be ready for harvest in as little as 8 to 10 weeks from seed. This quick turnaround is especially appealing to growers looking for a fast and discreet cultivation option.
For those seeking to maximize their yields, choosing the right soil is crucial. Learn more about the best soil types for autoflowering strains in this comprehensive guide.
2. Smaller Size Autoflowering cannabis plants tend to be smaller in stature compared to their photoperiod counterparts. This compact size makes them ideal for growers with limited space or those looking to maintain a low profile. It also makes them suitable for indoor cultivation setups where vertical space may be restricted.
3. Beginner-Friendly Autoflower seeds are incredibly beginner-friendly. They require less attention to light schedules, making them forgiving for novice growers who may not have the experience or equipment to manage light cycles effectively. Additionally, they are less prone to issues related to light interruptions or stress.
4. Multiple Harvests in a Single Season Due to their short life cycle, autoflowering plants can be grown and harvested multiple times in a single outdoor growing season. This means you can enjoy several harvests of fresh cannabis throughout the year, making them an attractive option for outdoor growers in regions with favorable climates.
5. Stealth Growing The smaller size and quick growth of autoflowering plants make them an excellent choice for stealthy or guerrilla growing. Whether you’re cultivating cannabis in a closet, on a balcony, or in a remote outdoor location, autoflower seeds provide a discreet and low-maintenance option.
How to Grow Autoflower Seeds Successfully
Now that we’ve explored the advantages of autoflower seeds, let’s delve into the essential steps to grow them successfully. Whether you’re a beginner or an experienced grower, these tips will help you maximize your autoflowering cannabis harvest.
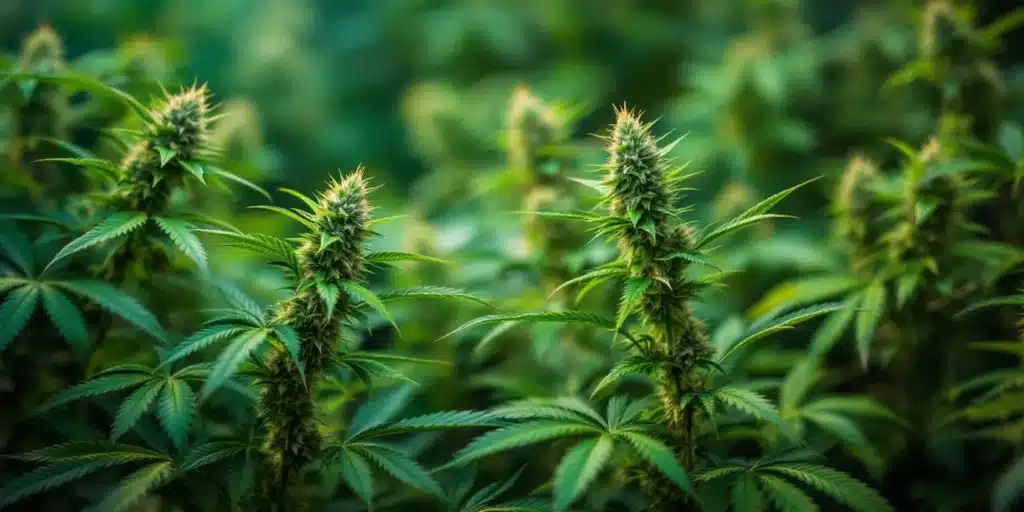
Choosing the Right Autoflower Strain
Before you start your cultivation journey, it’s essential to choose the right autoflower strain for your specific needs and preferences. Autoflowering seeds are available in a wide range of varieties, each with its unique characteristics in terms of flavor, potency, and growth traits.
When selecting an autoflower strain, consider factors such as the plant’s size, yield potential, cannabinoid profile, and whether you prefer indica-dominant, sativa-dominant, or hybrid strains. Additionally, research the breeder and read reviews to ensure you’re getting quality genetics.
Creating the Ideal Growing Environment
Creating the ideal growing environment is crucial for the success of your autoflowering cannabis plants. Here are some key factors to consider:
- Lighting: While autoflowering plants do not require a specific light cycle to flower, providing them with ample light is essential for maximizing yield. If you’re growing indoors, consider using high-quality grow lights, such as LEDs or HPS lamps, to ensure your plants receive the right amount of light.
- Temperature and Humidity: Maintain a consistent temperature and humidity level in your grow space. Autoflowering plants thrive in temperatures between 70-85°F (20-30°C) during the day and slightly cooler temperatures at night. Keep the humidity level between 40-60% to prevent mold and mildew issues.
- Air Circulation: Proper air circulation is crucial for preventing mold, improving nutrient uptake, and strengthening plant stems. Use fans to ensure good airflow within your grow space.
- Nutrient Management: Start with a balanced and complete cannabis-specific nutrient regimen. Autoflowering plants have different nutrient requirements compared to photoperiod strains. Avoid overfeeding, as autoflowers are generally more sensitive to nutrient burn.
- pH Levels: Monitor and adjust the pH of your water and nutrient solution to maintain a pH level between 6.0 and 6.5, which is optimal for nutrient absorption.
- Container Size: Choose an appropriate container size for your autoflowering plants. While they are smaller than photoperiod strains, they still need room to grow. A 3-5 gallon (11-19 liters) pot is typically suitable.
Germinating Autoflower Seeds
Before you can start growing your autoflowering cannabis plants, you’ll need to focus on germinating for autoflower seeds. Here’s a detailed guide to help you successfully germinate your autoflower seeds:
Step 1: Gather Your Supplies
- Autoflower seeds
- Filtered or distilled water
- Paper towels
- Two clean plates or saucers
Step 2: Prepare Your Seeds
- Place your autoflower seeds in a glass of filtered or distilled water. Allow them to soak for 12-24 hours to soften the seed coat.
Step 3: Create a Seed Bed
- Take a moist paper towel and place it on one of the plates.
- Carefully transfer your soaked autoflower seeds onto the paper towel, leaving some space between them.
- Fold the paper towel over the seeds to cover them gently.
Step 4: Maintain Moisture and Warmth
- Place the second plate on top of the first to create a seed bed sandwich.
- Keep the plates in a warm, dark place with temperatures around 70-85°F (20-30°C).
- Check the paper towel regularly to ensure it remains moist but not soaking wet.
Step 5: Wait for Germination
- In 24-72 hours, you should start to see your autoflower seeds crack and sprout. This indicates successful germination.
Transplanting Seedlings autoflower seeds
Once your autoflower seeds have sprouted and developed roots, it’s time to transplant them into their final growing containers. Follow these steps to transplant your seedlings:
Step 1: Prepare Your Growing Containers
- Fill your chosen containers with a well-draining, cannabis-friendly potting mix.
- Water the soil lightly before transplanting to ensure it’s evenly moist.
Step 2: Carefully Remove Seedlings
- Gently remove the germinated autoflower seeds from the paper towel and handle them with care.
- Use a pencil or dowel to create a small hole in the center of each container, approximately 1-2 inches (2.5-5 cm) deep.
Step 3: Transplant Seedlings
- Place each seedling into a prepared hole and cover the roots with soil.
- Lightly press down on the soil to secure the seedlings in place.
- Water the seedlings with a gentle spray to avoid disturbing the soil too much.
Step 4: Provide Adequate Lighting
- Once your seedlings are transplanted, ensure they receive adequate lighting. If growing indoors, set up your grow lights at the appropriate distance to prevent stretching and promote healthy growth.
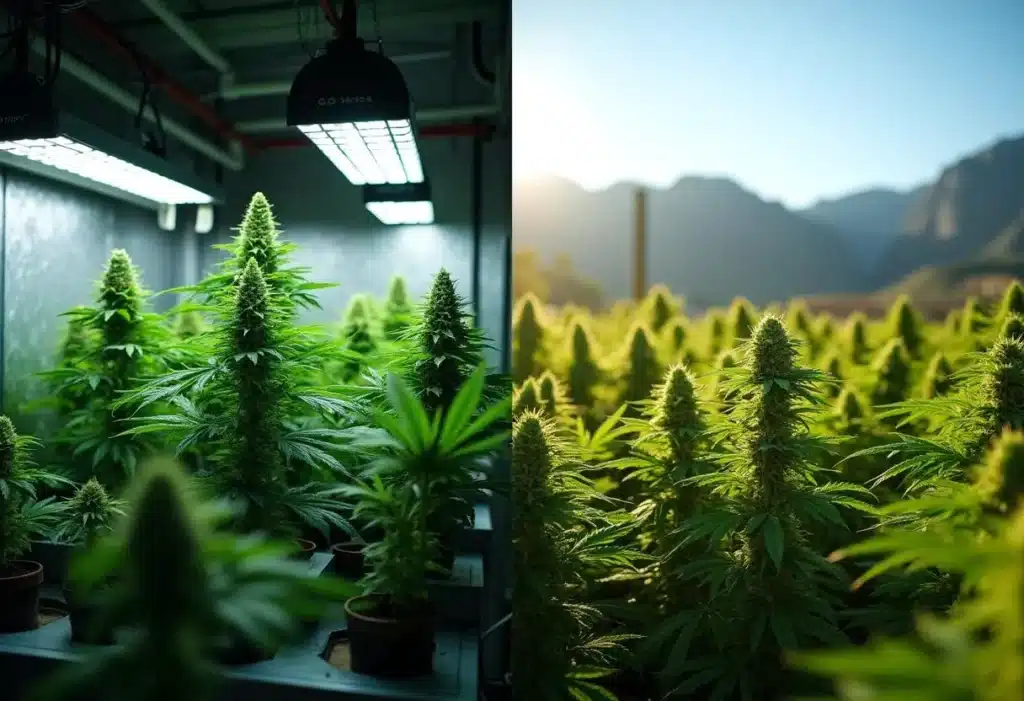
Nurturing Your Autoflowering Plants
With your autoflower seedlings successfully transplanted, it’s time to nurture them throughout their growth cycle. Here are some important care tips:
1. Watering
- Autoflowering plants have smaller root systems than photoperiod strains, so it’s crucial not to overwater. Allow the top inch (2.5 cm) of the soil to dry out before watering again.
- Use a pH-balanced water or nutrient solution to prevent nutrient imbalances.
- Avoid watering the leaves to reduce the risk of mold and pests.
2. Feeding
- Start with a light nutrient regimen specifically formulated for autoflowering cannabis plants.
- Follow the manufacturer’s instructions and monitor your plants for signs of nutrient deficiencies or excesses.
- Adjust nutrient levels as needed throughout the growth cycle.
3. Training and Pruning
- While autoflowering plants are naturally smaller, some low-stress training (LST) techniques can help improve light penetration and maximize yields.
- Be cautious with pruning and defoliation, as autoflowering plants have limited time to recover from stress.
4. Lighting
- Maintain a consistent light schedule throughout the growth cycle. Indoors, most growers use an 18-6 light schedule (18 hours of light, 6 hours of darkness) for the entire lifecycle of autoflowering plants.
- Ensure that your grow lights provide the appropriate spectrum and intensity for cannabis cultivation.
5. Support
- As your autoflowering plants develop buds, they may require support to prevent branches from bending or breaking under the weight of the flowers. Use stakes or netting to provide support.
6. Pest and Disease Management
- Regularly inspect your plants for signs of pests or diseases. Common cannabis pests include aphids, spider mites, and whiteflies.
- If you notice any issues, take prompt action to address them using organic or chemical solutions, depending on your preference.
Harvesting and Curing Autoflower Buds
The moment of truth has arrived—the harvest! Autoflowering cannabis plants typically have a shorter flowering period than photoperiod strains, so it’s essential to monitor their trichome development and determine the optimal time to harvest. Here’s how to harvest and cure your autoflower buds:
1. Harvesting
- Use a magnifying glass or jeweler’s loupe to examine the trichomes on your buds. Harvest when the trichomes have turned cloudy with a few amber-colored ones for a balanced effect.
- Use clean, sharp scissors or pruning shears to carefully cut the branches with mature buds.
- Trim away any excess leaves to improve the appearance and taste of your buds.
2. Drying
- Hang your harvested branches upside down in a cool, dark, and well-ventilated space with temperatures around 60-70°F (15-21°C) and humidity around 45-55%.
- Allow the buds to dry for 7-10 days, depending on their size and environmental conditions. They should feel crisp on the outside and slightly moist on the inside when properly dried.
3. Curing
- After the initial drying phase, place your dried buds in airtight glass jars.
- Burp the jars daily for the first week to release excess moisture and prevent mold.
- Gradually reduce the frequency of burping to once every few days or weekly.
- Cure your buds for at least two weeks, but many growers prefer a more extended curing period of 4-8 weeks for enhanced flavor and potency.
Best Autoflower Strains to Consider
Now that you’re familiar with how to grow autoflowering cannabis successfully, let’s take a look at some of the best autoflower strains available on the market. These strains are known for their quality, flavor profiles, and potency.
- Genetics: Girl Scout Cookies x Ruderalis
- THC Content: 22%
- Flavor Profile: Sweet, earthy, and slightly minty
- Effects: Relaxing body high with a cerebral buzz
- Genetics: Blue Dream x Ruderalis
- THC Content: 18-22%
- Flavor Profile: Fruity and sweet with hints of blueberry
- Effects: Uplifting and euphoric, followed by a gentle body relaxation
- Genetics: Northern Lights x Ruderalis
- THC Content: 16-20%
- Flavor Profile: Earthy, piney, and slightly sweet
- Effects: Relaxing and sedating, perfect for evening use
- Genetics: Amnesia Haze x Ruderalis
- THC Content: 18-22%
- Flavor Profile: Citrusy, lemony, and earthy
- Effects: Energetic and uplifting, ideal for daytime use
5. AK-47 Auto
- Genetics: AK-47 x Ruderalis
- THC Content: 20-22%
- Flavor Profile: Sweet, floral, and slightly skunky
- Effects: Balanced cerebral and body high, known for its potency
The Potential of Autoflower Seeds
Autoflower seeds, or autoflowering seeds, have undoubtedly changed the game for cannabis enthusiasts and cultivators. Their quick growth, smaller size, and ability to thrive in various environments make them an excellent choice for both beginners and experienced growers. With the right knowledge and care, you can cultivate high-quality autoflowering cannabis and enjoy the benefits of a faster, more accessible growing experience.
Whether you’re looking to maximize your yields, enjoy multiple harvests in a single season, or simply want to experiment with different strains, autoflower seeds offer a world of possibilities. From choosing the right strain to providing optimal care throughout the growth cycle, your journey with autoflowering cannabis promises excitement and reward.
Advanced Techniques for Growing Autoflower Seeds
As you progress in your journey with autoflower seeds, you may want to explore advanced techniques to further optimize your cultivation and maximize your yields. In this chapter, we’ll delve into some advanced strategies and methods that experienced growers use to achieve exceptional results with autoflowering cannabis.
Low-Stress Training (LST)
Low-Stress Training (LST) is a technique used to manipulate the shape and size of autoflowering plants by gently bending and tying down branches. LST can help create a more even canopy, improve light penetration, and increase bud production. Here’s how to apply LST to your autoflowering plants:
- Wait until your plants have a few sets of leaves, and the main stem has become sturdy.
- Gently bend the main stem and secure it in place using soft ties, such as plant training wire or garden twine.
- Gradually train the side branches to grow horizontally rather than vertically.
- Continue adjusting and tying down branches as needed to maintain an even canopy.
Topping and FIMing
Topping and FIMing are techniques that involve removing or pinching off the top growth of a cannabis plant to encourage the development of multiple main colas. While these techniques are commonly used on photoperiod strains, they can also be applied to autoflowering plants with caution. Keep in mind that autoflowers have a limited vegetative stage, so timing is crucial. Here’s how to do it:
- Wait until your plants have at least four sets of true leaves.
- For topping, use clean scissors or pruning shears to cut off the top growth just above a set of leaves.
- For FIMing (short for “F**k, I Missed”), pinch off the top growth between your thumb and forefinger, leaving a portion of it intact.
- Topping and FIMing may slow down growth temporarily but can lead to increased bud sites and a bushier plant.
ScrOG (Screen of Green)
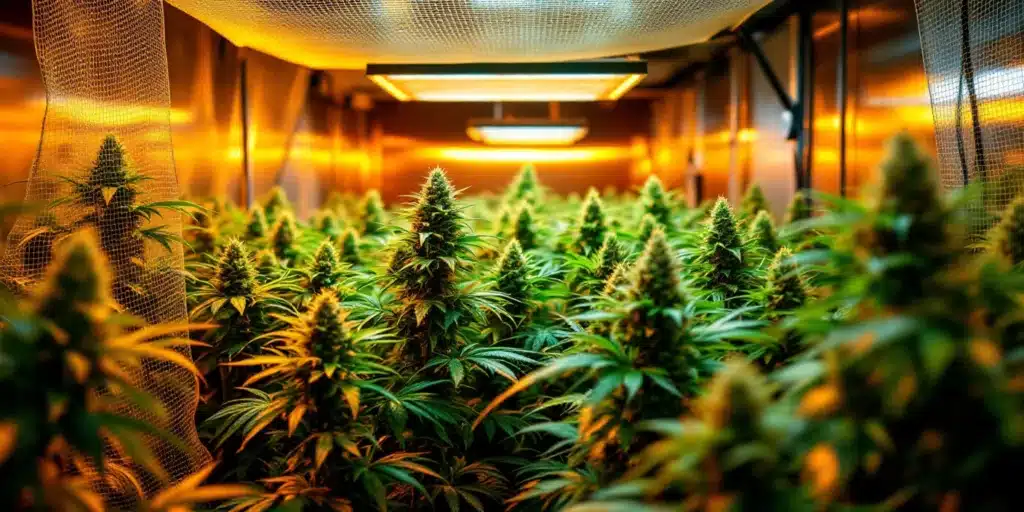
The Screen of Green (ScrOG) technique involves using a screen or mesh to create a horizontal canopy for your autoflowering plants. This method is excellent for maximizing light exposure to lower bud sites and increasing yields. Here’s how to implement ScrOG:
- Install a screen or mesh netting above your plants at a suitable height, typically around 20-24 inches (50-60 cm) from the growing medium.
- As your plants grow, gently weave the branches through the holes in the screen, positioning them evenly.
- Continue to tuck and train the branches as they grow, allowing them to spread out horizontally.
- ScrOG can be particularly effective when combined with LST techniques.
Advanced Nutrient Strategies
Autoflowering plants have specific nutrient requirements, and advanced nutrient strategies can help you achieve optimal results. Consider the following approaches:
- Nutrient Cycling: Implement a nutrient cycling regimen where you alternate between feeding and flushing your plants with plain water. This can help prevent nutrient buildup and enhance flavor.
- Supplemental CO2: Some growers introduce supplemental carbon dioxide (CO2) to their grow spaces to boost plant growth. CO2 enrichment is more common in larger, controlled environments.
- Organic Growing: Explore organic growing methods and nutrient solutions if you prefer a natural and sustainable approach. Organic nutrients can enhance the flavor and aroma of your autoflower buds.
Pruning and Defoliation
While pruning and defoliation can be stressful for autoflowering plants, strategic removal of specific fan leaves and lower growth can improve airflow, light penetration, and bud development. Be cautious and gentle when pruning, as autoflowers have limited recovery time. Focus on removing leaves that are blocking light to lower bud sites or those that are yellowing or dying.
Environmental Control
Advanced growers often invest in precise environmental control equipment to create the optimal conditions for their autoflowering plants. This may include:
- Climate Controllers: Use climate controllers to maintain precise temperature, humidity, and CO2 levels in your grow space.
- Advanced Lighting: Consider high-end LED grow lights or full-spectrum setups that provide the ideal spectrum for cannabis cultivation.
- Automated Systems: Set up automated irrigation, feeding, and lighting systems to minimize human error and maintain consistent conditions.
Troubleshooting Common Issues
Even with careful cultivation, issues can arise during the growth of autoflowering plants. Identifying and addressing common problems is key to achieving a successful harvest. Here are some common issues and their solutions:
1. Nutrient Deficiencies or Excesses
- Symptoms: Yellowing leaves, brown spots, curling, or stunted growth.
- Solution: Adjust your nutrient regimen to correct imbalances. Use a pH meter to ensure proper pH levels in your water and nutrient solution.
2. Overwatering or Underwatering
- Symptoms: Wilting, drooping leaves, yellowing, or slow growth.
- Solution: Monitor the moisture level of the soil and adjust your watering schedule accordingly. Allow the top inch of soil to dry before watering again.
3. Light Stress
- Symptoms: Light burn, bleaching, or unusual leaf growth patterns.
- Solution: Adjust the distance between your grow lights and plants to prevent light stress. Follow the recommended light intensity for your specific grow lights.
4. Pests and Diseases
- Symptoms: Yellowing leaves, webbing, spots, or unusual growth patterns.
- Solution: Inspect your plants regularly for pests and diseases. If detected, treat them promptly with appropriate organic or chemical solutions.
Growing autoflower seeds, also known as autoflowering seeds or auto flower seeds, offers an exciting and convenient way to cultivate high-quality cannabis. Whether you’re a beginner looking for an accessible entry point into cannabis cultivation or an experienced grower seeking to experiment with new techniques, autoflowers provide a wealth of possibilities.
By recognizing the benefits of autoflower seeds, selecting the right strains, creating an ideal growing environment, and using advanced techniques, you can achieve remarkable results. Keep a close eye on your plants, adjust your care routine as necessary, and address any issues that may come up.
As you continue your journey with autoflowering cannabis, keep experimenting, learning, and refining your skills. With dedication and a passion for cannabis cultivation, you can unlock the full potential of autoflower seeds and enjoy a bountiful harvest of premium-quality buds.

