How to Germinate Autoflower Seeds Successfully

Germination Success: Germinating autoflower seeds involves creating optimal conditions to transition seeds from dormancy to growth. The best way to germinate these seeds is by using methods like the paper towel technique, which can achieve germination within 24 to 72 hours. This approach ensures robust seedlings ready for the next growth stages.
Germinating autoflower seeds is a pivotal step in cannabis cultivation, focusing on terpene profiles and flowering times. The process requires understanding the unique characteristics of autoflowers, which have a predetermined lifecycle. By optimizing conditions, you can enhance terpene production and ensure timely flowering, leading to a successful harvest.
Recommended Strains
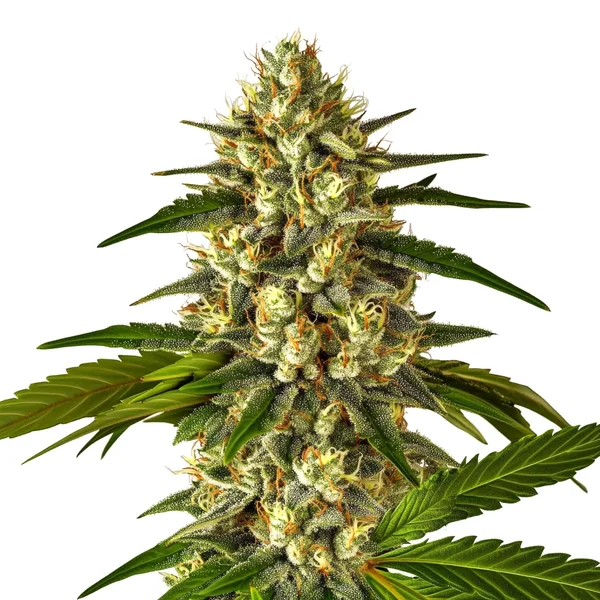
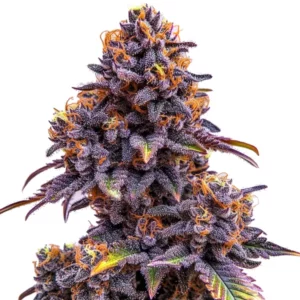
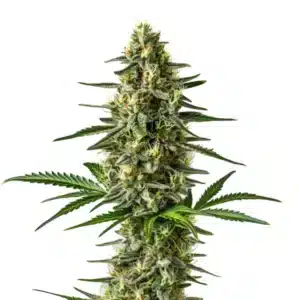
Fruit Auto
|
|
THC | 8% - 10% (Low) |
|
|
Type | Autoflowering |
|
|
Yield | High |
|
|
Phenotype | 80% Indica / 20% Sativa |

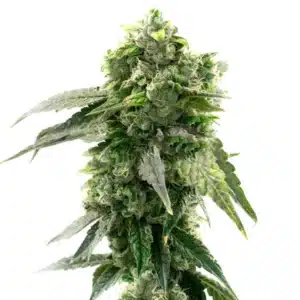
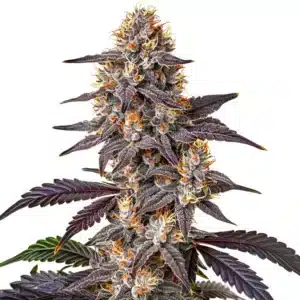
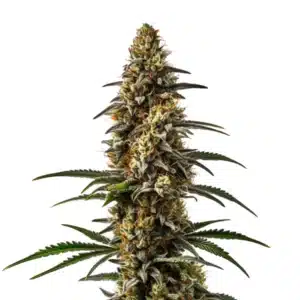
Fruity Pebbles
|
|
THC | 18% - 20% (Medium) |
|
|
Type | Feminized |
|
|
Yield | High |
|
|
Phenotype | 55% Indica / 45% Sativa |
The Autoflower Seed Germination
Key Differences from Photoperiod Seeds
Autoflower seeds differ from photoperiod seeds primarily in their flowering mechanism. Autoflowers transition to flowering based on age rather than light cycles, typically flowering within 70-80 days from seed. This unique trait allows for multiple harvests per year, making them ideal for growers with limited space or time constraints.
Unlike photoperiod strains that require specific light schedules to induce flowering, autoflowers need consistent conditions throughout their lifecycle. Maintaining a stable environment with temperatures between 70°F and 75°F (21°C to 24°C) is crucial. These seeds also thrive with a humidity level of 70-90% during germination to ensure optimal moisture for sprouting.
Proven Methods for Germinating Autoflower Seeds
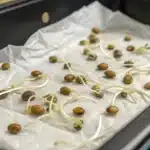
The best way to germinate autoflower seeds involves selecting the appropriate method based on your setup. The paper towel method, for instance, is favored for its simplicity and effectiveness. It involves placing seeds between damp paper towels, maintaining a temperature of 70°F to 75°F (21°C to 24°C), and checking daily for sprouting.
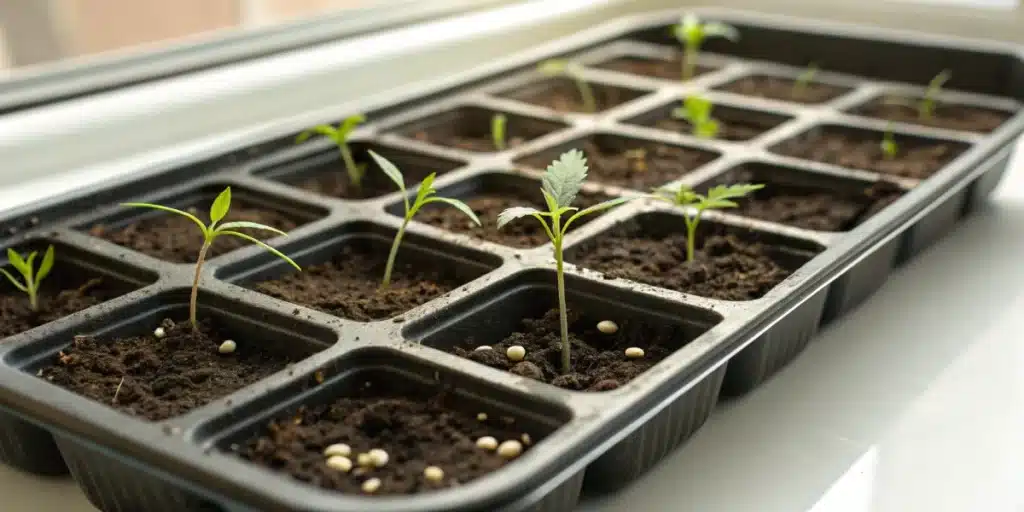
Alternatively, planting autoflower seeds directly in soil mimics natural conditions and reduces transplant shock. Choose a light, well-draining soil mix and maintain consistent moisture. This method allows the seedling to establish roots without the stress of handling, promoting healthier growth.
For those opting for hydroponics, germinate autoflower seeds by soaking them in water for 12-24 hours. Then, transfer them to a hydroponic medium like Rockwool, ensuring the medium stays moist. This method offers precise control over the growing environment, crucial for rapid and healthy seedling development.
Promos & Deals
Creating the Optimal Environment
Temperature and Humidity Control
Maintaining the right temperature and humidity is vital for successful germination. Autoflower seeds require a warm environment, ideally between 70°F and 75°F (21°C to 24°C), to trigger the germination process. Consistent warmth ensures that seeds break dormancy and begin root development efficiently.
Humidity levels should be kept high, around 70-90%, to provide the necessary moisture for seeds to sprout. Using a humidity dome can help maintain these conditions, preventing the medium from drying out and ensuring seeds remain hydrated throughout the process.
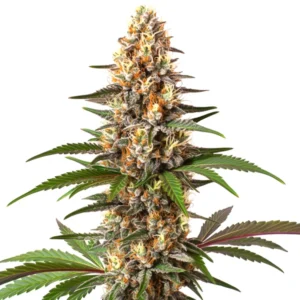
| Feature | GG4 Auto | Bruce Banner X Do Si Dos | Cbd Blueberry 11 |
|---|---|---|---|
| THC% | 24-28% | 25-30% | 8-10% |
| Dominant Terpene | Caryophyllene | Myrcene | Linalool |
| Flowering Time | 8-9 weeks | 9-10 weeks | 10-12 weeks |
| Yield | 1.5-2 oz/ft² (450-600 g/m²) | 2-2.5 oz/ft² (600-750 g/m²) | 1-1.5 oz/ft² (300-450 g/m²) |
| Effect | Relaxing | Euphoric | Calming |
Importance of Light and Water Quality
While light is not essential during germination, it becomes crucial once seedlings emerge. Autoflower seedlings require 16-18 hours of light per day to support photosynthesis and robust growth. Position grow lights close to seedlings to prevent stretching and promote healthy development.
Water quality is equally important. Use filtered or distilled water with a pH of 6.0-6.5 to avoid contaminants that could hinder germination. Tap water may contain chlorine, which can be harmful to delicate seedlings, so letting it sit for 24 hours before use is advisable.
Professional Tips for Germinating Autoflower Seeds
- Maintain 70-75°F (21-24°C) for optimal germination. Temperatures below 65°F slow growth; above 80°F can damage seeds. Use a heat mat for consistency.
- Keep humidity at 70-90% during germination. Low humidity below 60% can dry out seeds, while above 95% risks mold. Use a hygrometer for accuracy.
- Use filtered water with a pH of 6.0-6.5. High pH above 7.0 or low below 5.5 can inhibit nutrient uptake. Avoid tap water with chlorine.
- Provide 16-18 hours of light post-germination. Less than 14 hours can stunt growth; more than 20 hours may cause stress. Use LED grow lights for efficiency.
- Choose a light, well-draining soil mix. Compacted soil restricts root growth, while overly rich soil can burn seedlings. Opt for seedling-specific mixes.
- Monitor seedlings daily for moisture. Overwatering leads to root rot; underwatering causes wilting. Keep soil consistently moist but not soggy.
FAQs on Germinating Autoflower Seeds
How do you germinate autoflowering seeds?
To germinate autoflowering seeds, place them between damp paper towels or directly in a light, well-draining soil. Maintain a temperature of 70-75°F (21-24°C) and a humidity level of 70-90%. Check daily for sprouting, which typically occurs within 24 to 72 hours, ensuring optimal conditions for healthy seedlings.
Is it better to germinate seeds in water or paper towel?
Germinating seeds in a paper towel is often preferred for its control over moisture levels and ease of monitoring. This method allows for consistent humidity and temperature, crucial for successful germination. Water soaking can initiate the process, but prolonged exposure risks drowning seeds, making paper towels a safer choice.
How long does it take to germinate an autoflower seed?
Autoflower seeds typically germinate within 24 to 72 hours under optimal conditions. Maintaining a temperature of 70-75°F (21-24°C) and high humidity levels between 70-90% ensures quick sprouting. Delays beyond this timeframe may indicate suboptimal conditions or seed quality issues.
What does a 4 week old autoflower look like?
A 4-week-old autoflower should display several sets of true leaves and begin showing signs of pre-flowering. At this stage, plants are typically 6-12 inches tall and well-established, with a healthy green color. Proper light exposure and nutrient management are crucial to support continued growth and transition to flowering.
Can autoflower seeds be germinated in hydroponics?
Yes, autoflower seeds can be germinated in hydroponic systems. Start by soaking seeds in water for 12-24 hours, then transfer them to a hydroponic medium like Rockwool. Maintain a temperature of 70-75°F (21-24°C) and ensure the medium stays moist. This method offers precise control over the growing environment.