Before delving into how to make our water bottle bong at home, we will reveal some fundamental points that will help us fully understand the topic of this article.
Let’s begin with the bong. What exactly is a bong? The concept of bongs revolves around cooling the smoke produced by the combustion of herbs. This ensures that the smoke feels smoother and is easier to inhale. Bongs are highly favored among marijuana smokers, not only for enhancing the experience but also for maximizing the marijuana’s effects, as all the active substances are delivered into your system when inhaling from a bong. Bongs come in various sizes, materials, colors, and shapes. They can be made from glass, acrylic, wood, clay, metal, bamboo, and ceramic. However, regardless of their appearance or material, bongs generally operate similarly.
Recommended Strains
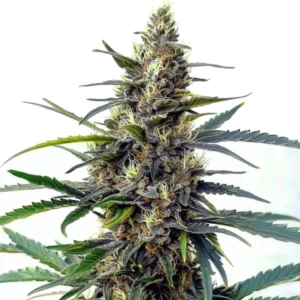
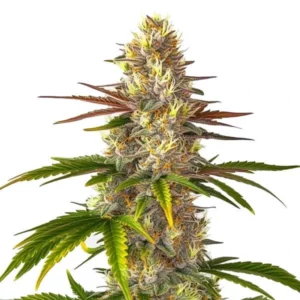
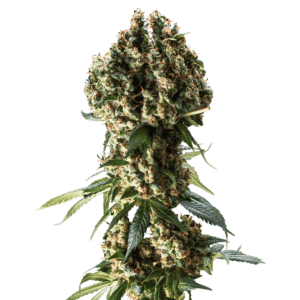
24k Gold
 THC: 19% - 22%
 Type of seed: Feminized
 Phenotype: Mostly Indica
 Day to flower: 8 - 10 weeks
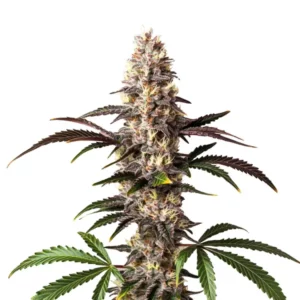
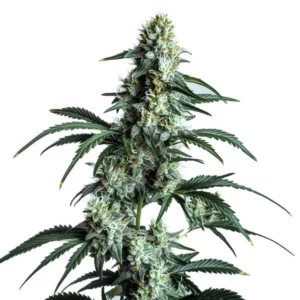
24k Gold Autoflower
 THC: 18% - 24%
 Type of seed: Autoflowering
 Phenotype: Mostly Sativa
 Day to flower: 8 - 10 weeks
How do you choose a bong that best suits your needs? With so many different shapes, sizes, and materials available, it’s understandable if you’re unsure which option is the best for you.
How to use a bong?
A bong is commonly used for smoking marijuana or other herbal extracts. Unlike other traditional smoking methods that often irritate the throat due to hot and harsh smoke, the water in a bong cools down the smoke’s temperature before it reaches the mouth. This process provides smoother and purer hits and can help prevent throat irritation. One inhales through a wide tube called the neck when using a bong. Some users even opt for a DIY water bottle bong, which functions similarly by using water to cool the smoke. Therefore, if you smoke marijuana or extracts like hashish or wax in a bong, you can take in a large volume of smoke in one go, providing a quick and potent effect.
To use a bong:
- Start by adding some cold water to it. The water will cool down the smoke, allowing for a larger intake.
- Ensure the water level is low enough to prevent it from spilling out of the carburetor (air intake) when inhaling yet deep enough to filter the smoke thoroughly.
- Fill the bowl with marijuana, hashish, or another substance.
- Place your mouth on the bong’s mouthpiece and hold the bong, covering the carburetor with a finger.
- Hold a lighter to the bowl containing the weed you’re going to smoke while simultaneously inhaling.
- Hold your breath.
- Try to keep the smoke in for at least 6 seconds.
Promos & Deals
How to Make Water Bottle Bong Step by Step
Step 1:
Acquire a container. You’ll need to procure a container appropriate for constructing a water bottle bong. A standard 16.9-ounce plastic water container should suffice.
Water containers are preferable to soda containers as they do not leave behind any adhesive residue.
The label on the container can be removed if desired. Retaining any water in the container is not necessary.
Nevertheless, if you prefer the bong to remain upright, you may leave some water in to provide weight. This isn’t a conventional bong as it doesn’t filter smoke through water; nonetheless, it can be crafted swiftly and effortlessly.
Step 2:
Remove the cover and place it aside, as it won’t be necessary.
Step 3:
Take a small strip of aluminum foil. This strip will function as the container and should measure approximately 2.5 inches by 2.5 inches (5cm by 5cm). Using thick or “heavy-duty” aluminum foil is recommended for optimal outcomes.
If you only have lightweight aluminum foil, fold it to increase thickness before shaping it into a 2.5-inch by 2.5-inch square.
The aluminum foil strip should be large enough to cover the bottle’s opening and fold over its edges. Assess your bottle; if a 2.5-inch by 2.5-inch size appears insufficient, tear off a larger aluminum foil.
Step 4:
Utilize the aluminum foil. Encase the upper rim of the uncapped water bottle with the foil, securing it snugly. Apply pressure with your thumb to shape the foil into a concave bowl at the bottle’s opening. Ensure the depression is spacious for your herb, but avoid excessive force to prevent tearing the foil. Remember, improper use of aluminum, including heating, inhaling, or ingesting, can pose toxicity risks.
Step 5:
Create perforations in the aluminum foil dish. 5 or 6 perforations should suffice. Utilize a needle, straight pin, toothpick, or similar slender tool. Ensure that the perforations are spaced apart adequately to prevent the dish from tearing. Exercise caution to avoid creating too large perforations that may cause the dish to tear.
Step 6:
Create an opening on the bottle’s side. Make another hole on the outer surface of the bottle, slightly above the label’s end. This is where you’ll put your mouth. Avoid making the hole too large. Use a needle or straight pin to create a hole gently, then wiggle it to enlarge it slightly.
Step 7:
Enlarge the side opening using scissors, aiming for an initial diameter of approximately 1 inch (2.5cm). Avoid tearing the bottle; press down on the opening to create a slight indentation in the plastic, then gradually widen the opening. Begin by making the hole slightly smaller than desired; you can always increase its size later if necessary, but you cannot make it smaller once it’s enlarged.
Step 8:
Prepare the bowl for your water bottle bong. Place a portion of your preferred herb in the aluminum foil container. Do not put too much; you can add more later, but avoid spillage over the edges. If bits of your herb slip through the container, the holes you made are too big. Remove the aluminum foil and try again, this time with smaller perforations.
Step 9:
Inhale. Seal the side opening with your lips. Ignite the bowl and allow the smoke to fill the makeshift water pipe.
Step 10:
Breathe in softly. While igniting the bowl and filling the water bottle with smoke, gently place the lighter aside and inhale the smoke within the bottle.
Make your Water Bottle Water Bong: Second Way
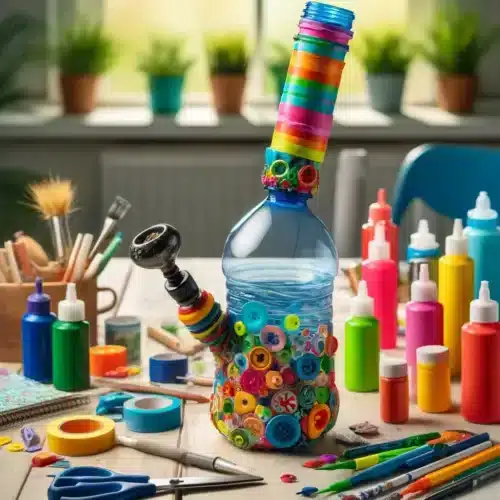
Other types of bottled water Bongs can come with a smoking pipe in addition to the bottle to make smoking much more comfortable for the user. Now we will see how to make a homemade Botlle Water Bong with a pipe where you can put your marijuana or extract it quickly and smoke in a more relaxed way.
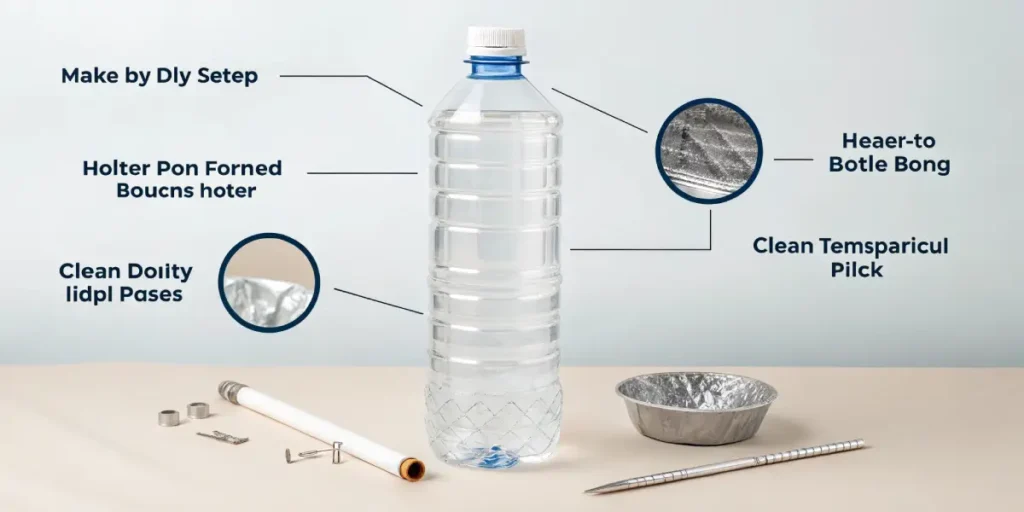
Break down all components.
Remove the label and lid of the water bottle. The bottle then serves as the bong chamber, and its opening becomes the mouthpiece.
Dismantle the ballpoint pen, separating all its parts until only the long, empty plastic tube remains. This tube functions as the downstem.
Insert the Downstem and Create a Choke Hole
Utilize the lighter to create a small aperture on the side of the plastic water bottle, positioning it roughly one-third of the way up from the base. Ensure the hole is melted rather than cut, making the plastic soft, flexible, and adhesive.
After melting the hole, promptly insert the downstem (plastic pen tube) into the water bottle. The softened plastic will effectively seal around it. Exercise caution to avoid contact with the molten plastic while it remains hot, as it may adhere to the skin.
Create a Piercing Hole (optional)
Create an additional hole for the choke (the piercing hole). Position it on the opposite side of the bottle from the downstem hole, roughly one-third of the distance from the bottom once more.
Craft a Bowl
Shape a piece of aluminum foil into a bowl around the toothpick or skewer. The shaping method is flexible, but ensure you achieve a bowl shape capable of holding the bud and transitioning into a short, thin shaft. Since this section will eventually serve as the bowl for your water bottle bong, adjust the size accordingly so it fits securely into the downstem.
Remove the toothpick and utilize its pointed end to puncture a few extra holes from the bowl towards the tapered end. These additional holes will aid airflow and serve as a screen.
Securely Connect the Bowl to the Downstem
Place the tapered end of the bowl into the downstem. Use additional aluminum foil to firmly attach the bowl downstem, ensuring a tight seal. Test airflow by sucking in air through the bottle’s mouth (finger on choke) to confirm smooth movement through the bowl. If necessary, enlarge the holes in the bowl for improved airflow.
Grind And Pack Your Bowl
Grind your exquisite cannabis with a grinder (or explore alternative methods—perhaps your grinder is out of commission, too!). You might require a slightly coarser grind than usual to prevent any material from slipping through and obstructing the holes. Pack the bowl in the same manner as you would with a typical bong.
Fill the water bottle.
Pour water into the bottle through the opening, filling it approximately one-fourth from the base.
Ignite It!
Position your lips on the mouthpiece and cover the choke with your hand. Bring the lighter close to the bowl and ignite it. Take a deep breath to fill the chamber with smoke, and exhale when prepared. Inhale to draw the smoke into your lungs. Have a great time!
Water Bong Bonus Track
Now, we will see other ways to make a water bong at home with equally valid tools, delivering homemade water bongs that are 100% functional and friendly to weed users.
Make a Mason Jar Bong in the House
“The initial step involves taking any jar from your household and creating three openings in its lid—two of them of equal size and a smaller one designated for the carb. Next, locate any available tubes from your household or repurpose old markers, similar to what’s done in tutorials on how to make a bong out of a plastic bottle, and insert them into the jar through the larger openings. It’s important to note that one of the tubes should be sufficiently long to be submerged in water, serving as the downstem.
Ultimately, you will have to construct a receptacle at the end of the elongated tube. This can be accomplished effortlessly by wrapping it with aluminum foil or affixing a metal bottle cap sourced from items like olive oil or alcoholic bottles and subsequently perforating it with small holes to allow smoke passage.
Gravity Water Bong
First, grab the bottle and discard the cap, then seal the mouthpiece with foil to create the bowl for the bong. Next, use a needle or slender object to make small perforations in the bowl, allowing the smoke to pass through and into the bottle.
Next, grab the larger container and fill it with water. Submerge your half-filled bottle containing the aluminum foil, ensuring the foil faces upward. Seal and ignite the bowl while gradually raising the gravity bong, ensuring it doesn’t detach completely to trap the smoke. Maintaining the bottle’s position, cautiously remove the aluminum foil and inhale the accumulated smoke while depressing the bottle. If unable to finish in one inhale, cover the mouthpiece with your hand until ready for another hit.
Why Make a Water Bottle Bong in-House?
We already told you that bongs, including the popular water bottle bong, offer rich, flavorful clouds of smoke for intense experiences. These are often found at social gatherings and are preferred by cannabis enthusiasts for their capacity for larger inhales and easy cleanup without the need for paper.
They are often considered a tastier and “healthier” option compared to other smoking methods. However, there is conflicting evidence about whether they are healthier. While some studies suggest that bong water filters out harmful particles from combustion, others indicate that bongs can release fine particles that could be harmful. Ultimately, the decision to use a bong is a personal one. For those who are unsure or looking to save on cannabis flowers, making a homemade bong from a water bottle can be a creative and cost-effective way to explore the technology.
FAQs
What is a water bottle bong and how does it work?
A water bottle bong is a homemade smoking device created by modifying a standard plastic bottle to function like a traditional bong. It uses water to cool and filter the smoke, delivering smoother and more potent hits. The smoke travels through the water, reducing its temperature and harshness before being inhaled.
Is using a water bottle bong safe?
While a water bottle bong is a quick and affordable DIY option, it’s not the safest long-term method. Heating plastic or aluminum foil can release harmful chemicals, so it’s recommended only for occasional use. Always ensure the materials used are clean and avoid inhaling directly from melted plastic components.
Why make a water bottle bong instead of using a traditional glass bong?
Many people opt to make a water bottle bong when they don’t have access to a traditional bong. It’s inexpensive, easy to build with household items, and provides a similar smoking experience. It’s also a great temporary solution for cannabis users seeking larger inhales and smoother smoke without investing in glassware.


