Creating a DIY bong can be a fun and rewarding project, allowing you to customize your smoking experience to fit your personal style and needs. Whether you’re a seasoned smoker looking for a unique piece or a newcomer curious about the process, this guide will walk you through everything you need to know to build your own bong from scratch.
Introduction to DIY Bongs
Venturing into the world of DIY bongs opens up a realm of creativity and personal expression unlike any other. The allure of constructing a custom bong or pipe comes from more than just the satisfaction of making something with your own hands; it’s about tailoring your smoking experience to fit your unique preferences, aesthetic, and functional desires. This personalized approach not only adds a special touch to your smoking sessions but can also lead to a deeper appreciation for the art of smoking itself.
Recommended Strains
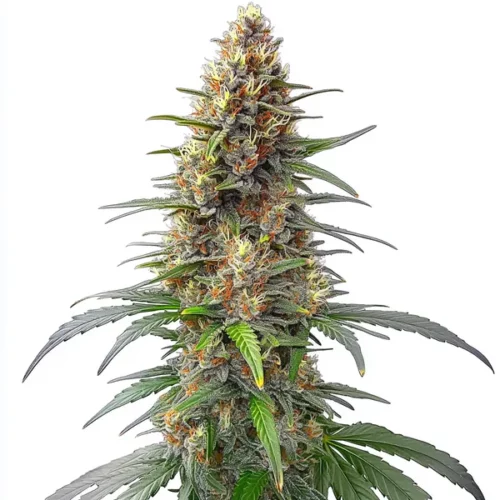
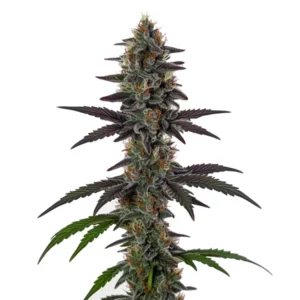
Permanent Marker Auto
 THC: 32% - 34%
 Type of seed: Autoflowering
 Phenotype: Mostly Hybrid
 Day to flower: 7 - 9 weeks
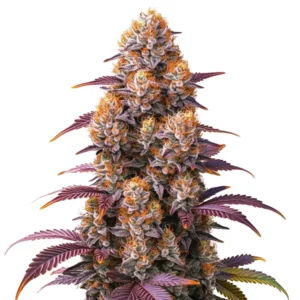
Permanent Marker Auto HMC Edition
 THC: 32% - 34%
 Type of seed: Autoflowering
 Phenotype: Mostly Hybrid
 Day to flower: 7 - 9 weeks
However, embarking on this DIY journey requires a mindful approach, especially when it comes to safety and legality. Before diving into the crafting process, it’s essential to familiarize yourself with the materials and tools you’ll be using. Ensuring that everything from the construction items to the adhesives is safe for use is paramount. Some materials can release harmful fumes when heated, or degrade over time in a way that could be hazardous to your health.
It’s equally important to stay informed about the legal landscape concerning the possession and use of bongs in your area. Laws can differ greatly depending on your location, and being aware of them helps prevent your DIY project from unintentionally causing legal issues.
At its core, the DIY bong-making process is about experimentation and learning. Whether you’re crafting a simple water bottle bong as a fun weekend project or dedicating time to create a sophisticated, multi-chambered piece, each step offers valuable insights into the physics of smoking and the importance of design in creating the perfect smoking experience. This guide aims not only to navigate you through the technical aspects of building your own bong but also to inspire you to infuse your creations with personal flair, making each session a truly one-of-a-kind experience.
Promos & Deals
The Basics of a Bong
Before diving into the construction process, it’s important to understand what a bong is and how it works. Essentially, a bong is a filtration device commonly used for smoking cannabis, tobacco, or other herbal substances. The smoke passes through water, which cools and filters it before inhalation. Many enthusiasts enjoy creating at home bongs as a DIY project, allowing for customization and creativity in their smoking experience.
Materials and Tools You’ll Need
Embarking on the journey of creating a DIY bong requires not just creativity and enthusiasm but also the right materials and tools. This section will guide you through everything you need to gather before starting your project. Remember, the essence of a DIY bong lies in its personal touch and the utilization of available resources, so feel free to adapt based on what you have at hand.
Materials
1. The Body: The choice of the body is crucial as it forms the main chamber where smoke cools and filters through the water. Common household items can serve well, including:
- Plastic Bottles: Easily available, plastic bottles come in various sizes. Consider a 2-liter bottle for larger bongs or a smaller water bottle for a more portable option.
- Glass Jars: Mason jars or any glass container offer durability and a cleaner taste compared to plastic. Ensure the glass is thick enough to withstand minor bumps.
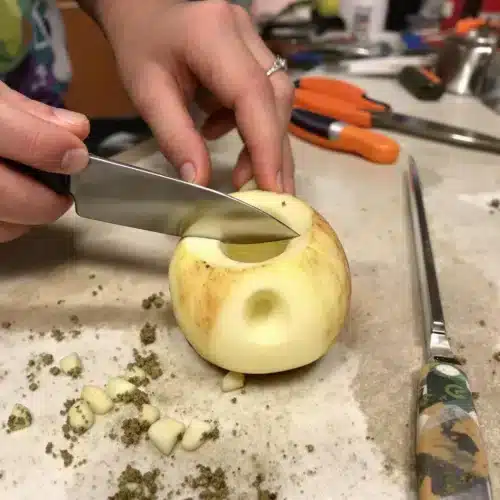
- Fruits and Vegetables: For a natural, biodegradable option, large fruits or vegetables like watermelons or pumpkins can be transformed into eco-friendly, single-use bongs.
2. The Bowl and Stem: These components are vital for holding the substance being smoked and connecting it to the bong body.
- Metallic Pen Tubes or Aluminum Foil: Pen tubes can serve as stems, while aluminum foil can be shaped into a makeshift bowl. Ensure any metals used are safe and do not release harmful fumes when heated.
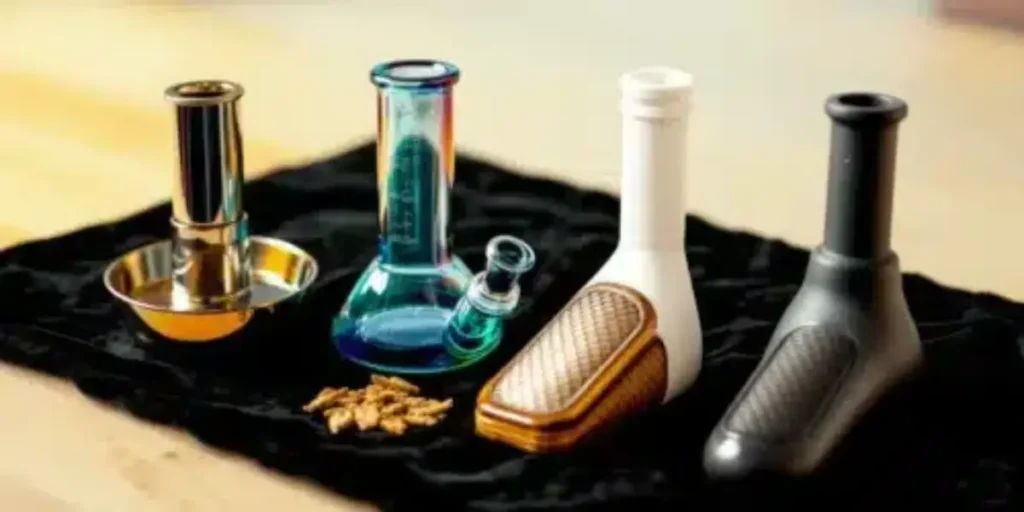
- Pre-made Glass or Metal Bowls: For a more permanent solution, consider purchasing a bowl and downstem from a smoke shop. They provide durability and a better seal.
3. Sealing Material: Creating an airtight seal where the stem enters the bong body is critical.
- Rubber Grommets: Ideal for sealing the connection between the bowl/stem and the bong body. Available at hardware stores.
- Silicone Sealant: A versatile option that can mold to any shape and provide a waterproof seal once dried.
- Food-grade Silicone Tubing: Can be used to extend or replace parts of your bong, offering flexibility and airtight sealing.
Tools
1. Cutting Tools: Necessary for making precise cuts or holes in your chosen materials.
- Sharp Knife or Box Cutter: For cutting plastic or carving fruits.
- Glass Drill Bit: Required if you’re working with glass jars, to safely drill a hole without cracking the material.
2. Measuring Tools: Ensuring the right fit between different parts of your bong.
- Ruler or Measuring Tape: Helps in measuring the distance for the hole to ensure optimal placement of the stem and bowl.
3. Assembly and Finishing Tools:
- Sandpaper: Useful for smoothing rough edges around cut plastic or glass, preventing cuts and ensuring a clean look.
- Tape or Clamps: To hold pieces together temporarily while any adhesives dry.
DIY Bong
For those looking to take their DIY skills further, consider exploring advanced designs or adding personal touches like paint, decals, or even built-in features like ice catchers or percolators.
Maintaining Your DIY Bong
Maintaining your DIY bong is crucial for ensuring it delivers the best possible experience with each use. A clean bong not only functions better but also provides a smoother, more enjoyable smoke. Regular maintenance prevents the buildup of resin and other materials that can affect taste and smoothness. Here are detailed steps and tips for keeping your DIY bong in top condition:
- Regular Cleaning: Ideally, your bong should be cleaned after each session. While this may seem excessive, it prevents the buildup of resin and makes cleaning much easier than if it’s allowed to accumulate. If daily cleaning isn’t feasible, aim for a thorough clean at least once a week.
- Simple Cleaning Solutions: You don’t need expensive commercial cleaners to effectively clean your bong. A solution of isopropyl alcohol (rubbing alcohol) and coarse salt works wonders for removing resin and buildup from glass surfaces. The alcohol dissolves the resin, while the salt acts as a gentle abrasive to scrub away stubborn materials without scratching the glass.
- The Cleaning Process: Disassemble your bong as much as possible. Pour the alcohol and salt solution directly into the bong and any removable parts like the bowl and downstem. Cover all openings with your hands or plastic wrap secured with rubber bands. Shake vigorously to allow the salt to scrub the interior surfaces. For tough buildup, let the bong sit with the solution inside for several hours or even overnight.
- Rinsing Thoroughly: After shaking and letting the solution do its work, rinse every part of your bong with warm water. Ensure that all the alcohol and salt solution is completely washed away. It’s crucial that no residue from the cleaning agents remains, as inhaling these can be harmful.
- Drying Properly: Once rinsed, your bong should be dried thoroughly before its next use. Water spots can form if left to air dry, which can attract dust and other particles. Use a soft, lint-free cloth to dry the outside, and if possible, the inside as well. For hard-to-reach areas, consider using a hairdryer on a cool setting or leaving the bong in a well-ventilated area to air dry completely.
- Regular Inspection: Part of maintaining your DIY bong includes regular inspections for any signs of wear or damage, especially if you’re using materials that may degrade over time. Check for cracks, leaks, or any other signs of damage. Repair or replace parts as necessary to ensure your bong remains safe to use.
- Troubleshooting Common Issues: If you notice a decrease in performance, check for clogs in the bowl, downstem, or airway. A wire brush or pipe cleaner can be effective tools for removing any blockages. Additionally, ensure all connections remain airtight. If you’ve used sealants, check that they haven’t degraded and reapply as needed.
Maintaining your DIY bong with regular cleanings and inspections ensures not only a better smoking experience but also extends the life of your creation. Taking the time to care for your bong will keep it looking great and functioning perfectly for years to come.
Enhancing Your Experience
To enhance your smoking experience, consider tips for smoother hits, such as adding ice to the water or experimenting with different water levels. Accessories like screens or diffusers can also improve the function of your bong.

The Environmental Impact of DIY Bongs
Making your own DIY bong is just the beginning. Once you have your basic setup, the next step is to enhance your smoking experience. This can involve adjustments to the bong itself, the way you use it, and even the environment in which you smoke. Here are some tips and tricks to take your DIY bong to the next level:
1. Experiment with Water Alternatives: The traditional choice for bong water is, well, water. But who says you have to stick to the norm? Experimenting with different liquids can subtly alter the flavor and smoothness of your smoke. Some enthusiasts recommend adding a few drops of essential oils (like peppermint or lemon) to the water for a refreshing twist. Others suggest using tea or fruit-infused water for a hint of natural flavor. Just be sure to clean your bong thoroughly if you use anything other than water to prevent mold growth and residue buildup.
2. Incorporate Ice for Cooler Hits: Many high-end bongs come with ice catchers, designed to hold ice cubes that cool the smoke as it passes by. You can mimic this feature in your DIY bong. If your bong design allows, place a few ice cubes in the water or just above it (depending on your bong’s construction) to chill the smoke, making it smoother and less harsh on your throat.
3. Try Different Water Levels: The water level in your bong can significantly affect your smoking experience. Too little water might not filter the smoke effectively, while too much water can make it harder to draw and may even lead to water splashing into your mouth. Take the time to experiment with different water levels to find what works best for your specific bong and smoking preference.
4. Use Accessories and Upgrades: Even a homemade bong can be accessorized. Consider adding:
- Glass Bowls or Downstems: If you’re using a plastic or makeshift bong, upgrading to a glass bowl or downstem can improve both the taste and the cleanliness of your smoke.
- Percolators: Adding a percolator can further cool and filter the smoke. While integrating a percolator into a DIY bong can be challenging, it’s not impossible for the crafty smoker.
- Diffusers: A diffuser on the end of your downstem can break up the smoke into smaller bubbles, increasing its surface area and making the smoke cooler and smoother.
5. Maintain a Clean Bong: One of the simplest yet most effective ways to enhance your experience is to keep your bong clean. Residue from previous sessions can significantly impact the taste and smoothness of your smoke. Regular cleaning after use will ensure that every hit is as fresh as the first. A mixture of isopropyl alcohol and coarse salt makes an excellent cleaning solution that can handle even the most stubborn resin.
6. Create a Comfortable Environment: The environment in which you smoke can also play a huge role in your overall experience. Ensure you’re in a comfortable, safe, and relaxing space. Consider aspects like seating, lighting, and even background music to create the perfect ambiance for your smoking sessions.
7. Educate Yourself and Experiment: Finally, part of the fun of having a DIY bong is the ability to experiment and learn. The cannabis community is full of knowledge and creativity, so don’t hesitate to seek out forums, videos, and articles for new ideas and techniques. The more you learn, the more you can apply to your DIY project to enhance your smoking experience.
By following these tips and being open to experimentation, you can turn your DIY bong into a highly personalized smoking device that delivers smooth, enjoyable hits every time.
FAQs
How do I ensure my DIY bong is safe to use?
Ensuring the safety of your DIY bong involves selecting the right materials and constructing it correctly. Use materials that are non-toxic and can withstand heat, such as glass, silicone, or stainless steel for the bowl and downstem. Avoid using plastic as it can release harmful fumes when heated. Additionally, make sure all parts are securely attached and sealed to prevent leaks and ensure the smoke is filtered properly through the water.
Can I make a bong without drilling?
Yes, it’s possible to create a bong without the need for drilling. One popular method involves using a plastic bottle and making a hole for the downstem using a heated metal tool to melt the plastic. This method requires caution to avoid burning the plastic too much and potentially releasing harmful chemicals. Alternatively, consider designs that naturally fit together without the need for holes, such as using fruits like apples or watermelons.
What is the best type of water to use in my bong?
While tap water is most commonly used in bongs, some users prefer using other types of water to enhance their experience. Distilled water can provide a purer taste, while adding ice water can cool the smoke, making it smoother to inhale. Some people even experiment with adding flavors or using warm water, which can soothe the throat. The key is to change the water regularly to maintain cleanliness and optimal performance.
How can I make my bong hit smoother?
To achieve smoother hits from your bong, consider the following tips: Use cold water or add ice cubes to cool the smoke, ensure your bong is clean as resin buildup can make smoke harsher, use a percolator or diffuser downstem to increase water interaction, and try adding a water filtration system like additional chambers or a splash guard to further purify the smoke.
Is it possible to add a percolator to a DIY bong?
Adding a percolator to a DIY bong is possible but requires a bit more creativity and effort. One approach is to use small glass bottles or tubes that can act as a chamber for the percolator. You’ll need to ensure that the percolator is properly submerged in water and that there are holes small enough to create bubbles for filtration but large enough to prevent clogging. Securely attaching the percolator to the main body of the bong is crucial for functionality and safety.
How do I clean my DIY bong?
Cleaning your DIY bong is essential for maintaining its performance and ensuring a pleasant smoking experience. Disassemble your bong if possible and use a mixture of isopropyl alcohol and coarse salt as an abrasive to scrub away resin and buildup inside the bong. For hard-to-reach areas, use pipe cleaners or cotton swabs. Rinse thoroughly with warm water and allow it to dry completely before reassembling and using it again.
Can a DIY bong be as effective as a store-bought one?
A well-made DIY bong can be just as effective as many store-bought options. The key factors that determine a bong’s effectiveness are its airtightness, the quality of the materials used, and the overall design, which includes the size of the chamber and the filtration system. With careful planning and execution, a DIY bong can provide a satisfying and efficient smoking experience.

