Cloning cannabis plants can be a rewarding experience, especially when you have a high-yielding, potent strain you’d love to replicate. However, when it comes to autoflowering strains, things get a bit trickier. While traditional photoperiod plants are relatively straightforward to clone, autoflowers present unique challenges. Growers often ask how to clone autoflower plants successfully, so let’s break it down and explore what’s possible.
Challenges of Cloning Autoflowers
Autoflowering strains are genetically different from their photoperiod counterparts. They are bred to flower based on age, not light cycle changes, making cloning more complicated. When you take a cutting from an autoflower plant, it continues to age just like the mother plant. Unlike photoperiod strains, which can be kept in the vegetative stage for longer periods, autoflowers don’t pause their life cycle.
This genetic trait means that an autoflower clone will flower at the same time as its mother, regardless of its size or root development. As a result, the clone may not have enough time to establish a strong root system or grow large enough to produce significant yields. This can be frustrating for growers looking to multiply their plants and achieve the same success with each clone.
Promos & Deals
Why Cloning Autoflowers Differs from Photoperiod Plants
Photoperiod plants rely on light schedules to trigger the flowering phase. Growers can keep a photoperiod plant in the vegetative stage indefinitely by providing long daylight hours. This flexibility allows clones to grow and develop before they are forced into flowering.
Autoflowers, on the other hand, start their flowering process based on an internal clock. When you clone an autoflower, the clone inherits the age of the mother plant, meaning it might begin flowering soon after rooting. This limitation leads to smaller plants and lower yields. Despite these challenges, some growers still attempt to clone autoflowers, focusing on preserving specific traits rather than maximizing yields.
Materials You’ll Need for Cloning Autoflowers
If you’re ready to take on the challenge of cloning autoflowering cannabis, the first step is gathering the right materials. Having the proper tools and supplies can make a significant difference in the success of your cloning efforts.
Essential Tools and Supplies
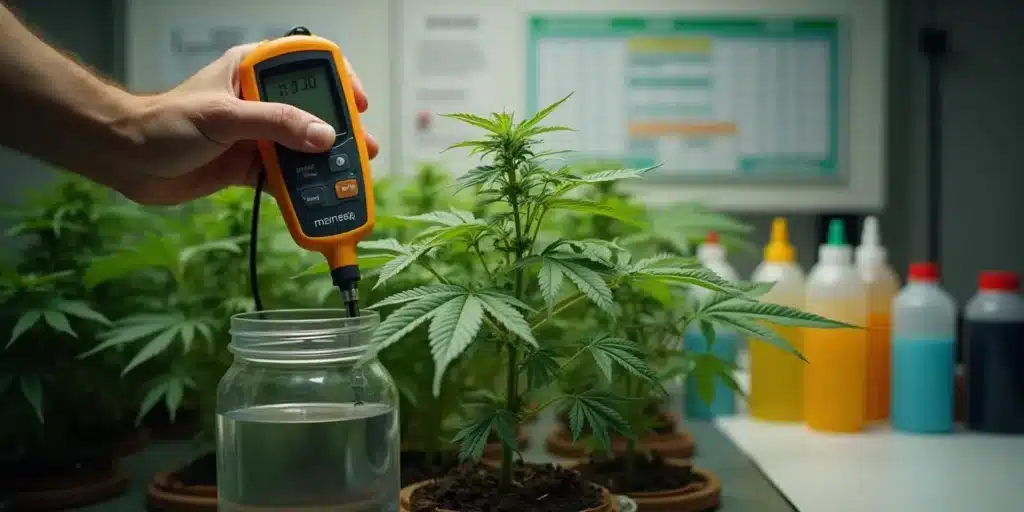
To start cloning, you’ll need a few basic items. These include a sharp, sterile cutting tool, rooting gel or powder, and a rooting medium like rock wool cubes, peat pellets, or a simple container filled with water. A humidity dome and a small grow light are also essential to create an optimal environment for your clone’s early development.
For the best results, invest in a good-quality rooting gel or powder, as it helps stimulate root growth and increases the chance of your clone surviving. Additionally, a clean, sharp cutting tool, such as pruning scissors or a razor blade, is crucial for making clean cuts. Jagged or rough cuts can increase the risk of infections, harming the clone’s ability to root successfully.
Preparing the Mother Plant for Cloning
Before taking any cuttings, ensure the mother plant is healthy and free of pests or diseases. The stronger the mother, the better chance your clone has at survival. Water the plant a day before taking cuttings to make sure it’s well-hydrated, which helps the cuttings retain moisture and stay firm.
Choose a branch with at least two nodes and a few healthy leaves. Lower branches often make the best clones as they are less woody and more flexible. Avoid taking cuttings from flowering branches, as they are less likely to root successfully. Timing is key, try to take cuttings during the plant’s early vegetative stage for the best results.
Step-by-Step Guide to Cloning Autoflowers
Cloning autoflowers may not be the easiest task, but with the right steps, you can give your clones the best possible start. Here’s a detailed guide to help you through each phase of the cloning process.
Selecting the Right Branch for Cloning
When choosing a branch for cloning, look for a healthy stem with strong growth and at least two nodes. Ideally, select a lower branch, as these tend to be less mature and more pliable, increasing the likelihood of successful rooting. The cutting should be about 3-4 inches long, ensuring there’s enough length for the clone to be inserted into the rooting medium.
Avoid branches that show signs of stress or flowering, as they are less likely to root effectively. It’s also best to clone from a plant that is still in the early vegetative stage. Taking cuttings from a mature plant that is close to flowering increases the risk of cloning failure, as the internal clock of the plant is already set to bloom soon.
Making the Cut: Proper Techniques
Once you’ve identified the perfect branch, it’s time to make the cut. Using a sterilized, sharp cutting tool, make a 45-degree angled cut just below a node. This angle maximizes the surface area for water absorption, helping the clone to root more effectively. Immediately dip the cut end into rooting gel or powder to stimulate root development and protect the exposed tissue.
After applying the rooting hormone, gently remove the lower leaves from the cutting to minimize water loss and prevent mold during the rooting process. This will help the clone focus its energy on developing roots rather than sustaining excess foliage.
Planting and Caring for the Clone
Once the clone is ready, insert the cut end into the rooting medium of your choice. Rock wool cubes, peat pellets, or even a container of water can work effectively. Gently press the medium around the stem to secure the clone in place. Place the newly planted clone under a humidity dome to maintain high moisture levels, which are critical for its survival during the first few days.
Position the dome in an area with indirect light or use a small grow light to give the clone a soft, consistent light source. Check daily to ensure the medium remains moist, but not overly saturated, as this could cause root rot. The key is to create a balance that encourages rooting without drowning the delicate cutting.
Tips for Increasing the Success Rate of Autoflower Clones
Cloning autoflowers requires some extra care to increase the chances of success. While the process is not as straightforward as cloning photoperiod plants, there are techniques you can use to give your clones a better shot at survival.
Providing the Right Environment for Clones
The environment plays a crucial role in the success of autoflower clones. They thrive in high humidity, so keep the humidity dome in place for at least the first week. Aim for a humidity level of around 70-80% to encourage root development. Temperature is another important factor; maintain a warm environment between 72-77°F (22-25°C) to support optimal growth.
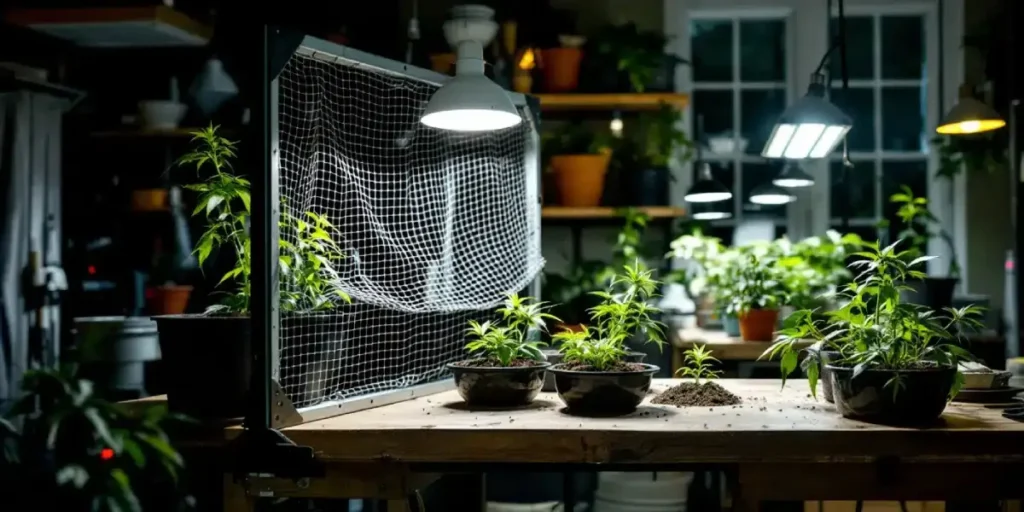
Indirect light is best for clones, as too much direct light can stress them and hinder root growth. If using a grow light, position it far enough away to provide a gentle, diffused light source. This creates an ideal environment for the clone to focus on rooting without excessive energy expenditure.
Monitoring and Adjusting Light and Humidity
Keep a close eye on the clone’s environment and make adjustments as necessary. After a few days, gradually reduce humidity by removing the dome for short periods each day. This process, known as hardening off, helps the clone adapt to the outside environment and strengthens its resistance to stress.
Monitor the light schedule as well. While autoflowers can grow under nearly any light cycle, providing a steady 18/6 (18 hours of light and 6 hours of darkness) light schedule promotes healthy growth during the cloning process. Adjust the distance of the light source if you notice signs of stress, such as wilting or discoloration, to maintain an optimal balance.
Common Issues When Cloning Autoflowers
Cloning autoflowers comes with a unique set of challenges. Despite your best efforts, issues like slow root development or signs of stress can occur. Being aware of these potential problems can help you troubleshoot and improve the chances of your clone’s survival.
Recognizing Signs of Stress in Clones
A stressed clone will often show signs such as wilting, yellowing leaves, or drooping. These symptoms indicate that the clone is struggling to take up water and nutrients. To address this, make sure the rooting medium is adequately moist and the environment is warm with high humidity.
In some cases, clones may appear to grow roots, but they do not exhibit healthy new leaf growth. This could signal a problem with the light exposure or nutrient levels. Monitor the clone’s progress daily and adjust the environment as needed to provide the best conditions for recovery and growth.
How to Troubleshoot Cloning Failures
If your clone fails to root or shows signs of severe stress, it’s essential to assess each step of your process. Check that you made a clean, angled cut, used a sterile cutting tool, and applied the rooting hormone correctly. Inspect the rooting medium to ensure it’s not overly saturated or too dry, as both conditions can inhibit root growth.
Consider trying different rooting mediums or adjusting the humidity and temperature to see what works best for your specific strain. Some growers find success by adding a small fan to the cloning area to gently circulate air and prevent mold growth. Keep experimenting and tweaking your approach until you find a method that increases your success rate with autoflower clones.
Can You Clone Autoflowers Multiple Times?
While it’s technically possible to clone an autoflower multiple times, it comes with added risks and complications. Autoflowers are genetically programmed to flower within a set timeframe, regardless of environmental factors. When you clone an autoflower, the clone inherits this genetic clock. This means that the clone will flower around the same time as the mother plant, regardless of its stage of growth. Cloning an autoflower multiple times only amplifies this issue, as each new clone is another step removed from the initial plant’s vitality.
Multiple cloning can also lead to diminishing returns in terms of growth vigor and yield. Each successive clone may become weaker, with less time to establish itself before it enters the flowering stage. For these reasons, most growers do not recommend cloning autoflowers more than once. It’s more practical to start fresh from seeds or use other propagation methods to maintain a continuous crop.
How Long Do Autoflower Clones Take to Root?
Rooting times for autoflower clones can vary, but they typically take between 7 to 14 days to develop a sufficient root system. The exact time frame depends on factors like the health of the mother plant, the method used for cloning, and the conditions in the growing environment. Providing the right temperature, humidity, and light exposure can speed up the rooting process and give your clone the best chance to thrive.
After about a week, you should start seeing small roots emerging from the base of the cutting. Be patient during this phase; avoid disturbing the clone by tugging on it to check for roots. Instead, monitor the overall health and look for signs of new growth. Once the roots are well established, you can transplant the clone to a larger container to begin its vegetative phase.
Increasing Yields Despite Autoflower Cloning Challenges
While cloning autoflowers can be tricky, there are alternative methods and techniques you can use to maximize your yields and keep your garden thriving. Using low-stress training (LST) or selecting high-yielding autoflower strains are just a couple of ways to enhance your harvest, even if cloning doesn’t provide the desired results.
Low-Stress Training (LST) for Autoflowers
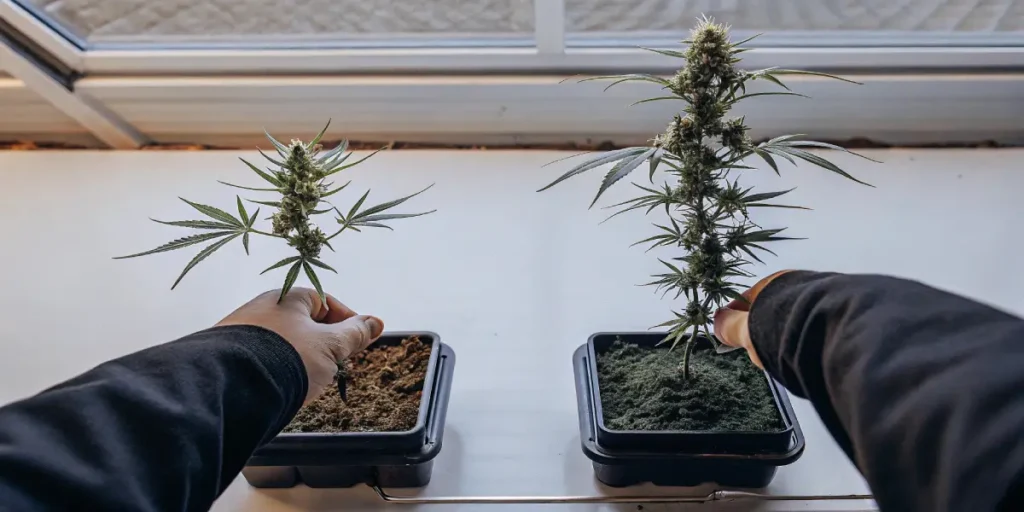
One effective way to boost the yield of your autoflowers is through low-stress training. This technique involves gently bending and tying down branches to create an even canopy, ensuring all parts of the plant receive adequate light. LST doesn’t interfere with the plant’s natural growth cycle, making it an ideal method for autoflowers, which are more sensitive to high-stress interventions like topping or heavy pruning.
By optimizing light exposure across the plant, LST encourages more bud sites to develop, leading to increased yields. This method is especially useful for growers looking to maximize their harvest without resorting to cloning, which can be less reliable with autoflowering strains.
Selecting High-Yielding Autoflower Strains
If you’re facing difficulties with cloning, another option is to choose autoflower strains known for their high-yield potential. Breeders have developed numerous autoflower strains that naturally produce large, potent buds within a relatively short growing period. Strains like Gorilla Glue Auto, Blue Dream Auto, and Northern Lights Auto are popular for their robust growth and heavy yields.
Investing in high-quality seeds from reputable breeders can ensure that you start with a strong genetic foundation, reducing the reliance on cloning to maintain your garden. With the right strain, you can enjoy bountiful harvests that rival those of photoperiod plants.
Providing Nutritional Support for Autoflower Clones
Ensuring your clones receive the proper nutrients is crucial for their development. Autoflowers have specific nutritional needs due to their rapid growth cycle, so offering balanced feeding can significantly improve the success rate of your clones.
Best Nutrients for Cloning Autoflowers
Start by using a mild nutrient solution specifically formulated for clones or seedlings. These nutrients provide the necessary elements for root development without overwhelming the young plant. Look for a blend rich in phosphorus and potassium, as these elements promote root growth and strength. Avoid using high-nitrogen formulas during the cloning stage, as they can cause unnecessary stress on the cutting.
As the clone begins to root and show signs of new growth, you can gradually introduce a more balanced nutrient regimen tailored to autoflowers. Since autoflowers have a shorter vegetative stage, it’s important to transition them to a bloom-focused nutrient mix earlier than you would with photoperiod plants.
Avoiding Nutrient Burn in Young Clones
Overfeeding is a common pitfall when caring for autoflower clones. Young clones are sensitive to excessive nutrients, which can lead to nutrient burn, characterized by yellowing or browning of the leaf edges. To prevent this, always start with a diluted nutrient solution and monitor the plant’s response. Adjust the feeding schedule based on the clone’s growth, increasing nutrient concentration only as the plant shows healthy development.
Regularly flushing the medium with clean water can also help remove any nutrient buildup that could harm the clone’s fragile root system. Maintaining a balanced approach to feeding will support robust root development and pave the way for a successful cloning endeavor.
Ensuring Long-Term Success with Cloned Autoflowers
Successfully cloning autoflowers takes patience and practice. While the process can be challenging, implementing the right techniques and maintaining a consistent environment can increase the odds of success. Over time, you’ll develop a feel for the nuances of cloning autoflowers, allowing you to expand your cultivation efforts and explore different strains.
By understanding the unique requirements of autoflowers, providing the optimal conditions, and adapting your approach based on each clone’s response, you can achieve rewarding results. Whether your goal is to preserve a favorite strain or maximize yields, cloning autoflowers can be a valuable addition to your growing skillset.
FAQs About Cloning Autoflowering Plants
Can You Clone Autoflowers Multiple Times?
Cloning autoflowers multiple times is possible, but growers often ask: can you clone autoflower weed and expect consistent results? The answer depends on the stage of the mother plant and overall strategy. But can you clone autoflowering plants effectively? That depends on timing and technique. Each clone inherits the genetic age of the mother plant, which means they will all flower on a similar timeline. As a result, clones taken later in the life cycle of the mother plant have less time to establish roots and grow before they enter the flowering stage. This limitation makes successive cloning less practical and can lead to smaller yields.
How Long Do Autoflower Clones Take to Root?
Autoflower clones typically take 7 to 14 days to develop roots, although this timeframe can vary based on environmental conditions and the health of the cutting. Factors like temperature, humidity, light exposure, and the use of rooting hormones all play a role in the rooting process. Providing consistent care and monitoring the clone’s progress is key to promoting timely root development.


