Essential Guide: How to Collect Cannabis Samples for Residue Testing

Collecting cannabis samples for residue testing is crucial for ensuring product safety and quality. Whether you’re a seasoned grower or a first-time seed buyer, knowing how to collect cannabis samples for residue testing will help you maintain compliance and ensure your cannabis is free from harmful residues.
Residue testing involves analyzing cannabis for pesticides, heavy metals, and other contaminants. Proper sample collection is key to obtaining accurate results. Following guidelines for collecting cannabis samples can help you avoid contamination and ensure that your samples reflect the true state of your crop.
Recommended Strains
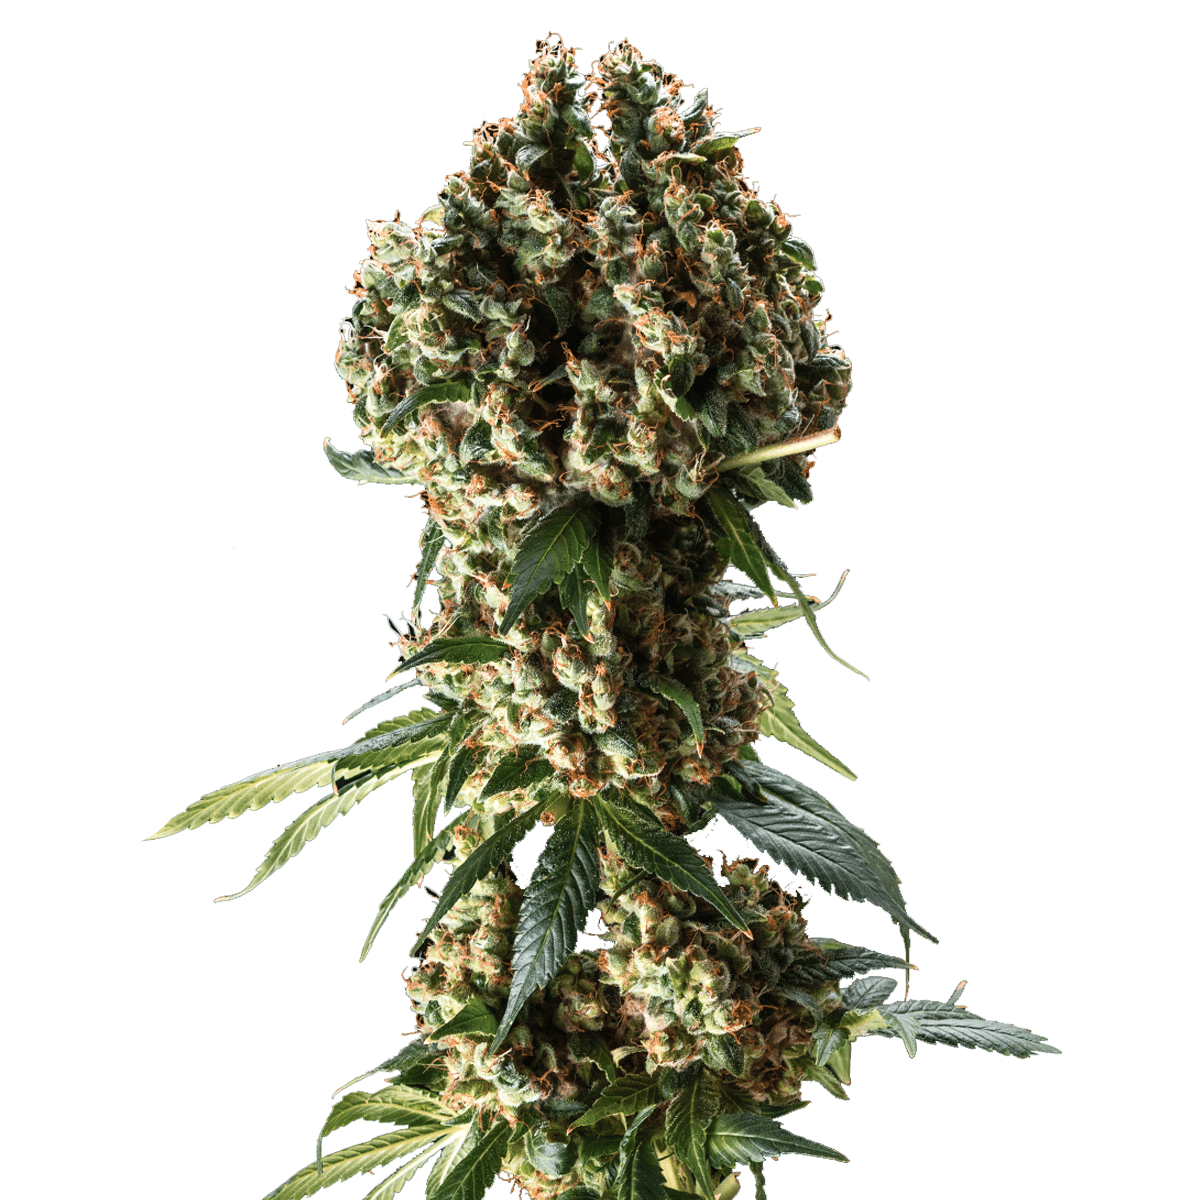
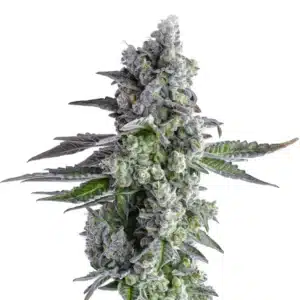
Granddaddy Purple
|
|
THC | 25% (High) |
|
|
Type | Feminized |
|
|
Yield | High |
|
|
Phenotype | 70% Indica / 30% Sativa |
Girl Scout Cookies
|
|
THC | 18% - 25% (High) |
|
|
Type | Feminized |
|
|
Yield | High |
|
|
Phenotype | 60% Indica / 40% Sativa |
Before starting, familiarize yourself with the best practices for cannabis sample collection. This involves using clean tools, wearing gloves, and selecting representative samples from different parts of the plant. Let’s dive into the details.
Preparing for Sample Collection
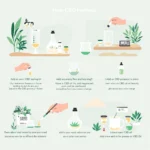
Preparation is a vital step in cannabis residue test sample preparation. Start by gathering all necessary tools, such as clean scissors, gloves, and sterile containers. Ensure a clean workspace to avoid contamination. This setup will help you follow the guidelines for collecting cannabis samples effectively.
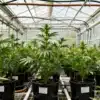
Next, identify the cannabis plants you plan to sample. Choose healthy plants from various locations in your cultivation area. This sampling method provides a comprehensive view of potential residues across your crop. Blimburn Seeds offers strains like Girl Scout Cookies and Granddaddy Purple, which are popular choices for both new and experienced growers.
It’s also important to schedule your sampling during a time when environmental factors are stable. This means avoiding collection during or immediately after events like pesticide application or heavy rain. Consistency in your sampling conditions aids in generating reliable data.
To further enhance your cannabis residue test sample preparation, document the conditions of your cultivation area. Keep a log of recent activities, such as when the last pesticide application occurred or any changes in water quality. These records are invaluable for interpreting test results.
Promos & Deals
Step-by-Step Sample Collection Process
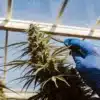
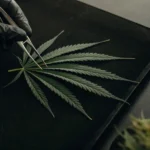
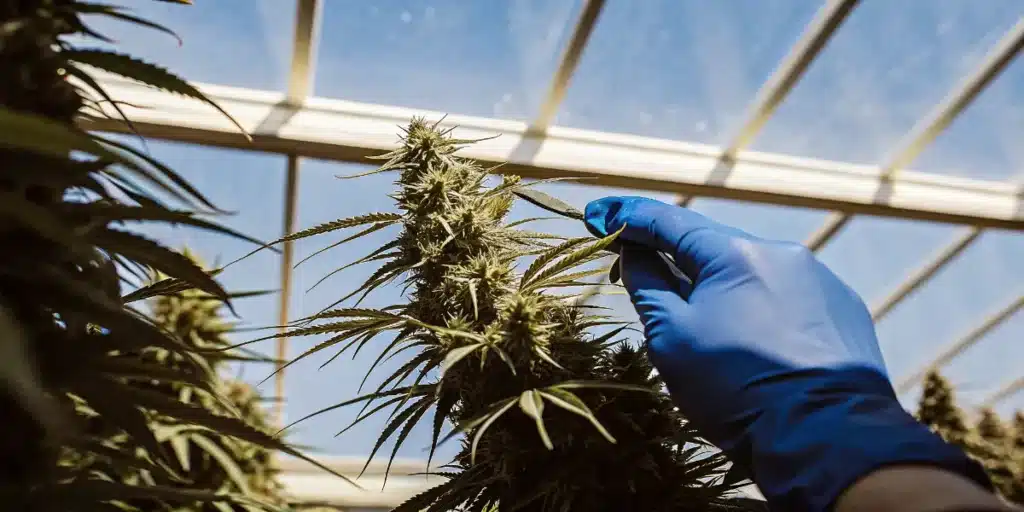
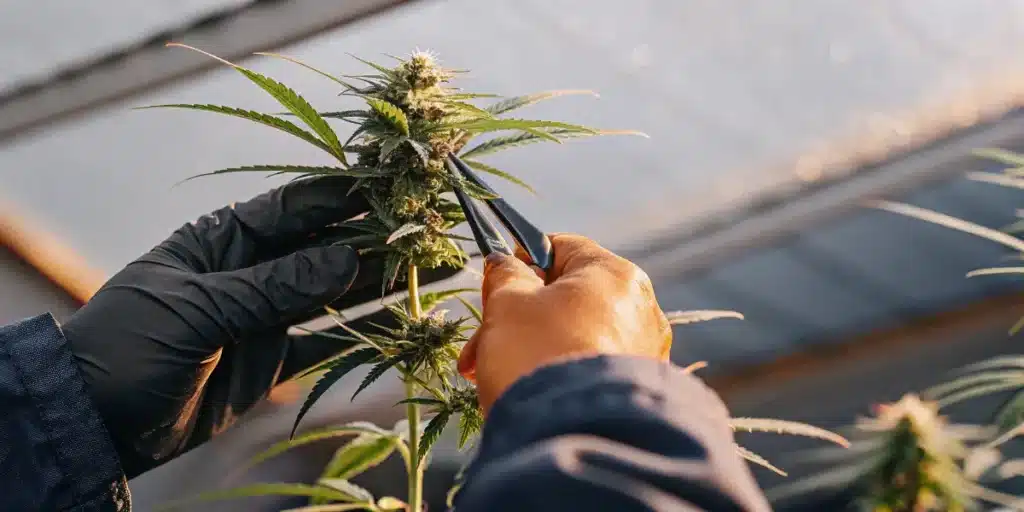
When learning how to collect cannabis samples for residue testing, begin the process by donning clean gloves to prevent contamination. Use sterilized scissors to cut samples from different parts of the plant, including leaves, flowers, and stems. This diversity ensures that your sample accurately represents the entire plant.
Place the collected samples into clean, labeled containers. Labeling is crucial for tracking each sample’s origin. Proper labeling includes the plant’s location, date of collection, and strain name. This information is helpful during residue analysis.
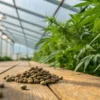
- Ensure samples are of sufficient size, typically around 10 grams.
- Store samples in a cool, dry place until testing.
- Maintain a record of all collected samples for future reference.
It’s essential to avoid any cross-contamination between samples. Use separate containers for each sample and sterilize tools between cuts. This practice is part of the best practices for cannabis sample collection, ensuring that each sample’s integrity is maintained.
After collection, avoid crushing or compacting the samples as this can impact the analysis. Handle them gently and ensure that they remain intact until they reach the testing facility. These careful handling techniques are integral to how to collect cannabis samples for residue testing effectively.
Considerations for Different Strains
Different cannabis strains may have unique properties that affect residue testing. For instance, the Blue Dream strain from Blimburn Seeds is known for its balanced effects and widespread popularity. When collecting samples from various strains, consider the plant’s growth habits and environmental exposure.
Environmental factors like soil type, water quality, and pest control measures can influence residue levels. It’s important to document these variables during sample collection. This practice aids in interpreting test results and identifying potential sources of contamination.
Another factor to consider is the maturity stage of the plants being sampled. Different growth stages can have varying levels of residues due to changes in metabolic rates and exposure levels. Including plants at different stages can provide a more comprehensive overview.
When dealing with hybrid strains, be aware of their genetic diversity which might affect residue absorption differently. Knowing these nuances can help in selecting the most representative samples for testing, aligning with the guidelines for collecting cannabis samples.
Using Proper Cannabis Sampling Techniques
Proper cannabis sampling techniques for residue analysis are essential to avoid skewed results. Always use clean tools and containers. Avoid touching the samples directly with your hands, as oils and residues from your skin can alter the sample’s composition.
Consider the timing of your sample collection. Ideally, collect samples close to the time you’re planning to test them. This minimizes changes in the sample’s chemical makeup. If immediate testing isn’t possible, store the samples in a way that preserves their integrity.
Using a randomized sampling technique can also enhance the reliability of your results. By avoiding bias in sample selection, you ensure that the collected samples accurately reflect the overall condition of your crop. This method is a fundamental aspect of cannabis sampling techniques for residue analysis.
Furthermore, employing a consistent sampling protocol across different testing cycles helps in tracking residue trends over time. This consistency is vital for how to prepare cannabis samples for testing, ensuring that your results are comparable and reliable.
Ensuring Sample Integrity
Maintaining sample integrity is paramount in how to prepare cannabis samples for testing. Avoid exposing samples to extreme temperatures or humidity, which can degrade their quality. Proper storage conditions are essential in preserving the sample’s original state.
Transporting samples to the testing facility requires care. Use insulated containers or coolers to maintain a stable environment. This step is especially important if there’s a significant delay between collection and testing.
Another crucial factor is the prevention of light exposure, as UV rays can degrade certain chemical compounds in the samples. Use opaque containers or cover transparent ones with light-blocking materials to maintain sample quality.
During transport, keep a log of conditions such as temperature and humidity levels. This documentation supports the integrity of your samples and provides essential information if discrepancies arise in the test results.
FAQs about how to collect cannabis samples for residue testing
How can I ensure my cannabis samples aren’t contaminated?
To prevent contamination, always use clean, sterilized tools and wear gloves during sample collection. Avoid touching the samples directly. It’s also important to collect samples in a clean environment and store them in sterile containers until testing.
Additionally, follow a set protocol for sample collection. Consistency reduces the chance of introducing contaminants. Document every step of the process to track any potential sources of contamination. This proactive approach helps in maintaining the purity of your samples.
Regularly calibrating your equipment and ensuring that all tools are properly sterilized before use are also effective steps in preventing contamination. These measures are part of the best practices for cannabis sample collection.
Furthermore, conducting periodic reviews of your collection processes can help identify and rectify any areas where contamination risks might be introduced. This continuous improvement approach is key to maintaining high standards of sample purity.
What size should my cannabis samples be for residue testing?
The typical recommended sample size for residue testing is around 10 grams. This amount provides enough material for a comprehensive analysis. If testing multiple contaminants, ensure you have sufficient material to cover all tests.
Consider the specific requirements of the testing facility you’re using. Some labs may have different guidelines for sample size. Always verify with the lab prior to sample collection to ensure compliance with their standards.
If you’re working with limited material, prioritize the most critical tests or coordinate with the lab for a tailored approach. This ensures that even small quantities are used effectively for cannabis residue test sample preparation.
Be aware that certain tests may require additional sample amounts, especially if retesting is needed. Planning for these contingencies in advance can help avoid the need for additional collections.
Are there specific strains that are better for residue testing?
No strain is inherently better for residue testing; however, some strains might show different residue levels due to their growing conditions. Strains like Girl Scout Cookies, Granddaddy Purple, and Blue Dream from Blimburn Seeds are popular choices among growers.
When collecting samples, consider the strain’s characteristics and environmental factors. These elements can affect residue levels and ultimately influence your choice of strains for testing.
Strains that exhibit vigorous growth or have higher resilience to pests and diseases might have different residue profiles. Knowing these characteristics can help tailor your sampling strategy to the specific needs of each strain.
Additionally, collaborating with other growers to share insights and data on strain-specific residue levels can provide a broader knowing of how different strains perform under similar environmental conditions.
How should I store cannabis samples after collection?
Store cannabis samples in a cool, dry place to preserve their integrity. Use airtight containers to prevent moisture and contaminants from entering. If immediate testing isn’t feasible, ensure samples are refrigerated to maintain their chemical stability.
Proper storage is crucial in preventing degradation. Avoid exposing samples to light and extreme temperatures, as these conditions can alter the sample’s composition and affect test results.
Utilizing desiccants in your storage containers can help manage humidity levels and further protect your samples. This is an important consideration for how to prepare cannabis samples for testing.
Regularly monitor storage conditions and make adjustments as needed to prevent any compromise in sample quality. Consistent checks ensure that storage parameters remain optimal until testing occurs.
Why is it important to label cannabis samples accurately?
Accurate labeling is essential for tracking each sample’s origin and ensuring reliable residue testing results. Labels should include the plant’s location, collection date, and strain name. This information is critical in linking test results to specific plants.
Proper labeling helps in identifying trends and sources of contamination. It also facilitates compliance with regulatory requirements and ensures transparency throughout the testing process. Accurate records support the credibility of your testing efforts.
Incorporating barcodes or digital tracking systems can enhance the accuracy and efficiency of your labeling process. These technologies streamline data management and reduce the risk of human error.
Finally, regularly updating your labeling protocols to align with evolving industry standards ensures that your practices remain compliant and effective over time.