How to Defoliate Autoflowers: Timing, Steps and Tips

To defoliate autoflowers, remove select fan leaves that shade bud sites or block airflow, working gently over a few days. The best time is late vegetative to early flowering, and you should never take more than 20-30% of the foliage at once. Done right, it boosts light penetration, airflow and yield without stressing the plant.
The golden rule with autoflowers is restraint. Unlike photoperiod plants, they run on a fixed internal clock and cannot be kept in veg to recover, so an aggressive strip that a photoperiod would shrug off can permanently stunt an autoflower. Remove a little, watch how the plant responds, and only come back for more if it keeps growing vigorously.
Recommended Strains
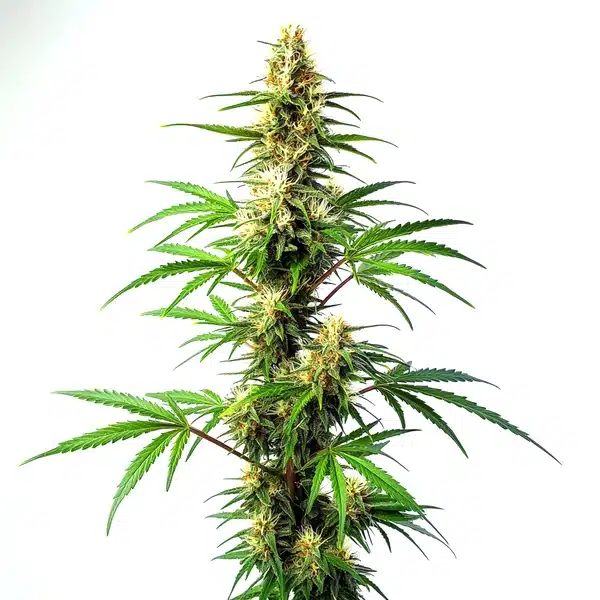
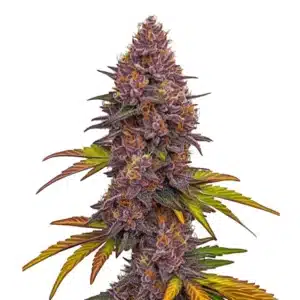
Blue Amnesia Auto

|
THC | 17% - 18% (Medium) |

|
Type | Autoflowering |

|
Yield | Low |

|
Phenotype | 40% Indica / 60% Sativa |

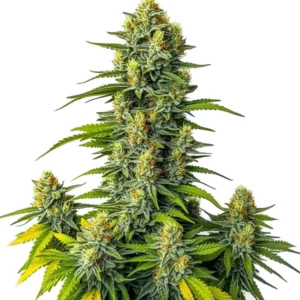
Blue Amnesia Regular
|
|
THC | 22% - 24% (High) |
|
|
Type | Regular |
|
|
Yield | High |
|
|
Phenotype | 30% Indica / 70% Sativa |
Introduction to Autoflowering Cannabis
Autoflowers have become a grower favorite because they behave so differently from photoperiod plants. Instead of needing a light-cycle change to bloom, autoflowering strains switch from veg to flower with age, which makes them fast and beginner-friendly. That trait comes from Cannabis ruderalis genetics crossed into sativa and indica lines.
The appeal of autoflowers is simplicity: less maintenance and a compact size that suits discreet indoor or outdoor grows. The trade-off is that their short vegetative phase makes every decision count more, defoliation included, because the plant has little time to recover from a mistake.
Defoliation means carefully removing select leaves to improve light penetration and airflow through the canopy, so lower buds get the light and air they need. It is common with photoperiod plants, but on autoflowers it takes a more careful, restrained approach because of their fast cycle and smaller size.
Deciding to defoliate an autoflower means knowing its growth stages well. Timing is everything: poorly timed leaf removal stresses the plant and slows it down. The goal is to weigh the benefits against the plant’s natural rhythm so the technique helps rather than hurts.
In short, autoflowers are great for fast harvests in tight spaces, and careful defoliation can squeeze more out of them. The rest of this guide covers exactly when and how to do it, so you get healthier, higher-yielding plants without setting them back.
Promos & Deals
The Science Behind Defoliation
Defoliation is one of the more debated techniques in cannabis growing, but done correctly it can genuinely improve plant health and yield. Understanding the science behind it is the best way to see why, and how, it affects autoflowers specifically.
At its core, defoliation is the strategic removal of leaves to improve light penetration and airflow through the canopy. Compact, fast-growing autoflowers can benefit a lot, because getting light to the lower branches means more energy going into bud development instead of shaded, unproductive foliage.
Removing select leaves also nudges the plant to redistribute its resources, focusing energy on flowers rather than maintaining excess foliage. For most growers, that redirection toward bud production is the whole point of defoliating in the first place.
The science also stresses timing and moderation. Because autoflowers run on a fixed lifecycle, they have limited time to recover from stress. The safest windows are the late vegetative stage and early flowering, when the plant can bounce back quickly without derailing its schedule.
It always comes down to balancing risk and reward. The upside is better light exposure and potentially higher yields; the downside is stress-induced stunting if you overdo it. Weigh the two against your plant’s specific needs before you start cutting.
When to Defoliate Autoflowers: Timing Is Everything
With autoflowers, timing is not just a factor, it is the whole game. Because they flip from veg to flower automatically with age, rather than on a light change you control, the window for effective defoliation is narrow and needs precise execution. Knowing that cycle is step one.
Because the window is so narrow, it helps to map defoliation to the plant’s age rather than guesswork. The table below shows roughly when each action makes sense across a typical autoflower cycle; shift it a few days earlier or later depending on how fast your specific plant is developing.
| Autoflower stage | Approx. week from seed | Defoliation action |
|---|---|---|
| Seedling | Weeks 1-2 | None; the plant is too fragile |
| Early vegetative | Weeks 2-3 | None or very light; let it establish roots and canopy |
| Late veg / pre-flower | Weeks 3-4 | Main window; remove fan leaves shading bud sites |
| Early flower / stretch | Weeks 4-5 | Light touch-up only; lollipop the lower larf |
| Mid to late flower | Week 6 onward | Avoid; stress now hurts bud development |
Identifying the Optimal Time to Defoliate
The best time to defoliate an autoflower is the late vegetative or early flowering stage, when it can recover and redirect energy into buds. Avoid heavy defoliation deep into flowering, since at that point it stresses the plant and can cost you yield instead of adding it.
In late veg, autoflowers begin showing early signs of flowering while still putting energy into leaves and stems. That makes it the ideal moment: removing a few leaves opens up light and airflow to the lower plant, encouraging stronger growth and more bud sites before flowering takes over.
Growth Stages and Defoliation Timing
- Seedling stage: do not defoliate; the plant is building roots and first leaves, and any stress hurts.
- Early vegetative: wait until it has a solid base of leaves and stems before any light pruning.
- Late vegetative: the prime time for your first real defoliation; the plant is strong enough to benefit.
- Early flowering: a last chance if you missed late veg; remove only the most necessary leaves.
Defoliating at the right time does more than lift yield; it also cuts the risk of mold and pests that thrive in dense, poorly ventilated foliage. Master the timing and your autoflowers get the best possible environment to grow. Every plant is different, so watch yours closely for the signals that it is ready.
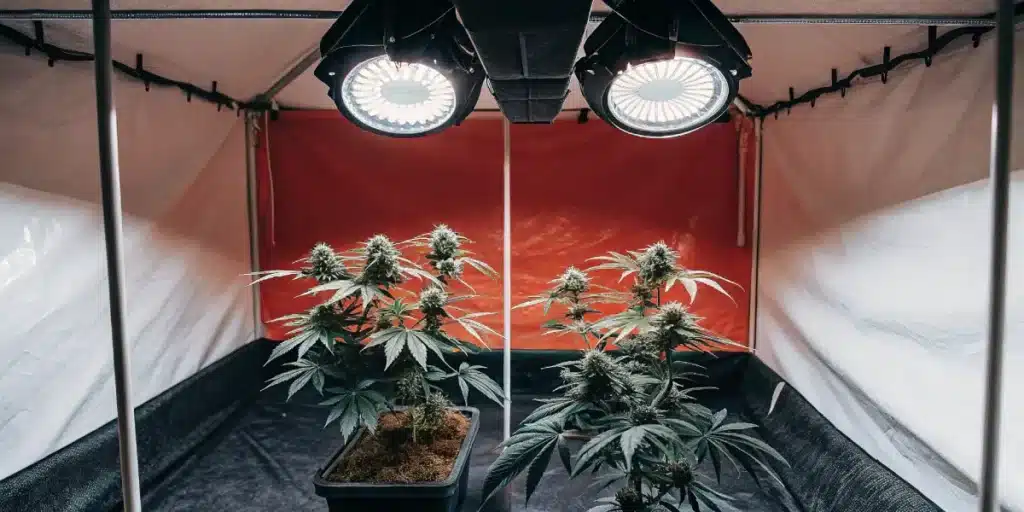
How to Defoliate Autoflowers (Step by Step)
Done carefully, defoliating an autoflower boosts both health and yield by improving light and airflow through the canopy. Below is the exact method, step by step, so you can do it with confidence. “
- Assess the plant: find leaves shading bud sites, dead or yellowing foliage, and any leaves touching the soil.
- Start with the lower canopy, removing leaves that get little to no light.
- Move to the inner canopy and remove leaves blocking light to bud sites, opening up the structure.
- Go gently: remove leaves sparingly and spread the work over several days rather than all at once.
- Time it just before the light period so the plant can recover during its “day.”
Tools and Preparation
Before you start, gather the right tools: a pair of sharp, sterilized pruning shears or scissors. Clean tools matter more than people think, because dirty blades can introduce pathogens. Keep a disinfectant handy to wipe them before and after use so you do not spread disease between plants.
Preparation is as much about the plant as the tools. Only defoliate a healthy, well-watered autoflower; a plant already fighting pests, deficiency or heat stress has no spare energy to recover. Wipe your shears with isopropyl alcohol between plants to avoid spreading disease, and work in good light so you can see exactly which leaves you are taking.
The Process in Detail
- Assessment: examine the plant for leaves shading bud sites, dead or dying foliage, and any leaves touching the soil.
- Strategic removal: start with the lower canopy (leaves getting little light), then the inner canopy (leaves blocking bud sites), opening up the structure.
- Gentle approach: remove leaves sparingly and spread the work over several days or weeks to limit stress.
- Timing: defoliate just before the light period so the plant recovers during its “day,” and avoid heavy defoliation once flowering is underway.
Post-Defoliation Care
After defoliating, watch the plants closely. Keep them adequately watered, but avoid overwatering, since less foliage means they drink more slowly. You may also need to fine-tune the nutrient feed, as the plant’s needs shift a little once leaves are removed.
Expect a little mild droop for a day or two while the plant adjusts; that is normal, not an emergency. Resist the urge to ‘boost’ recovery with extra nutrients, which only adds stress. Keep light and temperature steady, resume your normal watering rhythm as the plant perks back up, and let it recover before considering any further leaf removal.
Monitoring and Adjusting
Over the following days and weeks you should see better light penetration and airflow, and healthier growth. If instead you spot stress signs like drooping or stunted growth, ease off: review your technique and defoliate less next time.
Give it three to four days before judging the result. If you see better light reaching lower bud sites and healthy new growth, the defoliation worked. If instead you see persistent clawing, severe droop or yellowing, stop removing leaves for the rest of the cycle and focus on stable, gentle conditions until the plant stabilises.
Advanced Techniques and Tips
Once you have the basics down, a few advanced techniques help you fine-tune your defoliation and get the most from each autoflower. Here are the ones experienced growers rely on.
Treat everything that follows as optional fine-tuning for plants that are already thriving. On a vigorous, healthy autoflower these methods can noticeably lift yield and bud quality; on a weak or stressed one they do more harm than good, so when in doubt, do less.
Strategic Leaf Removal for Light Penetration
A main goal of defoliation is better light and airflow through the canopy, and with autoflowers’ short veg phase, being strategic matters. Focus on removing leaves that are:
- Leaves overshadowing bud sites and blocking their light.
- Yellowing or damaged leaves that no longer help the plant.
- Large upper leaves competing directly with each other for light.
Lollipopping: Sculpting the Lower Canopy
Lollipopping means stripping most of the growth off the lower third of the plant so its energy goes to the upper, more productive branches. Compact autoflowers benefit a lot from it, since it cuts moisture problems and improves airflow around the base.
Do it once and do it early, around the pre-flower stretch, so the plant has time to redirect that energy upward. Target the thin, shaded lower growth that would only ever become airy, larfy popcorn buds. Pairing lollipopping with a trellis net or simple SCROG keeps the remaining canopy even and makes the most of the light.
Stress Management Techniques
Defoliation is inherently stressful, and thanks to their ruderalis genetics, autoflowers are especially sensitive. Manage that stress with a few simple habits:
- Defoliate gradually, spreading it over several days instead of one big session.
- Keep the plant well watered and fed with balanced nutrients to support recovery.
- Hold a stable environment (temperature, humidity, light) so it bounces back faster.
Selective Defoliation Based on Plant Structure
No two autoflowers grow alike: some form a dense canopy, others stay sparse. Match your defoliation to the plant in front of you. Denser plants may need more aggressive thinning to get light to the lower buds, while sparse ones need little to no intervention.
Let the individual plant dictate how much you take. On a sparse, open plant, barely touch it; on a dense, bushy one, open small ‘windows’ to let light and air through rather than clear-cutting whole branches. Whatever the structure, prioritise the leaves that are physically touching buds or trapping humidity, since those are the ones that invite mold.
Subtle Signs a Plant Is Ready
Beyond the obvious growth stages, a couple of subtle signs tell you a plant is ready to handle defoliation:
- Turgor pressure: firm, upright leaves mean the plant is healthy enough to handle the stress.
- New growth patterns: a plant entering a vigorous growth phase recovers faster from leaf removal.
Post-Defoliation Care (Advanced)
After defoliation, keep monitoring and adjust watering, since the plant transpires less with fewer leaves and needs water more slowly. A mild seaweed-based foliar feed can also supply micronutrients that help it recover from the stress faster.
Master these techniques and your defoliation becomes far more effective, driving robust growth and bigger yields. Just remember every plant is unique, so a tailored, observant approach always beats a rigid formula.
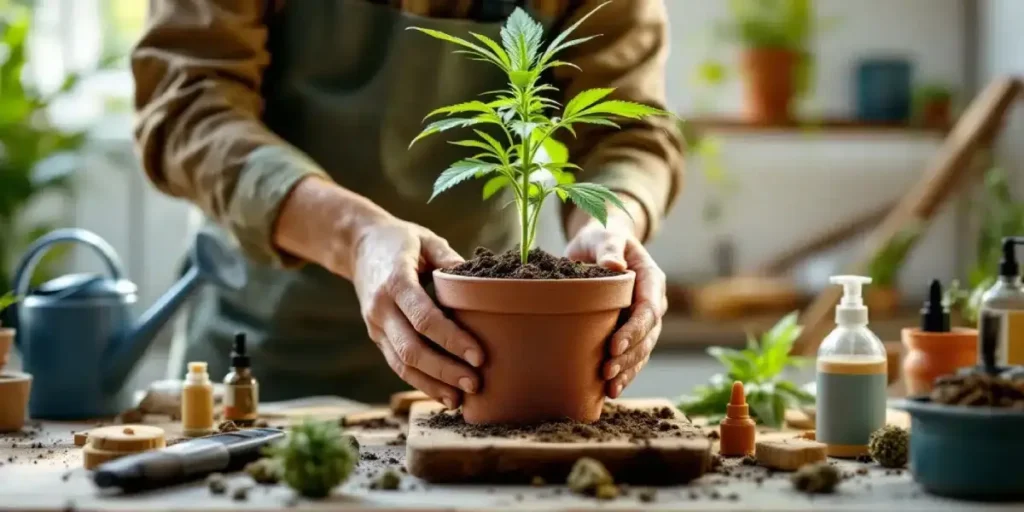
Common Mistakes to Avoid
With autoflowers, the margin for error is slim because of their fast cycle. Defoliation helps when done right but can set you back badly when done wrong. Here are the most common mistakes to avoid.
The most damaging errors are removing too much at once, defoliating deep into flowering, cutting a plant that is already stressed, and using dirty tools that spread disease. Autoflowers punish all four harder than photoperiods because they simply do not have the time to bounce back, so err on the side of caution every time.
Overdefoliation and Its Consequences
The most common error is overdefoliation. Leaves are not disposable; they are the plant’s solar panels, driving the photosynthesis that fuels growth and buds. Strip too many, in one session or over the grow, and a compact, stress-sensitive autoflower stalls out, leaving you with stunted plants and smaller yields.
- Never remove more than 20-30% of the foliage in one session.
- Only take leaves that block light to bud sites or cause airflow problems.
- Let the plant recover for at least a week before defoliating again.
Ignoring Plant Signals
Another mistake is ignoring what the plant is telling you. Drooping or yellowing leaves can signal overwatering, deficiencies or stress. Defoliating on top of an unresolved problem only compounds the stress and can push a struggling plant over the edge.
- Check regularly for signs of stress or disease.
- Fix any issues (over/underwatering, deficiencies) before you defoliate.
- Remember a healthy plant recovers far better than a stressed one.
Improper Timing
Timing mistakes cut both ways. Too early, before strong roots and enough foliage, stunts growth. Too late, deep in flowering, diverts energy from buds into healing and regrowth. Both cost you yield, which is why the late-veg to early-flower window matters so much.
- Avoid defoliation in the first weeks, until the plant has at least 3-4 true leaf nodes.
- Do the main defoliation just before flowering to improve light and airflow around the buds.
- Only minor touch-ups once buds start forming; avoid heavy defoliation then.
Using Incorrect Tools or Techniques
Your tools matter too. Dull scissors or tearing leaves off by hand leave jagged wounds that heal slowly and invite infection. Clean cuts with the right tool make recovery much easier.
- Use sharp, sterilized scissors or pruning shears.
- Make clean cuts at the base of the stem for quick healing.
- Sterilize tools before and after use to avoid spreading pathogens.
Neglecting Post-Defoliation Care
Defoliation is not finished when you put the scissors down. Plants need attention to recover, and neglecting watering, feeding and stress monitoring afterward wastes the benefits and can put the plant at risk.
- Watch closely for stress and adjust care accordingly.
- Give adequate water and nutrients to fuel recovery and growth.
- Raise humidity slightly to ease transpiration stress while it recovers.
Steer clear of these mistakes and your results improve dramatically: healthier plants and bigger harvests. Keep the goal in mind, defoliation is there to support the plant’s growth, not to test its survival.

FAQs About Defoliating Autoflowers
When should you defoliate autoflowers?
Defoliate autoflowers during the late vegetative stage and again lightly in early flowering, when the plant is strong enough to recover fast. Avoid it in the seedling phase and deep into flowering. Look for a dense canopy shading bud sites and firm, upright leaves as signs your autoflower is ready.
Should you defoliate autoflowers at all?
You can, but you do not have to. Light, well-timed defoliation helps autoflowers by improving light and airflow and boosting yield. However, because autoflowers are stress-sensitive, over-defoliating hurts more than it helps. If in doubt, remove less: healthy plants with good airflow often do fine with minimal defoliation.
Is it safe to defoliate autoflowering cannabis plants?
Yes, defoliating autoflowers is safe when done correctly and at the right time, ideally late vegetative to early flowering. The risks come from removing too many leaves or cutting at the wrong stage, which stresses the plant and lowers yield. Keep it light and well-timed and the plant handles it fine.
What are the benefits of defoliating autoflowers?
Defoliating autoflowers improves light penetration and airflow through the canopy, which supports better bud development and lowers the risk of mold and pests in dense foliage. It also helps the plant redirect energy from excess leaves to the flowers, which can mean healthier plants and higher yields.
How do I know when to defoliate my autoflower plant?
Watch the plant, not just the calendar. It is ready when it is in late veg or early flower, has firm, upright leaves, and shows a dense canopy shading lower bud sites or poor airflow. Avoid the seedling phase and late flowering, when leaf removal stresses the plant and hurts bud growth.