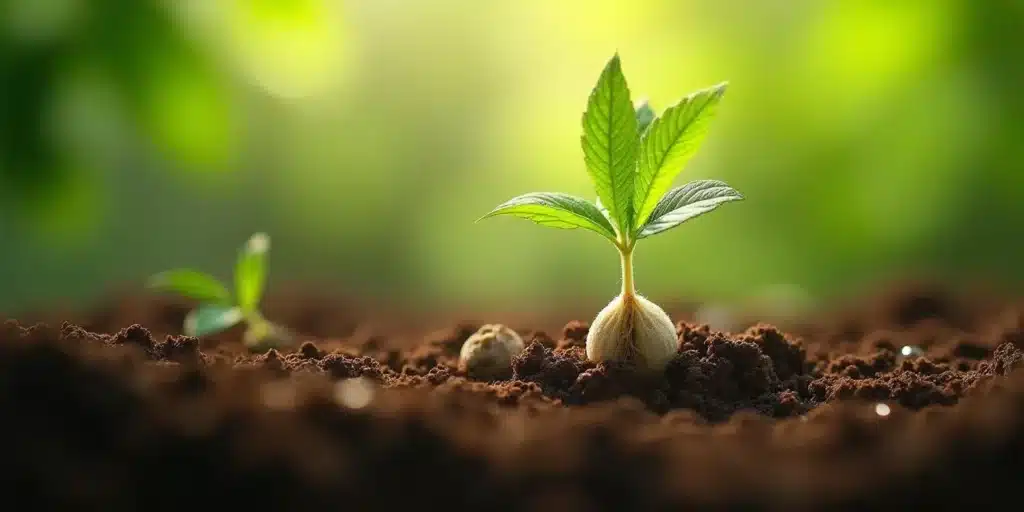
Autoflowering Seed Germination: Best Practices and Tips

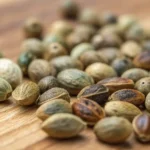
Autoflowering seed germination: Ensuring successful germination involves maintaining a stable temperature between 70°F and 85°F (21°C – 29°C) and using methods like the paper towel or direct soil technique. These practices help optimize the germination process, leading to healthier plants. Autoflowering seeds, derived from ruderalis genetics, transition to flowering based on age, making them ideal for quick harvests.
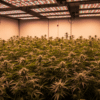
Autoflowering seeds, known for their rapid growth cycle, are a favorite among growers. These seeds, often hybrids of cannabis ruderalis, transition from vegetative to flowering without light cycle changes. Their flowering time ranges from 70 to 80 days, making them ideal for those seeking quick harvests. Understanding terpenes like myrcene, which enhances THC uptake, can further optimize growth.
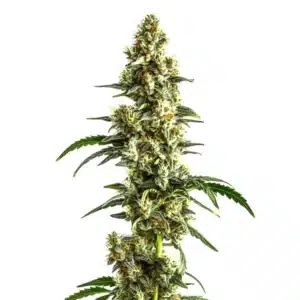
Recommended Strains
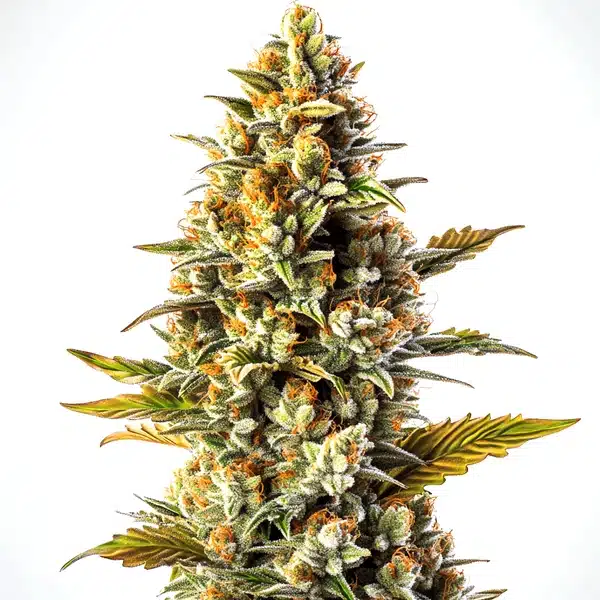
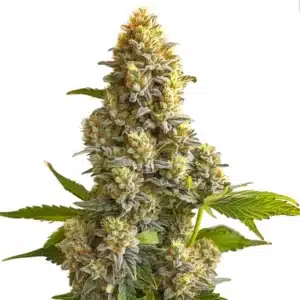
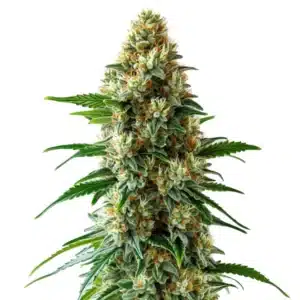
Gorilla Blue Auto
|
|
THC | 18% - 20% (Medium) |
|
|
Type | Autoflowering |
|
|
Yield | High |
|
|
Phenotype | 50% Indica / 50% Sativa |

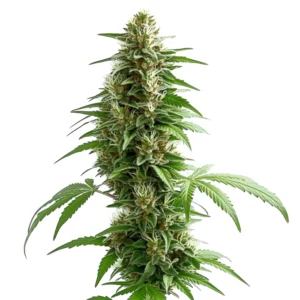
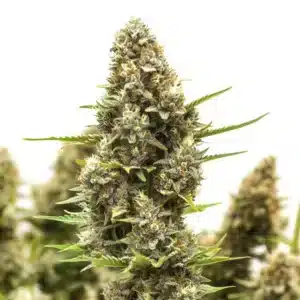
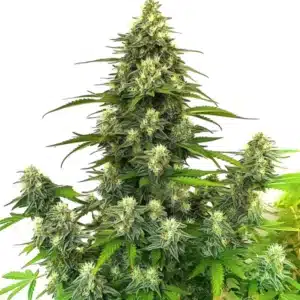
GG Purple
|
|
THC | 18% - 21% (Medium) |
|
|
Type | Feminized |
|
|
Yield | High |
|
|
Phenotype | 55% Indica / 45% Sativa |
What Are Autoflowering Seeds?
Genetic Background and Characteristics
Autoflowering seeds are unique due to their ruderalis genetics, which evolved in northern regions like Siberia where daylight is prolonged for months. This adaptation allows them to flower based on age rather than light cycles. Typically, these seeds are hybrids, combining ruderalis with indica or sativa strains to enhance desired traits.
These seeds provide a faster growth cycle, often completing in 70 to 80 days from seed to harvest. This rapid timeline is advantageous for growers looking to maximize their yield throughout the year. The ruderalis genetics also contribute to the plant’s resilience, making them suitable for various climates.
Benefits for Cultivators
For cultivators, autoflowering seeds offer several benefits. Their ability to flower independently of light cycles means they can be grown in diverse environments, including indoors and outdoors. This flexibility allows for multiple harvests per year, increasing overall yield. Additionally, their compact size makes them ideal for discreet growing.
Autoflowering seeds are particularly beneficial for beginners due to their resilience and ease of cultivation. They require less maintenance and are less susceptible to light stress, making them forgiving for novice growers. By choosing high-quality seeds from reputable sources, like Blimburn Seeds, cultivators can ensure a successful growing experience.
Promos & Deals
Importance of Germination in Autoflowering Seeds
The Role of Germination
Germination is the critical first step in a seed’s journey to becoming a thriving plant. For autoflowering seeds, successful germination sets the foundation for robust growth and development. If seeds fail to germinate properly, it can lead to stunted growth and reduced yields.
Effective germination ensures that the plant has a strong start, which is crucial for withstanding various environmental conditions. By nurturing seeds during this stage, cultivators are essentially laying the groundwork for a healthy and productive plant. The initial care provided during germination can significantly impact the plant’s overall health and yield.
Impact on Future Growth
The germination stage is not just about sprouting; it’s about setting the stage for future growth. A seed that germinates well will develop into a plant with strong roots and a robust structure. This foundation is essential for supporting the plant as it matures and begins to flower.
By ensuring optimal conditions during germination, such as maintaining a pH level of 6.0 in the water, growers can promote healthy root development. This attention to detail during the early stages can lead to a more resilient plant capable of producing higher yields. It’s a crucial step that should not be overlooked.
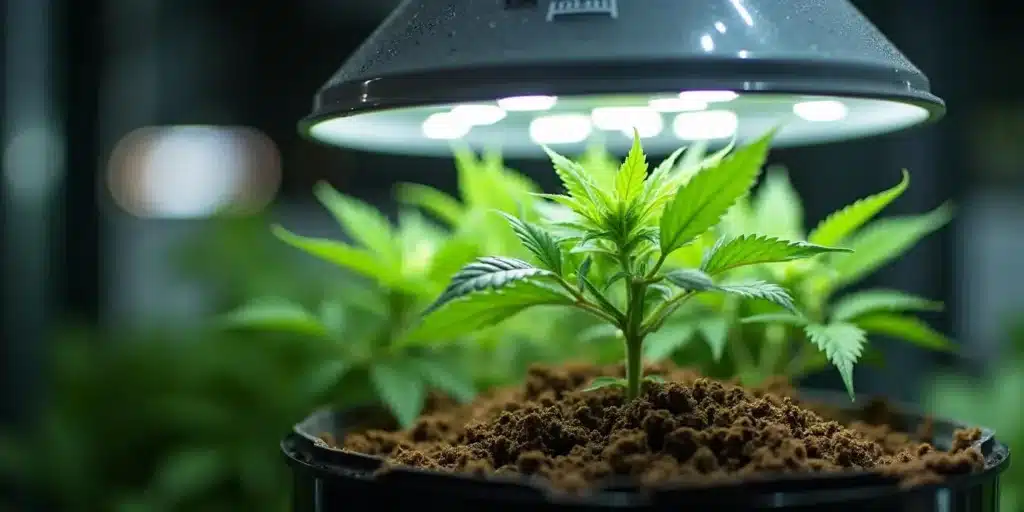
Steps for Germinating Autoflowering Seeds
Paper Towel Method
The paper towel method is a popular and effective technique for germinating autoflowering seeds. It involves placing seeds between two moist paper towels and storing them in a warm, dark place. This method creates a controlled environment that encourages seeds to sprout.
Maintaining the right moisture level is crucial; too much water can lead to rot, while too little can dry out the seeds. Regularly check the towels to ensure they remain damp. Once the seeds sprout, they can be carefully transferred to soil or another growing medium.
Direct Soil Method
Planting seeds directly into soil is a straightforward method that reduces transplant shock. To start, fill a small pot with nutrient-rich soil and create a small hole about half an inch deep. Place the seed in the hole with the pointed end facing up and cover it lightly with soil.
Water the soil gently to moisten it without soaking. Position the pot in a warm, well-lit area, ensuring it receives 18-20 hours of light daily. This method allows the seed to establish itself in its permanent home from the start, promoting strong root development.
Environmental Factors Influencing Germination
Temperature and humidity play pivotal roles in germinating autoflowering cannabis seeds. Maintaining a stable temperature between 70°F and 85°F (21°C – 29°C) is crucial for seed metabolism. A humidity level of 60-70% ensures seeds don’t dry out, fostering a conducive environment for sprouting. The best way to germinate autoflower seeds is by creating a balanced microclimate that mimics natural conditions.
Light exposure is another critical factor. While autoflowering seeds don’t rely on light cycles to flower, providing 16-18 hours of light during germination can enhance the growth process. This exposure ensures that seedlings receive enough energy for photosynthesis, promoting vigorous growth.
| Feature / Merkmal | Critical X GG4 Auto | Girl Scout Cookies | Amnesia Lemon Cake Bm Regular |
|---|---|---|---|
| THC Percentage | 22-26% | 18-22% | 20-24% |
| Dominant Terpene | Myrcene | Caryophyllene | Limonene |
| Aroma Profile | Earthy, Mango | Spicy, Sweet | Citrus, Lemon |
| Flowering Time | 70-80 days | 8-9 weeks | 9-10 weeks |
| Yield | 1.5-1.8 oz/ft² (450-550 g/m²) | 1.2-1.5 oz/ft² (350-450 g/m²) | 1.6-2 oz/ft² (500-600 g/m²) |
Professional Tips for Autoflowering Seed Germination
- Maintain a pH of 6.0 in your water to optimize nutrient absorption and prevent nutrient lockout.
- Ensure soil temperature remains between 70°F and 85°F (21°C – 29°C) to facilitate faster germination.
- Use a humidity dome to keep humidity levels at 60-70%, preventing seeds from drying out too quickly.
- Place seeds with the pointed end up in soil to help the taproot grow downward naturally.
- Check seed viability by gently pressing; a hard seed indicates it’s still viable and may just need more time.
- Clean the underside of leaves monthly to prevent pest infestations that could hinder growth.
FAQs on Autoflowering Seed Germination
Are you supposed to germinate autoflower seeds?
Yes, germinating autoflower seeds is essential for starting the growing process. It typically takes 24 hours to a week for seeds to sprout. Ensuring the right conditions, such as a temperature range of 70°F to 85°F (21°C to 29°C), can expedite germination and lead to healthier plants.
Do you have to soak auto flower seeds or can you just put them in a solo cup and let them rock?
Soaking autoflower seeds is recommended as it softens the seed casing and initiates germination. However, planting directly in a solo cup with soil can work if conditions are right. Ensure the soil is moist and the temperature is between 70°F and 85°F (21°C – 29°C) for successful germination.
What is the best way to start autoflower seeds?
The best way to start autoflower seeds is by using the paper towel method or direct soil planting. Both methods provide controlled environments for germination. Ensure the temperature is stable and the humidity is around 60-70% to promote healthy sprouting. This approach minimizes stress on the seeds.
Can I use tap water for germinating autoflower seeds?
Using tap water is possible, but it’s crucial to check its pH level, ideally maintaining it at 6.0. High chlorine or mineral content can hinder germination. Consider using filtered or distilled water to avoid potential issues. Always adjust the pH after adding nutrients to ensure optimal conditions.