Autoflower Week 10: Care and Expectations

As you reach the tenth week of cultivating autoflower cannabis, a mix of excitement and anticipation often swells within you. This point marks a pivotal juncture that can significantly define the quality and quantity of your harvest. Caring for your plants effectively during this stage is crucial to enhancing their health and optimizing your final yield.
Think of week 10 as the grand finale of a concert. Your plants have put on a magnificent show, and it’s now time to ensure that everything culminates beautifully. By paying close attention to their needs during this essential period, you’re setting the stage for a spectacular finish.
Recommended Strains
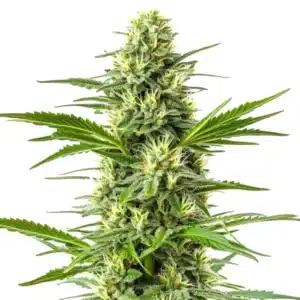
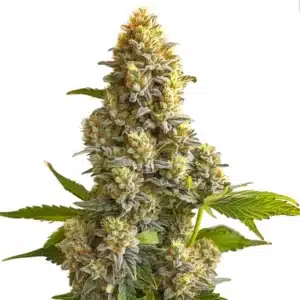
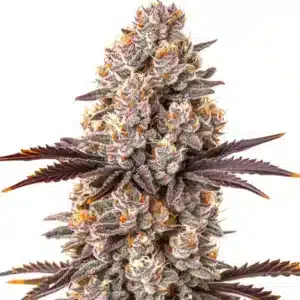
Amnesia Fast Version
|
|
THC | 22% - 25% (Medium) |
|
|
Type | Fast Flowering |
|
|
Yield | Medium |
|
|
Phenotype | 30% Indica / 70% Sativa |
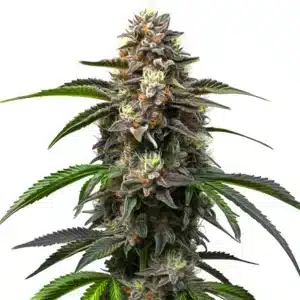
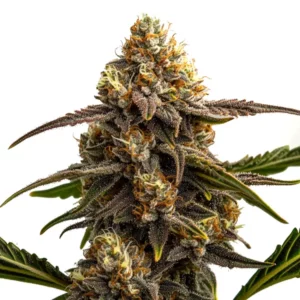
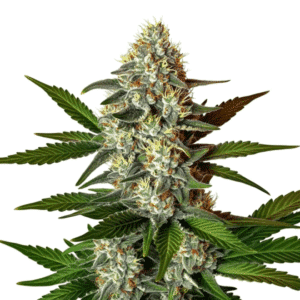
Godfather OG Auto
|
|
THC | 25% - 26% (High) |
|
|
Type | Autoflowering |
|
|
Yield | Low |
|
|
Phenotype | 70% Indica / 30% Sativa |
What to Expect in Week 10
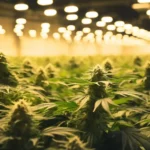
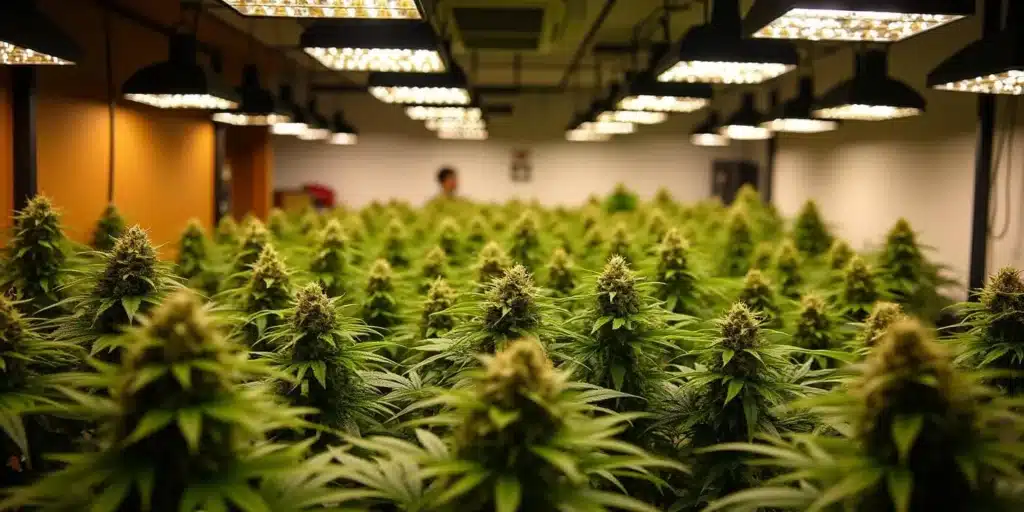
As you observe your autoflower plants nearing maturity, you’ll witness impressive changes in their growth. Buds will swell significantly, becoming more resinous and aromatic. This transformation signals that harvest time is on the horizon! Many experienced growers share that week 10 is when the fruits of their labor truly begin to shine.
However, it’s not just about admiring the beauty of your buds. It’s essential to take a moment to assess the overall health of your plants. Look for signs of any stress or nutrient deficiencies. For instance, if you spot any droopy leaves, it may indicate that your plants require immediate attention. Being proactive now can help you nip problems in the bud (pun intended!) before they escalate.
Buds Development and Resins
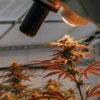
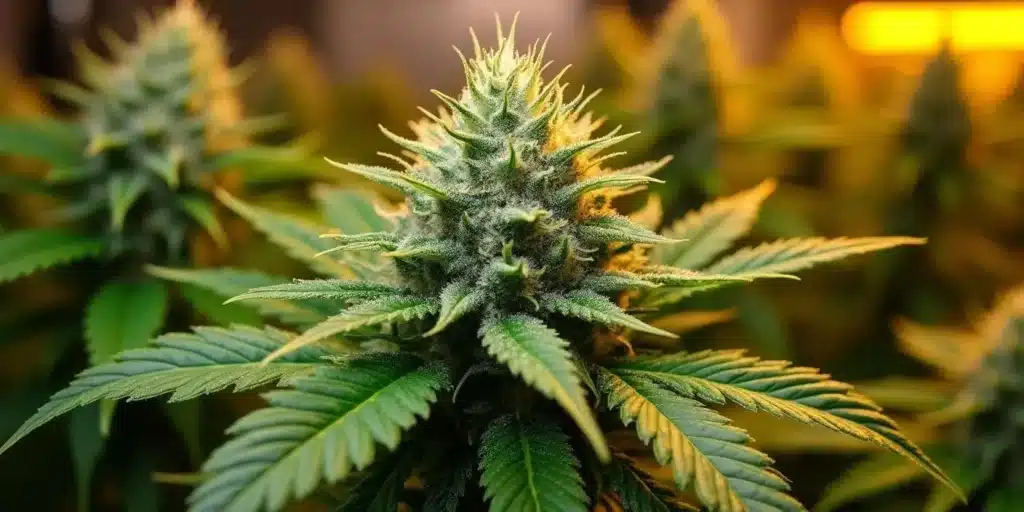
Week 10 is the time when buds continue to bulk up, and the resin production reaches its peak. Resin is where the magic happens, containing the cannabinoids and terpenes that give your final product its unique flavor and effects. To maximize resin output, make sure your light source is both adequately powerful and strategically positioned.
As your buds mature, keep an eye out for changes in appearance. The trichomes, tiny crystal-like structures on the buds, will become more pronounced and crucial as a harvesting indicator. When you notice that these trichomes shift from clear to a milky white color, it’s a reassuring sign that they are ripe and ready for harvesting.
Promos & Deals
Nutritional Needs
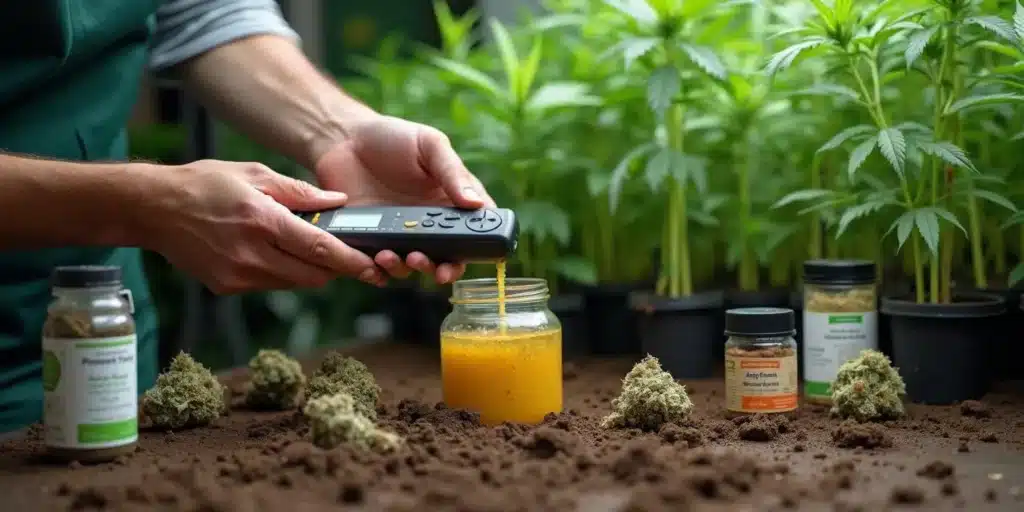
During week 10, your autoflower plants will demand different nutrients than they did in earlier stages. The need for nitrogen diminishes as they mature, making way for a stronger requirement for phosphorus and potassium. These nutrients play a vital role in promoting robust bud development, so consider adjusting your fertilization strategy accordingly.
- Opt for a fertilizer that boasts high phosphorus levels to support abundant bud growth.
- Keep a vigilant eye out for over-fertilization signs, such as yellowing tips or burnt edges on leaves. Such issues can disrupt your plants’ progress.
- Using organic nutrients can enhance the purity of flavors in your final product, making it a worthwhile investment.
To make the most of your nutrient plan, regularly check the pH of your feeding solution. Ideally, the pH levels should hover between 6.0 and 6.5 in soil setups, with slightly lower values preferred for hydroponics. Maintaining proper pH levels allows your plants to absorb nutrients efficiently, which can have a direct impact on their growth and vitality.
Watering Techniques
In week 10, your watering needs might diminish compared to earlier phases. As your plants begin to slow their growth in anticipation of harvest, they may not need as frequent watering. Allow the top inch of soil to dry out before reapplying water, as this will help prevent the dreaded overwatering and root rot.
Environmental conditions also play a crucial role in how you manage water. For example, if the humidity in your growing area is high, consider using a dehumidifier or strategically placing a fan to encourage airflow. Excess moisture can lead to mold growth on your precious buds, which can be detrimental to your harvest.
Light Management
Light is a key player in the growth of autoflowering cannabis plants. If you’re utilizing a light cycle of 18/6 (that’s 18 hours of light followed by 6 hours of darkness), it’s important to maintain consistency during week 10. Proper light exposure is essential for supporting flowering and resin production, both of which are critical at this juncture.
Some growers choose to amp up their lighting intensity during this phase. If you’re utilizing LED or HPS lights, keep an eye on the recommended distance to maximize light penetration and prevent light burn on your buds. This is a delicate balance; too much light can be as harmful as too little!
- Regularly check the distance of your lights to avoid heat stress on your plants.
- For those using organic or natural light, it’s essential to ensure your plants are still receiving ample exposure.
- Don’t forget to consider the energy consumption of your lights; an efficient setup can save you money in the long run!
Signs of Maturity
Recognizing the signs your plants are maturing will guide you in determining the best harvest timeframe. As you navigate through week 10, observe for any discoloration, particularly in the leaves. If the leaves begin to yellow, this is often a natural sign that your plant has entered the final phase of its life cycle, great news for harvest time!
Yellowing leaves, especially those closer to the bottom, indicate that your plant is focusing its energy on the buds, this is a positive sign! However, moderation is key; excessive browning could suggest underlying issues that might need addressing, such as stress or nutrient deficiencies.
Harvesting Tips
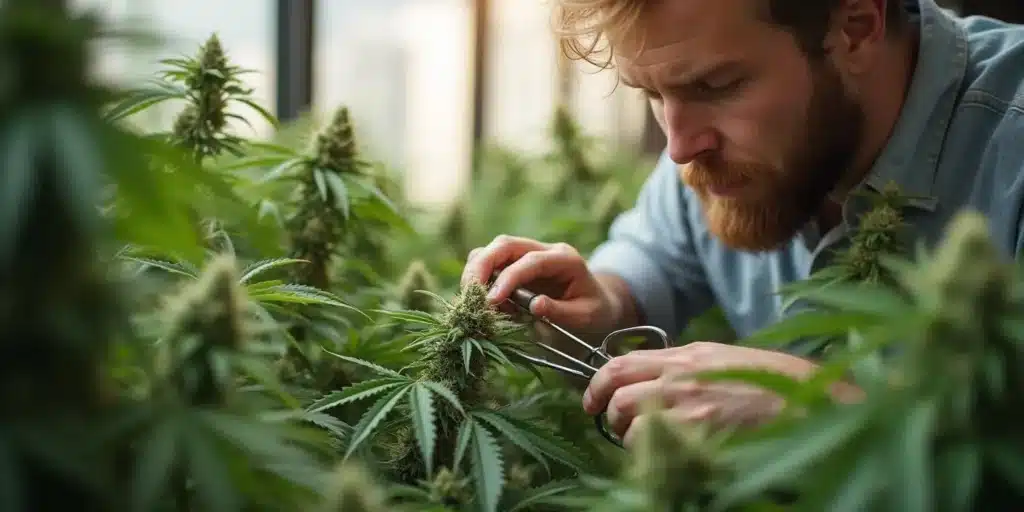
Once you determine that your autoflower plants have reached their peak maturity, it’s time to consider harvesting. This step demands careful execution to avoid damaging the buds. Ensure you have clean and sharp tools at your disposal, and aim to minimize any stress on the plants during the cutting process.
Many growers recommend harvesting during the cooler parts of the day, like early mornings or late evenings. This timing can enhance the flavor profile of your final product, as the plants are likely to retain more moisture. Handle them with gentleness to preserve those fragile trichomes developed over the growth cycle.
Preparing for Drying and Curing
Following the harvest, drying and curing are crucial processes that significantly affect the end flavor and potency. To start, hang your branches upside down in a dark, well-ventilated area. Aim to maintain a temperature of around 60-70°F (15-21°C) and keep humidity levels manageable at about 45-55%. This balance helps prevent mold and ensures even drying.
Curing is a subsequent stage that usually begins two weeks after drying. Place your dried buds in airtight containers and remember to remove excess air daily during the first week. Allowing the buds to breathe during this period enhances their flavor and results in a smoother smoking experience later on.
Choosing the Right Strain
Selecting the right autoflower strain sets the foundation for your growing journey. Different varieties showcase a range of performances during the final weeks of growth, so here are three popular strains worth considering:
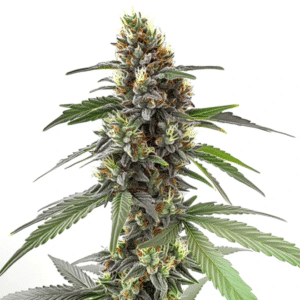
- Fast Bud Auto: A grower-favorite for its rapid maturation and sizeable yield, it offers a rich, earthy flavor that many growers appreciate.
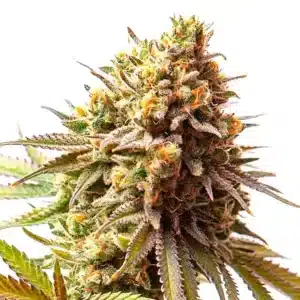
- Blueberry Auto: Beloved for its balanced effects, this strain provides a unique taste making it novice-friendly while still satisfying for experienced users.
Choosing a strain that aligns with your preferences can greatly influence your growing results, not to mention your overall enjoyment of the harvest. Each strain carries its unique traits that cater to varying tastes and expectations.
FAQs about Autoflower Week 10
What should I look for in trichomes during week 10?
As you observe your trichomes this week, focus on their color. Clear trichomes signal that the plant is still maturing and not quite ready for harvest. Aim for a substantial number of milky white trichomes for peak potency. Some growers opt to wait until a portion of the trichomes turn amber for a more calming, sedative effect in the final product.
Can I still top my plants in week 10?
Generally speaking, it’s best to avoid topping your plants in week 10. This crucial stage is primarily about bud development, and any stress incurred from topping can delay your harvest or diminish yields. If you haven’t topped earlier in the growth cycle, consider implementing it in the vegetative stage for future grows.
How do I prevent mold during the last weeks of flowering?
Mold poses a significant risk, especially in humid environments. To prevent the dreaded mold from making an appearance, ensure proper airflow around your plants, maintain optimal humidity levels, and avoid over-watering. Regularly inspect your buds for any signs of mold growth; immediate action is required if discovered, removing the affected areas promptly can save the rest of the harvest.
Is it necessary to flush my plants in the final week?
Flushing can be beneficial to remove excess nutrients from your plants before you harvest. This technique typically involves giving your plants plain water for the last week or two before cutting them down. By flushing, you can enhance the flavor and smoothness of the smoke, as it helps eliminate leftover chemicals from fertilizers.