How to Grow Weed at Home Without Equipment

Growing cannabis at home can be a rewarding experience, offering personal insights into the plant’s lifecycle and ensuring a clean, chemical-free product. If you’re researching How to Grow Weed at Home Without Equipment, this guide outlines the essential steps to cultivate weed at home without the need for expensive equipment, focusing on natural methods and household materials.
Introduction to Homegrown Cannabis
The cultivation of cannabis at home is an art form that intertwines nature’s simplicity with human curiosity and care. As more areas around the globe shift towards a more accepting stance on cannabis, both for medical and recreational use, the interest in homegrown cannabis has seen a remarkable surge. Growing your own weed, especially without the reliance on sophisticated equipment, embodies a return to the basics, an organic approach that can be both fulfilling and enlightening.
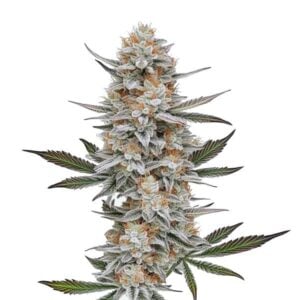
Recommended Strains

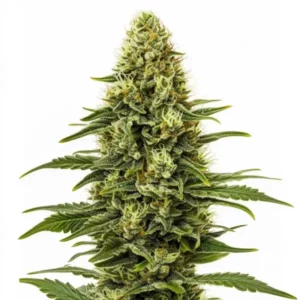
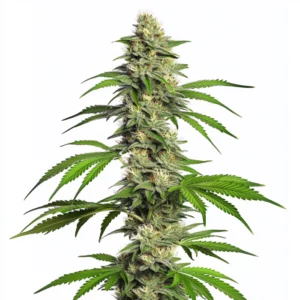
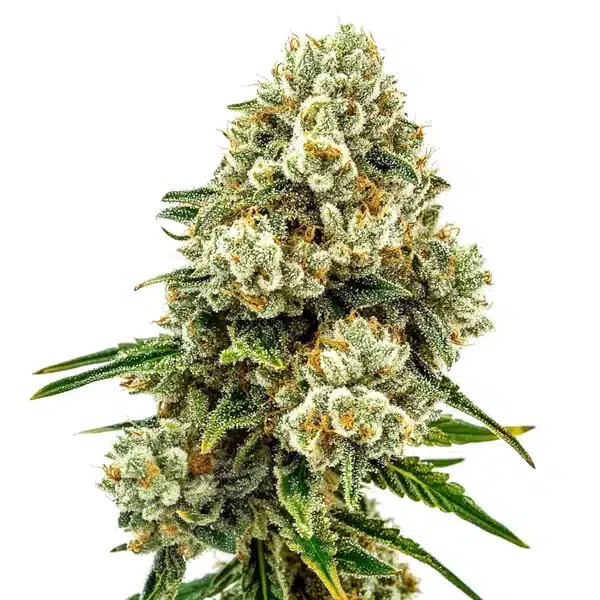
ACDC (1:18)
|
|
CBD | 18% (Medium) |
|
|
Type | CBD Feminized |
|
|
Yield | High |
|
|
Phenotype | 50% Indica / 50% Sativa |
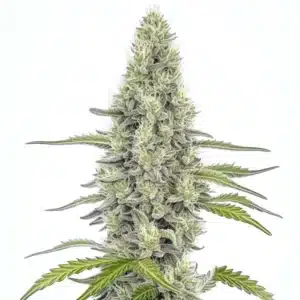
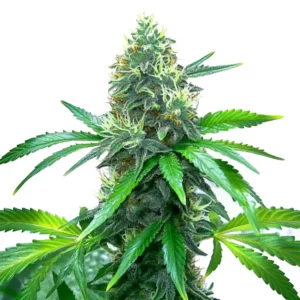
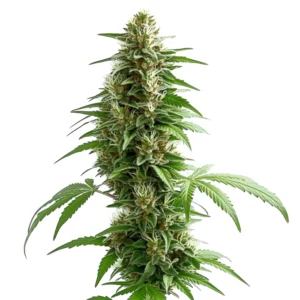
Acid Diesel
|
|
THC | 18% - 20% (Medium) |
|
|
Type | Feminized |
|
|
Yield | Medium |
|
|
Phenotype | 60% Indica / 40% Sativa |
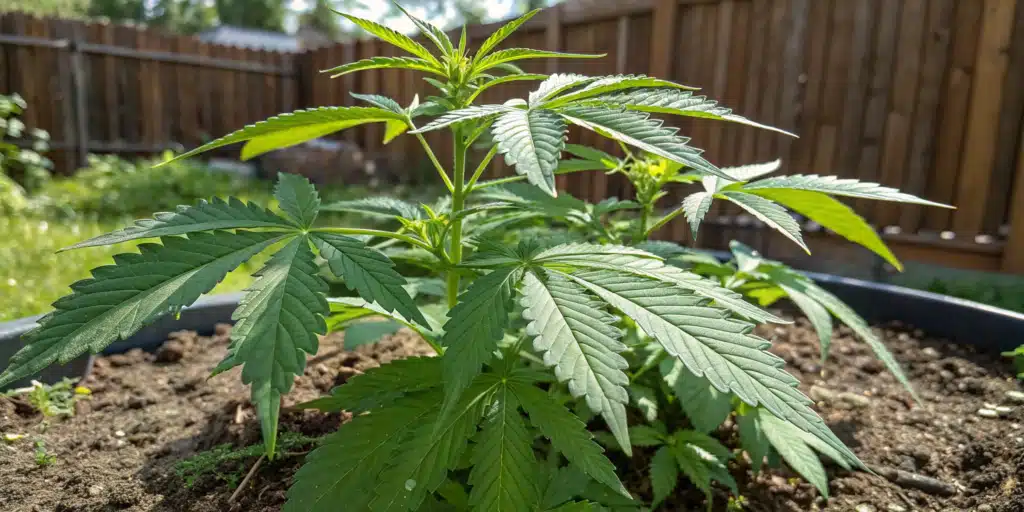
Embarking on the journey of growing cannabis at home requires no elaborate setup or significant investment in high-tech gadgets. The essence of How to Grow Weed at Home Without Equipment lies in leveraging the natural resources at your disposal, be it the abundant sunlight that bathes your balcony or the fertile earth in your backyard. This method not only makes cannabis cultivation more accessible but also ensures that it remains a sustainable and personal endeavor.
At the heart of homegrown cannabis is the connection between the grower and the plant. This connection is fostered through every stage of the growth cycle, from selecting the right strain to sowing the seeds, and from nurturing the plant to finally harvesting the fruits of your labor. By growing cannabis without equipment, growers learn to read the subtle signs of the plant’s needs, relying on intuition and observation rather than dials and digital readings.
This process goes beyond simply producing your own cannabis; it’s a learning experience that fosters patience, care, and respect for nature. It clarifies the plant’s needs and clears away any confusion or misinformation. Through this guide, “how to grow weed at home without equipment from seed,” you will discover the simple joys and challenges of cultivating cannabis, guided by principles that prioritize environmental health and personal satisfaction over convenience and speed.
Promos & Deals

Selecting the Right Strain
When embarking on the journey of growing weed at home without equipment, selecting the right strain is a pivotal decision that can significantly influence your overall experience and success. This choice not only affects the growth and resilience of your cannabis plants but also determines the type of high or medicinal benefits you can expect from the final product. Therefore, the differences between Indica and Sativa strains, as well as the unique advantages of autoflowering seeds, is essential for any home grower.
Indica vs. Sativa: What’s Best for Home Growing?
Indica and Sativa are the two main types of cannabis, each offering distinct characteristics in growth, effect, and appearance.
Indica strains are known for their short, bushy stature, making them suitable for small indoor spaces or discreet outdoor growing. They typically have a faster flowering time than their Sativa counterparts, which is a significant advantage when you aim to grow weed at home without sophisticated equipment. Indicas are often associated with a relaxing, sedative effect, ideal for evening use or medicinal purposes such as pain relief and insomnia.
Sativa strains, on the other hand, grow taller and leaner, which might pose a challenge for indoor growing without specialized equipment. However, they are well-suited for outdoor gardens where space is not a limiting factor. Sativas usually require more time to flower, but they reward growers with uplifting and energizing effects, making them perfect for daytime use. Cultivating Sativas without equipment demands patience and a more extended period of care, yet the results can be exceedingly gratifying, offering potent flavors and high yields.
Autoflowering Seeds: A Beginner’s Best Friend
For beginners or those looking to grow weed at home without equipment, autoflowering seeds are a game-changer. These seeds are bred from a mix of Indica or Sativa with Cannabis ruderalis, a species known for its hardiness and ability to flower based on age, rather than changes in the light cycle. Autoflowering strains are incredibly forgiving and require less attention, making them an ideal choice for novice growers or those without access to grow lights or timing equipment.
Autoflowering plants remain relatively small, which is perfect for discreet indoor setups or limited outdoor spaces. Despite their compact size, they can produce generous yields in a shorter timeframe. This characteristic allows growers to achieve multiple harvests in a season, especially in regions with long growing seasons. Autoflowering strains also tend to be more resilient against temperature fluctuations, pests, and diseases, further reducing the need for sophisticated equipment or extensive gardening experience.
Natural Growing for How to Grow Weed at Home Without Equipment
Utilizing Sunlight to Your Advantage
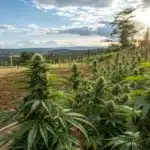
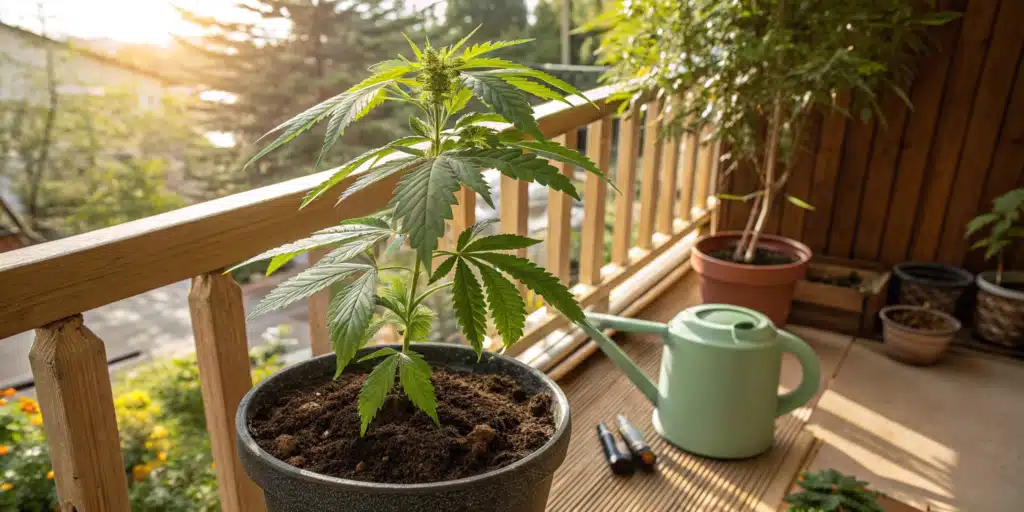
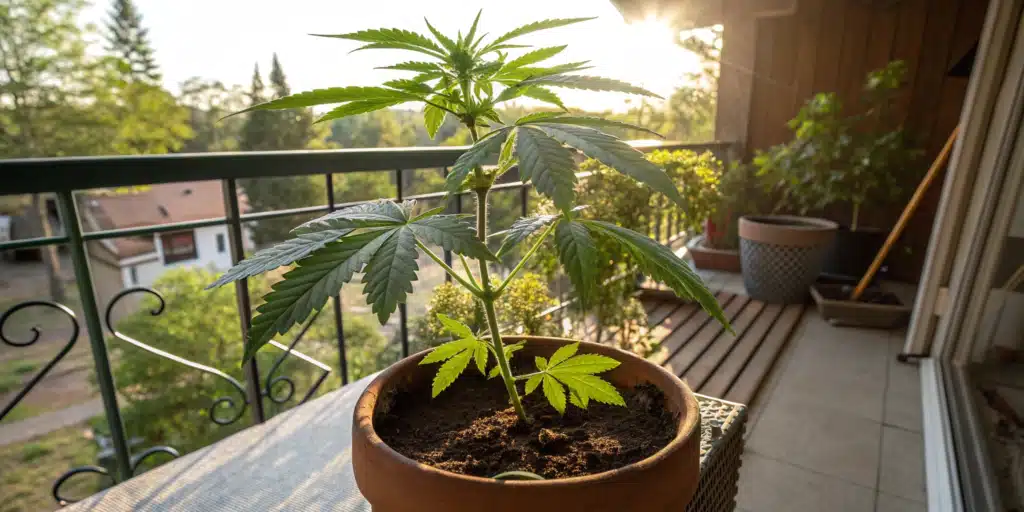
When it comes to growing weed at home without equipment, sunlight is your best friend and the most crucial component for your plants’ photosynthesis process. Cannabis plants thrive under direct sunlight, so positioning your plants where they can soak up at least six to eight hours of sunlight a day is essential. South-facing windows (in the Northern Hemisphere) or north-facing ones (in the Southern Hemisphere) are ideal spots for indoor grows, ensuring your plants get the most consistent light throughout the day.
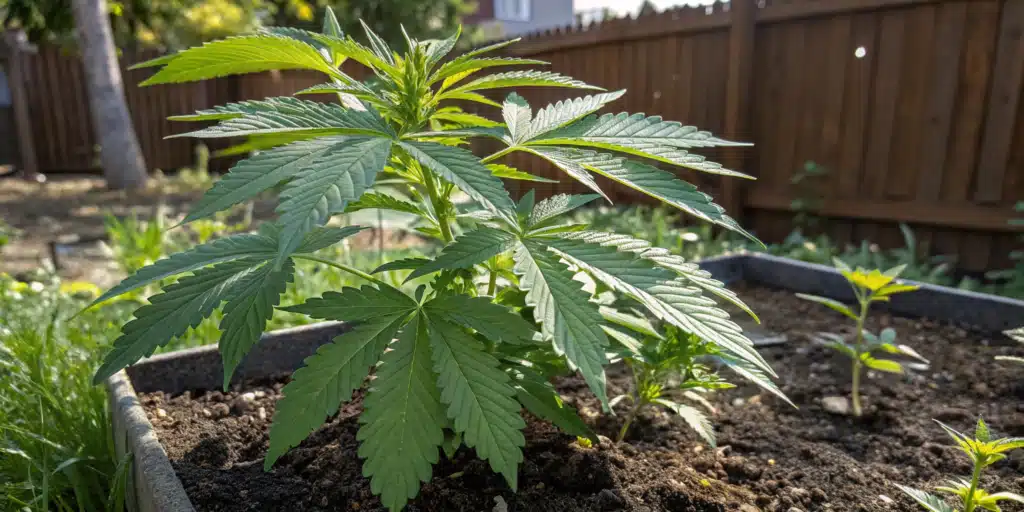
In outdoor setups, observe your yard to identify spots that receive continuous sunlight. Remember, the sun’s position changes with the seasons, so what might be a sunny spot in the summer could be shaded in the winter. Use this to your advantage by planning your grow season to align with the times of year your selected spot receives ample sunlight.
Achieving Ideal Temperature and Humidity Naturally
The ideal temperature for growing cannabis is between 20°C (68°F) and 30°C (86°F). These conditions mimic the plant’s natural environment and promote healthy growth. During the hotter parts of the day, ensure your plants are not overheating, especially if they are in direct sunlight. Symptoms of heat stress include wilting and yellowing leaves. If you’re growing indoors and struggling with high temperatures, slightly opening windows or using fans can help circulate air without the need for specialized equipment.
Humidity is another critical factor, with cannabis plants requiring different humidity levels throughout their lifecycle. Seedlings and clones thrive in high humidity (65-70%), vegetative plants do well at slightly lower levels (40-60%), and flowering plants prefer even lower humidity (40-50%) to prevent mold and mildew. Managing humidity without equipment can be challenging, but not impossible. For indoor grows, simple practices like airing out the room regularly or using bowls of water to increase humidity can be effective. For outdoor grows, choosing the right time of year to plant, when natural humidity levels are in your favor, can make a significant difference.
Growing weed at home without equipment involves working in harmony with nature. By learning how to make the most of natural growing conditions like sunlight, temperature, and humidity, you can nurture healthy cannabis plants and achieve a rewarding harvest. This method not only cuts costs on equipment but also helps build a stronger connection to both the growing process and the plants.
How to Grow Weed at Home Without Equipment: Vegetative Stage – Building the Plant
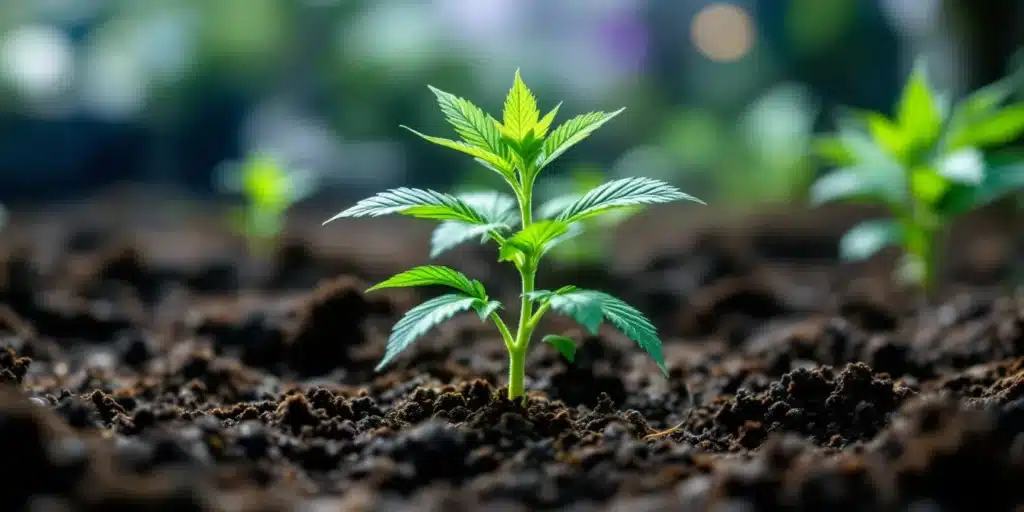
After germination, the seedling enters the vegetative stage, focusing on building a strong root system and developing sturdy stems and leaves. This stage is crucial for establishing a healthy foundation that will support future bud growth. Cannabis plants in the vegetative stage require ample sunlight (or a natural equivalent), water, and nutrients, particularly nitrogen. The duration of this stage can vary based on the grower’s preference and the plant’s genetics; however, it generally lasts between 3-8 weeks. Here, the plants should be kept in a location where they can receive at least 13-15 hours of sunlight daily to prevent early flowering.
How to Grow Weed at Home Without Equipment: Flowering Stage – Buds Begin to Form
The flowering stage is triggered by reducing daylight hours, naturally occurring as the seasons change. Indoor growers mimic this by reducing the light exposure to 12 hours on and 12 hours off. During this stage, the plant stops growing in size and starts to focus on producing buds. The flowering stage is divided into early, mid, and late phases, each requiring specific care and attention to nutrients. Phosphorus and potassium are particularly important during flowering to support bud development.
Soil and Planting
When embarking on your journey of how to grow weed at home without equipment, the choice of soil and the planting process play pivotal roles in the success of your cannabis cultivation. The right soil not only provides a strong foundation for plant growth but also ensures that your plants have access to the nutrients they need throughout their lifecycle. Let’s dive deeper into how you can select the best soil for your cannabis plants and how to plant your seeds to kickstart their growth.
Choosing the Right Soil for Your Cannabis Plants
The quest for the perfect soil starts by identifying the specific needs of cannabis plants. They flourish in well-draining soil with a slightly acidic to neutral pH and plenty of organic matter. For home growers without specialized equipment, crafting a soil mix from readily available materials can be both simple and effective.
A good starting point is to mix garden soil with compost, perlite, and vermiculite in a 3:1:1:1 ratio. This combination provides aeration, moisture retention, and a wealth of nutrients, creating an environment where cannabis roots can spread out and absorb everything they need efficiently. If you’re planting directly in the ground, amending the native soil with organic matter and a balanced, slow-release fertilizer can significantly improve its quality and fertility.
Remember, the quality of your soil directly impacts the health and yield of your cannabis plants. It’s worth taking the time to prepare it correctly.
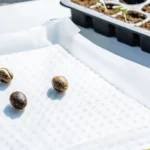
Germinating Your Seeds Without Equipment
Germination is the first step in your cannabis plant’s journey. Fortunately, this process doesn’t require any specialized equipment and can be successfully accomplished with just a few household items. One of the most effective methods is the paper towel method:
- Moisten two paper towels with water. The towels should be damp but not dripping wet.
- Place your cannabis seeds between the two towels.
- Keep the towels in a warm, dark place, such as a cupboard or drawer. A temperature of around 70-85°F (20-30°C) is ideal for germination.
- Check daily for signs of sprouting, which typically occurs within 2-7 days. Ensure the towels remain moist throughout this period.
Once your seeds have sprouted, it’s time to move them into soil. Make a small hole in the soil about a quarter of an inch deep, which is roughly the same size as a quarter of weed. Carefully place the sprouted seed with the root pointing downward, and lightly cover it with soil. Water gently to settle the soil around the seedling, being careful not to disturb its placement.
How to Grow Weed at Home Without Equipment
Growing weed at home without equipment is a testament to the resilience of cannabis and the ingenuity of growers. By selecting the right soil and carefully germinating your seeds, you’ve taken the first steps toward cultivating your own cannabis plants. As your plants grow, remember that attention to detail, from watering to pest management, will be your tools in lieu of equipment. With patience and care, you can harvest your own homegrown cannabis, enjoying the fruits of your labor and the satisfaction of a job well done.
Watering and feeding your cannabis plants correctly is vital for their growth and the quality of the bud they produce. Even without sophisticated equipment, you can master these elements through attentive care and observation, ensuring your homegrown cannabis thrives.
Watering Your Cannabis Plants Naturally
Water is life for cannabis, as it is for all plants. However, cannabis has specific watering needs that vary depending on its growth stage. Seedlings require a moist environment to encourage strong root development, while vegetative and flowering plants have different needs based on their size and the environmental conditions.
Tips for Watering Cannabis Without Equipment:
- Check Soil Moisture: Before watering, check the soil’s moisture level by sticking your finger about an inch into the soil. If it feels dry, it’s time to water.
- Use Room Temperature Water: Cold water can shock the roots, slowing growth. Always use water that’s at room temperature.
- Water Slowly: Pour water slowly around the base of the plant. This method allows the water to penetrate the soil and reach the roots, rather than running off the surface.
- Morning Watering: Whenever possible, water your plants in the morning. This timing helps reduce the evaporation rate and ensures that the plants have sufficient moisture throughout the day.
- Allow for Drainage: Ensure that excess water can drain out of your container to prevent root rot. If you’re growing directly in the ground, ensure the soil is well-draining.
Natural Fertilization Techniques
Fertilizing your cannabis plants naturally is not just about feeding them; it’s about building a healthy, sustainable ecosystem that supports their growth from seedling to harvest. This section explores various organic and natural fertilization techniques that can be easily implemented at home, ensuring your plants receive the nutrients they need without resorting to chemical fertilizers.
Watering Your Plants Wisely
Watering your cannabis plants wisely is crucial for their growth and development. This delicate balance ensures that your plants receive just the right amount of water they need to thrive, avoiding the extremes of overwatering and underwatering. This section will delve into the art and science of watering your cannabis plants effectively, leveraging natural methods and keen observation to achieve optimal hydration.
Homemade Nutrient Solutions for Healthy Growth
Cannabis plants require various nutrients at different stages of their growth. The primary nutrients are nitrogen (N), phosphorus (P), and potassium (K), but they also need a mix of micro-nutrients. Without commercial fertilizers, you can still provide these essentials through homemade solutions.
Creating Nutrient-Rich Solutions:
- Compost Tea: A well-made compost can supply most, if not all, the nutrients your cannabis plants need. Brewing compost tea amplifies these benefits, creating a nutrient-rich solution that can be applied directly to your plant’s soil or foliage.
- Eggshell Tea: Rich in calcium, eggshell tea is great for promoting plant growth and strength. Simply boil a gallon of water, add crushed eggshells, and let it sit overnight. Strain and use it to water your plants.
- Banana Peel Potassium Boost: Banana peels are high in potassium, an essential nutrient for cannabis flowering. Soak banana peels in water for a few days, then use the water for your plants. Remember to compost the peels afterward.
- Wood Ash for Potassium and Lime: If you have a wood-burning fireplace, wood ash can be a valuable source of potassium and lime. However, use it sparingly, as it can also raise the soil pH.
Monitoring Plant Health
As you water and feed your plants, keep a close eye on their health. Signs of overwatering include yellowing leaves and a lack of growth, while nutrient deficiencies often present as discolored or misshapen leaves. Adjust your care routine accordingly to ensure your cannabis plants grow healthy and strong.
By applying these watering and nutrient strategies, you’re on the path to successfully growing weed at home without the need for costly equipment. The secret to thriving cannabis plants is found in the essentials: careful watering, proper nutrient balance, and consistent attention, ensuring that your home grow becomes a rewarding and fruitful experience.
Pest and Disease Management in Growing Weed at Home Without Equipment
Growing weed at home without the use of expensive equipment presents a unique set of challenges and opportunities, particularly in the realm of pest and disease management. Unlike commercial growers who may rely on high-tech solutions for these issues, home growers can adopt a more natural and accessible approach to keeping their plants healthy and thriving.
Identifying Common Pests and Diseases
The first step in managing pests and diseases is to know what you’re up against. Common cannabis pests include spider mites, aphids, whiteflies, and fungus gnats. Each of these pests can cause significant damage if not controlled early. Diseases to watch out for include powdery mildew, root rot, and various fungal infections.
To identify these issues, regularly inspect your plants for any signs of distress, such as discoloration, spots on leaves, or unusual leaf shapes. Early detection is key to preventing widespread infestation or disease.
Natural Remedies for Pest and Disease Control
1. Neem Oil: Neem oil is a natural pesticide that’s effective against a wide range of pests. It works by disrupting the life cycle of pests, preventing them from maturing and reproducing. Apply neem oil as a foliar spray in the evening to avoid burning the leaves under the sun.
2. Diatomaceous Earth: This naturally occurring powder can be sprinkled around the base of your plants to control pests like ants, slugs, and other crawling insects. Diatomaceous earth works by piercing the exoskeletons of these pests, causing them to dehydrate and die.
3. Companion Planting: Planting certain types of plants alongside your cannabis can help deter pests. For example, marigolds repel nematodes and other pests, while basil can help repel flies and mosquitoes.
4. Proper Ventilation and Spacing: Ensuring your plants have enough space between them and are in a well-ventilated area can help prevent the spread of diseases. Good air circulation helps keep the foliage dry and reduces the risk of fungal infections.
5. Regular Cleaning: Keep the growing area clean and free of dead plant material, which can harbor pests and diseases. Regularly remove any fallen leaves or debris from the pots or growing space.
6. Biological Controls: Introducing beneficial insects like ladybugs or predatory mites can help control pest populations naturally. These beneficial predators feed on harmful pests without damaging your plants.
Incorporating these strategies into your home cannabis cultivation can significantly reduce the likelihood of pest and disease problems. Remember, the key to successful pest and disease management is prevention, observation, and acting quickly at the first sign of trouble. By recognizing the common threats to your cannabis plants and applying these natural remedies, you can grow healthy, robust plants at home without the need for expensive equipment.
Growing weed at home without equipment not only saves costs but also offers a more organic, hands-on approach to cannabis cultivation. With the right knowledge and care, you can achieve a bountiful harvest, ensuring a personal supply of cannabis that is both rewarding and enjoyable to cultivate.
When embarking on the journey of growing weed at home without the need for sophisticated equipment, the nuances of pruning and training your cannabis plants can be a game-changer. These techniques are not just about shaping your plants but optimizing their health and maximizing the yield of your homegrown cannabis. Let’s delve into how you can employ these methods effectively, ensuring your plants thrive even in the most basic growing setups.
Why Prune Your Cannabis Plants?
Pruning involves selectively removing parts of the plant, such as leaves or branches, that are unnecessary or detrimental to its growth. This process can significantly impact the plant’s energy distribution, focusing growth on areas that will produce the most bountiful buds. When you grow weed at home without equipment, leveraging natural resources like sunlight becomes crucial. Pruning helps by increasing light penetration and air circulation around the lower parts of the plant, which is essential for robust growth and preventing mold or pest infestations.
Basic Pruning Techniques
- Topping: This technique involves cutting off the top of the main stem, encouraging the plant to grow more horizontally and produce more tops. This is particularly beneficial when your growing space is limited, as it creates a bushier plant with more buds that can access sunlight easily.
- Lollipopping: By removing lower growth that receives less light, you can encourage the plant to focus its energy on the upper buds. This method simplifies maintenance and improves air flow beneath the canopy.
- Defoliation: Carefully removing some of the larger leaves can improve light penetration and air circulation. This should be done sparingly, as leaves are crucial for photosynthesis.
Training Techniques for Maximum Yield
Training your plants is about gently manipulating their shape and growth direction to expose more of the plant to light. When growing weed at home without equipment, simple training techniques can significantly enhance your yield.
- Low-Stress Training (LST): This method involves bending and tying down branches or stems to encourage horizontal growth. It doesn’t involve cutting the plant, reducing the risk of stress. You can use soft ties to gently guide the branches outward and downward, allowing more buds to form and receive ample light.
- Screen of Green (ScrOG): This technique involves placing a screen or net over your plants and weaving the branches through it as they grow. This not only supports the plant but also ensures even light distribution to all the buds. ScrOG is particularly effective in small, confined spaces where vertical growth is limited.
- Super cropping: This more advanced technique involves carefully bending and pinching the stems to create a knuckle-like node. This can increase resin production and is a way to manage height while encouraging bushier growth.
Incorporating Pruning and Training Into Your Grow
When you decide to grow weed at home without equipment, it’s essential to start with a plan. Consider the natural conditions you’re working with and how you can use pruning and training to maximize your plant’s potential. Remember, the goal is to create a plant that utilizes space efficiently, receives ample light, and directs its energy towards producing a bountiful harvest.
Drying and Curing Your Harvest
After nurturing your cannabis plants through the stages of growth using natural, equipment-free methods as outlined in our guide “How to Grow Weed at Home Without Equipment,” the final steps of drying and curing are crucial for achieving the best quality product. These processes ensure that your harvest has the optimal potency, flavor, and longevity. Proper drying and curing can dramatically enhance the smoking experience, converting raw, freshly harvested buds into smooth, aromatic flowers.
The Importance of Proper Drying and Curing
Drying and curing cannabis is not just a matter of preservation but also a critical phase that affects the chemical composition of the buds. Incorrect drying can lead to moldy or overly dry weed, while improper curing can result in a harsh smoke and diminished flavor. The goals during these stages are to slowly remove moisture from the buds to prevent mold and to allow the chlorophyll in the leaves to break down, eliminating the grassy taste and ensuring a smoother smoke.
Step-by-Step Guide to Drying
- Harvest Time: Begin by trimming your cannabis plants. Some growers prefer to trim the leaves (wet trim) before drying, while others wait until after the buds are dry (dry trim). Wet trimming is easier and can help speed up the drying process, but dry trimming can help protect the delicate trichomes during drying.
- Setting Up Your Drying Space: Choose a dark, cool, and well-ventilated area to hang your buds. The ideal temperature is between 60-70°F (15-21°C), with a humidity level of 45-55%. Use string or clothes hangers to hang your branches upside down. Ensure good air circulation but avoid direct air flow from fans on the buds, as this can dry them too quickly.
- Drying Process: The drying process usually takes about 7-14 days, depending on environmental conditions. Buds are ready when the stems snap rather than bend, and the outer bud feels dry to the touch. However, the inside will still retain some moisture, which is necessary for the curing process.
Step-by-Step Guide to Curing
- Trimming (If Dry Trimming): If you haven’t already trimmed the leaves, do so once the buds are dry.
- Jarring: Place the dried buds in wide-mouthed, airtight glass jars. Fill the jars ¾ full, allowing some air space. This setup is ideal for the curing process.
- Burping: During the first week, open the jars several times a day for about 10 minutes to exchange air and release any built-up moisture. This process, known as “burping,” is critical for preventing mold and for allowing gases from the curing process to escape.
- Monitoring: After the first week, reduce burping to once every few days. Monitor the humidity inside the jars using a hygrometer if possible. The ideal relative humidity for curing is 60-65%. If the buds feel too wet, leave the jars open for a bit longer during burping to allow more moisture to escape.
- Curing Duration: The curing process typically lasts for at least two weeks, but extending it to four weeks or longer can significantly improve the quality and smoothness of your cannabis.
By adhering to these steps, you ensure that your hard work in growing cannabis at home without equipment culminates in the highest quality end product. Drying and curing are as much an art as they are a science, requiring patience and attention to detail to perfect. The reward is a potent, flavorful, and smooth cannabis experience that truly honors the effort invested in its cultivation.

Troubleshooting Common Problems in Growing Weed at Home Without Equipment
Growing weed at home without equipment poses unique challenges, yet it’s entirely possible to achieve a bountiful harvest with the right knowledge and approach. If you’ve ever asked yourself how to grow weed without any equipment, this section dives deeper into common issues you might encounter and provides solutions to ensure your homegrown cannabis thrives, emphasizing simplicity and natural remedies.
Overcoming Lighting Issues
One of the most prevalent challenges when growing weed without specialized equipment is ensuring your plants receive adequate light. Cannabis requires a significant amount of light to flourish, ideally around 10-12 hours of direct sunlight per day during the vegetative stage and 12-12 (light-dark) during flowering. If your plants are stretching toward the light or appear leggy, they’re likely not receiving enough sunlight. Consider relocating them to a sunnier spot or rotating them regularly to ensure all sides receive equal light. Remember, the sun is your best light source when growing weed at home without equipment.
Managing Temperature Fluctuations
Cannabis plants thrive in a controlled environment, ideally between 70-85°F (20-30°C) during the day and slightly cooler at night. Without equipment to regulate temperature, it’s crucial to be mindful of seasonal changes and natural temperature variations in your growing area. During hot weather, shade cloth can help protect plants from overheating, while moving plants indoors or to a sheltered area can protect them from cool night temperatures or unexpected frosts.
Addressing Watering Challenges
Watering can become a nuanced task in natural cannabis cultivation. Overwatering is a common mistake that can lead to root rot, a condition detrimental to plant health. Conversely, underwatering stresses plants, stunting growth. The key is to maintain a balance, allowing the soil to dry out slightly between waterings. If the top inch of soil feels dry to the touch, it’s time to water. Collecting rainwater can be an excellent strategy to water your plants, as it’s naturally soft and contains beneficial microorganisms.
Nutrient Deficiencies and Toxicities
Without commercial fertilizers and equipment, maintaining the correct nutrient balance can be challenging. Signs of nutrient deficiencies include yellowing leaves (nitrogen), purple or red stems (phosphorus), and brown spots or curling leaf edges (potassium). Conversely, nutrient toxicity, often from over-enthusiastic homemade compost applications, can cause nutrient burn, evidenced by dark, burnt-looking leaf tips. To remedy these issues, adjust your feeding practices gradually, introducing compost teas or organic matter based on the specific deficiency. Always err on the side of caution, as it’s easier to add more nutrients than to correct a toxicity.
Pest and Disease Management Without Chemicals
Pests and diseases can wreak havoc on your cannabis plants, and without equipment, prevention is your best defense. Regularly inspect plants for signs of infestation or illness, such as discolored leaves, spots, or webbing. Natural remedies like neem oil, diatomaceous earth, and homemade insecticidal soaps can be effective against pests. For fungal diseases, improving air circulation around the plants and reducing leaf wetness can help prevent outbreaks. Companion planting with pest-repelling plants like marigolds can also offer a natural deterrent to pests.
Pollination Concerns
Accidental pollination can occur if male plants are not identified and removed promptly. This results in seeded buds, reducing the overall potency and quality of your harvest. Vigilantly monitor your plants for male characteristics, such as pollen sacs, and remove them from your grow area to prevent pollination.
Harvest Timing
Determining the perfect harvest time without equipment can be challenging. Look for the pistils on your buds to change color from white to a reddish-brown, and trichomes to transition from clear to a milky white. These are indicators that your cannabis is reaching peak maturity. A simple magnifying glass can help observe these subtle changes more clearly.
FAQs
Can I really grow cannabis indoors without lights or other grow-room gear?
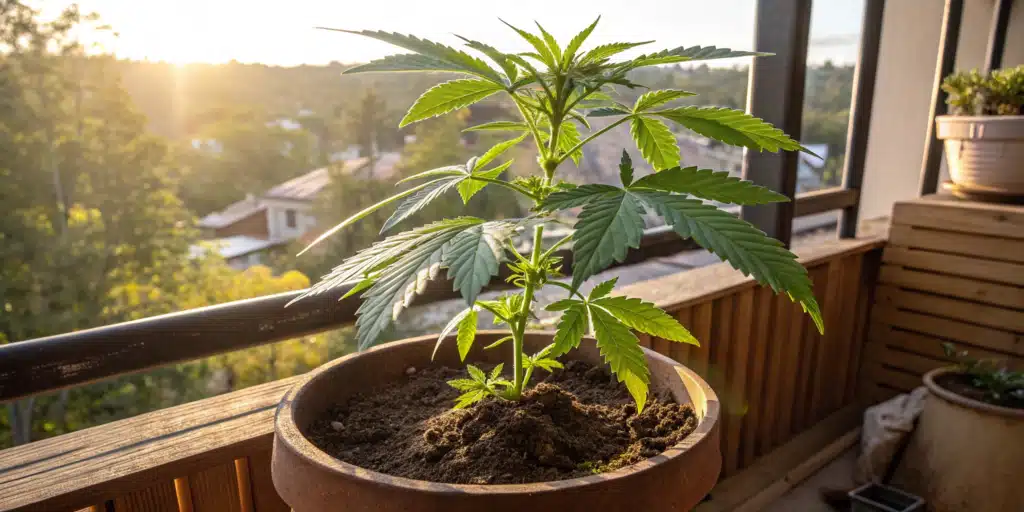
Yes. Place your plants where they receive at least 6–8 hours of direct sunlight a day—south-facing windows in the Northern Hemisphere (north-facing in the Southern). Rotate pots every few days so all sides get light, and use light-colored walls or reflective household items (e.g., white poster board) to bounce extra sunlight onto lower leaves. Consistency is key: if a spot loses sun as seasons change, move the plants or grow during the brightest months.
Which strains work best when you’re learning How to Grow Weed at Home Without Equipment?
Choose compact, forgiving genetics:
- Autoflowering varieties (e.g., ruderalis hybrids) bloom by age, not light cycle, so you don’t need blackout curtains.
- Indica-dominant photoperiod strains stay shorter and finish faster than tall, late-flowering sativas.
- Hardy hybrids bred for pest and mold resistance tolerate the small temperature and humidity swings common in low-tech grows.
These options reduce the margin for error and let beginners harvest sooner.
How do I control pests, nutrients, and climate without buying special equipment?
- Pests & diseases: Inspect plants daily; spray neem-oil solution or dust diatomaceous earth at the first sign of insects. Good air flow—an open window or a small household fan—discourages mold.
- Nutrients: Feed organically with compost tea, banana-peel potassium water, or crushed-eggshell “calcium tea.” Amend basic garden soil with compost, perlite, and vermiculite so roots stay aerated.
- Temperature & humidity: Aim for 68–86 °F (20–30 °C) and 40–60 % RH. In hot spells, shade with sheer curtains and run a fan; to boost humidity, place open bowls of water nearby. In cooler nights, move plants away from drafty windows or use thick pots to insulate roots.