Are you ready to unlock the secrets of how to grow autoflower plants and achieve impressive results? Whether you’re a beginner or an experienced grower looking to enhance your skills, this guide will provide you with the essential knowledge and advanced techniques needed to cultivate thriving autoflowers. Let’s dive into everything you need to know to become a master of autoflower cultivation.
Creating the Optimal Environment for Autoflower Success
One of the most critical steps in growing autoflower plants is setting up the perfect environment. Without the right conditions, even the best seeds can underperform. Let’s look at what you need to do to ensure your plants have the best possible start.
Achieving the Ideal Temperature and Humidity Levels for Autoflowers
Temperature and humidity are crucial factors that influence how well your autoflower plants grow. Getting these levels right can mean the difference between a healthy, productive plant and one that struggles to survive.
For temperature, aim to maintain a consistent range between 70-85°F (21-29°C) during the day and slightly cooler at night. Too much fluctuation can stress your plants, leading to stunted growth and lower yields. Using a reliable thermometer to monitor the temperature inside your grow space is a must.
Humidity levels are equally important. During the seedling stage, higher humidity (around 60-70%) is beneficial, as young plants absorb moisture through their leaves. As your plants transition to the vegetative and flowering stages, gradually reduce humidity to around 40-50%. This reduction helps prevent mold and mildew, which can devastate your crop.
Why Proper Air Circulation Is Key to a Healthy Grow Space
Air circulation might not be the first thing that comes to mind when you think about how to grow autoflower plants, but it’s one of the most important factors. Proper air movement within your grow space ensures that your plants get the CO2 they need for photosynthesis, helps regulate temperature, and reduces the risk of mold and pests.
In a small grow tent or room, a simple oscillating fan can make a big difference. Place the fan at canopy level to gently move the air across your plants. This not only strengthens their stems but also prevents hot spots and keeps the environment stable. Additionally, investing in a quality exhaust system to remove stale air and bring in fresh air will keep your plants thriving.
Promos & Deals
Navigating the Growth Stages of Autoflowering Cannabis
The different stages of growth for autoflower plants is essential for providing the right care at the right time. Each stage has specific needs, and by meeting them, you’ll ensure that your plants reach their full potential.
From Germination to Seedling: Setting Up Your Autoflowers for Success
The journey of growing autoflower plants begins with germination. This initial stage is crucial, as it sets the foundation for the plant’s entire life cycle. To germinate your seeds, you can use the paper towel method, where you place seeds between moist paper towels until they sprout. Another popular option is planting directly in the soil, ensuring it remains moist but not waterlogged.
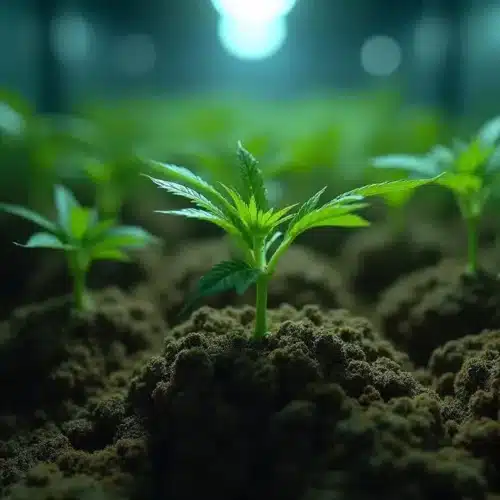
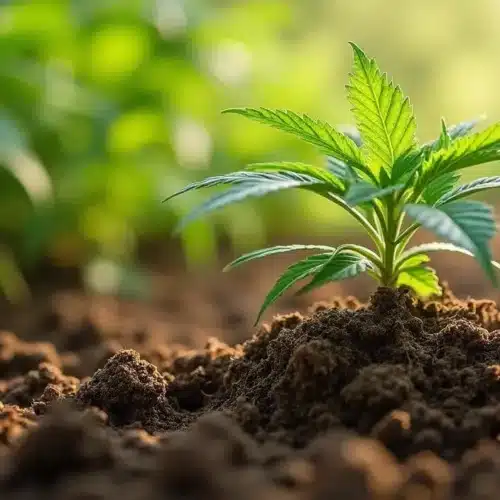
Once your seeds have sprouted and developed their first set of leaves, they enter the seedling stage. During this period, focus on providing a gentle light source, such as CFL or LED grow lights, to avoid overwhelming the young plants. Keep the lights close, but not too close, and maintain a warm, humid environment to encourage strong root development.
Encouraging Healthy Growth During the Vegetative Stage
As your autoflower plants move into the vegetative stage, they’ll begin to grow rapidly, developing a sturdy stem and multiple sets of leaves. This is the time to give them all the nutrients they need to thrive. A balanced nutrient mix with higher nitrogen levels will support robust foliage growth.
In addition to feeding, ensure that your plants have ample light. Autoflowers typically do well with 18-24 hours of light per day during the vegetative stage. The more light they receive, the faster they’ll grow, so don’t skimp on your lighting setup.
Regularly check the pH of your water and nutrient solution, aiming for a range of 6.0-7.0 for soil and 5.5-6.5 for hydroponic setups. Proper pH levels ensure that your plants can absorb the nutrients they need to grow strong and healthy.
Maximizing Bud Development During the Flowering Stage
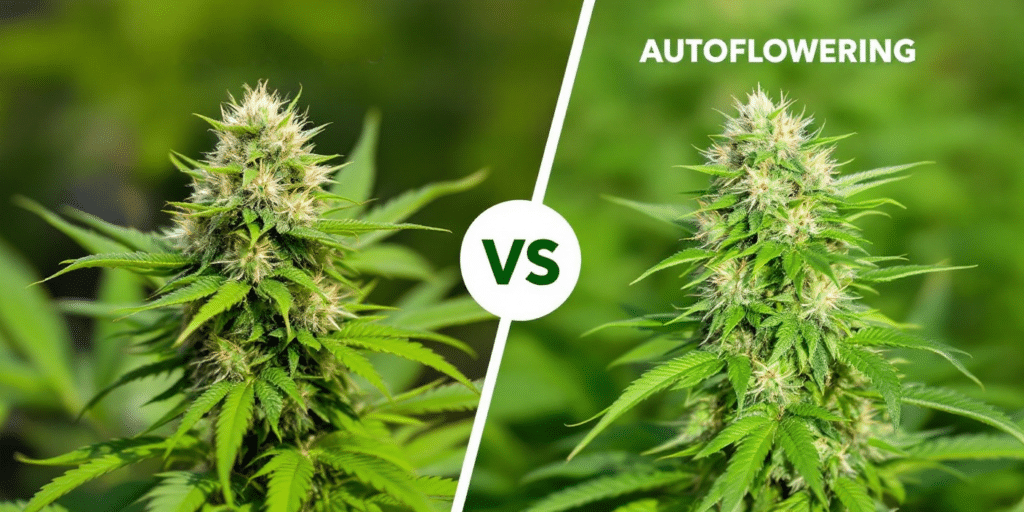
The flowering stage is when your autoflower plants start to produce the buds you’ve been waiting for. To maximize bud development, you’ll need to adjust your care routine slightly.
Switch to a bloom-specific nutrient formula with higher levels of phosphorus and potassium to support bud growth. Gradually reduce humidity to around 40-50%, which helps prevent mold from forming on your precious buds.
Light is still crucial at this stage, but be mindful of the light intensity. Autoflowers are sensitive to light stress, which can cause them to produce smaller buds. Ensure your lights are positioned at the correct distance from the canopy to avoid this issue.
By maintaining optimal conditions and closely monitoring your plants, you can encourage larger, more resinous buds that are rich in cannabinoids and terpenes.
Selecting the Perfect Autoflower Strains for Your Grow
Choosing the right strain is a critical step in learning how to grow autoflower plants successfully. Different strains have different characteristics, and selecting one that aligns with your goals and growing conditions can make all the difference.
Key Factors to Consider When Choosing Autoflowering Strains
When selecting an autoflower strain, there are several factors to keep in mind. First, consider your growing environment. Are you growing indoors or outdoors? Some strains are better suited to indoor environments where you can control the climate, while others thrive outdoors with natural sunlight.
Another factor is the desired effects and potency. If you’re looking for a strain with high THC levels, options like Fat Bastard Auto or Amnesia Haze Auto are excellent choices. For a more balanced or CBD-rich strain, consider options like CBD Auto White Widow.
Also, think about the plant’s size and growth time. Some autoflowers are compact and perfect for small spaces, while others may grow larger and require more room. Additionally, strains with shorter growth cycles will allow you to harvest sooner, which is ideal if you’re looking to produce multiple crops in a year.
Top Autoflower Strains for Beginners and Experts Alike
If you’re new to growing autoflower plants, or even if you’re an experienced grower looking for reliable strains, here are some top recommendations:
1. Northern Lights Auto: This strain is a favorite among growers for its ease of growth and resilience. It’s compact, forgiving of minor mistakes, and produces a generous yield of potent, resinous buds.
2. Blueberry Auto: Known for its sweet, fruity aroma and flavor, Blueberry Auto is a robust strain that’s resistant to pests and diseases. It’s a great choice for both indoor and outdoor grows.
3. Green Crack Auto: This strain is perfect for growers seeking a quick grow cycle combined with substantial yields. Green Crack Auto is renowned for its vibrant green buds and invigorating, energetic effects, making it a favorite among those who prefer a stimulating and focused high.
By choosing one of these strains, you can ensure a smoother growing experience, whether you’re just starting or looking to expand your cannabis cultivation skills.
Mastering Advanced Techniques for Growing Autoflowers
Once you’ve got the basics down, you can take your autoflower growing skills to the next level with advanced techniques that enhance yield and quality. Let’s explore some methods that can help you get the most out of your plants.
Enhancing Yields with Low Stress Training (LST)
Low Stress Training (LST) is a technique that involves gently bending and tying down the branches of your autoflower plants to create a more even canopy. This method encourages the plant to grow horizontally rather than vertically, allowing more light to reach the lower branches and resulting in a more uniform distribution of energy.
LST is particularly effective for autoflowers because it doesn’t involve cutting or topping the plant, which can stress these fast-growing varieties. Instead, it gently guides the plant’s growth, maximizing light exposure and increasing the number of bud sites.
To start LST, use soft ties to bend the main stem and branches down to a horizontal position. As the plant grows, continue to tie down new growth, shaping the plant to your desired structure. The result is a bushier plant with more colas, leading to higher yields.
The Benefits of Defoliation for Autoflower Plants
Defoliation is another technique that can significantly boost your autoflower yields. It involves selectively removing fan leaves to improve light penetration and air circulation within the canopy. By removing leaves that block light, you ensure that the lower bud sites receive enough light to develop fully.
However, defoliation must be done carefully, especially with autoflowers, as they have a shorter growth cycle and less time to recover from stress. Start by removing a few fan leaves at a time, focusing on those that are shading bud sites. Be mindful not to remove too many leaves at once, as this can shock the plant and reduce its overall productivity.
When done correctly, defoliation can lead to denser, more resinous buds, ultimately improving the quality and quantity of your harvest.

Troubleshooting Common Challenges in Autoflower Cultivation
Even with the best techniques and strains, growing autoflower plants can present challenges. How to troubleshoot these issues will help you maintain a healthy grow and avoid significant setbacks. Here’s how to handle some of the most common problems you might encounter.
How to Identify and Correct Nutrient Deficiencies in Autoflowers
Nutrient deficiencies are one of the most common issues that growers face. Autoflower plants have specific nutrient requirements that, if not met, can lead to stunted growth, yellowing leaves, or poor bud development. Recognizing the signs early and taking corrective action is key to keeping your plants healthy.
Nitrogen Deficiency: Nitrogen is crucial for healthy leaf growth, and a deficiency often manifests as yellowing leaves starting from the bottom of the plant. If you notice this, it’s important to supplement with a nitrogen-rich fertilizer. However, be careful not to overdo it, as too much nitrogen can lead to nutrient burn.
Phosphorus Deficiency: Phosphorus is essential during the flowering stage for bud development. A deficiency can cause the leaves to darken and develop purple or brown spots. To correct this, use a bloom nutrient formula high in phosphorus and adjust the pH of your soil or water to ensure proper nutrient uptake.
Calcium and Magnesium Deficiencies: These deficiencies are often seen together, particularly in hydroponic setups. Symptoms include brown spots on leaves and overall poor plant health. Adding a Cal-Mag supplement to your feeding routine can help resolve these issues quickly.
Regular monitoring of your plants, along with consistent pH checks, can prevent most nutrient deficiencies. If you notice any signs of trouble, act fast to adjust your feeding regimen, and your plants should recover swiftly.
Preventing and Managing Mold and Mildew in Your Grow
Mold and mildew are the nemeses of cannabis growers, especially in humid environments. Autoflower plants are particularly susceptible during the flowering stage when buds are dense and moisture can easily become trapped. Here’s how to prevent and manage these issues to protect your crop.
Humidity Control: The first line of defense against mold and mildew is maintaining the proper humidity levels. As your plants enter the flowering stage, keep humidity between 40-50%. Investing in a dehumidifier can help maintain consistent levels, especially in naturally humid climates.
Air Circulation: Proper airflow is essential to prevent the buildup of moisture on your plants. Use oscillating fans to keep air moving across your plants, which helps dry out any excess moisture that might settle on the leaves or buds. Additionally, ensure that your grow space is well-ventilated with an exhaust fan to remove stale air and bring in fresh air.
Regular Inspection: Make it a habit to inspect your plants regularly, particularly during the flowering stage. Look for any signs of white, powdery mildew on the leaves or grey mold on the buds. If you spot any mold, act quickly to remove the affected areas and improve your grow environment to prevent further spread.
By staying vigilant and maintaining optimal growing conditions, you can avoid the devastating effects of mold and mildew on your autoflower plants.
Perfecting the Timing: Harvesting Autoflowering Cannabis
Knowing when and how to harvest your autoflower plants is crucial to maximizing the potency and yield of your buds. Harvesting at the right time ensures that you capture the peak cannabinoid and terpene content, resulting in a superior product.
Recognizing the Signs That Your Autoflower Plants Are Ready for Harvest
Timing your harvest can be tricky, especially for beginners, but there are clear signs that indicate when your autoflower plants are ready.
Trichome Color: The best way to determine if your plants are ready for harvest is by examining the trichomes, the tiny, resinous glands on the buds. Under a magnifying glass or microscope, look for trichomes that have turned from clear to milky white, with some turning amber. This indicates peak potency, and the balance of clear, milky, and amber trichomes will determine the type of high you’ll experience.
Pistil Color: Another indicator is the color of the pistils, the hair-like structures on the buds. As your plant matures, these pistils will change from white to orange or brown. When 70-90% of the pistils have changed color, your plants are likely ready for harvest.
Overall Plant Appearance: In the final weeks of flowering, your plants will slow down in growth and focus their energy on bud development. Leaves may start to yellow and die off, which is a natural part of the plant’s life cycle as it redirects nutrients to the buds. This is a sign that harvest time is near.
By monitoring these indicators, you can harvest your plants at the optimal time, ensuring that you get the most potent and flavorful buds possible.
Techniques for a Successful Harvest and Cure
Harvesting your autoflower plants is just the beginning of the process. How you handle the drying and curing stages can significantly impact the final quality of your cannabis. Here’s how to do it right.
Cutting and Trimming: Start by cutting the branches off your plant, leaving as much stem as possible to hang the buds for drying. Trim away the larger fan leaves, as these don’t contain much resin and can slow down the drying process. You can leave the smaller sugar leaves on if you prefer a slower dry, which can enhance flavor.
Drying: Hang your trimmed branches upside down in a dark, cool, and well-ventilated space. Aim for a temperature of 60-70°F (15-21°C) and a humidity level of around 50%. Drying should take about 7-10 days, depending on the size of the buds and the conditions in your drying space. The buds are ready when the stems snap instead of bending.
Curing: Once your buds are dry, it’s time to cure them to improve their flavor, potency, and smoothness. Place the dried buds in airtight glass jars, filling them about 75% full. Store the jars in a cool, dark place and open them daily for the first week to release moisture and allow fresh air in. After the first week, you can reduce the burping frequency to once every few days.
Curing should last for at least two weeks, but longer cures (up to six weeks or more) will result in a smoother, more potent product. Patience during this stage will be rewarded with cannabis that tastes better, burns smoother, and delivers a more refined high.
Growing Autoflowers Indoors vs. Outdoors: What You Need to Know
Deciding whether to grow autoflower plants indoors or outdoors depends on several factors, including your local climate, available space, and personal preferences. Each method has its advantages and challenges, so let’s explore what you need to consider for each.
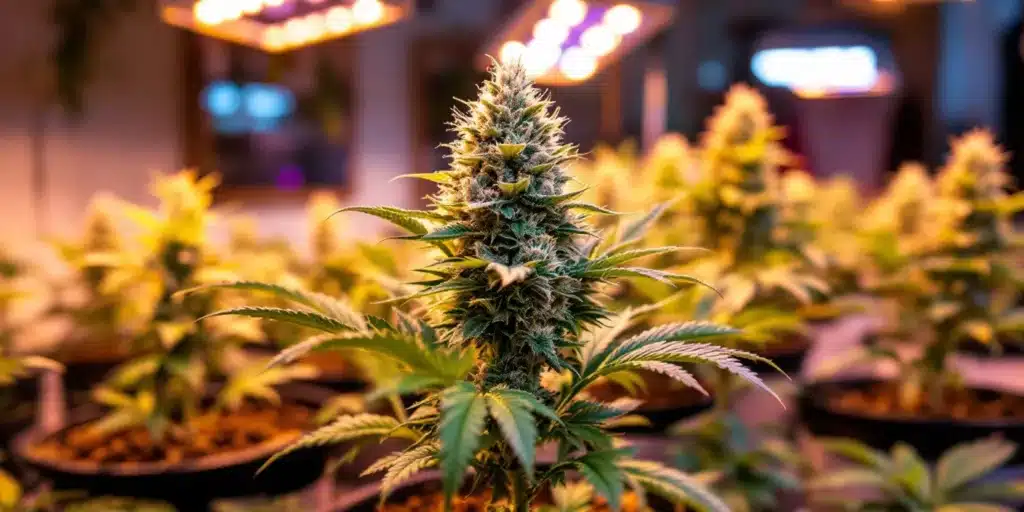
The Advantages of Indoor Growing: Control and Consistency
Growing autoflowers indoors offers the benefit of total control over your environment. This control allows you to create the perfect conditions for your plants, leading to consistent results regardless of external weather conditions.
Lighting Control: Indoors, you can provide your plants with the ideal amount of light throughout their entire life cycle. This control is crucial for autoflowers, which thrive under consistent lighting schedules. High-quality LED lights are a popular choice for indoor grows, as they offer full-spectrum light without generating excessive heat.
Climate Control: Indoor growing allows you to maintain a stable temperature and humidity level, both of which are critical for autoflower success. You can use heaters, air conditioners, humidifiers, and dehumidifiers to fine-tune your grow environment, ensuring your plants are never stressed by temperature or humidity fluctuations.
Pest and Disease Control: Growing indoors also reduces the risk of pests and diseases. You can keep your grow space clean and sealed off from the outside environment, making it easier to prevent infestations. Regularly inspecting your plants and maintaining good hygiene will help keep them healthy throughout their life cycle.
While indoor growing requires a more significant initial investment in equipment and electricity, the control it offers makes it the preferred choice for many serious growers.
The Benefits of Outdoor Growing: Space and Natural Resources
On the other hand, growing autoflowers outdoors takes advantage of natural sunlight and offers more space for your plants to thrive. Outdoor growing is ideal for those with the right climate and enough outdoor space to accommodate their plants.
Sunlight: The biggest advantage of outdoor growing is the unlimited access to natural sunlight. The full-spectrum light provided by the sun is unmatched by any artificial light source, and your plants will benefit from it throughout the day. As long as your climate offers the right conditions, outdoor growing can lead to bigger plants and larger yields.
Cost-Effectiveness: Growing outdoors is generally more cost-effective than indoor growing. You don’t need to invest in expensive lighting or climate control equipment, and you’ll save on electricity costs. The initial setup is simpler, and your plants can take full advantage of the resources nature provides.
Space: Outdoors, you’re not limited by the size of a grow tent or room, so your plants can spread out and grow as large as they need to. This extra space can lead to higher yields, especially if you’re growing multiple plants.
However, outdoor growing also comes with challenges. You’re at the mercy of the weather, and pests and diseases are more difficult to control. You’ll need to be vigilant about protecting your plants from extreme conditions and potential threats like animals or thieves.
By weighing the pros and cons of each method, you can make an informed decision about where to grow your autoflower plants for the best possible results.

