If you’re growing autoflower cannabis, one of the biggest questions you’ll face is, when do autoflowers start flowering? Unlike photoperiod strains, autoflowers do not rely on light cycles to trigger the flowering stage, making them an exciting and efficient choice for growers. But knowing when to expect them to start flowering is key to ensuring a successful harvest. Let’s dive into the details and uncover the secrets to getting the most out of your autoflowers.
When Do Autoflowers Start Flowering?
Autoflowers are known for their quick life cycle, and their transition from the vegetative phase to flowering is much faster than traditional cannabis strains. Generally, autoflowers start flowering about 3 to 5 weeks after germination. This timing can vary depending on the strain, growing conditions, and care provided, but most autoflowers will show signs of flowering within this period.
Recommended Strains
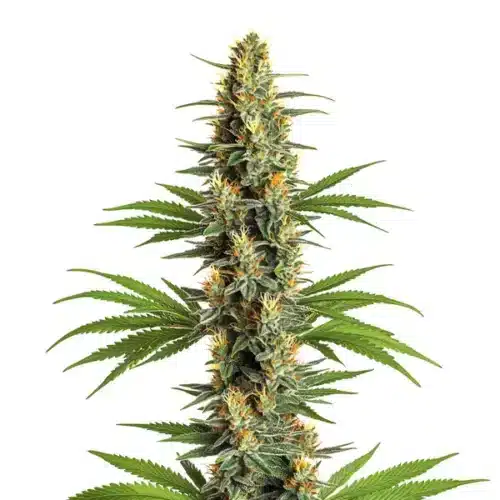
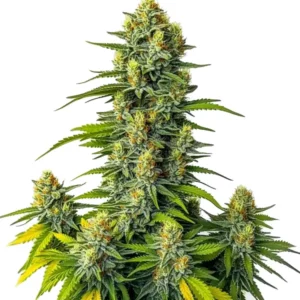
Deelite Autoflower
 THC: 18% - 20%
 Type of seed: Autoflowering
 Phenotype: Mostly Sativa
 Day to flower: 8 - 10 weeks
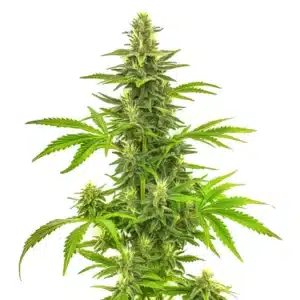
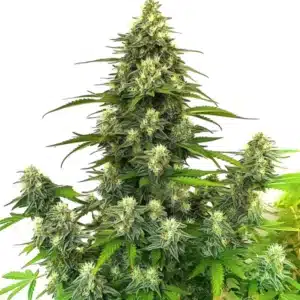
Critical 2.0
 THC: 18% - 22%
 Type of seed: Feminized
 Phenotype: Mostly Indica
 Day to flower: 8 - 10 weeks
Typical Timeline for Autoflowering Strains
The typical timeline for autoflowering strains is much shorter than that of photoperiod strains. Most autoflowers will begin the flowering stage around the 3 to 4-week mark after sprouting. During the first few weeks, the plant will focus on vegetative growth, developing strong roots, stems, and leaves. By the third or fourth week, you will notice small white pistils emerging at the nodes, signaling the start of the flowering stage.
This timeline makes autoflowers ideal for growers looking for a fast turnaround. In about 8 to 12 weeks from germination to harvest, you can complete a full growth cycle. This rapid timeline allows for multiple harvests in a single growing season, especially if you are growing outdoors or in an indoor setup with controlled conditions.
Key Factors Influencing the Flowering Stage of Autoflowers
While autoflowers typically start flowering around 3 to 5 weeks, several factors can influence this timeline. The specific genetics of the strain play a crucial role, with some strains naturally flowering earlier or later than others. Strains with a higher percentage of indica genetics may start flowering sooner, while those with more sativa may take slightly longer.
Environmental conditions also significantly affect when autoflowers begin to flower. Temperature, humidity, and light intensity can all impact the plant’s growth rate and health. Stress factors like overwatering, nutrient deficiencies, or pest infestations can delay flowering. Ensuring optimal conditions will help your autoflowers flower on schedule and produce a healthy, abundant yield.
Promos & Deals
Knowing the Autoflower Growth Cycle
To maximize your yield, it’s important to realize the entire growth cycle of autoflowering cannabis plants. This knowledge helps you provide the right care at each stage, ensuring your plants thrive.
The Vegetative Phase: What to Expect
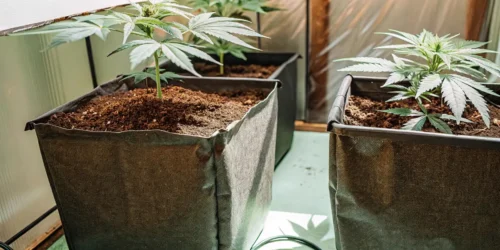
The vegetative phase is the first stage of growth after germination. During this period, autoflowers focus on building a strong root system and developing healthy foliage. This phase usually lasts for about 2 to 4 weeks. Since autoflowers do not depend on light schedules to enter the flowering stage, their vegetative phase is relatively short.
During this phase, ensure your autoflower seedlings receive sufficient light intensity, water, and nutrients to support rapid growth. Light intensity is particularly important for autoflowering plants, and many growers use an 18/6 light schedule (18 hours of light and 6 hours of darkness) to maximize growth. Proper airflow, humidity control, and consistent temperatures are also crucial to prevent stress and promote healthy development.
Signs That Your Autoflowers Are Ready to Flower
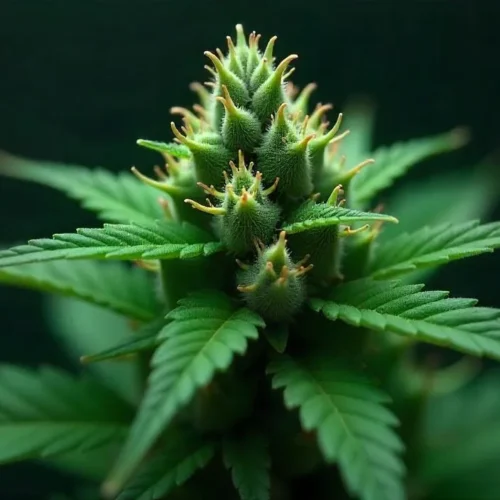
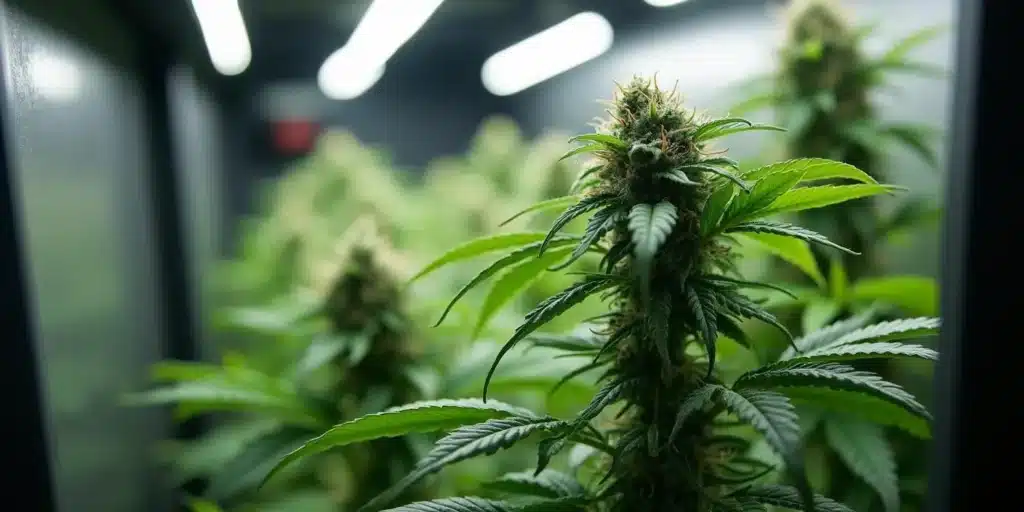
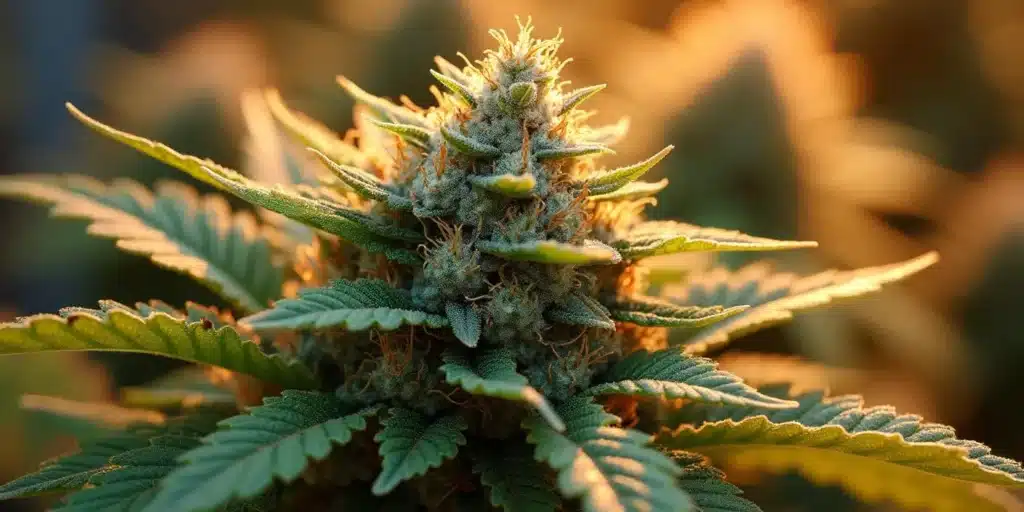
As your autoflowers near the end of the vegetative phase, you’ll start to see signs that they are ready to transition to flowering. The most obvious sign is the appearance of white pistils at the nodes, where the leaves meet the stem. These tiny, hair-like structures indicate that your plant is beginning to develop flowers.
You may also notice a change in the plant’s growth pattern. During the vegetative phase, the plant focuses on vertical growth, but as it transitions to flowering, it may begin to stretch out and develop more lateral branches. The leaves may also take on a slightly different appearance, becoming thicker and darker as they prepare to support bud production.
How Light Cycles Affect Autoflower Flowering
One of the main advantages of autoflowers is that they do not rely on light cycles to start flowering. This makes them easier to grow for beginners and allows for more flexibility in terms of lighting.
Do Autoflowers Need a Specific Light Schedule?
Unlike photoperiod strains, autoflowers do not require a specific light schedule to trigger flowering. They will flower automatically after a certain period, regardless of the light cycle. However, providing the right amount of light is still crucial for healthy growth and maximizing yield.
Most growers recommend keeping autoflowers on an 18/6 or 20/4 light schedule throughout their entire life cycle. This means 18 or 20 hours of light per day and 6 or 4 hours of darkness. This extended light period helps maximize photosynthesis, promoting faster growth and better bud development.
Some growers also use a 24/0 light schedule, providing continuous light. While this can result in faster growth, it can also stress the plants and increase electricity costs. Balancing light exposure with the plant’s needs is essential to prevent stress and ensure a healthy flowering period.
The Role of Light Intensity in Flower Development
While autoflowers do not require a change in light cycle to flower, light intensity plays a crucial role in flower development. High light intensity encourages dense bud formation and increases cannabinoid and terpene production. Using high-quality LED or HID lights can help ensure your plants receive adequate light intensity throughout their growth cycle.
Position your lights correctly to avoid light burn or insufficient coverage. Keep lights at the recommended distance from the plant canopy, adjusting as needed to maintain optimal intensity. Regularly check for signs of light stress, such as curling leaves or bleaching, and adjust your setup accordingly.

Nutrient Requirements During the Flowering Stage
Feeding your autoflowers the right nutrients during the flowering stage is key to producing large, potent buds. Knowing their specific needs will help you achieve the best results.
What Nutrients Are Essential for Flowering Autoflowers?
During the flowering stage, autoflowers require different nutrients than they do during the vegetative phase. The primary nutrients for flowering are phosphorus and potassium, which support bud growth and development. Phosphorus helps with root development and flower formation, while potassium strengthens the plant’s overall structure and resistance to disease.
While nitrogen is crucial during the vegetative phase for leaf growth, it becomes less important during flowering. High levels of nitrogen can actually inhibit bud development, so it’s best to switch to a bloom-specific nutrient formula with lower nitrogen levels once flowering begins.
Tips for Feeding Your Autoflowers at Different Stages
Start feeding your autoflowers with a balanced vegetative nutrient formula during the first few weeks of growth. As they transition to flowering, gradually switch to a bloom-specific formula with higher levels of phosphorus and potassium. Monitor your plants for signs of nutrient deficiencies, such as yellowing leaves or slow growth, and adjust your feeding schedule as needed.
Avoid overfeeding, as autoflowers are generally smaller and have less time to recover from nutrient burn. Use a feeding schedule that matches the specific strain’s requirements and the conditions of your grow environment. Remember, it’s easier to add nutrients than to fix an overfed plant.
Maximizing Yield During the Flowering Stage
To get the most out of your autoflowers, focus on maximizing yield during the flowering stage. Proper care and techniques can significantly boost the quality and quantity of your harvest.
Techniques to Promote Healthy Bud Development
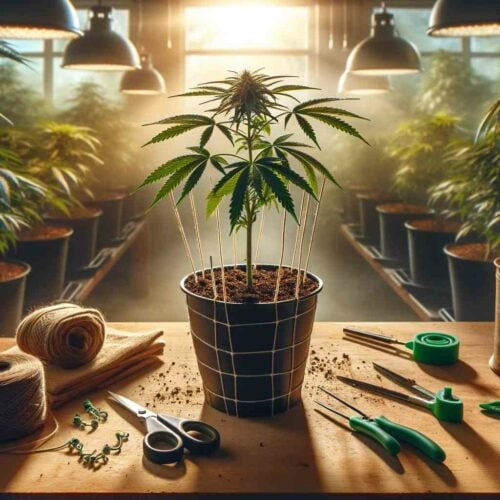
There are several techniques you can use to encourage healthy bud development in autoflowers. Low-Stress Training (LST) involves gently bending and tying down branches to create an even canopy. This method helps ensure all buds receive equal light exposure, promoting more uniform growth and larger yields.
Defoliation, or the removal of certain leaves, can also improve light penetration and airflow, reducing the risk of mold and mildew. However, it’s essential to be cautious with defoliation, as autoflowers have a limited growth period and excessive leaf removal can stress the plants.
Monitoring and Adjusting Environmental Conditions
Proper environmental control is crucial when growing autoflowers, especially during the flowering stage. To ensure optimal growth and bud production, you must maintain the right conditions in terms of temperature, humidity, and airflow.
Ideal Temperature and Humidity for Flowering Autoflowers
Temperature and humidity play a significant role in the development of your autoflowers, particularly during the flowering phase. During this stage, aim to keep daytime temperatures between 68-78°F (20-26°C). Slightly cooler nighttime temperatures, around 60-70°F (15-21°C), help enhance trichome production, leading to more potent buds.
Humidity should be kept lower during the autoflower flowering stage to prevent mold and mildew from forming on dense buds. An optimal range is between 40-50% relative humidity (RH) for autoflowering plants. Lower humidity levels help the plant focus its energy on bud development rather than moisture retention, resulting in healthier, larger flowers.
Monitoring your grow space’s temperature and humidity is essential. Use a reliable hygrometer and thermometer, and make adjustments as necessary. For instance, if humidity is too high, consider using a dehumidifier, and if the temperature is too low, use a heater to maintain a stable environment.
The Importance of Proper Air Circulation
Air circulation is vital for the healthy growth of autoflowers. Good airflow helps maintain consistent temperatures and humidity levels, reduces the risk of mold and pests, and ensures that all parts of the plant receive fresh air and CO2.
Use oscillating fans to create a gentle breeze around your plants. This movement strengthens the stems, making them more robust and capable of supporting heavy buds. Ensure that the fans are not blowing directly onto the plants, as excessive wind can cause wind burn, damaging the leaves.
Ventilation is also critical. A well-ventilated grow space helps remove stale air and replenishes it with fresh air rich in CO2, which is essential for photosynthesis. Make sure your grow tent or room has an exhaust fan to pull out hot, humid air and an intake fan or vent to bring in fresh air.
What to Expect After Autoflowers Begin to Flower
Once your autoflowers have entered the flowering stage, knowing what to expect can help you better manage their growth and maximize your yield. Realizing the flowering timeline and preparing for harvest are key steps to ensuring a successful crop.
How Long Do Autoflowers Take to Mature After Flowering Starts?
After your autoflowers start flowering, they typically need another 5 to 7 weeks to reach full maturity, depending on the strain. During this period, the plants will focus on bud development, producing more trichomes and increasing the concentration of cannabinoids and terpenes.
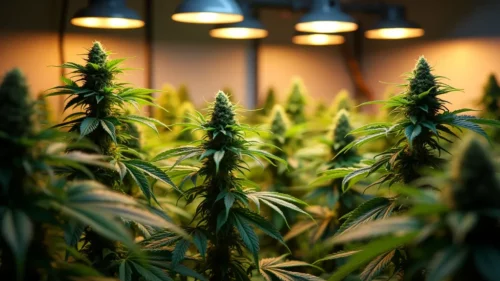
The flowering stage is usually divided into two phases: early flowering and late flowering. In the early flowering phase, the buds will start to form and grow larger as the plant continues to stretch. By the late flowering phase, the buds will become denser, more resinous, and aromatic, signaling that harvest time is approaching.
Monitor your plants closely during this period. Look for signs that the buds are maturing, such as the pistils turning from white to orange or brown and the trichomes changing from clear to cloudy or amber. These indicators will help you determine the optimal harvest time for maximum potency and flavor.
Harvesting Tips for Maximum Potency and Flavor
Harvesting at the right time is crucial for achieving the best potency, flavor, and overall quality of your autoflowers. Doing too early can result in buds that lack potency and flavor, while harvesting too late can lead to degraded cannabinoids and a more sedative effect.
To determine the perfect harvest time, use a magnifying glass or a digital microscope to inspect the trichomes on your buds. When the majority of trichomes are cloudy with a few amber ones, it’s usually the ideal time to harvest for a balanced effect. If you prefer a more relaxing, body-heavy high, wait until more trichomes have turned amber.
After harvesting, ensure proper drying and curing of your buds to preserve their potency, flavor, and aroma. Hang the buds upside down in a dark, well-ventilated room with a temperature of 60-70°F (15-21°C) and humidity of 50-60% for 7-14 days. After drying, cure the buds in airtight glass jars for at least two weeks, opening the jars daily to release moisture and prevent mold growth.
Troubleshooting Common Issues with Autoflower Flowering
Even with the best care, autoflowers can sometimes face challenges during the flowering stage. Knowing how to identify and address these issues promptly will help you maintain healthy plants and maximize your yield.
Recognizing Signs of Nutrient Deficiencies
Nutrient deficiencies are a common problem during the flowering stage, and they can significantly affect the quality and quantity of your yield. Yellowing leaves, brown spots, or stunted growth are often signs that your plants are not getting the nutrients they need.
For example, a nitrogen deficiency may cause yellowing of older leaves, while a lack of phosphorus might result in dark, purplish leaves and poor bud development. Potassium deficiency often shows up as yellowing edges or tips of leaves with a burnt appearance.
To prevent deficiencies, regularly check your plants for signs of stress and adjust your nutrient regimen accordingly. Use a balanced bloom formula with the right proportions of phosphorus, potassium, and micronutrients like calcium and magnesium. Test the pH of your water and nutrient solution to ensure they are within the ideal range (6.0-7.0 for soil, 5.5-6.5 for hydroponics).
Managing Plant Stress for Better Flowering
Autoflowers can be sensitive to stress, which can delay flowering or reduce yields. Stress factors include overwatering, underwatering, temperature fluctuations, and physical damage from pruning or training. To minimize stress, maintain a consistent watering schedule, use proper pruning techniques, and avoid major environmental changes.
If you notice signs of stress, such as wilting leaves, slow growth, or discoloration, take immediate action to correct the issue. Reduce watering if the soil is too wet, adjust light intensity or distance if leaves are curling or bleaching, and stabilize temperature and humidity levels.
By carefully managing stress, you can keep your autoflowers healthy, ensuring they flower on schedule and produce abundant, high-quality buds.
FAQs
How does light intensity affect autoflowering cannabis plants?
Light intensity plays a crucial role in the development of autoflowering cannabis plants. Higher light intensity encourages dense bud formation and boosts cannabinoid and terpene production. Using high-quality LED or HID lights ensures your plants receive optimal light intensity, promoting healthier growth and better flower development.
What is the ideal light schedule for autoflower seedlings?
The ideal light schedule for autoflower seedlings is typically 18 hours of light and 6 hours of darkness (18/6). This light schedule supports rapid growth and ensures the plant receives enough light for photosynthesis while allowing for proper rest. Some growers may use a 20/4 schedule or even 24/0 for faster growth, but it can lead to increased stress or higher energy costs.
What is the best humidity level for autoflowering cannabis during flowering?
During the flowering stage, it’s important to keep humidity levels lower to prevent mold and mildew from developing on dense buds. The ideal relative humidity (RH) for autoflowering cannabis during this stage is between 40-50%. Lower humidity encourages the plant to focus on bud development, resulting in healthier and larger flowers.


