Autoflower Week 1 – What to Expect and How to Succeed

Autoflowering cannabis lifecycle: Cultivating autoflowering cannabis spans approximately 8 to 12 weeks from seed to harvest. This rapid lifecycle includes three main stages: germination and seedling (weeks 1–2), vegetative growth and pre-flower (weeks 3–4), and flowering and ripening (weeks 5–10+). Each phase requires specific care to optimize growth and yield.
Autoflower cannabis plants offer a unique terpene profile, with strains like Zkittlez boasting up to 1.2% myrcene, enhancing their fruity aroma. Flowering time varies, typically taking 70-80 days from seed to harvest. This guide explores the detailed week-by-week progression, focusing on optimizing conditions for maximum yield and potency.
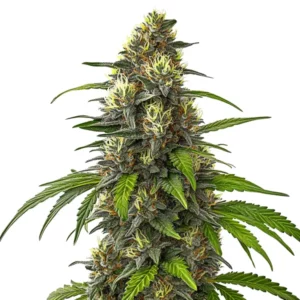
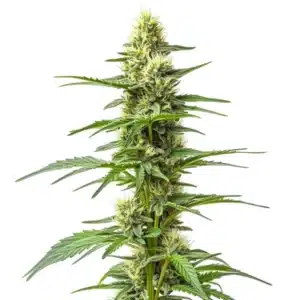
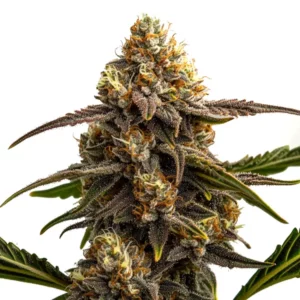
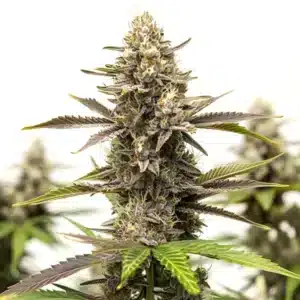
Recommended Strains

Permanent Marker

|
THC | 32% - 34% (High) |

|
Type | Feminized |

|
Yield | High |

|
Phenotype | 50% Indica / 50% Sativa |

Permanent Marker Auto
|
|
THC | 32% - 34% (High) |
|
|
Type | Autoflowering |
|
|
Yield | High |
|
|
Phenotype | 50% Indica / 50% Sativa |
Autoflower Growth Stages
Overview of Autoflower Lifecycle
The lifecycle of autoflower cannabis is distinct due to its independence from light cycles, allowing it to transition automatically from vegetative to flowering stages. This unique trait results from genetic crossbreeding with Cannabis ruderalis. Understanding this process is crucial for maximizing the plant’s potential, as it impacts nutrient needs and environmental conditions.
Autoflowers typically require a 20/4 light schedule to maintain optimal growth. During the vegetative phase, maintain a temperature of 68°F – 77°F (20°C – 25°C) and humidity at 60-70% RH. As the plant enters the flowering stage, adjust humidity to 40-50% RH to prevent mold.
Week 1: Germination and Seedling Stage
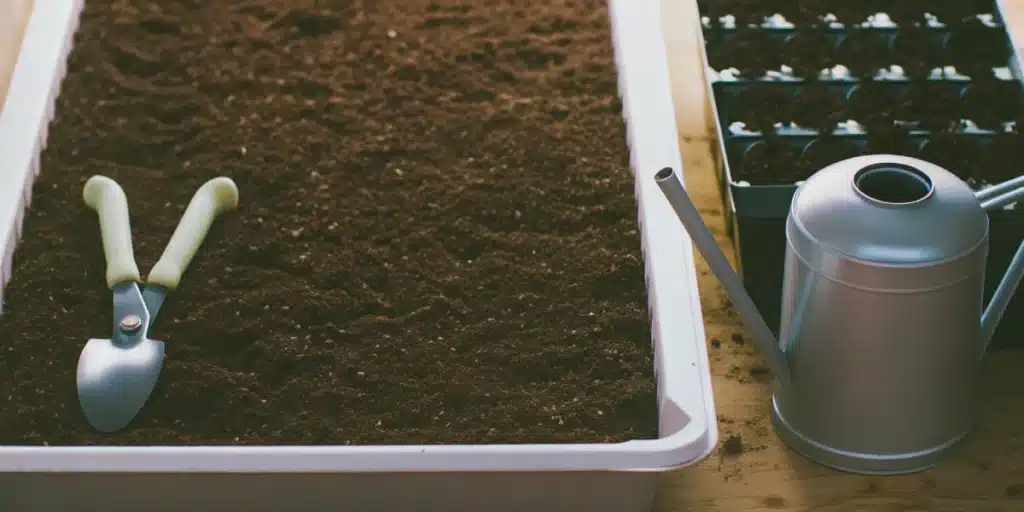
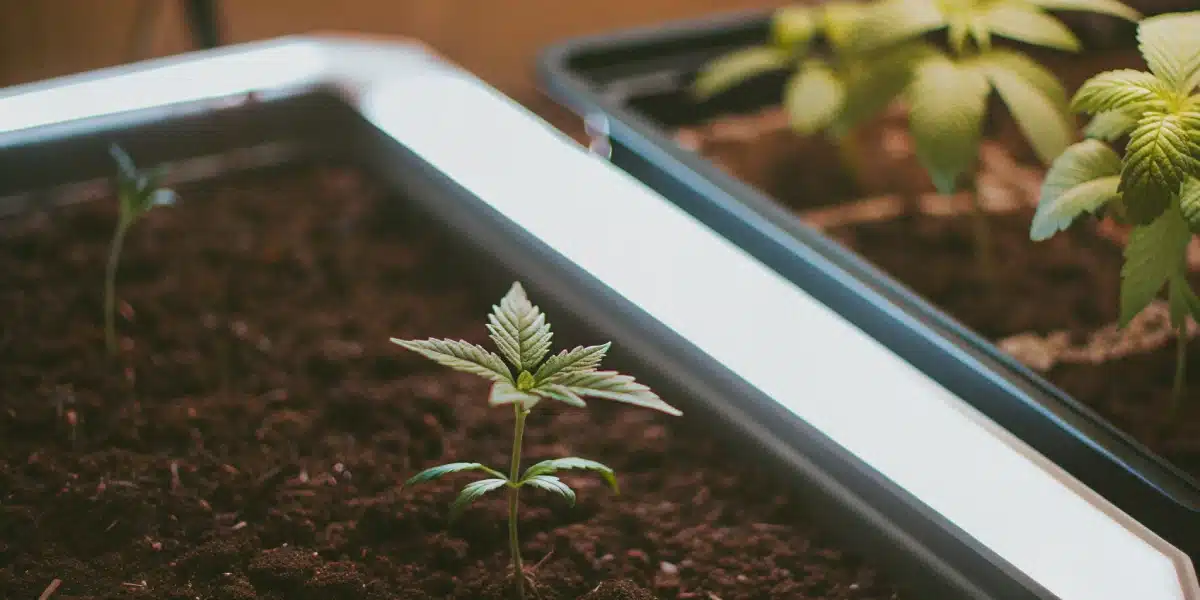
In the first week, seeds germinate and transform into seedlings. This phase is critical as it sets the foundation for plant health. Use a light and well-aerated soil mix, such as coco coir and perlite, to support root development. Ensure temperatures remain between 70°F and 80°F (21°C – 27°C) to encourage vigorous growth.
During this stage, avoid overwatering to prevent root rot. A gentle misting is often sufficient. High-quality seeds from Blimburn Seeds can enhance germination rates, ensuring a robust start. Investing in premium genetics is crucial for achieving a successful harvest.
Promos & Deals
Week 2-3: Early Vegetative Stage
Key Changes and Care Tips
As autoflowers enter weeks 2 and 3, they experience rapid vegetative growth. The focus should be on developing a strong root system and foliage. Nutrient requirements shift to a higher nitrogen ratio, typically N:P:K 3:1:2, to support leaf production. Maintain light intensity at 600-800 µmol/m²/s.
Monitor plant height and node spacing to ensure healthy growth. Adjust lighting distance to prevent stretching, which can weaken the plant structure. Regularly check for pests, as young plants are particularly vulnerable during this stage.
Transitioning to Flowering
The transition from vegetative to flowering is seamless in autoflowers, usually occurring around week 4. This stage requires a shift in nutrient balance to increase phosphorus and potassium, supporting bud development. Aim for an N:P:K ratio of 1:3:2 during flowering.
Maintain a stable environment with temperatures between 68°F and 75°F (20°C – 24°C) and humidity at 40-50% RH. This balance prevents mold and maximizes resin production, enhancing the plant’s potency and aroma.
| Feature | Zkittlez | Wedding Cake | Purple Thai |
|---|---|---|---|
| THC Content | 22-26% | 24-28% | 20-24% |
| Dominant Terpene | Myrcene | Caryophyllene | Limonene |
| Flavor Profile | Fruity, Sweet | Vanilla, Earthy | Citrus, Herbal |
| Effect | Relaxing, Euphoric | Uplifting, Relaxing | Energetic, Creative |
| Yield | 1.5-1.8 oz/ft² (450-550 g/m²) | 1.8-2.2 oz/ft² (550-650 g/m²) | 1.2-1.5 oz/ft² (350-450 g/m²) |
Week 6-8: Flowering Stage
Managing Nutrients and Light
During the flowering stage, nutrient management is crucial. Increase phosphorus and potassium while reducing nitrogen to support bud formation. Use a bloom booster with a ratio of 1:3:2. Light intensity should reach 800-1000 µmol/m²/s to maximize photosynthesis and resin production.
Ensure light exposure is consistent, maintaining a 20/4 schedule for autoflowers. This consistency promotes dense bud development and enhances terpene profiles, crucial for flavor and aroma.
Signs of Readiness and Harvesting Tips
As weeks 9 to 12 approach, monitor trichome color to determine harvest readiness. Trichomes should be mostly milky with some amber hues, indicating peak potency. Harvesting too early can result in lower THC levels, while waiting too long may degrade cannabinoids.
Use a magnifying glass to inspect trichomes closely. Harvest when approximately 70% are milky for optimal effects. Dry and cure buds at 60°F – 70°F (15°C – 21°C) and 58-62% RH to preserve terpenes and cannabinoids.
Professional Tips for Autoflower Cultivation
- Maintain 60-70% RH during vegetative growth. This level supports transpiration and nutrient uptake. Avoid dropping below 50% RH, which can stunt growth.
- Use a 20/4 light schedule throughout the lifecycle. Autoflowers thrive with consistent light exposure, preventing stress and promoting uniform growth.
- Monitor pH levels between 6.0 and 6.5. This range optimizes nutrient availability. Deviating can cause nutrient lockout, hindering plant health.
- Apply Low-Stress Training (LST) after week 3. This technique encourages even canopy development, increasing light penetration and yield.
- Check for pests weekly. Early detection of mites or aphids prevents infestations. Use organic insecticides if needed, avoiding chemical residues.
- Adjust nutrient ratios as plants transition to flowering. A shift to higher phosphorus and potassium supports bud growth and resin production.
FAQs About Autoflower Cultivation
What are the signs of nutrient deficiency in autoflowers?
Nutrient deficiencies often show as yellowing leaves or stunted growth. In autoflowers, a lack of nitrogen results in pale leaves, while phosphorus deficiency causes dark spots. Ensure balanced nutrients, maintaining an N:P:K ratio of 3:1:2 during vegetative growth and 1:3:2 in flowering.
How does light intensity affect autoflower yield?
Light intensity directly impacts yield. Autoflowers require 800-1000 µmol/m²/s during flowering for optimal photosynthesis. Insufficient light leads to smaller buds and reduced potency. Adjust light distance to maintain intensity without causing heat stress.
When should I start flushing my autoflowers?
Begin flushing autoflowers 1-2 weeks before harvest. This process removes excess nutrients, improving flavor and aroma. Monitor trichome development and start flushing when most trichomes are milky. Use pH-balanced water to prevent nutrient lockout during this phase.
Can I grow autoflowers outdoors in cooler climates?
Yes, autoflowers can thrive in cooler climates due to their ruderalis genetics. Select strains like Northern Lights X Cream Auto, which are resilient to temperature fluctuations. Ensure outdoor temperatures stay above 50°F (10°C) to prevent growth inhibition.
What is the best way to store harvested autoflower buds?
Store harvested buds in airtight containers at 58-62% RH and 60°F – 70°F (15°C – 21°C). This environment preserves terpenes and cannabinoids, enhancing flavor and potency. Avoid plastic containers, which can affect taste. Use glass jars with humidity packs for optimal results.