Rockwool Seed Germination: Boost Your Cannabis Success

If you’re a cannabis grower wanting to maximize your success rate, mastering Rockwool seed germination is a game-changing step. This process can help you boost germination rates, provide consistency in your growing environment, and ultimately nurture healthy, resilient seedlings. Whether you’re new to Rockwool or you’ve tried it with mixed results, this comprehensive guide will show you how to get the best possible outcomes for your cannabis plants.
How to Germinate Seeds Using Rockwool
When it comes to germinating cannabis seeds, growers are always looking for that sweet spot of success, Rockwool might just be the answer. This material, made from basalt and chalk spun into fibers, holds water exceptionally well while maintaining enough oxygen to encourage strong root development. But why should you use Rockwool over other options? Let’s dig in.
Recommended Strains
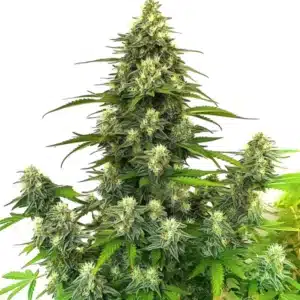
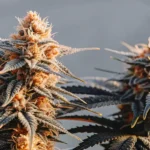
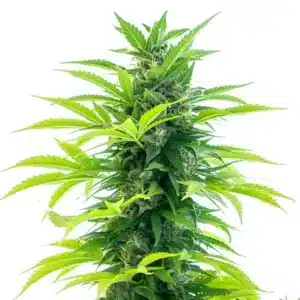
Bubba Kush
|
|
THC | 14% - 19% (Medium) |
|
|
Type | Feminized |
|
|
Yield | High |
|
|
Phenotype | 80% Indica / 20% Sativa |

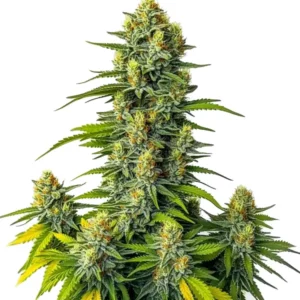
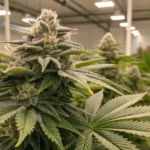
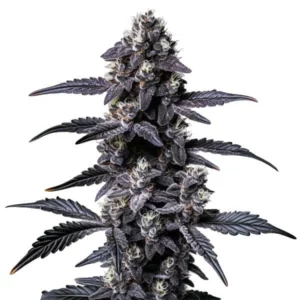
Bubba Kush Autoflower
|
|
THC | 15% - 20% (Medium) |
|
|
Type | Autoflowering |
|
|
Yield | Medium |
|
|
Phenotype | 90% Indica / 10% Sativa |
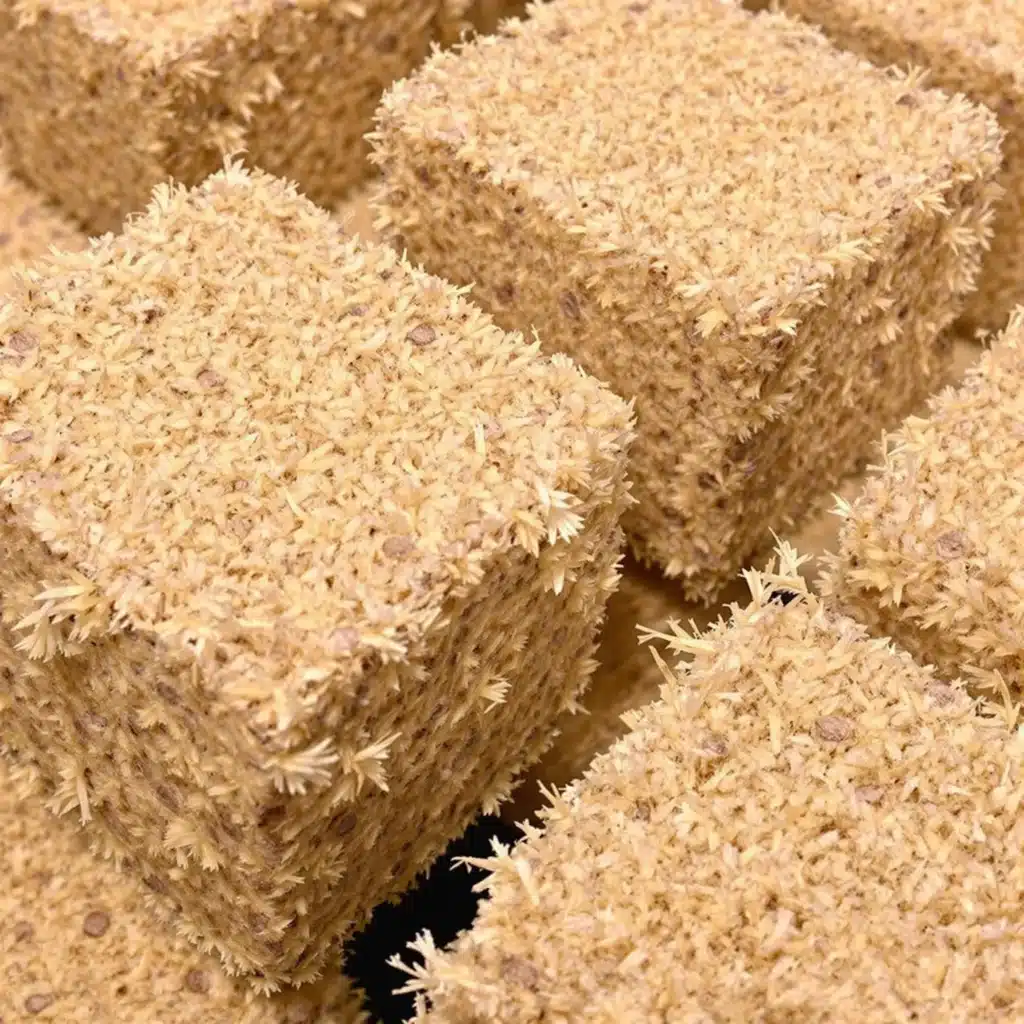
What is Rockwool and Why Use It for Seed Germination?
Rockwool is an inert, fibrous material that provides an ideal balance between water retention and aeration. For growers, this means Rockwool can hold enough water to keep seeds and roots consistently moist while still offering plenty of air for healthy root growth. This perfect balance helps prevent common problems such as damping off, which can kill young seedlings if they stay too wet.
Using Rockwool seed germination ensures that your cannabis seeds have an environment that’s consistent and easy to control. Rockwool cubes are also easy to handle, and their uniform size helps you plant seedlings at a predictable depth every time, a huge advantage if you’re trying to get reliable results.
Benefits of Germinating Seeds in Rockwool Cubes
One of the biggest advantages of Rockwool is its excellent water-holding capacity. Cannabis seeds need moisture to germinate, but they also need oxygen. Unlike soil, which can easily become waterlogged, Rockwool allows enough air to circulate through its fibers, giving your seeds everything they need to sprout.
Another benefit is that Rockwool seed germination can streamline your transition from germination to early vegetative growth. You can easily transfer seedlings grown in Rockwool cubes to larger hydroponic setups or soil, minimizing the risk of transplant shock. Additionally, Rockwool is pH-neutral, which makes it an adaptable option for different types of grow mediums.
Promos & Deals

Preparing Rockwool for Seed Germination
Proper preparation of Rockwool is a step that many growers tend to overlook, but it’s critical if you want healthy seedlings. Rockwool needs some simple treatment before you can use it, especially in maintaining the right pH for your cannabis plants.
Steps to Properly Soak and Prepare Rockwool
Before placing your seeds in Rockwool, you need to soak the cubes in water for at least 30 minutes. This ensures that they’re fully saturated and ready to maintain a good moisture level for your seeds. Make sure the water you use is adjusted to the appropriate pH, which we’ll discuss next.
Once the Rockwool cubes are saturated, give them a gentle squeeze to release excess water. You don’t want them dripping wet, as that can make the cubes too soggy for seed germination. After squeezing out the excess, your Rockwool is ready for planting.
Ideal pH Levels for Rockwool Preparation
Rockwool naturally has a high pH, typically around 7.8, which is too high for cannabis. To get the best results, you should lower the pH of your soaking water to around 5.5. Using a pH-adjusted solution ensures that your cannabis seeds have access to the nutrients they need from the moment they begin to sprout.
By soaking Rockwool in a solution with a pH of 5.5, you prepare the environment to be more suitable for cannabis seed germination. Once your cubes are properly prepared, you can move on to placing your seeds.

Step-by-Step Guide to Germinating Seeds in Rockwool
Rockwool seed germination can be a simple and rewarding process if you follow a few easy steps. Let’s walk through the process from placing the seeds to nurturing them as they sprout and grow.
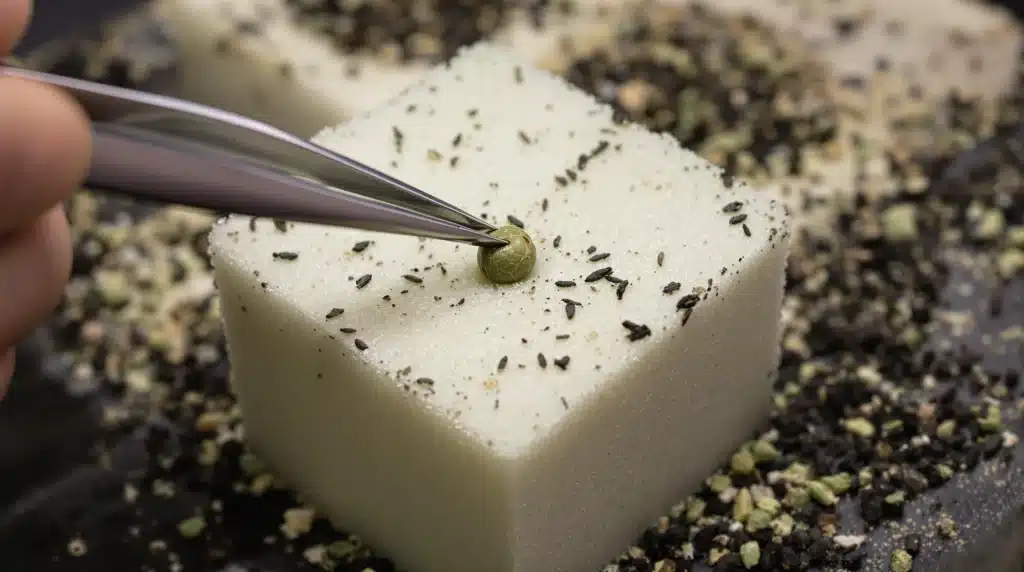
Step 1: Placing Seeds in Rockwool Cubes
The first step is to carefully place your cannabis seeds into the Rockwool cubes. Use a clean pair of tweezers to handle the seeds and gently push each seed into the pre-drilled hole at the center of the cube. Make sure the seed is about half an inch deep, with the pointed end facing down. This ensures that the root emerges properly.
Cover the hole lightly with a small piece of Rockwool fiber to keep the seed in place and maintain moisture. Keeping the seed covered also helps maintain darkness, which is essential for good germination.
Step 2: Creating the Perfect Environment for Germination
Once your seeds are in the Rockwool cubes, it’s important to maintain the right environment to encourage germination. The ideal temperature range is between 70-80°F (21-27°C), and maintaining a high humidity level (around 70-80%) is essential. You can place your Rockwool cubes in a humidity dome to help retain moisture and warmth.
A warm, moist environment encourages seeds to crack open and produce roots. If you’re not seeing any activity within a week, double-check that the temperature and humidity are in the right range, often, a small adjustment is all it takes to kickstart the process.
Step 3: Maintaining Humidity and Temperature During Germination
Humidity and temperature are key to Rockwool seed germination. Use a spray bottle to mist the cubes lightly if they start to dry out, and keep the humidity dome closed to retain warmth. Be careful not to overdo it, though, Rockwool holds water well, and too much moisture can lead to rot or fungal issues.
If you’re using a heat mat, make sure it doesn’t get too hot. Cannabis seeds can fail to germinate if the temperature exceeds 85°F (29°C). The goal is to create a stable, cozy environment that mimics what cannabis seeds need in nature to thrive.
Caring for Seedlings in Rockwool
Once your seeds have sprouted, you need to provide consistent care to encourage healthy growth. Rockwool makes it easy to keep seedlings moist, but there are some common mistakes to avoid to ensure your seedlings thrive.
How to Keep Rockwool Moist Without Overwatering
One of the challenges with Rockwool seed germination is keeping the cubes moist without overwatering. Rockwool retains water extremely well, which is great for germinating seeds, but it can also lead to root rot if it’s kept too wet. You want the cubes to be damp to the touch but not waterlogged.
An easy way to maintain the right level of moisture is to water only when the cubes begin to feel a little lighter or slightly dry on top. Rockwool’s great water retention means you don’t need to water frequently. A little patience can go a long way in preventing issues down the line.
Signs Your Seedlings are Thriving in Rockwool
Healthy cannabis seedlings will show several signs that they’re off to a strong start. You should see a straight, sturdy stem and bright green leaves emerging from the top. If the seedlings appear pale or are drooping, they might be getting too much or too little water, or perhaps the light intensity isn’t quite right.
Look for roots poking through the bottom of the Rockwool cube, that’s a sign your seedlings are establishing a healthy root system and are almost ready for transplanting. Keeping an eye on these indicators will help you know when it’s time to transition your plants to their next home.
Mistakes to Avoid When Germinating with Rockwool
Every grower runs into some issues along the way, but avoiding a few common mistakes can make all the difference in your Rockwool seed germination process. Let’s discuss the most typical errors and how you can avoid them.
Overwatering vs. Underwatering Rockwool
Overwatering is one of the biggest challenges when working with Rockwool. Since Rockwool holds a lot of water, it’s easy to accidentally drown your seeds. Make sure to let the cubes dry out just a bit before re-wetting them. On the other hand, letting the cubes get too dry can also be detrimental, cannabis seeds need consistent moisture to germinate effectively.
The key is balance. Get a feel for the weight of the Rockwool cube when it’s properly watered, and use that as a guide. Watering when the cube starts feeling significantly lighter will help you avoid both over- and underwatering.
Ensuring Proper Light and Heat for Seedlings
Light and heat are critical components of successful germination. A common mistake is placing the Rockwool cubes too far from the light source, which can cause the seedlings to stretch out and become weak. Make sure your light source is close enough, but not too intense, as young seedlings are sensitive.
For heat, a seedling heat mat can work wonders, but remember to monitor the temperature. Seedlings are hardy but only within the right conditions. When they’re kept too hot or too cold, germination rates and overall health will suffer.
Transplanting Seedlings from Rockwool to the Grow Medium
Once your seedlings have developed a healthy root system, it’s time to move them to their next home. Transplanting can be a stressful process for young cannabis plants, but if done correctly, your seedlings will continue to thrive.
When to Transplant Seedlings from Rockwool
The best time to transplant seedlings is when roots start to visibly grow through the bottom of the Rockwool cube. This shows that the roots are strong enough to handle a change in environment. Typically, this is around the 2-3 week mark after germination, but it can vary depending on the strain and growing conditions.
Waiting too long to transplant can result in root binding, where the roots start circling around the Rockwool cube, making it harder for the plant to grow properly. If you see multiple roots poking out, it’s time to act.
Best Practices for Moving Seedlings to Soil or Hydroponics
When transplanting, make sure the new growing medium is ready and properly prepared. If you’re moving seedlings to soil, create a hole big enough to accommodate the entire Rockwool cube. Place the cube in the hole and gently cover it with soil. Be careful not to bury the stem.
If you’re using a hydroponic setup, place the Rockwool cube directly into your net pot and surround it with the hydroponic medium of your choice. Be sure to keep the roots protected and provide the right level of moisture as they adjust to the new environment. The goal is to minimize shock during this transition, giving your cannabis seedlings the best chance to flourish.
FAQs
Can I Reuse Rockwool for Germination?
Reusing Rockwool is possible, but it’s not generally recommended. After each use, Rockwool can harbor bacteria and other pathogens that may harm your next batch of seeds. If you decide to reuse it, make sure to sterilize it thoroughly.
How Long Does Germination Take in Rockwool?
Typically, germination in Rockwool takes between 3-7 days. However, some strains may take a bit longer depending on their genetics and environmental conditions. Consistent temperature and moisture levels will help speed up the process.
Should I Adjust the pH During Germination?
Yes, adjusting the pH of the water you use to soak Rockwool is critical for successful germination. Aim for a pH of 5.5 to create an optimal environment for nutrient uptake once the seedlings sprout.
What Kind of Water Should I Use for Soaking Rockwool?
Distilled or filtered water is best for soaking Rockwool, as it doesn’t contain the minerals and chemicals that might be present in tap water. This ensures that your cannabis seedlings have the best possible start.
How Do I Know When My Seedlings are Ready to Transplant?
Look for roots poking through the bottom of the Rockwool cube, as well as a sturdy stem and several healthy leaves. These are signs that your seedlings are ready for a larger environment where they can continue to grow.