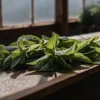
How to Grow Durban Poison Auto Strain

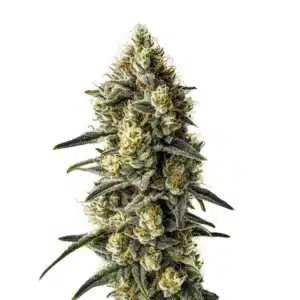
Durban Poison Auto Strain Description
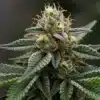
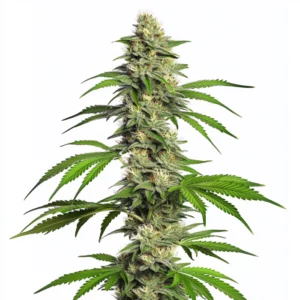
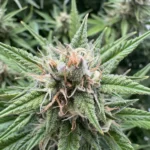
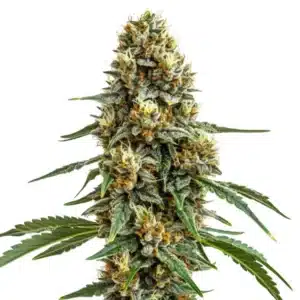
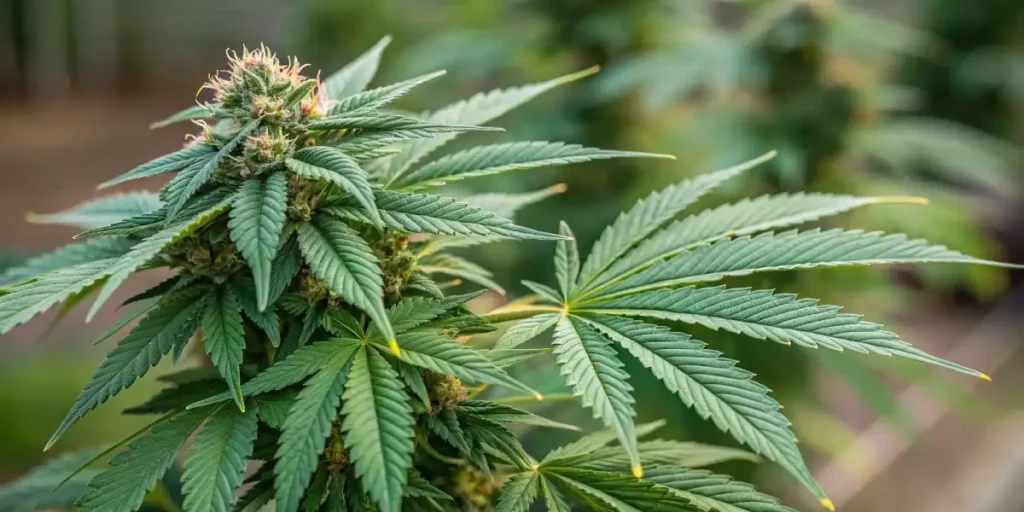
Durban Poison Auto Strain is a robust and fast-growing cannabis strain that has captivated both new and experienced growers. This auto-flowering variety is particularly favored for its easy cultivation and quick turnaround, making it an ideal choice for those looking to grow cannabis efficiently. Known for its energizing and uplifting effects, this is a pure Sativa descendant of the legendary Durban Poison, originating from South Africa. The auto-flowering version retains all the best traits of its parent strain, offering growers the ability to cultivate it in a variety of environments with minimal fuss.
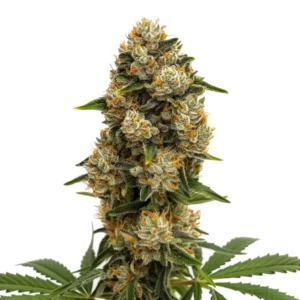
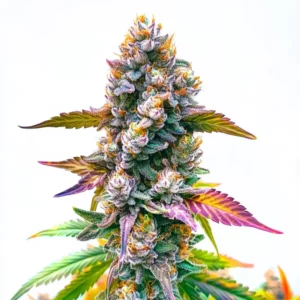
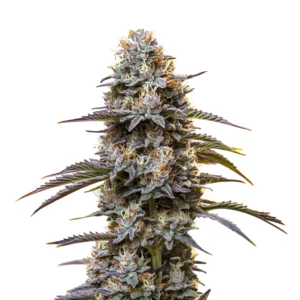
One of the standout features of this Strain is its compact size and rapid growth cycle, which allows for multiple harvests throughout the year. This strain typically exhibits a shorter stature, with plants reaching an average height of 60-100 cm, making it perfect for growers with limited space or those who prefer discreet cultivation. The buds are dense and coated with a frosty layer of trichomes, providing a glittering appearance that signals its potency. Durban Poison Auto is celebrated for its rich aroma and flavor profile, combining earthy and pine notes with a hint of citrus, making for a refreshing and invigorating experience.
Recommended Strains
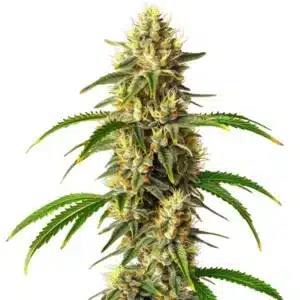
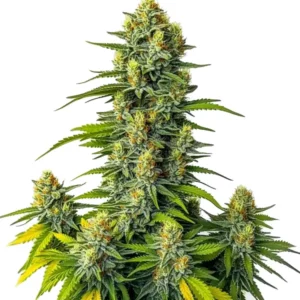
Durban Poison Autoflower
|
|
THC | 21% - 25% (Medium) |
|
|
Type | Autoflowering |
|
|
Yield | Low |
|
|
Phenotype | 20% Indica / 80% Sativa |
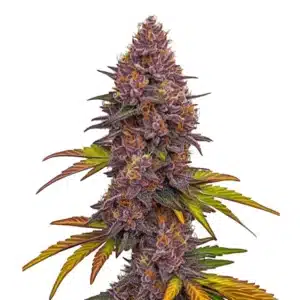
Durban Poison
|
|
THC | 15% - 25% (Medium) |
|
|
Type | Feminized |
|
|
Yield | Medium |
|
|
Phenotype | 10% Indica / 90% Sativa |
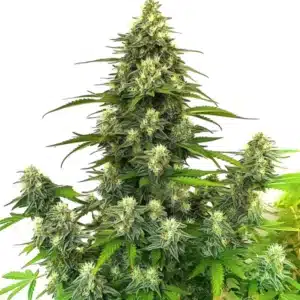
In terms of potency, Durban Poison Autoflower Strain boasts a THC content ranging from 15% to 20%, delivering a clear-headed and stimulating high that is perfect for daytime use. This strain’s terpene profile is dominated by terpinolene, myrcene, and ocimene, contributing to its distinctive flavor and energetic effects. this weed is a versatile strain that can thrive in various growing conditions, making it an excellent choice for cultivators looking to experiment with different environments while still achieving impressive yields.
Promos & Deals
Environmental Requirements for Growing Durban Poison Autoflower
Creating the optimal environment for your Durban Poison Auto plants is key to maximizing their growth potential and achieving high-quality yields. The specific needs of this strain will help you provide the best conditions for a successful cultivation process. Durban Poison Auto Seeds is highly adaptable, but it performs best in a temperate climate with plenty of sunlight and moderate humidity levels.
When cultivating this strain indoors, it’s essential to maintain a consistent temperature range of 70-80°F (21-27°C) during the day and slightly cooler temperatures at night to mimic its natural growing environment. Humidity levels should be kept between 40-50% during the vegetative stage and lowered to around 30-40% during the flowering phase to prevent mold and mildew. Proper air circulation is crucial, so consider using oscillating fans and an exhaust system to keep fresh air moving through the grow space and to control humidity and temperature effectively.
Lighting is another critical factor for indoor growth. High-quality LED grow lights are recommended to provide the full spectrum of light needed for robust photosynthesis and healthy bud development. A light cycle of 18-20 hours of light per day is ideal during the vegetative phase, transitioning to a 12-hour light cycle to promote flowering. Durban Poison Auto Strain’s auto-flowering nature means it will start flowering based on its age rather than light cycles, making it easier for beginners who may not be familiar with adjusting light schedules.
For outdoor cultivation, the Durban Poison Autoflower thrives in a sunny, warm environment. Choose a location that receives ample direct sunlight for at least 6–8 hours a day. This strain can handle cooler nighttime temperatures but prefers a consistent, warm daytime temperature. In regions with unpredictable weather or shorter growing seasons, using a greenhouse or hoop house can help extend the growing season and protect the plants from adverse weather conditions. When planning your Durban Poison Autoflower week by week, outdoor growers should also consider the soil quality, opting for a well-draining, nutrient-rich medium to support healthy root development and vigorous plant growth.
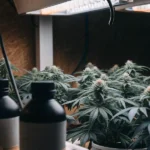
Setting Up the Growing Cannabis Space
Before you embark on growing Durban Poison Auto Strain, it’s crucial to establish a well-organized and efficient growing space. Whether you are cultivating indoors or outdoors, several factors need to be considered to ensure your plants have the best chance of thriving.
Indoor Cannabis Cultivation
For those opting for indoor cultivation, choosing the right grow tent or dedicated grow room is paramount. When growing strains like Blimburn Durban Poison Auto, it’s crucial to ensure the space is large enough to accommodate the plant’s growth while allowing adequate air circulation. A grow tent can help maintain a controlled environment, providing the ability to regulate temperature, humidity, and light exposure. It’s also essential to install a robust ventilation system, including intake and exhaust fans, to ensure proper air exchange and to keep the growing environment fresh and mold-free. Using a carbon filter can help manage odors, especially during the flowering phase when the plant’s scent becomes more potent.
The growing medium for Durban Poison Auto Weed should be chosen based on your level of experience and preference. Soil is often recommended for beginners due to its ease of use and natural buffering properties, which help prevent nutrient burn. High-quality, organic soil enriched with perlite or vermiculite for improved aeration and drainage is ideal. Alternatively, hydroponic systems can be used to maximize growth rates and yields, but they require more precise management of pH and nutrient levels. Regardless of the medium, maintaining a pH level of around 6.0-6.5 is crucial for optimal nutrient uptake.
Outdoor Cannabis Cultivation
When growing Durban Poison Auto Strain outdoors, selecting the right location is key. Look for a spot that offers full sun exposure and protection from strong winds. The soil should be well-draining, rich in organic matter, and capable of retaining moisture without becoming waterlogged. Using large containers or fabric pots can offer better control over the soil environment and allow for easier relocation of plants if necessary.
Supporting the branches with stakes or trellises is a good practice, as this helps prevent them from breaking under the weight of the developing buds and promotes better airflow around the plant. This strain’s compact size makes it less likely to require extensive support, but it’s always a good idea to be prepared as the buds start to form and add weight to the branches.
Propagation and Germination of Durban Poison Auto
Ensuring a high germination rate is vital for a successful grow operation. Here are some steps to follow for propagating and germinating Durban Poison Auto Strain seeds:
1. Begin with high-quality seeds from a reputable seed bank. This guarantees genetic stability and maximizes your chances of a successful grow. It’s important to note that using auto-flowering seeds like Durban Poison Auto will simplify the growing process as these seeds are bred to flower automatically.
2. Start the germination process by soaking the seeds in distilled water or placing them between moist paper towels for 24-48 hours. The ideal temperature for germination is between 70-85°F (21-29°C). Ensure the environment is dark and undisturbed to encourage the seeds to sprout.
3. Once the seeds have sprouted taproots, gently transfer them to a pre-moistened growing medium, such as seedling trays or small pots filled with a light and well-draining soil mix. This stage is critical as the young seedlings are delicate and can be easily damaged.
4. Maintain a warm and humid environment with a gentle airflow to support seedling growth. Aim for a temperature range of 75-80°F (24-27°C) and humidity levels around 60-70%. This creates an ideal environment for the seedlings to establish strong roots and start vigorous growth.
5. Provide indirect light initially, gradually increasing the light intensity as the seedlings develop. Be cautious of overexposing the seedlings to intense light or heat, as this can cause stress or damage to the young plants.
6. Once the seedlings have developed a few sets of true leaves, they are ready to be transplanted into larger pots or the final growing containers. Handle the plants carefully to avoid disturbing the roots, as a strong root system is essential for healthy growth.
Vegetative Phase of Durban Poison Auto Cannabis Seeds
The vegetative phase is a critical stage in the life cycle of Durban Poison Autoflower Strain. During this period, the plant focuses on developing strong stems, healthy leaves, and a robust root system. Here are some key considerations to ensure optimal growth during this stage:
Lighting: For indoor growers, providing a light schedule of 18-20 hours per day is ideal for promoting vigorous vegetative growth. High-quality LED grow lights are recommended to deliver the necessary spectrum and intensity for healthy development. Ensure the lights are positioned at an appropriate distance to prevent light burn while maximizing photosynthesis.
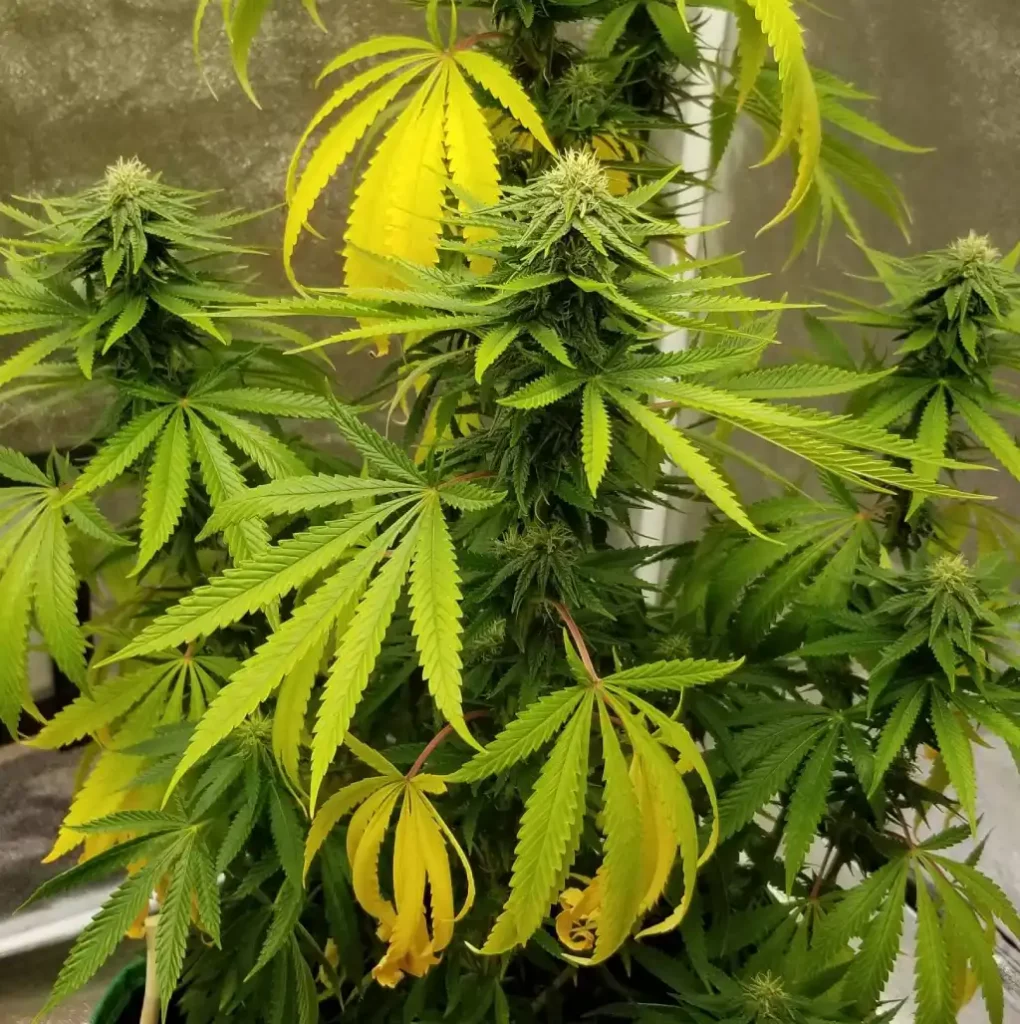
Nutrition: During the vegetative phase, Durban Poison Auto Strain requires a balanced nutrient profile with a higher nitrogen (N) content to support leaf and stem growth. Choose a reputable cannabis fertilizer formulated for vegetative growth, and follow the manufacturer’s guidelines closely to avoid overfeeding. Monitor the plants regularly for any signs of nutrient deficiencies or toxicities, and adjust the feeding regimen as needed.
Watering: Water your plants when the top inch of soil feels dry to the touch. Avoid overwatering, as this can lead to root rot and other moisture-related issues. This strain prefers a balance where the soil remains slightly moist but not waterlogged. It’s crucial to allow the soil to dry out slightly between watering sessions to encourage the roots to grow deeper, searching for water, which strengthens the overall plant structure.
Training Techniques: While Durban Poison Auto Strain is an auto-flowering variety and therefore has a shorter vegetative period, you can still employ some light training techniques to maximize yield. Low-Stress Training (LST) is a method where you gently bend and tie down branches to create an even canopy, ensuring that light penetrates all parts of the plant evenly. This can increase bud sites and improve overall yields. Topping, or cutting off the top of the main stem, is generally not recommended for auto-flowering strains due to their shorter life cycle, which may not allow enough time for the plant to recover and benefit from the process.
Pruning and Maintenance: Prune away any lower branches or leaves that are not receiving sufficient light or show signs of disease or pests. This helps improve airflow within the canopy, reducing the risk of mold and mildew. Additionally, removing unnecessary foliage allows the plant to focus its energy on developing stronger branches and healthier leaves, which are crucial for photosynthesis and growth.
By carefully managing these aspects during the vegetative phase, growers can set a strong foundation for their Durban Poison Autoflower plants, ensuring they are healthy, robust, and ready for the flowering stage.
Flowering Phase of Durban Poison Auto Strain
The flowering phase is the most exciting part of growing Durban Poison Auto Weed, as this is when the plant begins to produce its highly anticipated buds. This strain, being an auto-flowering variety, will enter the flowering stage based on its age rather than changes in light cycles, typically starting to flower around 4-5 weeks after germination.
Lighting: During the flowering stage, continue to provide a light cycle of 18-20 hours of light daily. Although auto-flowering strains do not rely on light schedules to flower, maintaining a longer light period helps maximize bud development and overall yield. Use high-quality LED lights that can mimic the natural sunlight spectrum, enhancing the plant’s ability to photosynthesize efficiently and produce denser, more resinous buds.
Nutrition: As the plants transition into flowering, it’s essential to adjust their nutrient regimen to support bud formation and maturation. Switch to a nutrient formula higher in phosphorus (P) and potassium (K) while reducing nitrogen levels. These nutrients are crucial for flower development, enhancing both the size and potency of the buds. Be sure to monitor the plants closely for any signs of nutrient deficiencies or toxicities, adjusting the feeding schedule as needed to maintain optimal plant health.
Temperature and Humidity: During the flowering phase, maintaining a slightly cooler temperature range of 65-75°F (18-24°C) helps encourage resin production, enhancing the potency and flavor profile of the buds. Humidity levels should be kept lower, around 40-50%, to prevent mold and mildew, which can be particularly problematic when buds are dense and retain moisture. Good air circulation is vital, so continue to use fans to ensure consistent airflow throughout the grow space.
Support and Maintenance: As the buds grow and gain weight, the branches may need additional support to prevent them from bending or breaking. Stakes, trellises, or plant yo-yos can be used to support the heavier branches and keep them upright. Regularly inspect your plants for signs of pests or diseases, and take immediate action if any issues are detected. Cleanliness in the grow area is crucial to prevent any infestations that could compromise the health of your crop.
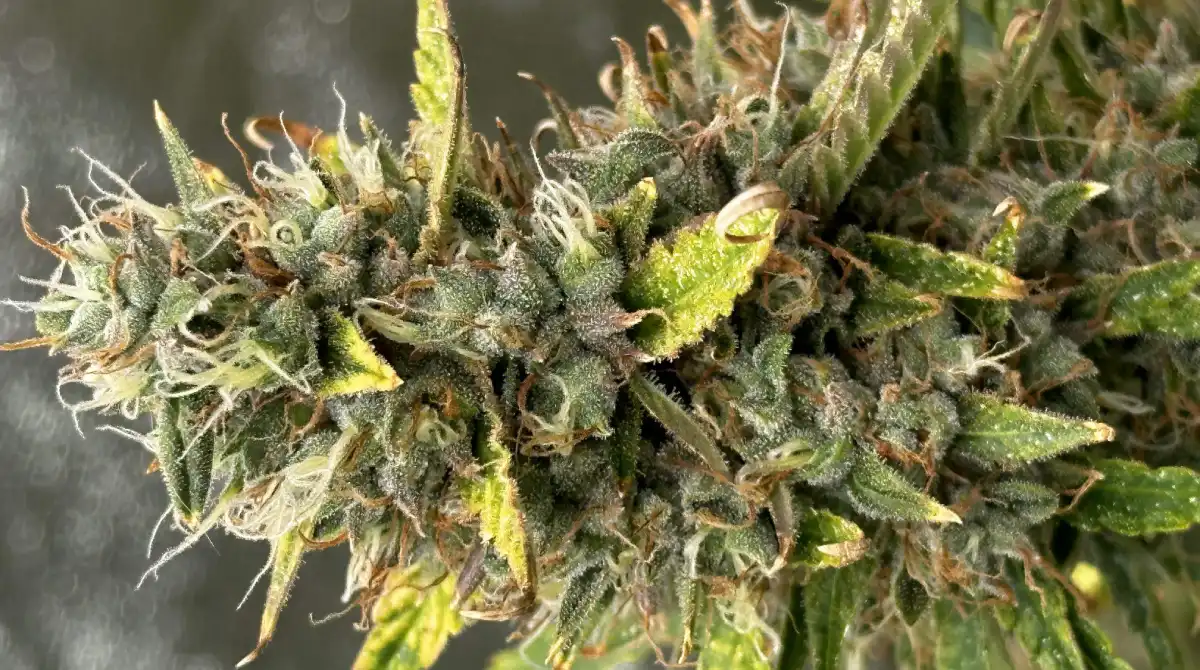
Flowering Time: Durban Poison Auto Strain has a relatively short flowering time, typically completing its cycle in about 8-9 weeks from the start of flowering. However, environmental factors and specific growing conditions can influence this timeline. It’s important to monitor the trichomes on the buds using a magnifying tool. Harvest when most trichomes are milky with a few turning amber for a balanced high. This timing will ensure the highest potency and best flavor profile.
Cannabis Fertilization and Nutrition
Proper nutrition and fertilization are fundamental to achieving maximum growth, yield, and potency of your Durban Poison Auto plants. Here are some guidelines to follow:
Choosing the Right Fertilizer: Use a high-quality cannabis-specific fertilizer or nutrient line that provides a balanced mix of macro and micronutrients. During the vegetative phase, focus on nutrients high in nitrogen (N), as it promotes healthy leaf and stem growth. As the plants transition to the flowering phase, shift to nutrients that are higher in phosphorus (P) and potassium (K), which are essential for bud development and overall flower quality.
Feeding Schedule: Follow the manufacturer’s recommendations for nutrient concentrations and feeding schedules, but be prepared to adjust based on the specific needs of your plants. Start with a lower concentration of nutrients, gradually increasing as the plants grow and develop. Regularly monitor the plants for signs of nutrient deficiencies, such as yellowing leaves or stunted growth, and adjust the feeding regimen accordingly.
Supplements and Additives: Consider incorporating supplements and additives into your feeding program to boost specific aspects of plant growth. Products like bloom boosters can enhance bud development, while beneficial microbes and enzymes can improve soil health and nutrient uptake. Organic amendments, such as worm castings or bat guano, can also be added to the soil to provide additional nutrients and support microbial activity.
Throughout the growing process, keep a close eye on your plants’ response to their nutrient regimen, making adjustments as necessary. It’s also important to flush the plants with pure water during the final weeks of the flowering phase to remove any excess salts or nutrients, which can affect the taste and overall quality of the harvested buds.
Pest and Disease Control for Cannabis Growing
While Durban Poison Auto Strain is known for its resilience, it is not entirely immune to pests and diseases. Implementing proper pest and disease control measures is essential to protect your plants and ensure a successful cultivation. Here are some preventive and corrective actions:
Prevention:
- Regularly inspect your plants for any signs of pests, such as spider mites, aphids, or thrips. Early detection is crucial to prevent a full-blown infestation that could damage your crop.
- Maintain a clean and tidy growing space, removing any dead plant material or debris that could harbor pests or pathogens. A clean environment is less inviting to pests and reduces the chances of an outbreak.
- Introduce beneficial insects, such as ladybugs or predatory mites, to your garden to help control pest populations naturally. These insects prey on common cannabis pests and can help maintain a healthy balance in your grow space.
- Ensure proper airflow and ventilation in the growing area to reduce the risk of mold or mildew formation, especially during the flowering stage when humidity can become an issue.
- Quarantine new plants or clones before introducing them into your growing area to prevent the spread of pests or diseases. This step is crucial for maintaining a healthy garden, especially in indoor settings where pests can quickly spread.
Corrective Actions:
- If you detect pests, use organic or low-toxicity pest control products specifically formulated for cannabis. Follow the instructions carefully and avoid using harsh chemicals that can compromise the quality of your harvest. Organic options like neem oil or insecticidal soaps can effectively manage pests without harming your plants.
- For common fungal diseases like powdery mildew or botrytis, remove infected plant material, increase airflow, and consider using organic fungicides or natural remedies such as neem oil or a milk spray solution. These methods can help manage fungal outbreaks while preserving the health of your plants.
- When dealing with severe infestations or persistent diseases, consult with a professional grower or horticulturist for tailored advice and appropriate solutions. Professional guidance can help you develop an effective strategy to address specific issues in your garden.
Harvesting and Curing for Cannabis Growing
Harvesting your Durban Poison Auto Seeds at the right time and properly curing the buds are crucial steps to preserve their aroma, flavor, and potency. Follow these guidelines:
Trichome Maturity: Use a magnifying tool to examine the trichomes on the buds. The ideal time to harvest is when most trichomes are milky or cloudy, with some turning amber. This ensures a balanced cannabinoid profile, providing the desired effects of the strain. Harvesting too early or too late can affect the potency and flavor of your buds.
Harvesting: Use clean, sterilized pruning shears or scissors to cut the branches one by one. Be careful not to damage the buds during the process. Remove any large fan leaves, but leave smaller sugar leaves intact, as they contribute to the final bud structure and can be trimmed later during the curing process.
Drying: Hang the harvested branches upside down in a dark, well-ventilated area with a stable temperature of around 60-70°F (15-21°C) and humidity levels between 50-60%. Proper airflow is essential during the drying process to prevent mold or mildew from forming on the buds. Make sure not to overcrowd the drying area to ensure even drying of all the buds. The drying process typically takes 7-14 days, depending on the environmental conditions and the size of the buds. The buds are ready for the next step once they feel dry to the touch and the stems snap rather than bend.
Curing: After drying, carefully trim the buds from the branches and place them in airtight glass jars. Store the jars in a cool, dark place with a temperature range of 60-70°F (15-21°C) and a humidity level between 58-62%. It’s crucial to “burp” the jars daily during the first week to allow excess moisture to escape and introduce fresh air, which helps in the curing process. Gradually reduce the frequency of burping to once every few days over the next two to three weeks. Proper curing enhances the flavor and aroma of the buds and improves their smoothness and overall quality. A good curing process can take anywhere from two weeks to several months, depending on personal preference and the desired quality of the final product.
Investing time and care into harvesting and curing will significantly improve the final quality of your Durban Poison Auto buds, ensuring they deliver the best possible experience when consumed.
Is Durban Poison Auto Strain Indica or Sativa?
Durban Poison Autoflower is a pure Sativa strain known for its uplifting and energizing effects. Unlike many hybrid strains that offer a blend of Indica and Sativa characteristics, this strain retains the full Sativa profile of its parent strain, Durban Poison. This strain delivers a clear-headed, cerebral high that is perfect for daytime use, enhancing creativity, focus, and sociability without the sedative effects commonly associated with Indica strains.
Durban Poison Auto Strain’s Sativa heritage is evident in its growth pattern and effects. The plants typically exhibit a tall and slender structure with narrow, elongated leaves, a hallmark of Sativa strains. The buds are dense and resinous, with a potent terpene profile dominated by terpinolene, myrcene, and ocimene. These terpenes contribute to the strain’s distinct aroma and flavor, characterized by earthy, pine, and citrus notes, and enhance its invigorating effects.
For those seeking a strain that provides a stimulating and motivating experience, this strain is an excellent choice. It is especially popular among artists, creatives, and individuals who require a boost of energy and mental clarity during the day.
FAQs About Growing Durban Poison Auto Strain
What is the best environment for growing this Strain?
This strain thrives in a temperate climate with plenty of sunlight and moderate humidity levels. For indoor cultivation, maintain temperatures between 70-80°F (21-27°C) during the day and slightly cooler at night, with humidity levels around 40-50% during the vegetative stage and 30-40% during flowering. Proper ventilation and air circulation are essential to prevent mold and mildew, especially during the flowering phase. For outdoor growing, choose a location with direct sunlight for at least 6-8 hours daily and well-draining soil rich in organic matter.
How long does it take for Durban Poison Autoflower Seeds to grow from seed to harvest?
This strain typically completes its growth cycle in about 10-12 weeks from seed to harvest. This includes a brief vegetative phase followed by a flowering period of 8-9 weeks. The exact duration can vary depending on environmental conditions, nutrient availability, and overall care. As an auto-flowering strain, this strain will transition to the flowering stage based on age rather than light cycles, making it easier for beginners to cultivate.
What type of training techniques can I use on Durban Poison Auto Strain?
Due to its auto-flowering nature and shorter life cycle, it’s best to use low-stress training (LST) techniques on Durban Poison Auto. LST involves gently bending and tying down branches to create an even canopy and maximize light penetration to lower bud sites. High-stress training (HST) methods, like topping or super cropping, are generally not recommended for auto-flowering strains, as they may not have sufficient time to recover and could negatively impact yields.
What are common issues to look out for when growing Durban Poison Auto Strain?
Common issues when growing Durban Poison Autoflower include nutrient imbalances, pests, diseases, and environmental stress. Nutrient deficiencies or excesses can lead to poor plant health and reduced yields, so it’s important to monitor feeding schedules and adjust as necessary. Pests like spider mites and aphids can damage plants, while fungal diseases such as powdery mildew can spread rapidly in high humidity conditions. Maintaining a clean grow environment, ensuring proper airflow, and regularly inspecting plants can help prevent these problems.
Is Durban Poison Auto Strain suitable for beginner growers?
Yes, this strain is an excellent choice for beginner growers due to its resilience and ease of cultivation. Its auto-flowering nature eliminates the need for complex light schedules, and its compact size makes it manageable for small spaces. The strain is also relatively forgiving of minor mistakes, making it a good strain for those new to growing cannabis. However, beginners should still be mindful of basic cultivation principles such as proper watering, nutrient management, and pest control to ensure a successful grow.