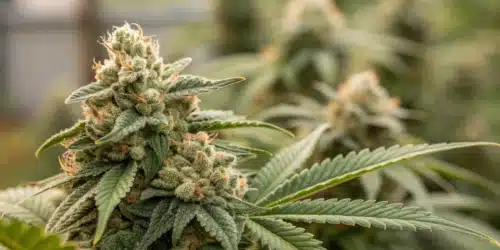
Coconut fiber is extracted from coconuts, therefore, it is a natural product that has a PH of 6.0-6.5 which makes it perfect for growing. It can be used either mixed with some type of substrate or compost, perlite in hydroponics, or also as a single substrate where mainly mineral-type nutrients are used to feed the plant. Cannabis in Coco is available in grow shops in different formats, depending on the budget and taste of each grower. Here, we leave you the most typical formats.
Coco Bricks: There are different types of coconut bricks for cultivation, however, we recommend that you buy one from a recognized brand because you will only have to break it down to start using it. With this type of coconut brick, which you can find in specialized grow shops, you will save time and work. Unlike brick weed, which is often low in quality and needs further processing, coconut bricks offer a clean, efficient, and easy-to-use solution for your growing needs. If you’re growing Blue Runtz Clones, these bricks can provide the perfect foundation for strong root development and healthy plants.
Recommended Strains
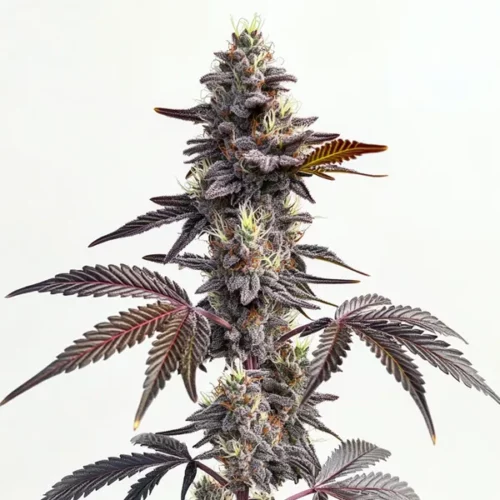
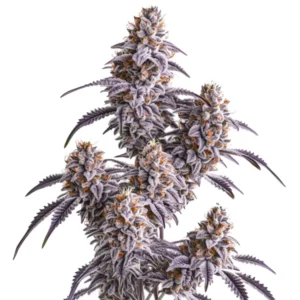
Glitter Bomb
 THC: 25% - 29%
 Type of seed: Feminized
 Phenotype: Mostly Hybrid
 Day to flower: 9 - 10 weeks
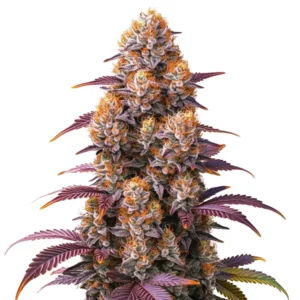
Modified Grapes
 THC: 25% - 27%
 Type of seed: Feminized
 Phenotype: Mostly Indica
 Day to flower: 8 - 9 weeks
Coconut blends: These mixtures contain coconut, clay pebbles, and also perlite. All the ingredients are mixed together and are perfect for people who require a part of the substrate to be ready without having to work so much. This is an ideal setup for strains like Glitter Bomb Strain, known for its vigorous growth, which thrives in well-aerated coconut blends.
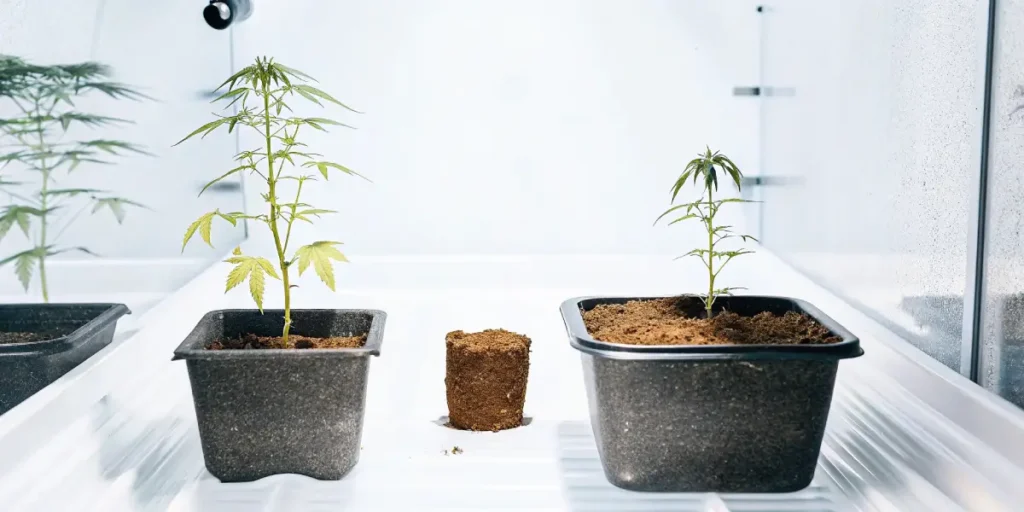
Coconut fiber jiffy: is very popular among growers because you can grow the seedling in the first phase, after the germination of the seeds. A point in favor of coconut jiffy is that the seedlings can develop good roots and from the same jiffy, the seedling can be planted in the final pot or in the final substrate so that it continues with its growth. This method works well for fast-growing varieties such as Modified Grapes Strain, which requires a strong root system early on.
Growing marijuana plants in coco step by step
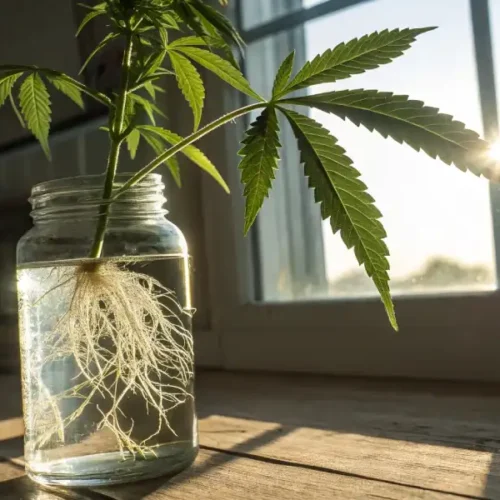
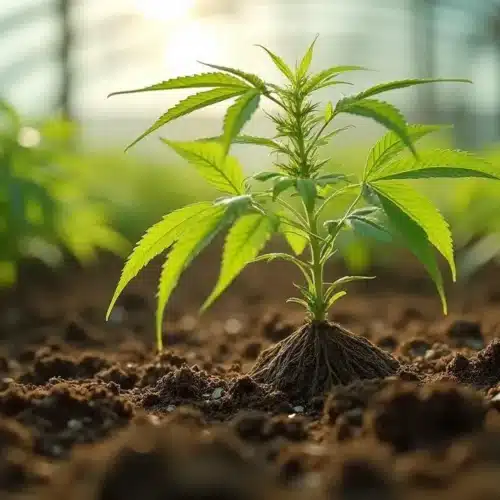
Good roots growing Cannabis in coco coir
1- Germinate the seeds. Once the main root comes out of the shell, proceed to sow it in your substrate. Remember not to have the substrate completely waterlogged, but moist, to prevent the seed from rotting.
2- When the second pair of real leaves (not cotyledons) appear, start watering with nutrients to promote root and plant growth. You can use a rooting agent in this first phase and also some nutrients that are rich in calcium to give strength to the seedling.
3- Now that the seedlings are growing at full speed, you must take care of the temperatures in the growing area, especially if you grow indoors. For this reason, you can put your hand between the interior lighting and the tips of the seedlings to check the temperature. If you feel that it is too hot, it is because the lights are very close to the seedling and you must move it away to avoid damage.
4- Before each irrigation, you must check if the coconut is dry or wet. Then, you can dip your finger in the coconut and if it comes out wet, it is because it does not need water, otherwise you will need to water.
6- When the plants enter their maximum growth phase and do not stop producing branches and leaves and the main stem becomes strong and robust, it is because your plant is healthy and you must continue adding fertilizers and nutrients. Also, it is good that you check the PH of the plant to be sure that the PH is between 6.0 and 6.5. You should also analyze the EC to ensure a great growth of the plants.
Growing cannabis in coco coir vs soil
There are certainly similarities to growing in coco or soil, so it is said to be good for growers who want to switch to hydroponics.
1- When grown in substrate, the roots of the plants get their nutrients from the soil itself, while when grown in coco, the cannabis plants get their nutrients from the liquid solutions that contain the nutrient-laden fertilizers.
2- Now, when grown in coco hydroponically, cannabis plants often have explosive and overflowing growth. For this type of cultivation, it is recommended to grow autoflowering varieties because they tend to obtain the maximum yield from plants with XXL sizes and heavy yields.
3- By growing plants in coco, it is easier to correct problems related to PH or feeding deficiencies. These types of problems in substrate cultivation are more complex to solve. Despite this, it is recommended to maintain proper pH and ppm levels to avoid problems when growing.
5- It is understood that a standard substrate has a certain level of base nutrients, so initially, plants may not need as many nutrients. In contrast, in a coconut crop, nutrition is necessary from the beginning because the coconut is an inert substrate that does not have any type of nutrient that can feed the plant.
6- Growing in coco is for more advanced and experienced growers because it presents greater challenges than growing in soil which can be practiced by novice growers without much trouble.
Using coco in hydroponic systems
First of all, it is good to make it clear that we recommend choosing the best coco coir for cannabis that is specifically made for cultivation in a hydro system before you buy any type of coconut. With this, you will surely be able to achieve better results. Rinsing the coco coir helps to free it of the salts in the fiber and also allows it to separate, improving aeration. Remember that because the plants obtain nutrients from the water, it is good to nourish the water with specific fertilizers for hydroponics and also measure its pH and EC.
It is good to keep control over the plants and analyze them day by day to avoid any type of deficiency or error in the cultivation and it is also good to control the entire hydroponic system to know if it is working correctly and the plants are in the right order and in the right place.
Promos & Deals
How to prepare coco air with perlite for growing cannabis plants
We know that an aerated substrate or soil is needed for cannabis plants when growing. That is why it is good to always keep this recipe in mind to prepare the best coconut substrate. Once the coconut is prepared, a mixture of 25% perlite and 75% coconut should be made.
To make this mixture correctly, you must first rinse the coconut with water. Then, if rinsed, it must be dried and once dry, it must be mixed with the perlite. We continue to measure the EC of the coco perlite substrate, verifying that it is at the right point to put our cannabis plants to grow. After this and having the plants in place (coconut) you can proceed to start nourishing them. We recommend that you measure the PH and EC of the liquid nutrients and use the minimum doses to avoid excesses.
At this point, we are going to analyze how to make the mixture of coconut and perlite for the cultivation of cannabis plants. It is good to take this step by step into account so as not to have later problems during cultivation.
1- First of all, the coconut fiber must be shredded, especially if it is compacted as a block as is often the case with the coconut sold in grow shops. When crumbling it, try to keep it in reasonable sizes and not as long strips or with sizes that are too large. That makes it easier to compact later, generating a problem for the roots of the plants.
2- You must rehydrate the coconut so that it can be used in the crop. This process is easy and you can do it in the bathtub of your house, your backyard, or in the place that you consider appropriate.
3- To rehydrate the coconut, you must take a plastic bucket with the pot inside. Remember that the pot can be plastic or fabric. In this case, we recommend fabric pots for ease of manipulation and because the plants reach good growth in this type of culture medium.
4- Once you have all of the above, you can introduce the already shredded coconut (the full shredded block) or the full block and start adding water until it dissolves completely, becoming a kind of paste.
5- An important fact is that you can add a nutritional product that is rich in calcium and liquid when rinsing the coconut in the water. This makes the particles remain in the coconut and thus, the roots of the plant have some extra nutrition. On the other hand, you can apply a PH regulator so that the coconut has the balanced PH that cannabis plants need.
6- Now, you must wait between 10-15 minutes for the coconut to soak well and become completely soft. Also, you must wait for the PH regulator and the calcium-rich nutrients to take their final effect. If you wish, you can wait up to 1 or 2 hours.
7- With care, you must take the pot that contains the already dissolved coconut and drain the excess water that you can deposit in the plastic bucket. When you have removed all the excess water, you can proceed to mix the perlite with the coconut. Remember that the coconut block for this example is 650g and we need two. The perl is an 8 quart bag.
8- Proceed to mix the perlite with the coconut with your hands, generating a homogeneous mixture. This amount fills three 2-gallon containers or two 3-gallon containers, although you may need a little more substrate. Obviously, the substrate will feel damp as will the pots. Do not worry about that as they will dry out once under the light. This setup works particularly well for robust strains like Peachez Strain, which thrives in a well-aerated and nutrient-balanced environment, allowing for optimal growth.
Best strain to grow Cannabis in coco Coir
Gorilla G#4 auto: produces big colas full of buds when grown in coconut. In the picture, you can see an indoor grow of this strain in coconut. It is good to always have the PH and EC in check with this variety and it will reward you with harvests of 400gr-600 gr/m2 indoors and 70gr-200 gr/plant outdoors.
Throughout its cultivation cycle, it takes between 8-9 weeks and produces buds with THC levels of 18%-24% that give off flavors of pine and fruit. This Gorilla Glue #4 Autoflower also produces energetic, euphoric mental effects with a happy and relaxing ending that is typical of mostly sativa strains.
Carmen x Durban Poison: If you are looking for a variety that is easy to grow in coconut, Carmen x Durban Poison is perfect because it adapts well to this type of crop from which buds can be harvested quickly after 65-70 days of flowering with a potency 10%-14% THC.
From another point of view, this variety stands out for its great harvests of 600 gr/plant outdoors and from 450gr-500 gr/m2 indoors of buds with a sweet, citrus flavor and notes of incense. To conclude, we believe that Carmen x Durban Poison is perfect for those growers who are looking for medium-potency strains that fill them with energy and, at the same time, put them in focus to do the tasks of the day.
Strawberry Gum Auto: This autoflowering variety called Strawberry Gum Autoflower is amazing because in only 9-10 weeks of life, it gives you remarkable and delicious harvests. Its buds have sweet, berry, and melon flavors that are totally fruity and tropical. Cultivation in coco coir is 100% recommended as you can harvest between 450gr-500 gr/m2 indoors and about 80gr-100 gr/plant outdoors with buds that have THC levels of 14%-20%.
The effects of this strain provoke feelings of creativity, promoting a weak smile on your face accompanied by a state of happiness. The above is due to its parents that are a cross of Strawberry x Bubblgum Autoflower, two genetics of great recognition by gardeners around the world.
Blue Dream: Now we present to you, Blue Dream, a mostly sativa variety that adapts very well to coconut crops. As you can see in the image, these plants have used scrog to maximize their yield. Blue Dream produces heavy yields ranging from 600gr-800 gr/plant outdoors and you can collect around 600 gr/m2 of buds indoors.
We also highlight that the flavor of this strain is sweet like blueberry and mango, thanks to its Blueberry x Haze parents. In addition, flowering is short, lasting 65-70 days at most. Without a doubt, cultivating Blue Dream is quite an experience, even more so if you are a hunter of aromas that make you delirious because this strain gives you surprising aromas that mix berry tones and intense gas backgrounds with soft notes of citrus thanks to the laso haze.
FAQS
What is coco coir, and why is it good for growing cannabis?
Coco coir is a natural fiber extracted from coconuts. With a pH level of 6.0-6.5, it provides an ideal environment for growing cannabis. It retains moisture well while allowing for excellent aeration, making it perfect for root development. It is also an inert substrate, meaning it doesn’t contain any nutrients, which allows growers to have more control over feeding their plants.
What are the benefits of using coconut bricks for cannabis cultivation?
Coconut bricks are a convenient option for cannabis growers, as they are easy to break apart and use. They save time and effort compared to traditional coconut blocks, which may require more processing. These bricks provide a clean, efficient, and easy-to-use solution that promotes strong root development, particularly for strains like Blue Runtz Clones.
Can I use coconut blends for growing cannabis?
Yes, coconut blends that mix coconut fiber with materials like clay pebbles and perlite are a great option. These pre-mixed substrates require less preparation and are perfect for strains that need well-aerated conditions, such as the Glitter Bomb strain, which benefits from strong growth in these types of blends.
How should I prepare coconut coir for use in a hydroponic system?
Before using coconut coir in a hydroponic system, it is essential to rinse the coir to remove salts and improve aeration. This helps prevent potential nutrient imbalances. Once rinsed, you can mix the coir with perlite (in a 75% coconut to 25% perlite ratio) and use specific hydroponic fertilizers to nourish the plants. Always monitor the pH and EC levels of the water to ensure optimal growth.
What is the best strain for growing cannabis in coco coir?
Strains such as Gorilla Glue #4 Auto, Carmen x Durban Poison, and Strawberry Gum Auto thrive in coco coir. These strains have strong growth potential and can produce high yields when grown in this medium. They also benefit from the aerated and nutrient-rich environment that coco coir offers.


