Autoflower Week 7: Signs, Care, and Harvest Tips

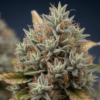
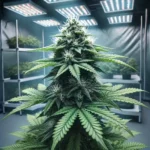
Autoflower Week 7 Overview: At seven weeks, autoflowers typically reach full bloom with buds swelling and aromas intensifying. White pistils begin to change color, signaling maturity. Care varies based on whether the plant is seven weeks from seed or in the flowering stage. Key considerations include nutrient management and humidity control to ensure optimal growth and prevent mold.
In autoflower week 7, plants are generally at their peak flowering stage, with trichomes developing a milky appearance and terpene profiles becoming more pronounced. The flowering period can vary from 8 to 10 weeks, depending on the strain. Maintaining optimal light exposure and nutrient balance is crucial for maximizing resin production and achieving a potent harvest.
Recommended Strains
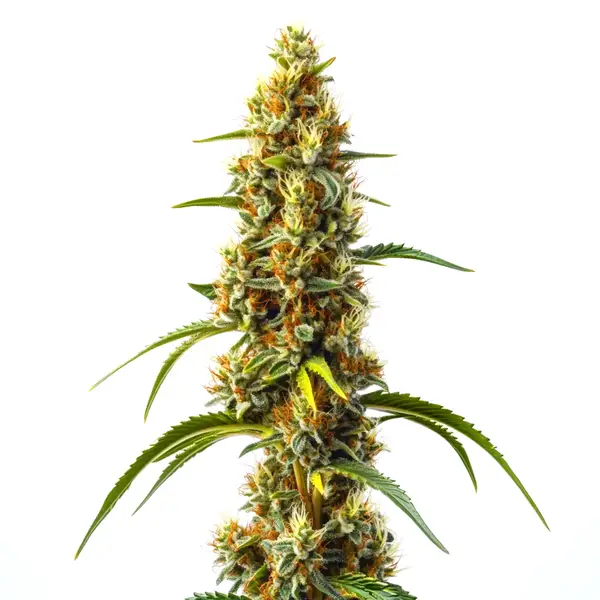
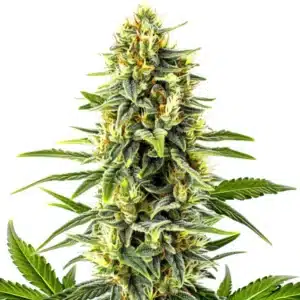
Harlequin Kimbo Kush Fast Version CBD
|
|
THC | 3% - 6% (Low) |
|
|
Type | Fast Flowering |
|
|
Yield | Low |
|
|
Phenotype | 60% Indica / 40% Sativa |
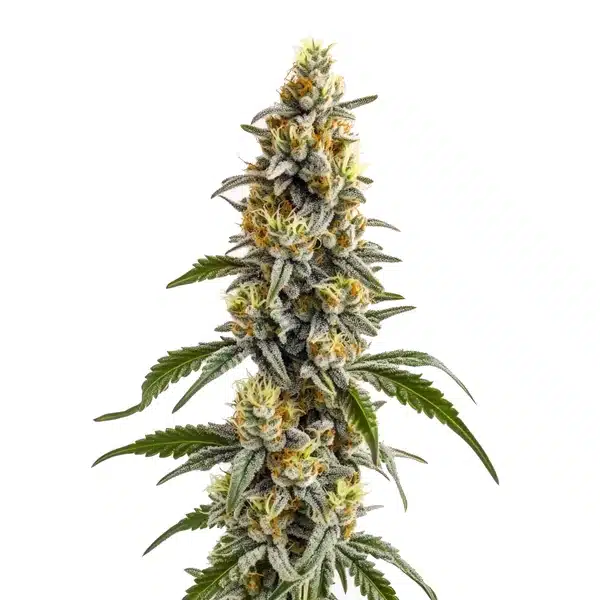
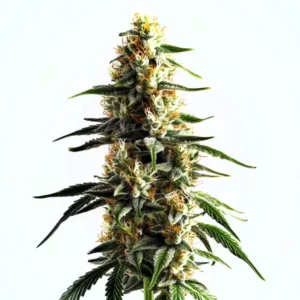
Harlequin x Bubba Kush Regular
|
|
THC | 5% - 7% (Low) |
|
|
Type | Regular |
|
|
Yield | High |
|
|
Phenotype | 90% Indica / 10% Sativa |
What Happens During Autoflower Week 7
Signs of Maturity
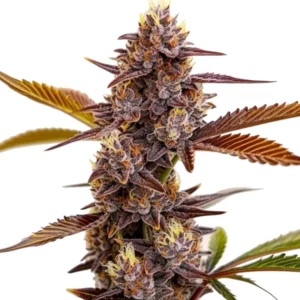
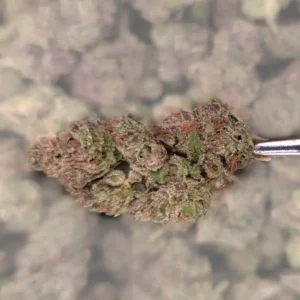
By week 7, autoflowers exhibit clear signs of maturity. Buds become denser, and pistils shift from white to orange or brown. This color change indicates the plant’s readiness for harvest. Trichomes, the tiny crystal-like structures on the buds, transition from clear to milky, and eventually to amber. These changes suggest peak cannabinoid content.
Monitoring trichome development is essential. Use a magnifying glass to inspect them closely. Milky trichomes indicate optimal THC levels, while amber trichomes suggest a more sedative effect due to increased CBN. Strains like Pink Runtz Auto often reach maturity around this time, showcasing their unique terpene profiles.
Trichome and Pistil Changes
Trichomes play a crucial role in determining the harvest time. Their color change from clear to milky and then amber is a reliable indicator of the plant’s cannabinoid profile. Milky trichomes signify peak THC levels, while amber trichomes indicate a higher CBN content, which can alter the effects to be more relaxing.
Pistil changes are another indicator of maturity. As pistils darken, they curl inward, signaling the plant’s readiness for harvest. This natural progression is crucial for ensuring the potency and flavor of the final product. Observing these changes helps in timing the harvest for maximum yield and quality.
Promos & Deals


Common Challenges in Week 7
Preventing Bud Rot and Mold
Bud rot is a significant threat during week 7 due to the increased density of the flowers. High humidity levels, above 50%, can promote mold growth. To mitigate this risk, maintain humidity levels between 40-50% and ensure proper air circulation with oscillating fans. This setup helps prevent mold and supports healthy bud development.
Regular inspections are vital. Look for signs of mold, such as gray or white patches on the buds. If detected, remove affected areas immediately to prevent spread. Using a dehumidifier can also help maintain optimal humidity levels, reducing the risk of bud rot.
Managing Nutrient Imbalances
Nutrient imbalances are common in week 7. Overfeeding can cause nutrient burn, while deficiencies may lead to yellowing leaves. A balanced nutrient regimen is crucial. Reduce nitrogen levels and increase phosphorus and potassium to support flowering. Regularly check the pH of your nutrient solution to ensure it remains within the ideal range of 6.5 for soil and 5.5-6.5 for hydroponics.
Monitoring plant health is essential. Look for signs of nutrient deficiencies, such as yellowing between leaf veins, indicating magnesium deficiency. Adjust nutrient levels accordingly to address these issues and maintain plant health during this critical stage.
| Feature | Pink Runtz Auto | Blue Cookies Fast Version | Gorilla Purple Auto |
|---|---|---|---|
| THC Content | 22-26% | 20-24% | 18-22% |
| Dominant Terpene | Myrcene | Caryophyllene | Limonene |
| Flowering Time | 8-9 weeks | 7-8 weeks | 8-10 weeks |
| Yield | 1.5-2 oz/ft² | 1.8-2.2 oz/ft² | 1.4-1.9 oz/ft² |
| Height | 24-36 inches | 28-40 inches | 20-30 inches |
Environmental Conditions for Optimal Growth
Temperature and Humidity Control
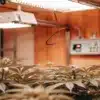
Maintaining stable temperatures between 68-77°F (20-25°C) is crucial in week 7. Sudden fluctuations can stress the plants, impacting yield and quality. Humidity should be kept low, around 40-50%, to prevent mold and mildew. Use a digital hygrometer to monitor and adjust conditions as needed.
Proper ventilation is essential. Ensure that air circulates evenly around the plants. This helps maintain consistent temperature and humidity levels, reducing the risk of mold and promoting healthy growth. Regular checks of your ventilation system are recommended to ensure optimal performance.
Light and Air Circulation
Light intensity is vital during the final stages of flowering. Ensure grow lights are positioned correctly to avoid light burn, which can damage the plants. Signs of light burn include yellowing leaves at the top of the plant. Adjust light intensity gradually to provide enough energy without causing stress.
Air circulation supports even CO₂ distribution and prevents mold. Use oscillating fans to create a gentle airflow. This setup ensures that every part of the plant receives fresh air, promoting healthy growth and preventing mold development. Regularly inspect your fans and ventilation system to maintain optimal conditions.
Maximizing Bud Potential
Enhancing Resin Production
To boost resin production in week 7, consider introducing UV-B light. This exposure can stimulate trichome development, leading to more resinous buds. Ensure the exposure is gradual to avoid stressing the plants. Consistent light cycles are also important; avoid interruptions to the 12/12 schedule.
Using a light spectrum that favors flowering, especially with increased red light, can enhance bud density and resin production. Adjust light intensity carefully to prevent plant stress. These strategies can significantly improve resin production and overall bud quality.
Identifying Late-Stage Deficiencies
Nutrient deficiencies can still occur in week 7. Magnesium deficiency often appears as yellowing between leaf veins, while calcium deficiency presents as brown spots. Inspect your plants closely for these signs. Adjust your feeding schedule to include the missing nutrients.
Using a balanced nutrient solution ensures your plants receive what they need to thrive. Regular monitoring and adjustments prevent deficiencies and support healthy growth during the final stages of flowering. Keeping a close eye on plant health is crucial for maximizing yield and potency.
Professional Tips for Autoflower Week 7
- Maintain 68-77°F (20-25°C) to prevent stress. Sudden temperature changes can reduce yield.
- Keep humidity at 40-50% to avoid mold. High humidity promotes bud rot within days.
- Use a digital hygrometer for accurate humidity readings. Analog models are less reliable.
- Introduce UV-B light gradually to enhance resin production. Sudden exposure can stress plants.
- Monitor trichomes with a magnifying glass. Milky trichomes indicate peak THC levels.
- Adjust nutrients to reduce nitrogen. Excess nitrogen can hinder bud development.

FAQs About Autoflower Week 7
What should a 7 week old autoflower look like?
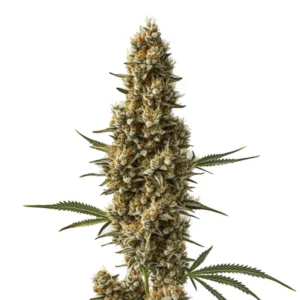
A 7 week old autoflower should display dense buds with pistils turning from white to orange or brown. Trichomes should be prominent, transitioning from clear to milky or amber. This stage indicates maturity, with optimal THC levels. Regular monitoring of these signs helps determine the best harvest time.
Do buds still grow in week 7?
Yes, buds continue to swell in week 7 as they reach full maturity. This growth phase is crucial for maximizing resin production and potency. Ensure proper nutrient balance and environmental conditions to support this final development stage, enhancing both yield and quality.
Should you trim fan leaves on autoflower?
Trimming fan leaves can improve light penetration and air circulation, but over-trimming may stress the plant. Focus on removing only large, obstructive leaves. This practice helps prevent mold and supports healthy bud development, especially in dense canopies.
At what week do autoflowers start flowering?
Autoflowers typically begin flowering around 3-4 weeks from seed. This rapid transition is due to their genetic programming, which doesn’t rely on light cycles. By week 7, they are usually in full bloom, with buds developing their final characteristics.
Can I use week 7 flowering pics to assess plant health?
Yes, week 7 flowering pics can be a valuable tool for assessing plant health. Look for signs of nutrient deficiencies, mold, or pests. Healthy plants should have vibrant green leaves and dense, resinous buds. Regular visual inspections help identify issues early, ensuring a successful harvest.