Week 5 Autoflower Guide: Growth and Care Tips

Week 5 Autoflower Transition: During week 5, autoflowers shift from vegetative to flowering stages, focusing on bud development. Key changes include the emergence of pistils and slight leaf stress. Ideal conditions include temperatures between 68°F and 82°F (20°C to 28°C) and humidity levels of 40% to 50%. These adjustments are crucial for maximizing yield and plant health.
As your autoflowers enter week 5, they begin a crucial transformation. This stage is marked by the onset of terpene production, enhancing aroma and flavor profiles. Expect flowering to commence, with a typical cycle lasting 8-10 weeks from seed to harvest. Adjusting your care practices now ensures optimal growth and potency.
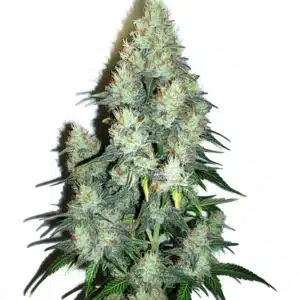
Recommended Strains
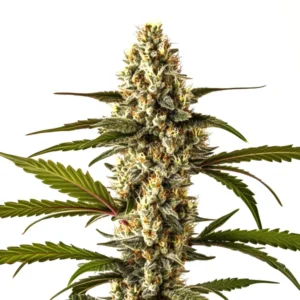
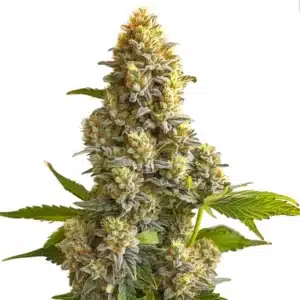
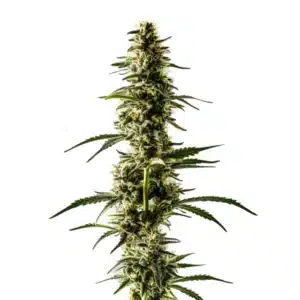
Cinderella 99
|
|
THC | 13% - 17% (Medium) |
|
|
Type | Feminized |
|
|
Yield | High |
|
|
Phenotype | 20% Indica / 80% Sativa |

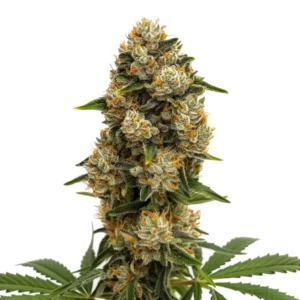
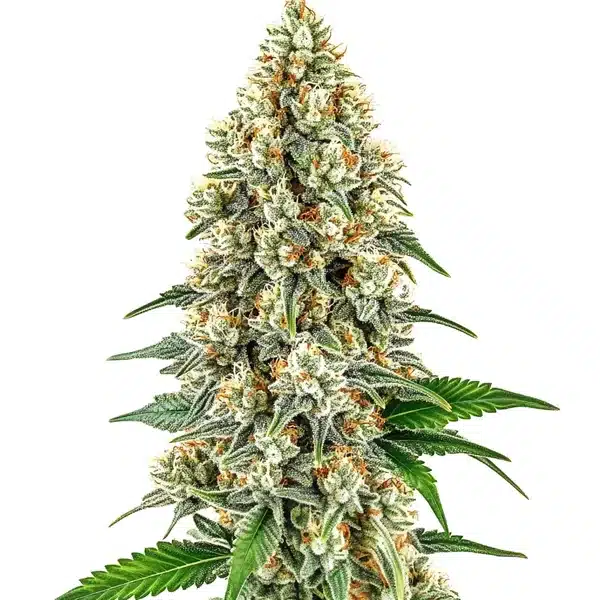
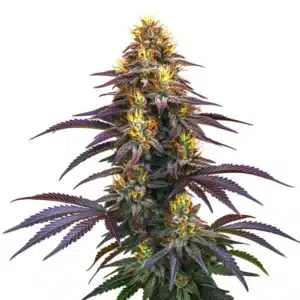
Cinderella 99 Auto
|
|
THC | 24% - 26% (High) |
|
|
Type | Autoflowering |
|
|
Yield | High |
|
|
Phenotype | 20% Indica / 80% Sativa |
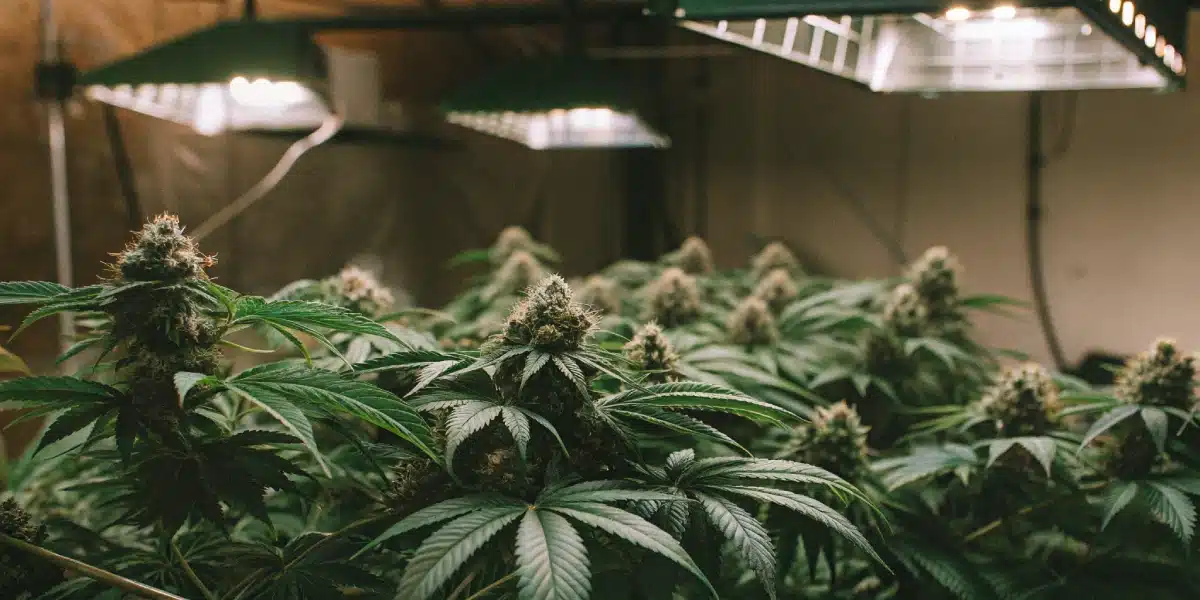
Week 5 of Autoflower Growth
Transition from Vegetative to Flowering
In week 5, autoflowers redirect energy from vegetative growth to flowering. This transition is essential for bud formation, marked by the appearance of pistils. The biological shift involves changes in hormone levels, particularly gibberellins and auxins, which trigger flowering. Recognizing these changes allows you to tailor your care practices effectively.
During this phase, maintaining a stable environment is crucial. Ensure temperatures remain between 68°F and 82°F (20°C to 28°C) and humidity levels at 40% to 50%. These conditions support hormonal balance and prevent stress, which can hinder bud development.
Changes in Plant Appearance and Size
As week 5 progresses, visual cues like the formation of pistils and the initial swelling of calyxes become evident. These signs indicate the plant’s shift to reproductive growth. Expect your plants to reach heights of 8 to 16 inches (20 to 40 cm), depending on the strain and environmental conditions.
Adjusting your nutrient regimen is vital during this period. Reduce nitrogen levels and increase phosphorus and potassium to support flowering. This nutrient shift encourages robust bud development and prevents nutrient burn, which can manifest as leaf discoloration.
Promos & Deals
Optimal Environment for Week 5
Temperature, Humidity, and Light Adjustments
Maintaining an optimal environment is key to successful flowering. Keep temperatures between 68°F and 82°F (20°C to 28°C) to prevent heat stress. Humidity should be controlled between 40% and 50% to avoid mold and mildew, which can thrive in higher moisture levels.
Adjust your light schedule to 18 hours on and 6 hours off, ensuring consistent energy for growth. Light intensity should be moderate to prevent stress while promoting bud development. Use a light meter to maintain 600-800 µmol/m²/s at canopy level.
Optimizing Air Circulation and CO2 Levels
Good airflow is essential for healthy plant development. Implement fans to circulate air, reducing the risk of mold and strengthening plant structure. This practice also helps maintain consistent temperature and humidity levels.
Consider supplementing with CO2 to enhance growth. Maintain levels around 1200-1500 ppm to boost photosynthesis, which can increase yield potential. Monitor CO2 levels closely to avoid overexposure, which can lead to plant stress.
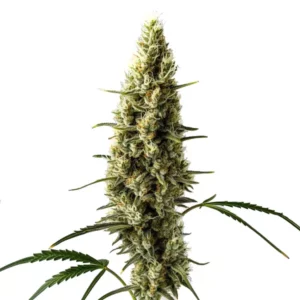
| Feature | GG4 | Critical Jack | Blueberry X Mazar Auto |
|---|---|---|---|
| THC Content | 25-30% | 20-24% | 18-22% |
| Dominant Terpene | Caryophyllene | Limonene | Myrcene |
| Flavor Profile | Earthy, Pine | Citrus, Pine | Berry, Sweet |
| Yield (oz/ft²) | 1.5-2.0 | 1.8-2.2 | 1.2-1.6 |
| Flowering Time (weeks) | 8-9 | 9-10 | 8-9 |
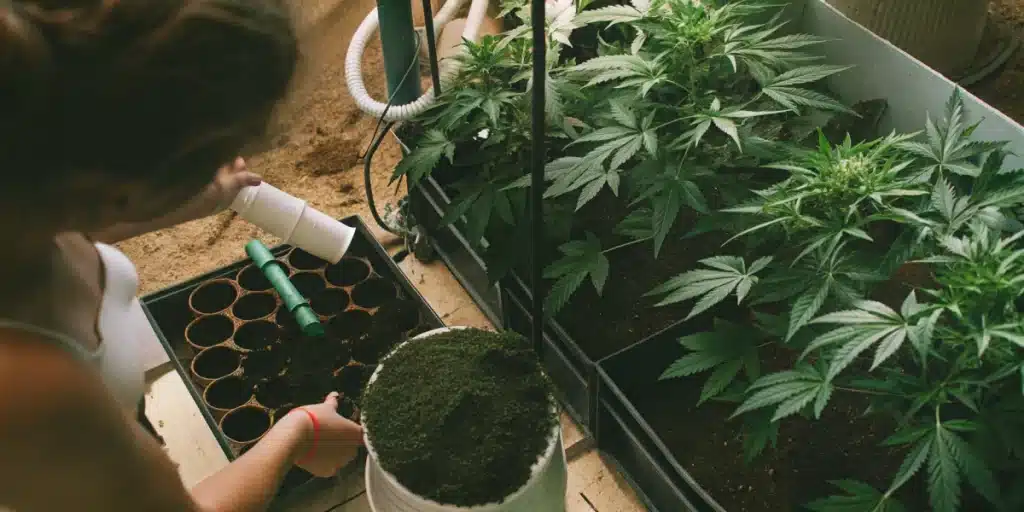
Nutrient and Watering Strategies
Adjusting NPK Ratios and Watering Practices
In week 5, adjust your nutrient schedule to support flowering. Shift the NPK ratio to 1:3:2, reducing nitrogen while boosting phosphorus and potassium. This change supports bud development and prevents nutrient burn, which can occur if nitrogen levels remain high.
Watering practices should ensure thorough hydration without overwatering. Aim for 10-20% runoff to prevent salt buildup and root rot. Monitor soil moisture using a digital meter to maintain optimal conditions.
Common Nutrient Deficiencies and Solutions
During this stage, deficiencies in phosphorus or potassium can manifest as yellowing leaves or weak bud formation. Address these issues by adjusting your nutrient mix and using supplements if necessary. Regularly inspect your plants to catch deficiencies early.
Prevent nutrient lockout by maintaining a pH range of 6.0 to 6.5. Use a calibrated pH meter to ensure accuracy, as incorrect pH levels can hinder nutrient uptake and lead to deficiencies.
Common Issues and Solutions
Leaf Discoloration, Nutrient Burn, and Pests
Leaf discoloration often signals nutrient imbalances or environmental stress. Monitor your plants closely for signs of nutrient burn, such as brown leaf tips. Adjust your nutrient regimen and environmental conditions to address these issues promptly.
Pests like spider mites and aphids can become problematic during flowering. Use organic pest control methods and maintain a clean grow space to prevent infestations. Regular inspections are crucial for early detection and management.
Advanced Techniques for Maximizing Yield
Techniques like Low Stress Training (LST) can enhance yield by promoting even canopy growth. Gently bend and secure branches to improve light penetration and bud development. Be cautious to avoid overtraining, which can stress plants and reduce yield.
Defoliation, when done strategically, can also improve light exposure. Remove excess foliage to allow more light to reach lower buds. This practice should be done sparingly to prevent undue stress on the plants.
Professional Tips for Week 5 Autoflower Care
- Maintain 68°F – 82°F (20°C – 28°C) for optimal growth. Temperatures outside this range can stress plants and hinder bud development. Use a digital thermometer for accuracy.
- Adjust NPK to 1:3:2. This supports flowering by providing essential nutrients. Avoid high nitrogen levels as they can cause nutrient burn.
- Ensure 10-20% runoff during watering to prevent salt buildup. Overwatering can lead to root rot, so monitor soil moisture carefully.
- Use LST to promote even canopy growth. This technique maximizes light exposure and yield without stressing the plant.
- Monitor for pests regularly. Early detection and organic control methods prevent infestations during flowering.
- Keep humidity at 40%-50% to prevent mold. High humidity encourages mold growth, which can damage buds.
FAQs About Week 5 Autoflower Growth
What should a 5 week old autoflower look like?
A 5-week-old autoflower should display well-formed buds with visible pistils. The plant should be around 12 to 24 inches (30 to 60 cm) tall, depending on the strain. Expect increased trichome production, indicating resin development. This stage is crucial for maximizing potency and preparing for harvest.
What week do autoflowers fatten up?
Autoflowers typically begin to fatten up around week 6 to 7. During this period, bud size increases significantly as the plant focuses energy on resin and cannabinoid production. Maintain optimal nutrient levels and environmental conditions to support this critical phase of development.
What should week 5 of flowering look like?
In week 5 of flowering, expect buds to be well-formed with a dense structure. Trichomes should be visible, and pistils will begin to darken. The plant’s aroma intensifies as terpenes develop. This stage requires careful monitoring of environmental conditions to ensure healthy bud growth.
How much water for 5 week autoflower?
A 5-week-old autoflower typically requires 0.5 to 1 gallon (1.9 to 3.8 liters) of water per plant, depending on size and environmental conditions. Ensure 10-20% runoff to prevent nutrient buildup. Adjust watering frequency based on soil moisture levels to avoid over or under-watering.
What are common nutrient deficiencies in week 5?
Common deficiencies in week 5 include phosphorus and potassium shortages, leading to weak bud development and yellowing leaves. Address these by adjusting nutrient ratios and ensuring a pH range of 6.0 to 6.5. Regular plant inspections help catch deficiencies early, preventing long-term damage.