Autoflower Week 3: What to Expect and How to Optimize Growth

Welcome to the exciting world of Autoflower Week 3! If you’re a dedicated cultivator, you already know that Autoflower Week 3 is a pivotal stage in your plant’s development. At this point, your cannabis plants are beginning to show signs of robust growth while setting the stage for pre-flowering. Whether you’re a seasoned grower or new to the game, the insights shared here will help you optimize every aspect of your growth process. With detailed guidance on growth milestones, the ideal environment, nutrient needs, and training techniques, you’ll find everything you need to keep your autoflowers thriving. Remember, buying seeds online from trusted sources like Blimburn Seeds provides you with the best genetics and convenience compared to local dispensary options.
Overview of Autoflower Week 3 Development
Growth Milestones at Week 3
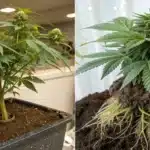
By Week 3, your autoflowers have entered a phase of significant transformation. The main focus during Autoflower Week 3 is on building a sturdy foundation for the upcoming pre-flowering stage. The seedling has now fully transitioned into the early vegetative phase, meaning that your plant’s structure is rapidly evolving. Expect a noticeable increase in the number of leaves, a boost in stem strength, and a vibrant display of energy as the plant harnesses its full potential.
Recommended Strains
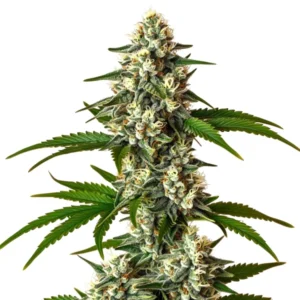
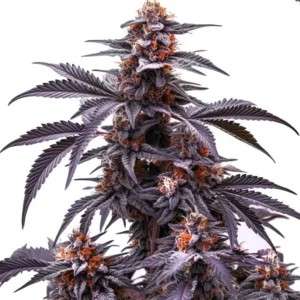
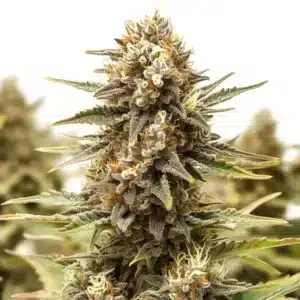
Orange Bud
|
|
THC | 16% - 23% (Medium) |
|
|
Type | Feminized |
|
|
Yield | Low |
|
|
Phenotype | 45% Indica / 55% Sativa |
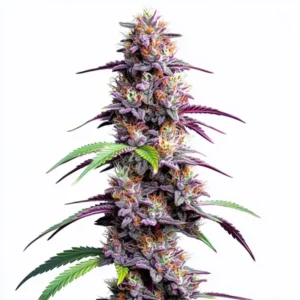
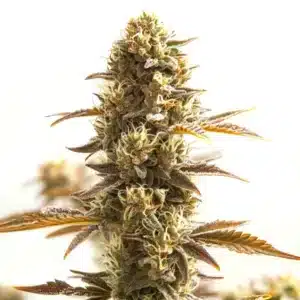
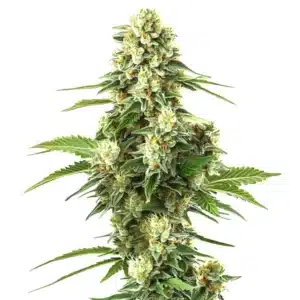
Orange Cake
|
|
THC | 18% - 23% (Medium) |
|
|
Type | Feminized |
|
|
Yield | High |
|
|
Phenotype | 50% Indica / 50% Sativa |
During this stage, photosynthesis ramps up, leading to more vigorous growth. The energy directed toward leaf production sets the groundwork for future bud development. As your plant undergoes this rapid growth, keep an eye on the emergence of tiny pre-flowers, which indicate that it’s getting ready for the next phase of its lifecycle. Frequent monitoring and adjustment of your care routine will ensure that your autoflower remains on track.
For those who appreciate the advantages of buying seeds online, remember that starting with quality genetics is essential. High-quality seeds not only guarantee resilience during stressful phases but also support robust growth during critical periods like Autoflower Week 3.
Transitioning Towards Pre-flowering
As you progress through Autoflower Week 3, the transition toward pre-flowering becomes increasingly apparent. This period is marked by subtle yet significant changes in the plant’s structure. Tiny pistils or pre-flowers might start to emerge at the nodes, serving as a preview of the plant’s sexual differentiation. While these signs are often subtle, they serve as reliable indicators that your autoflower is gearing up for the blooming stage.
During this transition, it is important to provide your plant with the optimal conditions it needs to prepare for this upcoming transformation. From fine-tuning your nutrient regimen to ensuring the environment supports vigorous growth, every decision made during Autoflower Week 3 can have a lasting impact on the overall yield and quality of your harvest.
Promos & Deals


Ideal Environment for Autoflower Week 3
Light Cycle Requirements
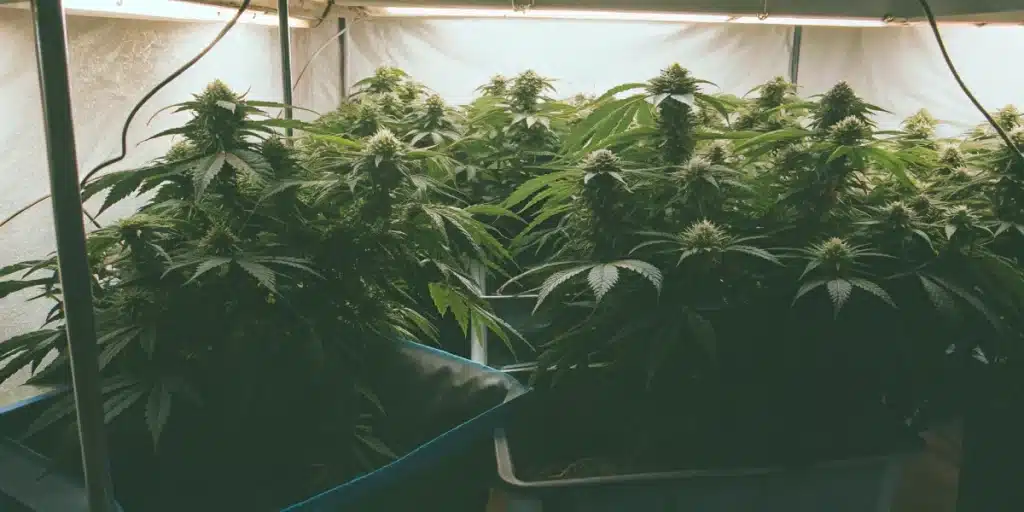
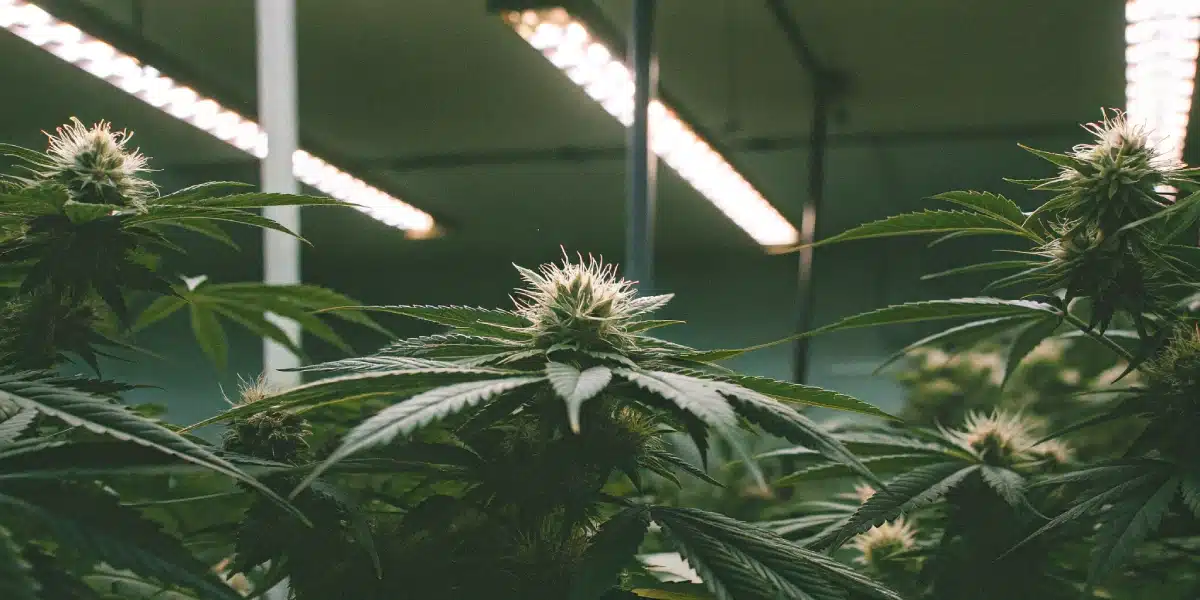
Lighting is one of the most significant factors during Autoflower Week 3. Maintaining the appropriate light cycle is vital for ensuring that the plant continues to develop its vegetative structures effectively. During this stage, most autoflowers thrive under a balanced light schedule that provides ample energy without overwhelming the plant. A consistent cycle, typically around 18 hours of light and 6 hours of darkness, creates an environment where photosynthesis can occur efficiently, driving robust growth.
Indoor growers often find that LED or high-intensity discharge (HID) lights work wonders during Week 3, as they deliver the right spectrum of light that supports vegetative development and pre-flowering cues. If you’re purchasing your seeds online, you’re likely well aware that modern genetics respond well to controlled lighting conditions, maximizing the plant’s inherent potential. Investing in the proper lighting setup will pay dividends in the form of strong, resilient plants that are ready for the next growth phase.
Temperature and Humidity Levels
Environmental control is another vital element when it comes to Autoflower Week 3. Temperature and humidity levels must be meticulously managed to ensure that the plant remains stress-free. During this phase, a stable temperature range between 70°F and 80°F (21°C to 27°C) is ideal for fostering growth while preventing potential issues such as mold or mildew. Humidity levels should be kept around 50-60% to balance moisture without promoting fungal growth.
Maintaining consistent conditions not only helps in the prevention of stress-related issues but also supports the plant’s metabolic activities. Fluctuating temperatures or humidity can cause the plant to divert energy toward coping mechanisms rather than growth. By keeping your grow space within the recommended ranges, you set the stage for a vigorous and uninterrupted development process. Remember, the consistency you establish in your grow space mirrors the quality assurance provided by online seed purchases, where reliability and performance go hand in hand.
Feeding and Nutrient Needs
Nutrient Adjustments for Early Vegetation
During Autoflower Week 3, your cannabis plant’s appetite increases as it prepares for rapid growth and the eventual onset of pre-flowering. At this stage, transitioning from a seedling-friendly nutrient mix to one that supports early vegetative development is essential. Look for a balanced nutrient solution that includes a mix of nitrogen, phosphorus, and potassium, as these are the key macronutrients needed for healthy leaf and stem growth.
Typically, a slight increase in nitrogen will support the expansion of foliage, which is necessary to drive the energy production required for future bud formation. However, caution is advised when increasing nutrient levels; a gradual adjustment allows your plant to acclimate without causing nutrient burn or toxicity. Feeding your plant the proper nutrients at the right time is as important as selecting premium seeds online, where each seed is bred to maximize growth potential.
Signs of Nutrient Deficiencies or Overfeeding
Keeping a watchful eye on your plant’s appearance during Autoflower Week 3 can save you from larger problems down the line. Nutrient imbalances often manifest as discolored or curled leaves, particularly at the margins. For instance, a deficiency in nitrogen might cause the older leaves to yellow and die back, while an excess could lead to dark, burnt edges on the foliage. Both scenarios indicate that the plant’s nutrient uptake is off balance.
Regularly checking for these visual cues is essential. If the symptoms are apparent, it may be time to adjust your feeding regimen. Reducing the nutrient concentration or spacing out feeding intervals might be necessary to give the plant time to recover. On the flip side, if the plant appears too lean or if new leaves are forming slowly, a slight boost in the nutrient solution might be in order. Taking a measured approach to nutrient management during Autoflower Week 3 ensures that your plants remain robust and prepared for the next stages of growth.
Training Techniques for Autoflower Week 3 Growth
Low Stress Training (LST)
Training techniques during Autoflower Week 3 can have a dramatic impact on the final yield and overall health of your plant. One of the most popular and effective methods is Low Stress Training (LST). This technique involves gently bending and tying down branches to create an even canopy. By doing so, light is allowed to penetrate more deeply into the plant, resulting in more uniform growth and an increased number of bud sites.
Employing LST at this stage is especially beneficial because the plant is still highly flexible and responsive to external stimuli. With the right approach, you can encourage the plant to allocate energy evenly, thereby maximizing photosynthetic efficiency. A well-trained plant not only produces better yields but also minimizes the risk of developing weak, leggy structures that could otherwise impede future growth. This method is similar to choosing premium seeds online both represent a smart investment in quality and performance.
Pruning and Defoliation Tips
Selective pruning and defoliation can also aid in maximizing growth during Autoflower Week 3. When done correctly, these techniques help in redirecting energy from unnecessary foliage to developing key structures. Removing a few lower leaves or small branches can open up the plant’s canopy, allowing more light to reach the central areas where budding will eventually occur.
However, it’s important to practice moderation. Over-pruning can lead to stress and stunt the growth process. The goal is to maintain a balance between a full canopy and enough open space for light penetration and air circulation. Keeping an eye on your plant’s progress and making small adjustments as needed will yield the best results during this dynamic phase of growth.
Common Issues in Autoflower Week 3 and How to Fix Them
Stunted Growth Problems
Even with the best care, some growers encounter stunted growth during Autoflower Week 3. Several factors can contribute to this problem, ranging from nutrient imbalances to suboptimal lighting or environmental conditions. Stunted growth often appears as a significant lag in the expected increase in leaf size or stem elongation. If your plant seems to be lagging, it might be time to reassess your growth parameters.
Begin by examining your nutrient regimen to ensure that the plant is receiving an adequate supply of key elements. Next, review your lighting setup; insufficient light intensity can slow down the growth process. Additionally, maintaining stable temperature and humidity levels is essential. By addressing these issues promptly, you can help your plant recover and maintain a steady growth trajectory. Implementing effective fixes during Autoflower Week 3 is similar to relying on reputable online seed sources both ensure that potential setbacks are managed efficiently.
Overwatering and Underwatering
Water management is a common challenge that many cultivators face during this pivotal stage. Both overwatering and underwatering can lead to serious complications for your cannabis plant. In Week 3, where the plant’s root system is still developing, getting the water schedule right is imperative. Overwatering may lead to root rot and fungal infections, while underwatering can cause the plant to become dehydrated, resulting in drooping leaves and slowed growth.
To strike the right balance, monitor the moisture level in your growing medium carefully. A good rule of thumb is to water only when the top inch of the soil feels dry to the touch. Using well-draining soil or a hydroponic setup can also help regulate water levels and prevent these common pitfalls. Adjusting your watering habits based on the plant’s needs is as important as choosing to buy seeds online, where reliability and consistency are paramount for a successful cultivation journey.
Preparing for Pre-flowering (Week 4 and Beyond)
When to Expect Pre-flowering
As the growth cycle advances, your focus will naturally shift towards preparing for pre-flowering. By the end of Week 3 and into Week 4, tiny pre-flowers will start to make their presence known. These signals are subtle at first but gradually become more defined, indicating that your autoflower is gearing up for the blooming stage. Pre-flowers can be observed at the nodes, and their appearance is a positive sign that the plant’s sexual characteristics are beginning to manifest.
Keep in mind that each strain has its unique timeline, so while some plants may exhibit pre-flowering early, others might take a few more days. Patience and close observation are key during this transition. Adjust your care routine as needed to support this next stage, ensuring that the plant receives the optimal balance of nutrients and environmental conditions. Remember, maintaining a proactive approach during Autoflower Week 3 sets the stage for a smooth transition into the pre-flowering phase, reinforcing why online seed purchases from trusted providers remain the best choice for dedicated growers.

Nutrient Shifts for Pre-flowering
Preparing your plant for pre-flowering involves a thoughtful adjustment to its nutrient regimen. As your cannabis plant approaches the pre-flowering stage, it begins to require a different balance of nutrients that supports bud formation rather than just vegetative growth. Shifting your feeding strategy to include more phosphorus and potassium can enhance the development of these early signs of flowering.
This nutrient shift is essential for supporting the upcoming energy-intensive phase where your plant will transition from building foliage to focusing on bud production. Gradually modifying your nutrient solution ensures that the plant adapts without experiencing nutrient shock. As the autoflower prepares to make its move into pre-flowering, a well-timed nutrient transition will bolster its ability to produce robust, high-quality buds. Just as cultivating your cannabis with precision pays off in the long run, selecting premium seeds online guarantees you a head start in quality and performance.
FAQs
What are the key growth indicators during Autoflower Week 3?
During Autoflower Week 3, you’ll notice a rapid increase in leaf production and a more robust stem structure. Small pre-flowers may start to appear at the nodes, hinting at the upcoming transition into the flowering stage. Consistent growth, a healthy canopy, and the early signs of pre-flowering are the best indicators that your plant is on track.
How can I optimize my lighting during Autoflower Week 3?
The best approach is to maintain a balanced light cycle typically 18 hours of light followed by 6 hours of darkness. Using LED or HID lights that offer a full spectrum will help maximize vegetative growth and support the pre-flowering cues. A consistent light schedule ensures your plant receives enough energy to fuel its rapid development during this stage.
What adjustments should I make to my nutrient regimen in Week 3?
At this stage, shifting from a seedling-friendly nutrient mix to one that supports early vegetative growth is key. A balanced formula rich in nitrogen is recommended to encourage vigorous leaf development, while being cautious to avoid nutrient burn. It’s all about gradual adjustments, keeping an eye on the plant’s responses to ensure it’s getting just what it needs.
How do I handle common watering challenges during Autoflower Week 3?
Maintaining the right moisture balance is essential. Check that the top inch of your growing medium is dry before watering again. Overwatering can lead to root rot, while underwatering may stress the plant. Adjust your watering schedule based on your environment and the plant’s needs, ensuring your autoflowers receive consistent care throughout Week 3.
What training techniques work best during this stage?
Low Stress Training (LST) is highly effective during Autoflower Week 3, as it encourages an even canopy and better light penetration. Additionally, selective pruning and moderate defoliation can help direct energy to the most vital parts of the plant. The goal is to enhance light distribution without stressing the plant excessively.
When should I start preparing for pre-flowering?
Keep an eye on your plant as you approach the end of Week 3. The subtle emergence of pre-flowers is a sign that the plant is transitioning toward pre-flowering. Once these indicators become apparent, start shifting your nutrient regimen to support bud development, and make any necessary environmental adjustments to ease the transition.
Why is buying seeds online recommended for achieving success during Autoflower Week 3?
Purchasing seeds online ensures you have access to premium genetics bred to perform under various conditions. These high-quality seeds are more resilient during critical stages like Autoflower Week 3 and come with the assurance of consistency and quality that local dispensary options often lack. Investing in quality seeds online lays a strong foundation for every phase of your plant’s growth.