Essential Parameters for Growing Girl Scout Cookies
Plant Height
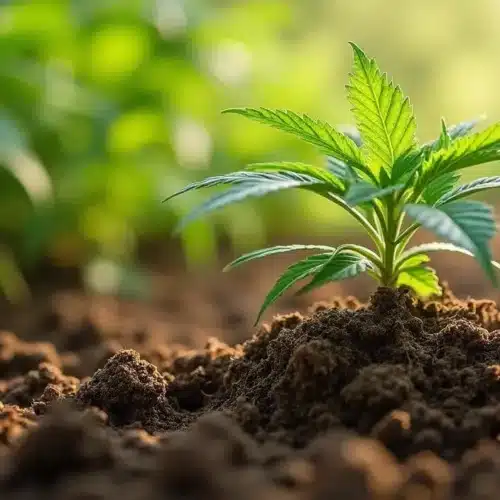
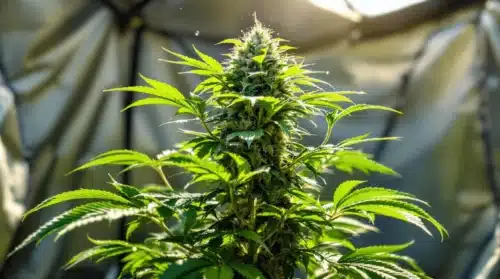
During the growth cycle, expect the Girl Scout Cookies plants to achieve various heights based on their growth stage. Initially, the plants may be around 15 cm tall and can grow up to 85 cm by the end of their life cycle. Watching them develop can be quite rewarding as you witness their transformation throughout the stages.
A healthy height not only indicates robust growth but also improves light absorption, which is crucial for flowering. Many growers track their plants’ heights along the way, using notes or even photos to compare how much they’ve grown week by week.
Recommended Strains
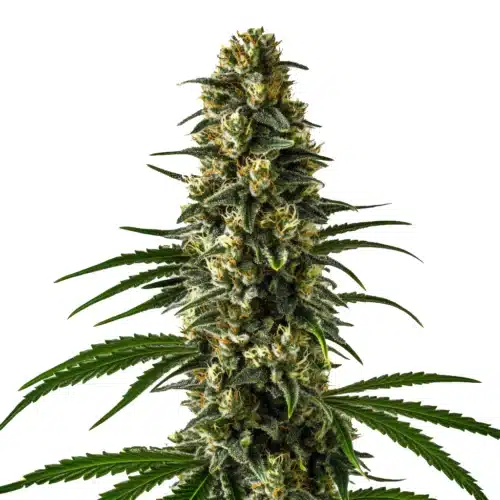
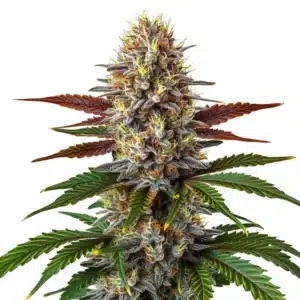
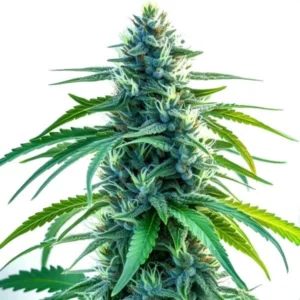
Girl Scout Cookies
 THC: 18% - 25%
 Type of seed: Feminized
 Phenotype: Mostly Sativa
 Day to flower: 8 - 10 weeks

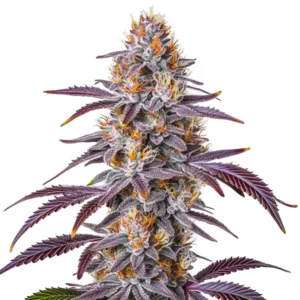
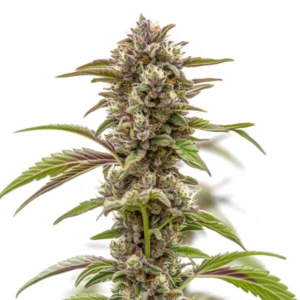
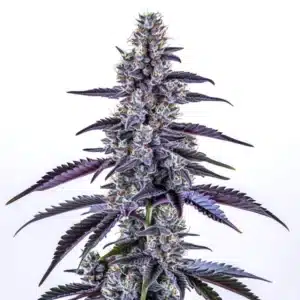
Gelato
- THC: 27%
- Type of seed: Feminized
- Phenotype: Mostly Hybrid
- Day to flower: 8 - 10 weeks

Sour Diesel
- THC: 22 - 25%
- Type of seed: Feminized
- Phenotype: Mostly Sativa
- Day to flower: 8 - 10 weeks

OG Kush
- THC: 20% - 24%
- Type of seed: Feminized
- Phenotype: Mostly Indica
- Day to flower: 8 - 10 weeks
Pot Size
The choice of pot size is essential for root development and overall growth. Start by placing your seeds in small 0.5-liter pots, then transplant them into larger 18-liter pots as the plants mature to allow for healthy root expansion. Using appropriately sized pots helps prevent root-bound situations, ensuring a thriving plant.
As the roots grow, adding more soil space allows them to absorb more water and nutrients. Don’t be afraid to check the roots during the transplanting process – it’s a great way to gauge their health and observe their development firsthand.
Light Schedule
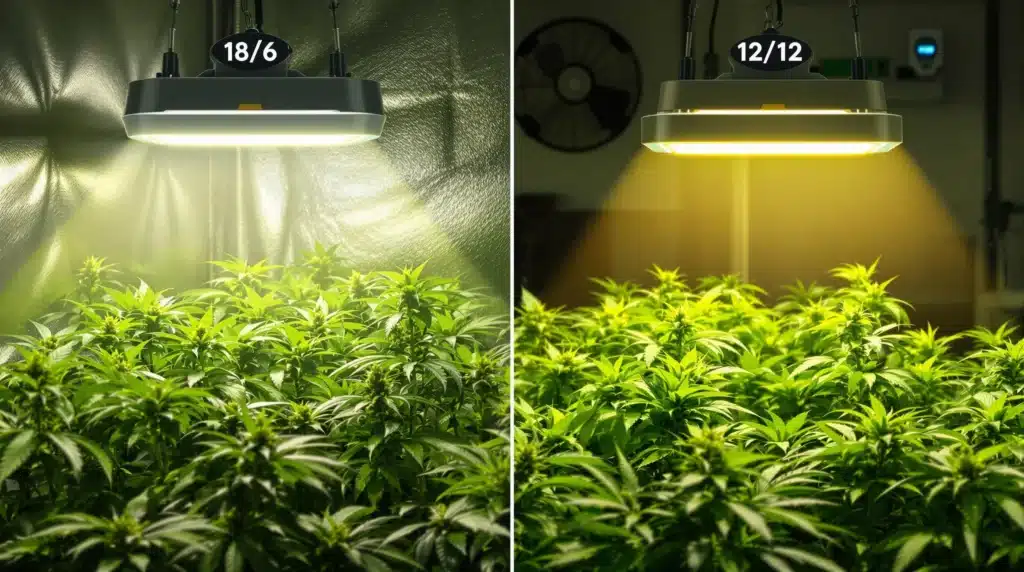
Providing the right light schedule is foundational for healthy plant growth. Initially, maintain an 18-hour light and 6-hour dark schedule to mimic the longer days of summer. As the plants transition to blooming, change this to a 12-hour light and 12-hour dark cycle to stimulate flowering.
Regularly checking your light sources for even coverage can help avoid shadows that stunt growth. Consider moving your plants around to different positions to ensure all receive ample light!

Plant Distance
Ensure adequate spacing between your plants. While they are young, the distance between each should be about 60 – 71 cm. This spacing allows improved airflow, which is critical in preventing mold and ensuring that each plant receives equal light exposure.
Think of it as allowing each plant a bit of its own personal space to grow! Too close quarters can create stress and lead to competing for resources, so maintaining that distance is key to a healthy garden.
Air Humidity
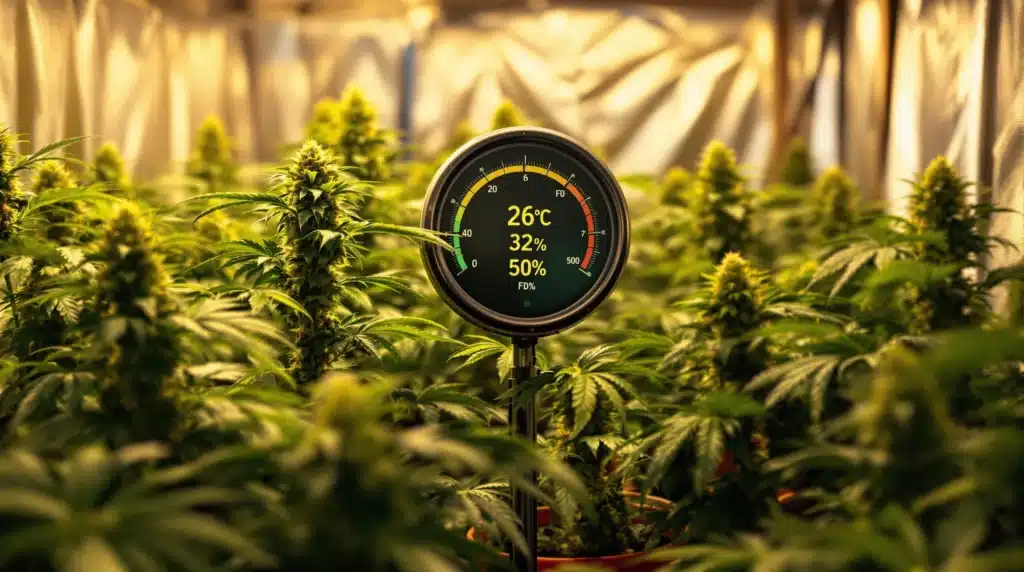
Humidity is a crucial factor in plant health. Aim to keep humidity levels around 50% to prevent the growth of mold and mildew, which can be harmful to your plants. Proper humidity also supports transpiration, which is how plants absorb nutrients and water.
If you’re unsure about your humidity levels, investing in a hygrometer can provide valuable insights. These instruments help you track changes and adjust your environment effectively.
Temperature
Maintaining the right temperature is vital. Aim for a consistent temperature between 26ºC (78.8ºF) and 32ºC (89.6ºF) throughout the growth cycle. Adjust slightly as you transition into flowering, as some variations can encourage healthy plant responses.
Keeping track of temperature changes during different times of the day can help you spot trends. If unexpected fluctuations occur, consider using fans to regulate air flow and stabilize temperatures. A comfortable environment fosters fruitful growth!
Promos & Deals

Week-by-Week Growth Guide
Week 1
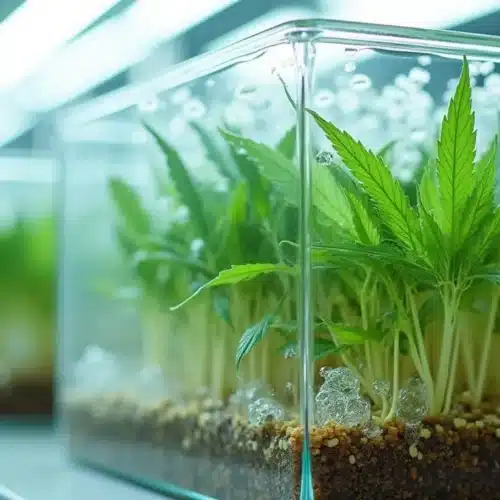
After germinating the seeds on paper towels and planting them in your substrate, you can expect them to sprout within about 7 days. During this time, focus on watering your plants with clean, still water, avoiding the introduction of fertilizers to give them a pure start.
This first week is all about establishing roots. Set a gentle routine to check moisture levels in the soil while giving your plants the peace they need to grow strong and healthy.
Week 2
In the second week, continue to water your plants with pure water only. At this stage, you may notice the first true leaves forming, indicating steady growth and a good foundation for future development.
Take a moment to observe your plants closely. Each day can reveal subtle changes, and noticing these early signs of vigor can motivate you to stay committed to your growing journey!
Week 3
By week three, your Girl Scout Cookies plants should display notable growth, making it time for the first transplant into larger pots for better root space. Helps in avoiding root-bound issues as they mature.
Consider using this time to also check your setup: is your lighting effective? Is there enough airflow? Addressing these areas now can save you potential issues later down the road.
Week 4
As you enter the fourth week, transplant your plants into 18-liter pots which can significantly help them thrive in their growth stage. Utilizing low-stress training techniques during this stage maximizes light exposure and encourages healthy branching.
This is also a great opportunity to experiment with training methods. You might find different techniques work better for your plants, and documenting your progress can make for interesting learning down the line.
Week 5
Entering week five, consider defoliating your plants. This practice helps manage the size of your plants and often encourages more robust growth, with plants reaching about 35 cm in height. You’ll notice your plants becoming bushier, which can be a beneficial trait for light distribution.
Getting comfortable with defoliation can seem daunting at first, but it’s all about making small, thoughtful changes to encourage growth. As you gain confidence, you’ll see the impacts of these decisions vividly reflected in your plants.
Week 6
By week six, your plants should be thriving. It’s crucial to monitor both temperature and humidity levels to ensure they stay within the optimal range for energetic growth. Keeping a close watch during this time shapes the future health of your plants!
Also, this is a pivotal moment to begin considering how your plants’ look and feel compare to the ideal milestones. This assessment lets you tweak your approach if needed, making adjustments that promote even better performance.
Flowering Stage (Weeks 7-15)
Week 7
The blooming phase begins this week, so lower your lights to about 40 cm above the tops of your plants. This thoughtful adjustment encourages tighter bud formation, which is ideal for a successful flowering stage.
Be prepared to witness significant developments as the plants respond positively to their new light setup. Document these changes for your own reference, letting the progress guide your future endeavors.
Week 8
Continue defoliating any yellow or unhealthy leaves at lower levels of the plant to let in more light. This practice facilitates better light penetration and overall bolder flowering development during this crucial stage.
Regular housekeeping in your grow area goes a long way. Ensuring a clean and clear environment helps prevent disease and encourages healthy growth patterns!
Week 9
As the plants show signs of flowering, closely monitor humidity levels, and ensure that nutrient levels remain consistent to optimize flower production. This stage typically requires full attention as the plants transition toward their final form.
Investing in proper measuring tools such as moisture meters or pH testers can make addressing potential issues easier. Quick interventions can prevent small problems from snowballing into larger ones!
Week 10
This week, consider using a dehumidifier to manage moisture within the grow area. Sudden humidity spikes can hinder flowering, thus maintaining stability in these conditions is key to a successful harvest.
Taking preemptive measures can result in healthier, more robust flowers. A strong investment in your kit will consistently pay off in the form of thriving plants.
Week 11
At this time, you should see that the buds are visibly growing more substantial with increased resin production. Your efforts are clearly starting to pay off, as you begin to experience the tangible results of your hard work!
Capture this stage with photos or journal entries! This creativity enhances your relationship with the process, and documenting growth stages can create a rewarding experience.
Week 12
During weeks 12-14, your plant’s final height is generally reached. As you begin to decrease fertilizer application, you’ll want to focus on flushing with only water to remove any residual nutrient buildup.
This phase is almost as exhilarating as the flowering! Preparing for that final reveal with a careful flush can significantly enhance the flavor and smoothness of your end product.
Weeks 13-15
As you reach the final weeks, it’s essential to stay vigilant for any signs of pests or nutrient deficiencies. By week 15, you should be in with preparations for harvest, as the plants reach their peak development.
Harvest time is both thrilling and nerve-wracking. Having a detailed plan for post-harvest handling can truly make this experience enjoyable. Share the excitement with fellow growers or friends as you celebrate the fruits of your labor!
Common Nutrient Requirements
Early Weeks (1-3)
During these early weeks, it’s generally best to avoid adding any nutrients—even though this may feel counterintuitive. Focusing purely on healthy, pure water allows for natural growth and the establishment of strong roots.
Providing this clean start sets a positive tone for your plants’ future vitality. Remember, patience is key during this early stage; quality roots equal quality plants!
Mid Growth (4-6)
Once your plants are well established, it’s time to introduce a mild growth fertilizer to encourage further leaf and stem development. This supports a solid foundation for flowering while ensuring your plants remain energetic and vigorous.
Experimenting with different fertilizers may help you discover what best supports your plants’ growth. Mixing things up can yield pleasant surprises when you find combinations that work particularly well!}
Late Flowering (7-15)
During the flowering stage, maintain a steady flow of growth-stimulant fertilizers while tapering off additional nutrients as you near harvest. This approach helps your plants achieve a robust end phase while retaining their inherent flavor characteristics.
Many experienced growers utilize this training period to perfect their techniques, experimenting with different methods to ensure the best output. This journey can result in some incredibly rewarding flavors post-harvest!
Choosing the Right Strains
While Girl Scout Cookies is an excellent choice for indoor cultivation, you might also consider a few popular strains for diversity in your growing endeavors. Switching things up can keep your growing experience fresh and exciting:
- Gelato: Offers a perfect balance of flavor and potency, making it a favorite among cultivators.
- Sour Diesel: Renowned for its energetic effects and unique aroma that captivates enthusiasts.
- OG Kush: A classic strain known for its rich history and well-loved flavor profile that appeals to many.
FAQs
What is the ideal temperature for growing Girl Scout Cookies indoors?
The ideal temperature range is between 26ºC (78.8ºF) and 32ºC (89.6ºF). Maintaining this range supports healthy growth and flowering. Staying consistent with temperatures promotes resilience in your plants, positively influencing their development.
How often should I water my plants?
Watering frequency depends on factors like the plant’s growth stage, pot size, and humidity levels. Check the soil; if it’s dry an inch deep, it’s time to water. Taking measures against over-watering is crucial, as it can lead to root problems. Consistency is key!
Can I use regular potting soil for my Girl Scout Cookies plants?
While you can utilize regular potting soil, a specialized organic cannabis soil mix often promotes superior drainage and nutrient availability, which leads to healthier plants. Choosing the right soil can drastically affect your overall success!