Sprouting Old Seeds: Proven Tips to Bring Them Back to Life

Have you ever stumbled upon a forgotten stash of old seeds and wondered if they could still sprout? Sprouting old seeds can be challenging, but it’s not impossible. It can be disheartening to think of the potential lost in those neglected packets. Fortunately, even old seeds can occasionally surprise you with life. Here’s a complete guide on how to maximize your chances of successful germination and embrace the joy of gardening.
Assessing Seed Viability
Before diving into the sprouting process, it’s essential to evaluate whether your old seeds are worth planting. Several factors affect seed viability, including age, storage methods, and seed type. Knowing the status of your seeds can save you time and effort.
Recommended Strains

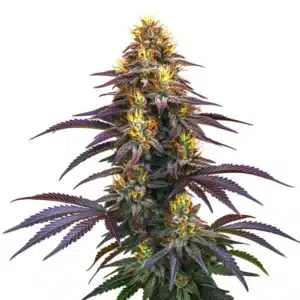
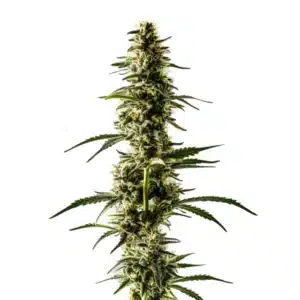
Cafe Racer
|
|
THC | 25% (High) |
|
|
Type | Feminized |
|
|
Yield | Medium |
|
|
Phenotype | 30% Indica / 70% Sativa |

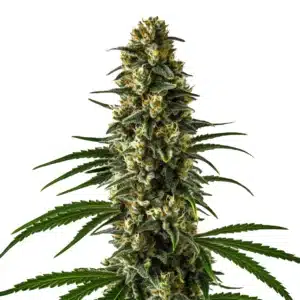
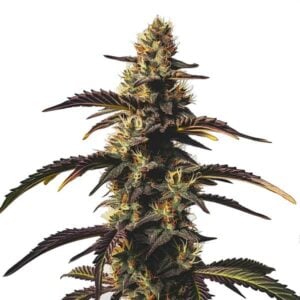
Cafe Racer Autoflower
|
|
THC | 19% - 24% (High) |
|
|
Type | Autoflowering |
|
|
Yield | High |
|
|
Phenotype | 50% Indica / 50% Sativa |
If a packet is several years old, its seeds might have decreased viability. For instance, while some seeds can remain viable for years, others quickly lose their ability to sprout. When sprouting old seeds, there are a few simple tests you can conduct to check viability, helping you make informed decisions about planting.
Simple Seed Viability Test
One straightforward method is the water test. Fill a bowl with water and place the seeds in it. After a few hours, observe the seeds: which ones float and which ones sink?
- Sinking Seeds: Seeds that sink are likely still good.
- Floating Seeds: Floating seeds usually indicate they’re no longer viable due to air pockets developing inside.
This test provides a quick check, but it’s not foolproof. For example, even seeds that float may still sprout, while some that sink may unexpectedly fail. However, combining this with other assessments can give a better overall idea of seed viability.
Checking for Damage or Discoloration
Another way to gauge a seed’s health is through visual inspection. Look for seeds that are firm and have a vibrant color. Seeds that show signs of being cracked, shriveled, or otherwise damaged typically won’t germinate. Common signs of poor seed quality to look for include:
- Discoloration or dullness in color
- Unusual softness or fragility
- Visible mold or mildew on the surface
If your seeds pass these visual checks, they are likely worth trying to sprout. If they don’t meet these criteria, you might want to consider starting with fresh seeds instead. Remember, the journey of gardening is all about experimenting and learning.
Promos & Deals

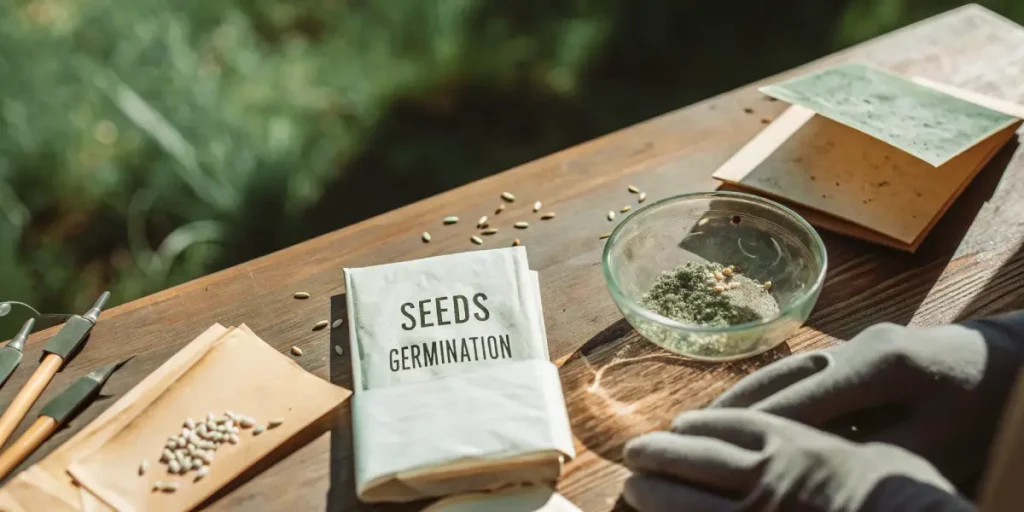
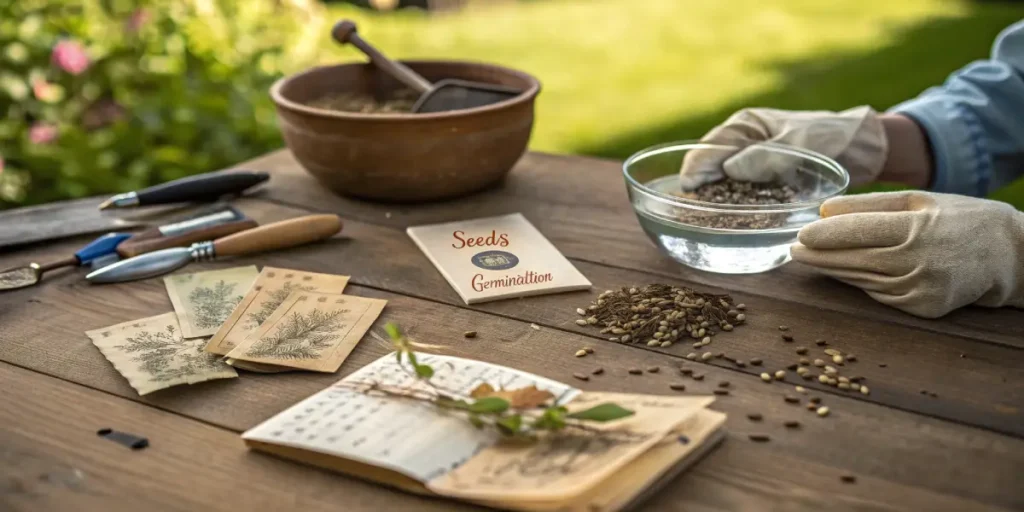
Preparation for Sprouting
Once you’ve assessed the viability of your seeds, it’s time to prepare for germination. Proper preparation can greatly affect the success rate of sprouting old seeds, making this a crucial step in your gardening journey.
An essential first step is to soak your seeds. This hydration process can awaken them from dormancy and signal that it’s time to grow. Here’s how to go about it:
Soaking Your Seeds
- Fill a cup with room temperature water.
- Carefully place the seeds in the water and allow them to soak for 12 to 24 hours.
- Keep them in a dark place during this soaking period.
Soaking can initiate the sprouting process, and you’ll notice seeds often swell as they absorb moisture. This swelling is a natural signal to the seed that it’s time to grow, much like waking from a long slumber.
Choosing the Right Germination Medium
After soaking, your seeds will need an appropriate germination medium. You have several excellent options depending on your preference. Many experienced growers opt for:
- Seed-starting mix that’s lightweight and nutrient-rich
- Moist paper towels as a versatile medium
- Cotton wool pads for easy handling
- Rock wool cubes for excellent aeration
If you’re sprouting old seeds with a seed-starting mix, ensure it’s damp but not soaking wet. Seeds require moisture for germination but can rot in overly saturated conditions. Conversely, if you’re using paper towels, keep them moist but be cautious not to soak them completely. This balance is vital for healthy seed germination, especially when dealing with older seeds.
Techniques for Germination
Several techniques can help your seeds germinate effectively. Each method has unique benefits and may appeal to different gardening styles. Here are a couple of popular techniques to consider.
The Paper Towel Method
This method is favored by many first-time growers due to its simplicity and effectiveness. Here’s how to successfully implement it:
- Moisten a couple of paper towels and place one on a plate.
- Spread your soaked seeds evenly on the towel, ensuring they have space to grow.
- Cover the seeds with the second damp towel.
- Cover the plate with plastic wrap or another inverted plate to maintain humidity.
- Check regularly to ensure the towels remain damp.
After a few days, you should begin to see sprouts emerging. Once they sprout, handle them carefully when transferring to your grow medium to prevent damage.
Direct Planting in Soil
If you prefer a more direct approach, you can plant seeds straight into soil. This method is straightforward and effective for many gardeners. Here’s how you can do this:
- Make small holes in moist, well-aerated soil using your finger or a pencil.
- Place one seed in each hole and gently cover it with soil.
- Water lightly to avoid causing the seeds to displace.
Direct planting allows the seed to avoid the shock of transplanting, which can be a stressor for delicate seedlings. This method is especially useful when sprouting old seeds. Just be sure to keep the soil consistently moist, and you might begin to see sprouts within about a week.
Care for Your Germinated Seeds
Once your seeds have germinated, creating the right environment plays a crucial role in their healthy growth. After sprouting, it’s time to carefully transplant the new seedlings into a larger pot or garden space.
Transitioning to Soil or Pots
When it’s time to move your seedlings, do so with care to avoid damaging their delicate roots. Here are a few tips to ensure a smooth transition:
- Use a light soil mixture that allows easy root penetration.
- Water the soil lightly before planting to ease the transition for the seedlings.
- Avoid deep planting; seedlings need access to light for healthy growth.
Maintaining the Right Conditions
After transplanting, it’s essential to create a nurturing environment for your seedlings, which includes adequate warmth, humidity, and light. Utilizing a humidity dome can help maintain moisture, especially for young plants.
If you’re sprouting old seeds indoors, fluorescent or LED lights are excellent options to provide the ideal spectrum for growth. Position the lights close to the tops of seedlings, ensuring they have access to appropriate light intensity. Additionally, keeping an eye on temperature and humidity levels is vital; aim for temperatures between 70–85°F for optimal growth.
Common Challenges with Old Seeds
Even with proper care and attention, growing from old seeds can present particular challenges. Recognizing these issues early on will help you address them promptly.
Slow Germination
One common issue you may encounter is slow germination. It’s not unusual for older seeds to take longer to sprout, so it’s important not to lose hope if they exceed your expected timeline.
Patience is key, as it may require up to two weeks for seeds to germinate fully. If you started with seeds that appeared viable, waiting this timeframe may yield positive results. However, be cautious of excess moisture, which can lead to rot; keeping an eye on water levels is essential for success.
Pest Issues
Another challenge may come in the form of unwanted pests. Old seeds can attract insects if not monitored appropriately, so it’s essential to check your seedlings regularly for any signs of pests like aphids or spider mites.
If you notice any signs of infestation, treat your plants promptly using safe and effective methods. Neem oil, a popular organic solution, is often effective against a variety of pests. Spraying it on affected areas will typically deter many unwanted creatures.
FAQs About sprouting old seeds
Can I plant seeds that are several years old?
Absolutely! While older seeds may have lower germination rates, many still manage to sprout successfully. It’s certainly worth giving them a try before discarding.
What’s the best way to store seeds?
For optimal longevity, store seeds in a cool, dry place. Airtight containers kept in the refrigerator can significantly help maintain their viability for a longer time.
How do I manage mold on seeds?
If you discover mold on seeds, it’s best to discard them, as they can carry the risk of fungal infections. Always opt for fresh, healthy seeds for the most reliable results.
What should I do if my seeds don’t sprout?
If your seeds fail to sprout, it may be time to reevaluate their viability. Factors such as age, storage conditions, and overall quality can influence germination rates. Consider experimenting with fresh seeds next time for improved success.
With the right preparation and attentive care, you can bring old seeds back to life and enjoy a rewarding growing experience. Whether you’re an experienced gardener or just starting out, having a stash of old seeds can lead to a delightful gardening adventure filled with learning and growth.