How to Harvest Marijuana Grown Indoors for Maximum Potency

Identifying Harvest Time
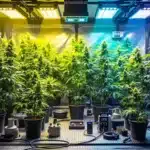
Knowing when to harvest marijuana grown indoors is one of the most significant factors in maximizing its potency. Timing can make or break your crop, so let’s dive into the key indicators that signal the right moment to reap your rewards.
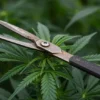
Trichome Color and Texture
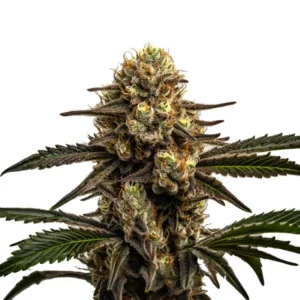
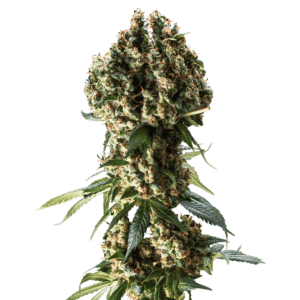
The trichomes of your cannabis plants are like tiny crystals that contain most of the cannabinoids and terpenes. Observing their development is crucial because harvesting earlier or later directly affects the trichome composition and the ratio of cannabinoids like THC, CBD, and CBN. Harvesting when trichomes are mostly milky white maximizes THC content. If you harvest later, when they are amber, more THC has degraded into CBN, which provides a more sedative effect.
Recommended Strains
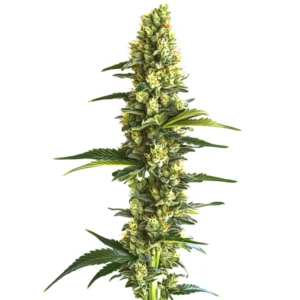
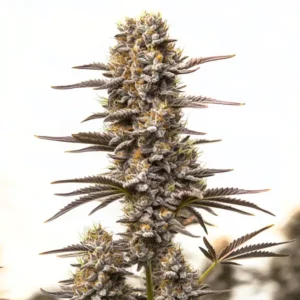
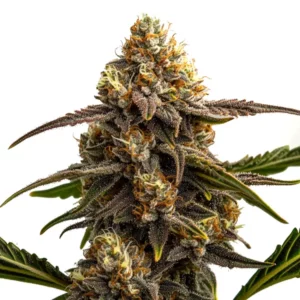
Apple Fritter
|
|
THC | 22% - 25% (Medium) |
|
|
Type | Feminized |
|
|
Yield | Medium |
|
|
Phenotype | 60% Indica / 40% Sativa |
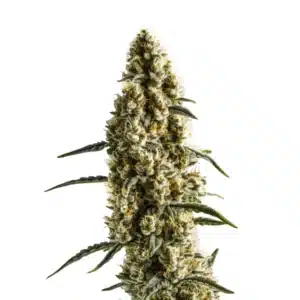
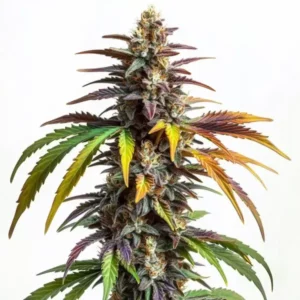
Apple Fritter Autoflower
|
|
THC | 22% - 25% (Medium) |
|
|
Type | Autoflowering |
|
|
Yield | Medium |
|
|
Phenotype | 60% Indica / 40% Sativa |
A fully developed trichome harvest chart can guide you. When trichomes are clear, the plant is not ready. As they turn milky white, THC levels are peaking. If most trichomes become fully opaque or cloudy, they may be past their optimal point for certain effects, which for many is a mix of milky and amber/orange.
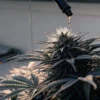
Tip: Use a jeweler’s loupe or microscope to track the shift. If most are cloudy and about 20% are amber, you’re right in the harvest window.
Pistil Development
Pistils are the reproductive parts of the cannabis flower, and their development is another key indicator. As buds mature, the pistils change color from white to orange or brown. When about 80-90% of the pistils have darkened, the plant is nearing optimal harvest time. The goal is to have almost no white pistils remaining. However, this can be tricky with some autoflowering strains, as they can continue to produce new white pistils late into flowering, even when the buds are mature.
Specialist Insight: Some growers prefer to wait until all pistils are orange and 80%+ have darkened to ensure full maturity. This increases potency and aroma.
Promos & Deals
Preparing for Harvest: What to Do Before You Cut
Preparation is a crucial part of the process. It’s not just about watching trichomes, it’s also about making sure your plant is in peak condition to deliver clean, flavorful, and potent buds.
Flushing Your Plants Before Harvest
One of the most important steps is flushing your plants. This means watering them with plain, pH-balanced water for the last 10 to 14 days before harvest to remove excess salts and nutrient buildup. A proper flush helps ensure smoother smoke and better flavor. However, be cautious: flushing introduces a large amount of water into the grow space, which significantly increases humidity. It is vital to ensure your plants are free of fungus before starting the flush and to increase ventilation and air extraction during this period to prevent a last-minute mold outbreak.
Advanced Tip: During the flush, lower your water pH slightly to around 5.5. This helps clean the root zone more thoroughly.
Gathering the Right Harvest Tools
Being organized makes harvest day go much smoother. Here’s a basic checklist:
- Sharp, sterilized scissors or pruning shears
- Nitrile or latex gloves
- Jeweler’s loupe or pocket microscope
- Clothes hangers, rope, or drying racks
- Trim trays or harvest bins
- High-proof alcohol (like 96º) for cleaning. Don’t forget this! The resin is extremely sticky and will quickly make your scissors and hands unusable. Having alcohol and a cloth handy to clean your tools periodically is essential.
- Glass jars with airtight lids
Odor Alert: During harvest, terpenes are at their peak. Consider using carbon filters or odor-neutralizers to manage the smell.
Harvest Techniques
Cutting and Drying Methods
To harvest marijuana grown indoors, start by cutting the branches instead of the entire plant. This allows for easier handling and reduces the risk of damaging the buds. Use sharp, sterile scissors to make clean cuts.
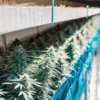
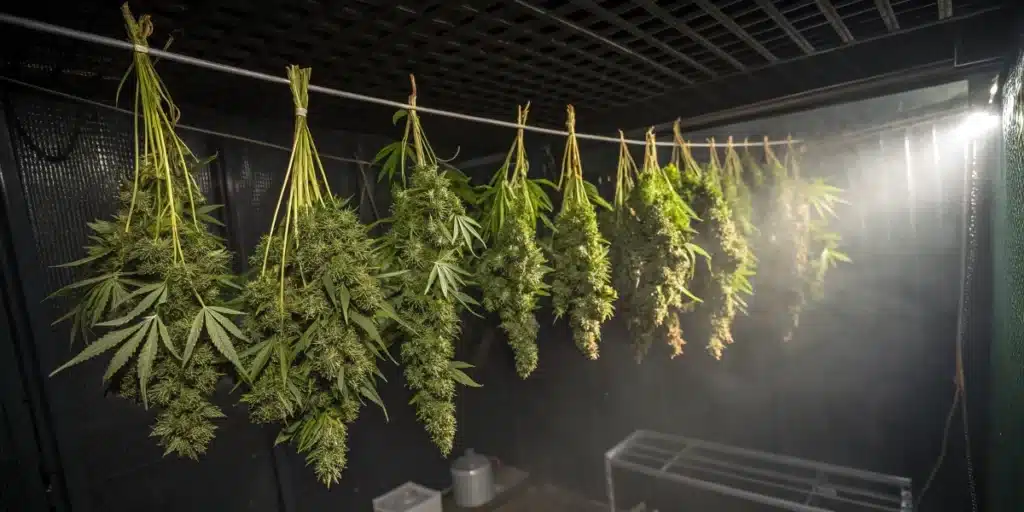
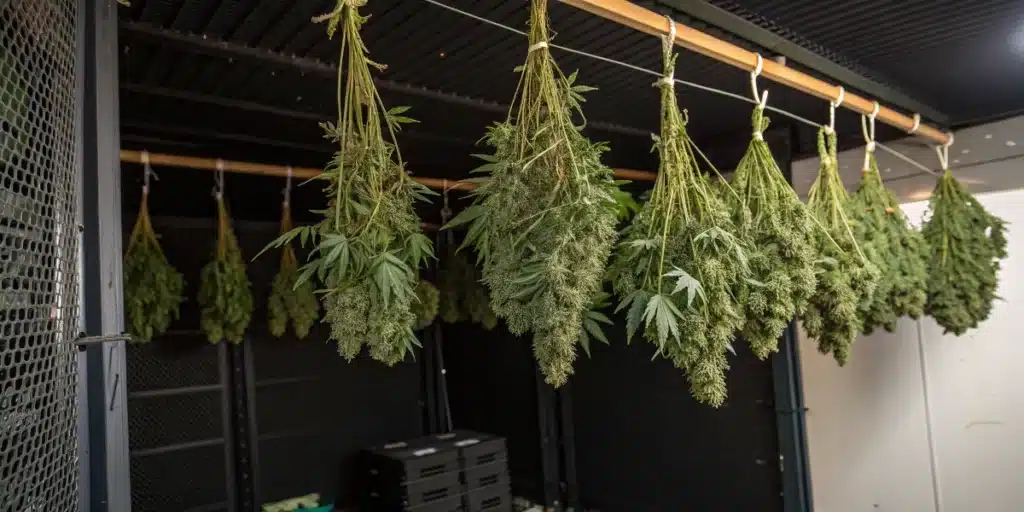
After cutting, the drying process begins. Hang the branches upside down in a dark, cool, and ventilated space. The darkness is critical—if the buds are exposed to light during drying, they can turn brown due to a process called enzymatic browning, which degrades quality. The optimal humidity level for drying is around 50-60%, with temperatures around 18–22ºC (64–72°F).
Drying usually takes 7 to 14 days. During the drying process, it is crucial to regularly and gently inspect your flowers. Check deep inside the buds, as this is where botrytis (bud rot) often starts in the humid, low-airflow environment of a dense flower. The goal is to achieve a crisp outer texture while keeping the inside slightly moist.
Post-Harvest Processing
Once your buds are dried to perfection, it’s time for curing and proper storage.
Curing and Storage
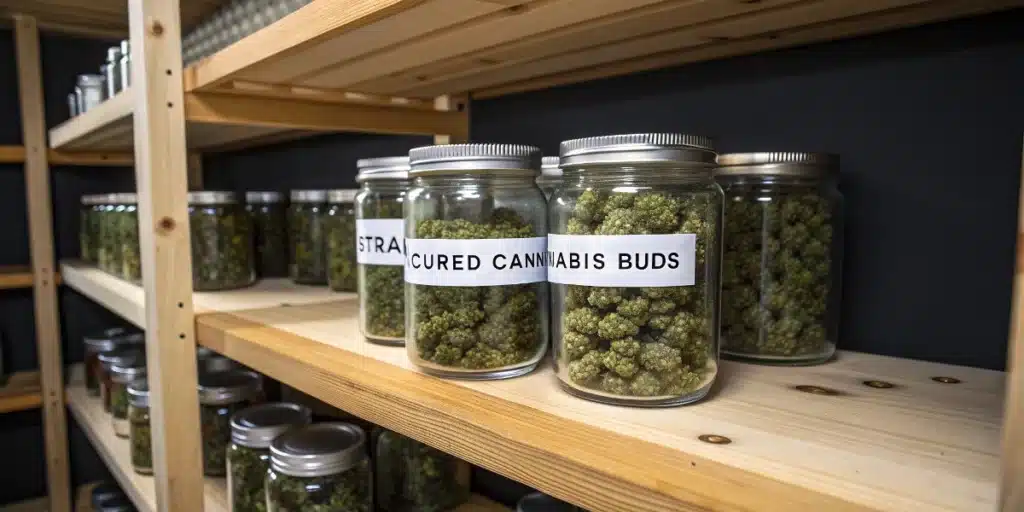
Once dry, it’s time for curing—the step that elevates good weed into great weed. Place buds in glass jars, filling them ¾ full, and burp them daily for the first 2 weeks. Curing should last a minimum of 2–3 weeks, but longer is better.
It’s important to understand the timeline of flavor development. Marijuana typically reaches its optimal point of flavor and terpene expression between 3 and 4 months after harvesting. This peak quality is maintained for about two more months. After six or seven months, even when stored in opaque, airtight jars, the quality will slowly begin to degrade.
Store cured buds in airtight containers, in a dark, cool location.
Bonus Tip: If your buds overdry, reintroduce humidity with a humidity pack or a slice of lemon/orange peel in the jar for a few hours.
FAQS
What are the best signs to know when to harvest marijuana grown indoors?
The best signs include observing the color and texture of the trichomes and the development of the pistils. A mix of cloudy and amber trichomes, along with 70-80% of brown pistils, indicates that the plant is ready for harvest.
How long should I dry my marijuana after harvesting?
Drying typically takes about 7 to 14 days, depending on humidity and temperature conditions. The goal is to achieve a crispy outer texture while keeping the inside slightly moist.
Is curing necessary after drying my marijuana?
Curing is highly recommended as it enhances flavor, aroma, and potency. Proper curing can take a few weeks and significantly improves the overall quality of your marijuana.