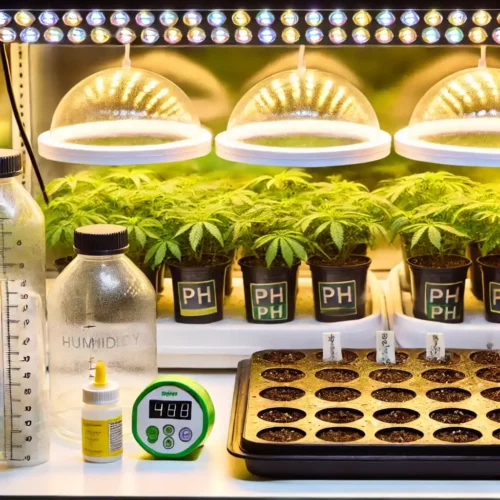
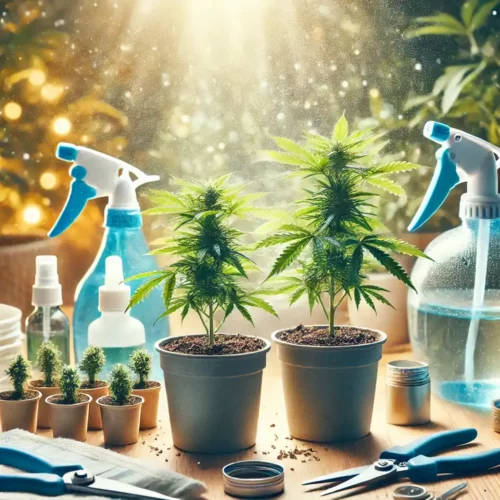
Learning how to grow a clone indoor can save you time and deliver better results compared to starting from seeds. If you’re a cannabis grower looking for consistency, higher success rates, and the ability to control your grow environment, indoor cloning is the way to go. However, getting it right requires more than just putting a plant under a light, you need a solid strategy to ensure your clone thrives and yields maximum results.
In this guide, we’ll show you how to grow a clone indoor from start to finish, providing practical tips to avoid the common frustrations that many growers face. We’ll cover everything, from setting up your grow space to mastering environmental controls, so you can confidently grow healthy, high-yielding cannabis plants indoors.
Setting Up Your Indoor Grow Space: How to Grow a Clone Indoor
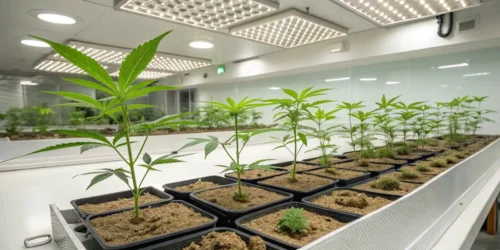
The first step in learning how to grow a clone indoor is setting up the perfect grow space. A well-optimized environment is essential for helping your clone thrive and avoiding common problems like mold or stunted growth.
Choosing the Right Grow Room or Tent
When growing cannabis clones indoors, space matters. You don’t need an entire greenhouse, but choosing the right grow room or tent is essential. Consider the size of your grow area and how many clones you plan to grow. Small-scale growers can start with a modest grow tent, but commercial or larger-scale home growers may need a dedicated room to accommodate more plants.
A good grow tent provides a controlled space with reflective walls that maximize light exposure. It’s easy to manage temperature, humidity, and airflow in a tent compared to an open room. Grow tents also prevent contamination from dust or pests, creating a cleaner environment for your clones. Whether you choose a tent or a dedicated room, make sure you can fit all the necessary equipment without overcrowding your plants.
Essential Equipment for Indoor Cloning
The success of your indoor grow operation depends on having the right equipment. While you don’t need to spend a fortune, you do need to invest in quality tools. One of the most important pieces of equipment is your lighting system. For clones, you’ll need a setup that mimics natural light, but at lower intensities to prevent burning young plants. LED grow lights are a popular choice because they’re energy-efficient and produce little heat.
Additionally, you’ll need fans for air circulation, a temperature and humidity monitor, and a reliable timer to control the light cycle. Don’t forget about odor control if you’re growing in a confined space. Carbon filters help keep the air clean and remove strong cannabis odors, which is especially important for stealth grows. Finally, consider purchasing a humidifier and dehumidifier to keep your grow space in the perfect range for your clone’s needs.
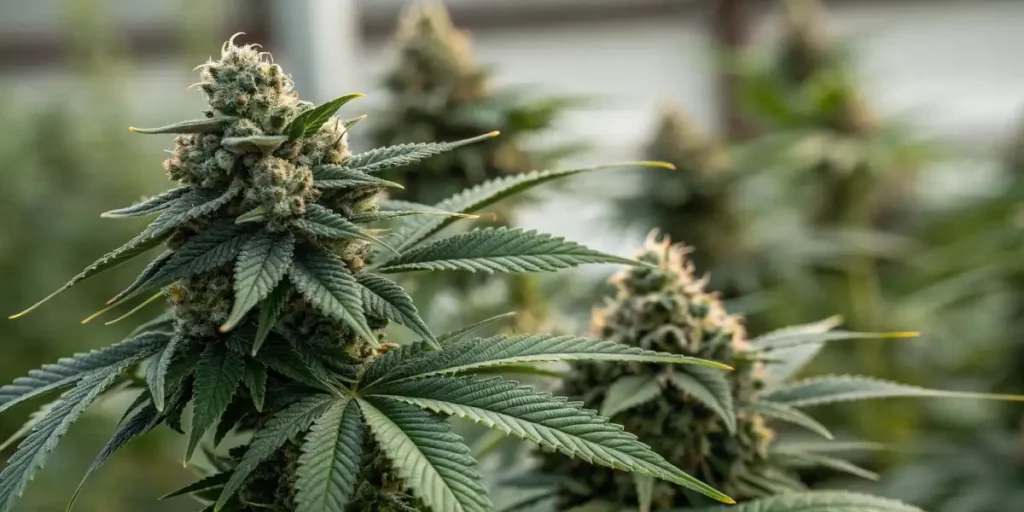
Promos & Deals
How to Grow a Clone Indoor: Preparing the Environment for Indoor Clones
Once you’ve set up your space, the next step is creating an environment where your clones can flourish. Learning how to grow a clone indoor means mastering the control of light, temperature, humidity, and airflow, all factors that can significantly impact your success.
Lighting Requirements for Indoor Clones
Lighting plays an important function when learning how to grow a clone indoor. Clones are delicate, and they don’t need intense light when they’re first planted. Start with low-intensity light like T5 fluorescent bulbs or LED grow lights. These lights are gentle enough to encourage root development without overwhelming the clone.
As your clone begins to establish its roots, you can gradually increase the light intensity. Aim for about 18 hours of light and 6 hours of darkness per day during the vegetative stage. For optimal growth, position the lights about 6-12 inches above the plants to avoid burning the leaves. Adjust the height as your plant grows taller. Indoor growers often underestimate the importance of lighting distance, but getting it wrong can stunt growth or cause stress to your clone.
Controlling Temperature and Humidity Indoors
Temperature and humidity are two of the most important environmental factors when growing weed indoors from clones. Cannabis thrives in specific conditions, and clones are even more sensitive than mature plants. During the early stages of growth, aim for temperatures between 72-77°F (22-25°C). This range helps encourage strong root growth and prevents stress.
For humidity, clones prefer a higher level, around 70-80%, during their initial growth phase. As your clone establishes itself and begins to develop stronger roots, you can gradually reduce the humidity to 50-60%. Use a hygrometer to measure the humidity in your grow room, and adjust as needed using a humidifier or dehumidifier. If you don’t control these factors, you risk your clone becoming weak or developing mold.
Air Circulation and Ventilation
Air circulation is often overlooked, but it’s crucial to growing healthy cannabis clones indoors. Good airflow helps prevent mold and keeps the plants’ environment fresh. Without proper ventilation, clones can suffer from stagnant air, leading to potential disease and slower growth.
Install small oscillating fans to keep the air moving. Position the fans so that the air circulates around the plants without directly blasting them. If you’re using a grow tent, make sure there are intake and exhaust fans to bring in fresh air and expel stale air. Ventilation also helps regulate temperature and humidity, making it easier to keep your environment in the optimal range.
Planting Your Clone Indoors
Now that your grow space is ready, it’s time to plant your clone. This step requires careful attention to detail, as it’s where your clone begins its journey to becoming a thriving cannabis plant.
Preparing the Medium for Indoor Growth
Choosing the right growing medium is key to learning how to grow a clone indoor. The medium you use can make or break your grow. For clones, it’s essential to use a medium that provides the right balance of moisture retention and drainage. Popular choices include coco coir, rock wool, or a light, airy soil mix.
Make sure the medium is moist, but not soggy, when you plant your clone. Overwatering at this stage can drown the roots, while too little water will dry them out. Preparing the medium properly helps your clone develop a strong root system, which is the foundation for healthy growth and high yields.
Proper Potting Techniques for Indoor Growing
When planting your clone, be gentle. Start by creating a small hole in the center of the pot, deep enough to hold the roots without compacting them. Carefully place the clone into the hole, ensuring the roots are spread out. Cover the roots with your chosen growing medium, lightly pressing around the base of the plant to keep it stable.
It’s important not to pack the medium too tightly, as this can suffocate the roots and prevent proper growth. After planting, water the clone lightly to help it settle into its new home. Remember, indoor plants can’t rely on natural rain cycles, so it’s up to you to provide the right amount of water without overdoing it.
Watering and Feeding Clones Indoors
Clones need special care when it comes to watering and feeding. Unlike mature plants, clones don’t need large amounts of nutrients right away. In fact, too much can cause nutrient burn and stunt growth. When learning how to grow a clone indoor, it’s essential to use a light nutrient solution designed for seedlings or clones.
Water your clone lightly but frequently, ensuring that the medium stays moist but not waterlogged. As the plant establishes itself, you can gradually increase the amount of water and nutrients. Always check the pH of your water, cannabis thrives in slightly acidic conditions, with a pH range of 6.0-6.5.

How to Grow a Clone Indoor: Growing and Caring for Clones Indoors
Once your clone is planted and starting to settle in, your attention should shift to nurturing its growth. At this stage, learning how to grow a clone indoor means mastering the daily care routine, water, nutrients, light, and training techniques all play important function in helping your clone thrive.
Monitoring Growth and Development
Clones are fragile at the start, so it’s crucial to monitor their progress closely. Within the first week, you should start seeing signs of new growth, such as fresh leaves or the extension of stems. Keep an eye on your clone’s color and structure, vibrant green leaves indicate a healthy plant, while yellowing or drooping could signal a problem.
Make it a habit to inspect your plants daily. Check for signs of pests, nutrient deficiencies, or mold. Healthy clones will gradually establish their root system within the first few weeks. If you’re using a transparent container, look for visible root growth; white roots are a sign of a healthy, thriving plant. Regular monitoring allows you to catch issues early and make adjustments before they become serious problems.
Training Techniques for Indoor Clones
If you want to maximize your yields, training your plants is a must. When learning how to grow a clone indoor, techniques like low-stress training (LST) or topping can significantly increase the number of buds your plant produces. LST involves gently bending the plant’s branches to create a more even canopy. This allows light to reach the lower branches, encouraging more bud sites to develop.
Topping is another popular technique where you cut the top of the plant to encourage it to grow bushier instead of taller. This is particularly useful for indoor growers who have limited vertical space. Both methods can improve the quality and quantity of your harvest by ensuring that all parts of the plant receive sufficient light and air circulation.
Nutrient Needs During Vegetative Growth Indoors
As your clone moves from the early rooting phase into vegetative growth, its nutrient needs will change. During the vegetative stage, cannabis plants require more nitrogen to support leafy growth and strong stems. You should switch to a nutrient solution designed for vegetative growth, which will typically have higher nitrogen content along with other essential nutrients like potassium and phosphorus.
Be mindful of how much you feed your plants, too much fertilizer can cause nutrient burn, while too little can stunt growth. Stick to a feeding schedule and adjust based on how your plants respond. Always monitor the pH levels of both your water and growing medium, as imbalances can lead to nutrient lockout, where the plant can’t absorb nutrients properly.
Transitioning Indoor Clones to Flowering
After weeks of nurturing your clone through the vegetative stage, it’s time to transition into flowering. This stage is where your plant will produce the buds you’ve been working toward. Knowing how to grow a clone indoor also means mastering this critical transition.
Adjusting the Light Cycle for Flowering
To trigger the flowering stage in an indoor grow, you’ll need to change the light cycle. Cannabis is a photoperiod plant, meaning it flowers in response to changes in light exposure. During the vegetative stage, your plant was likely receiving 18 hours of light and 6 hours of darkness. To induce flowering, you’ll need to switch to a 12/12 light cycle, 12 hours of light and 12 hours of complete darkness.
Be strict about the dark period. Any light leaks during the 12-hour dark cycle can confuse the plant and delay or even disrupt flowering. Ensure that your grow space is completely sealed off during the dark hours to avoid any accidental exposure to light.
Feeding and Nutritional Changes in Flowering Stage
As your plant enters the flowering stage, its nutritional needs will shift. While nitrogen was key during the vegetative stage, flowering plants need more phosphorus and potassium to support bud development. Switch to a bloom-specific nutrient solution that provides the right balance of these nutrients.
It’s also essential to avoid overfeeding during this stage. Too many nutrients can lead to nutrient burn, which will damage the buds you’ve worked so hard to grow. Stick to a consistent feeding schedule and adjust based on the plant’s appearance. Leaves should remain a healthy green, and buds should grow thick and resinous without signs of nutrient overload.
Signs Your Clone is Ready for Harvest Indoors
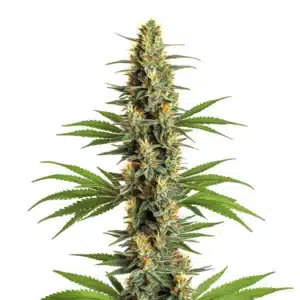
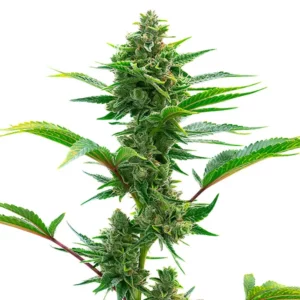
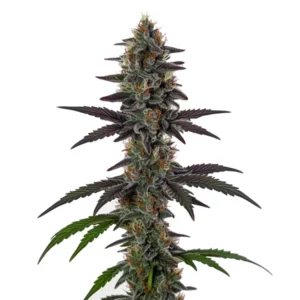
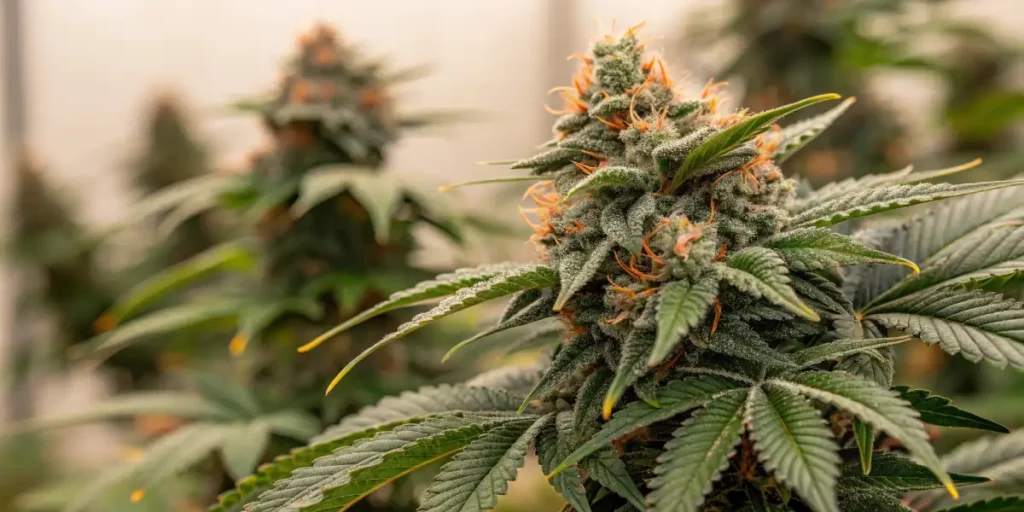
As you near the end of the flowering stage, your plant will give you several signs that it’s ready for harvest. The trichomes (tiny, crystal-like structures on the buds) will change color from clear to cloudy or amber. When most trichomes have turned cloudy, it’s a good indication that the THC levels are at their peak.
Additionally, the pistils, or tiny hairs on the buds, will darken and curl inward. These signs will let you know that your cannabis is ready to harvest. Cut the buds carefully and hang them to dry in a cool, dark place with good airflow. Proper drying and curing will preserve the potency and flavor of your buds, ensuring that your hard work pays off with a top-quality final product.
Maximizing Your Indoor Clone Harvest: How to Grow a Clone Indoor Successfully
As you approach the final stages of learning how to grow a clone indoor, the focus shifts to maximizing your yield and ensuring that your plants produce potent, flavorful buds. The steps you take during this critical time can have a big impact on the quality of your harvest. Paying attention to details like environmental control, nutrient adjustments, and proper harvesting techniques will help you make the most of your grow.
Maintaining the Ideal Environment in Late Flowering
During the late flowering stage, maintaining a stable environment is essential for maximizing bud development. Keep your temperature slightly cooler than during the vegetative stage, aim for around 68-75°F (20-24°C) during the day and 60-65°F (16-18°C) at night. This drop in temperature can enhance the color and flavor of your buds.
Humidity should also be reduced to around 40-50%. Lowering humidity levels helps prevent mold and bud rot, which are particularly risky during this stage when your buds are dense and resinous. Use dehumidifiers if necessary to maintain the ideal range, and ensure proper airflow by keeping your fans running at all times.
Flushing Your Plants Before Harvest
Flushing is a process that involves feeding your plants only water (no nutrients) during the final week or two before harvest. This helps remove excess salts and nutrients from the plant, leading to smoother, cleaner-tasting buds. When learning how to grow a clone indoor, this step is essential for producing top-quality cannabis.
To flush your plants, simply water them with pH-balanced water (around 6.0-6.5) and continue to do so until you harvest. You’ll notice the leaves may start to yellow as the plant consumes the remaining nutrients stored in its tissues. This is a good sign that your plant is ready for harvest, and the final product will be free of harsh chemicals and excess fertilizers.
Proper Harvesting Techniques
When your plants show signs that they’re ready for harvest (cloudy trichomes and darkened pistils) it’s time to begin the harvesting process. Use sharp scissors or pruning shears to carefully cut down the branches. Handle the buds gently to avoid damaging the trichomes, which contain the plant’s valuable cannabinoids and terpenes.
Hang the branches upside down in a cool, dark, and well-ventilated space to dry. The drying process typically takes around 7-10 days, depending on the environmental conditions. Buds are ready for the next step when the small stems snap easily, rather than bending.
Drying and Curing Your Indoor Cannabis
Drying and curing are the final stages of the growing process. These steps are critical for enhancing the flavor, potency, and overall quality of your cannabis. Rushing through this process can result in harsh, unpleasant smoke and diminished effects, so it’s worth taking your time to do it right.
Drying Your Cannabis Properly
Drying your cannabis slowly and evenly is key to preserving the terpenes and cannabinoids that give your buds their potency and flavor. After cutting the buds from the plant, hang them in a room with good airflow, keeping the temperature around 65-70°F (18-21°C) and humidity at 45-55%. Avoid exposing your buds to light, as this can degrade the THC content.
Check on your buds daily to ensure they’re drying evenly and that there are no signs of mold. If the humidity is too high, your buds could develop mold, ruining your crop. Once the buds feel dry to the touch and the stems snap cleanly, they’re ready for the next step: curing.
Curing for Maximum Flavor and Potency
Curing is an essential process that enhances the taste and effects of your cannabis. To cure your buds, trim off any excess leaves and place them in airtight glass jars. Store the jars in a cool, dark place, and open them once or twice a day for the first week to allow moisture to escape. This process, known as “burping,” helps regulate humidity and prevents mold from forming.
After the first week, you can open the jars less frequently, around once every few days. The curing process can take anywhere from two weeks to several months, but the longer you cure your buds, the better the flavor and smoothness will be. Properly cured cannabis will have a rich, complex aroma and smooth smoke, giving you the highest-quality results from your grow.
Troubleshooting Issues When Growing Clones Indoors: How to Grow a Clone Indoor Successfully
Even with the best setup and careful attention, problems can arise during your grow. Being proactive and prepared can help you address issues before they affect your plants too severely.
Nutrient Imbalances
One of the most common problems indoor growers face is nutrient imbalances. Overfeeding or underfeeding your plants can lead to nutrient deficiencies or toxicity, both of which will negatively impact growth. Keep an eye out for signs like yellowing leaves, burnt leaf tips, or slow growth.
To avoid this, follow a consistent feeding schedule and monitor your plants regularly. If you suspect a nutrient issue, flush your plants with water to reset the growing medium, and adjust your feeding accordingly.
Pest Control
Even in indoor environments, pests can find their way into your grow space. Common cannabis pests include spider mites, aphids, and fungus gnats, all of which can damage your plants if left unchecked. To prevent infestations, keep your grow space clean and use organic pest control methods like neem oil or insecticidal soap.
Regularly inspect your plants for signs of pests, such as tiny white spots, webbing, or small insects on the leaves. Early detection is key to stopping an infestation before it spreads and causes serious damage.
Achieving Consistent Results Year-Round with Indoor Cloning
One of the biggest benefits of growing clones indoors is the ability to control the entire environment, leading to consistent results with every grow. Unlike outdoor growing, which is subject to weather conditions and seasonal changes, indoor cloning allows you to grow year-round with predictable yields.
By learning how to grow a clone indoor, you can refine your techniques and improve with each cycle. Keep detailed records of your grow conditions, including light schedules, nutrient feeds, and environmental settings. This will help you fine-tune your process and achieve even better results in future grows.
FAQS
What are the benefits of growing cannabis clones indoors?
Growing clones indoors can save time and provide more consistent results compared to starting from seeds. It also allows you to control the environment, which can lead to higher success rates, healthier plants, and better yields.
What equipment do I need to grow cannabis clones indoors?
Essential equipment includes LED grow lights or fluorescent bulbs, fans for air circulation, a temperature and humidity monitor, a reliable timer for light cycles, a carbon filter for odor control, and a humidifier/dehumidifier to maintain optimal humidity levels.
How can I control temperature and humidity when growing clones indoors?
For optimal growth, maintain temperatures between 72-77°F (22-25°C) during the day and adjust humidity to 70-80% during early growth. As the plant matures, reduce humidity to 50-60%. Use a hygrometer to monitor conditions, and adjust with a humidifier or dehumidifier as needed.
What is the best lighting for cannabis clones indoors?
Clones require low-intensity light initially, such as T5 fluorescent bulbs or LED grow lights. These lights should be placed 6-12 inches above the plants to prevent burning. As the clones root and develop, you can gradually increase light intensity, keeping a light schedule of 18 hours of light and 6 hours of darkness per day.
How do I transition my indoor clones into the flowering stage?
To trigger flowering, change the light cycle to 12 hours of light and 12 hours of darkness. Be careful to avoid light leaks during the dark period, as this can confuse the plant and disrupt flowering. During this phase, adjust your nutrient feed to support bud development, focusing on phosphorus and potassium.

