Optimizing Grow Lights and Ballasts for Peak Plant Performance

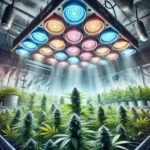
Basics of Grow Lights
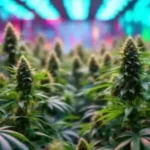
Types: HID, LED, Fluorescent
Choosing the right light source is fundamental. HID (High-Intensity Discharge) fixtures remain a staple. Metal halide (MH) bulbs have blue wavelengths for vegetative growth, while HPS (High-Pressure Sodium) bulbs emphasize red light for flowering.
LED (Light Emitting Diode) technology has reshaped indoor horticulture. Modern LED panels deliver a customizable spectrum, are energy-efficient, and generate minimal heat. Their extended lifetime translates into long-term savings.
Recommended Strains
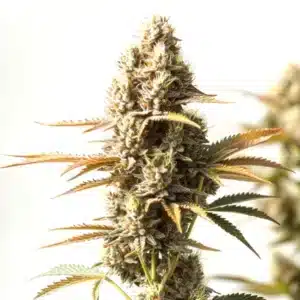
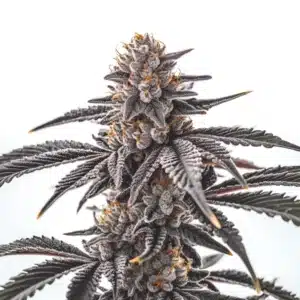
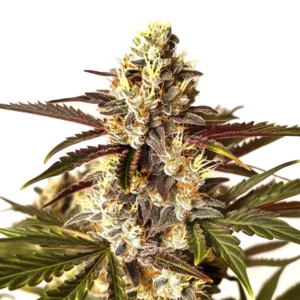
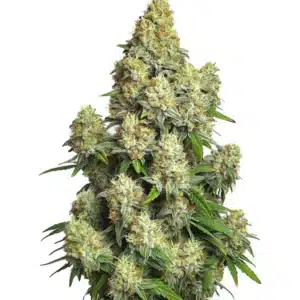
Magnum Autoflower
|
|
THC | 12% - 14% (Low) |
|
|
Type | Autoflowering |
|
|
Yield | Low |
|
|
Phenotype | 40% Indica / 60% Sativa |
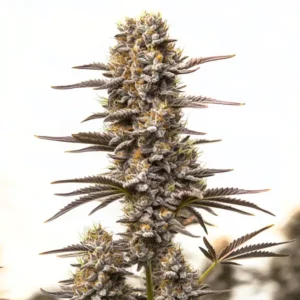
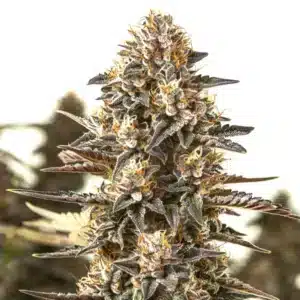
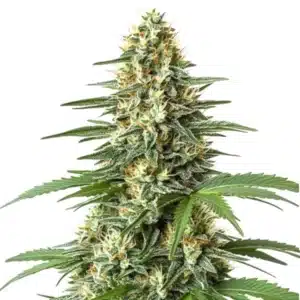
Cinderella 99 Auto
|
|
THC | 24% - 26% (High) |
|
|
Type | Autoflowering |
|
|
Yield | High |
|
|
Phenotype | 20% Indica / 80% Sativa |
Another important category is LEC (Light Emitting Ceramic), also known as CMH (Ceramic Metal Halide). This technology uses a ceramic tube which allows the bulb to reach higher temperatures, resulting in a fuller light spectrum and more lumens per watt compared to traditional HPS bulbs, making them a highly efficient option.
Light Spectrum Considerations
Plants respond uniquely to different light wavelengths. Blue light (400–500 nm) stimulates compact vegetative growth. Red light (620–700 nm) promotes flowering. Full-spectrum LED fixtures combine multiple diodes to simulate natural sunlight. Proper spectrum management yields fuller colas and richer terpene profiles.
Intensity and Coverage
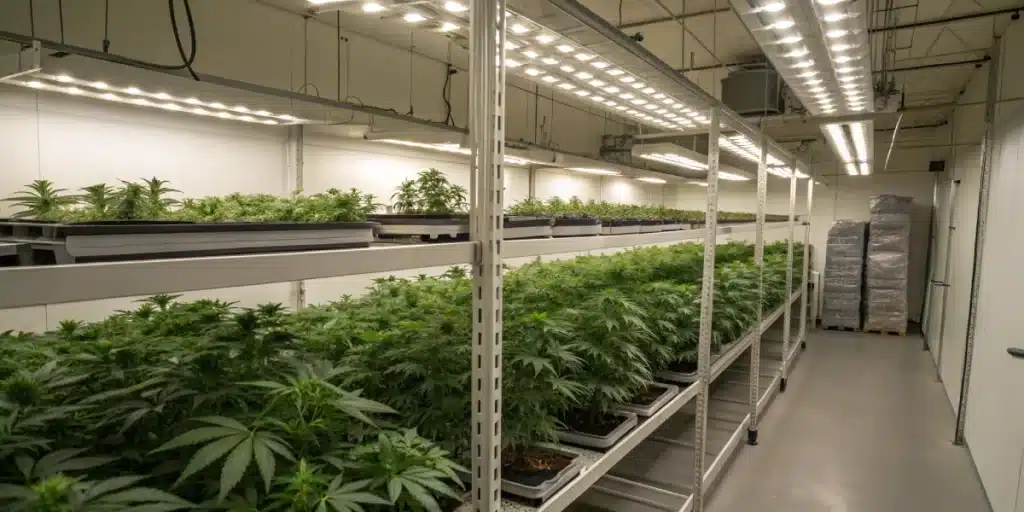
Light intensity (PPFD) dictates how effectively plants convert photons into energy. During vegetative growth, target 400–600 µmol/m²/s. In flowering, boost to 600–900 µmol/m²/s. Coverage refers to how evenly light distributes. To improve uniformity, use reflective materials on walls and position lights for even overlap.
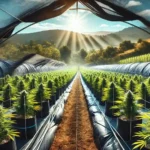
The Critical Role of Light Reflectors
The reflector (or hood) that houses your bulb is just as important as the light itself. Its job is to capture and redirect stray light downwards onto the plant canopy, ensuring maximum lumens reach your plants instead of being wasted on the ceiling or walls. A good reflector can increase your final harvest by up to 30%. They are typically made of highly reflective aluminum and come in various shapes, such as ‘seagull wing,’ diamond-textured, or simple curved designs, all engineered to distribute light evenly and efficiently.
Promos & Deals

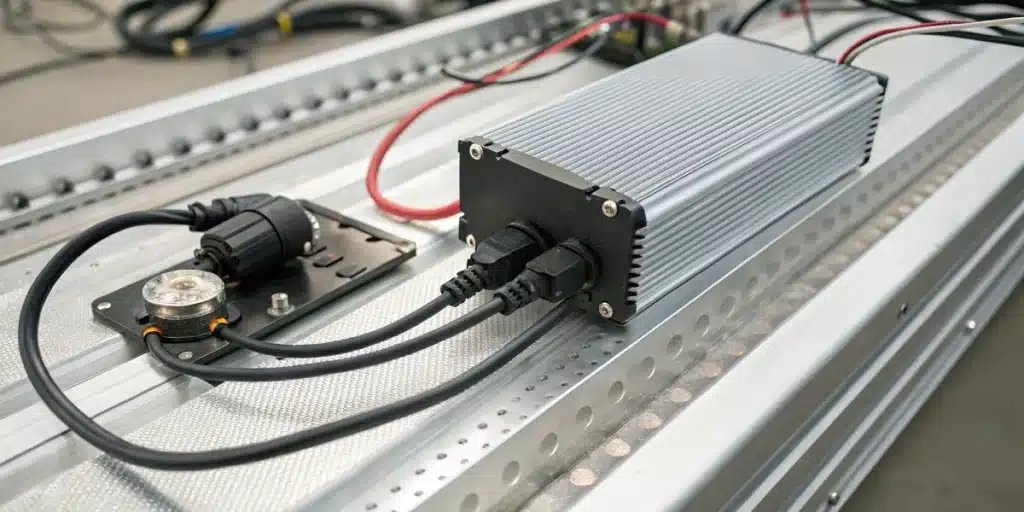
Grasping Ballast Function
Ballasts regulate the current and voltage supplied to HID bulbs. Magnetic ballasts are simple and durable but can be heavy, noisy, and produce heat. Electronic ballasts use semiconductor circuits, run silently and coolly, and often include dimming capabilities. High efficiency and a high power factor (PF) in a ballast lower electricity consumption. Always match your ballast to your bulb type (MH or HPS) and wattage to ensure safety and performance.
Selecting the Right Combination
Matching Wattage to Space
Wattage selection hinges on your grow area’s footprint. A general benchmark is 30–50 watts per square foot.
- 2×2 ft tent (4 ft²): 150–200W
- 4×4 ft room (16 ft²): 500–800W
It’s also important to consider the plant’s growth stage when thinking about wattage. For the vegetative stage, a lower power of around 250w is often sufficient. However, for a robust flowering stage, plants require more lumens and a light spectrum rich in red colors. A minimum of 400w to 600w is typically recommended to ensure dense bud production.
Balancing Heat and Light Output
Heat management remains a top challenge. HID fixtures require solutions like air-cooled hoods and exhaust systems. LEDs produce less heat but still require airflow. Aim for 70–85°F (21–29°C) and adjust ventilation accordingly.
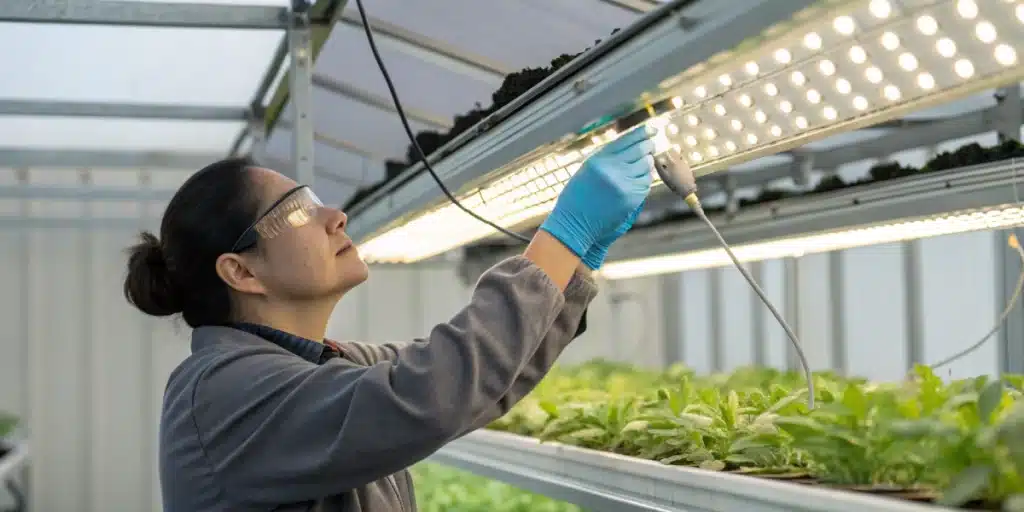
Installation and Setup Tips
Correct fixture placement maximizes efficiency: LEDs perform best 12–24 inches above the canopy, while HIDs require 18–36 inches. Use adjustable hangers for precision. For wiring, always use GFCI-protected outlets, avoid daisy-chaining, and secure wires safely. Conduct a full 24-hour dry run of your lights before introducing plants to test for any issues.
Maintenance and Longevity
Cleaning and Bulb Replacement
Routine cleaning sustains output. Wipe reflectors and bulb surfaces every 3–4 weeks with lint-free cloths and isopropyl alcohol. Replace HIDs at 10–12 months. A more practical rule for many growers is to replace HPS bulbs every three full grow cycles. After this point, they lose a significant amount of their lumen output, even if they still turn on, which will negatively impact your harvest.
Monitoring Ballast Wear
Track ballast health by logging runtime hours, sounds, and heat patterns. Plan to replace ballasts every 5-10 years depending on the type, and keep spares on hand to prevent mid-crop disruptions.
FAQs about grow lights and ballasts
How often should I replace my ballast?
Most magnetic ballasts perform reliably for 5–8 years under normal use, while high-quality electronic ballasts can last 8–10 years before showing signs of wear. Replace any ballast immediately if you notice flickering, unusual buzzing, or fluctuating light output, these are clear indicators that internal components are degrading and can lead to crop stress if left unchecked.
Can I mix different light types on one ballast?
No. Ballasts are engineered to drive a specific lamp chemistry, metal halide and high-pressure sodium bulbs require different ignition voltages and operating currents. Attempting to power an HPS bulb with a ballast rated for metal halide (or vice versa) can lead to unstable arcs, reduced bulb life, and potential electrical hazards.
What’s the ideal distance between plant canopy and bulbs?
For LEDs, maintain 12–24 inches between the panel and the top leaves. This range balances high light intensity with minimal heat stress. If you notice leaf bleaching or curling, gradually raise the fixture by 2-inch increments until foliage appears healthy and turgid.