Cannabis pH Range: Mastering Nutrient Uptake & Plant Health

Importance of pH in Growing
Nutrient Availability Fundamentals
Maintaining an ideal pH in the root zone determines how well cannabis plants absorb essential minerals. When media pH drifts outside the optimal window, nutrients bind to particles and become inaccessible. This locking effect deprives roots of vital elements. By controlling acidity and alkalinity, cultivators keep nutrients in soluble form.
Nutrient uptake depends on precise chemical balance. At low pH, metals like iron can become too available, causing burn. Conversely, high pH reduces access to calcium and magnesium, leading to deficiencies. Active monitoring helps growers spot small swings before they harm development.
Recommended Strains
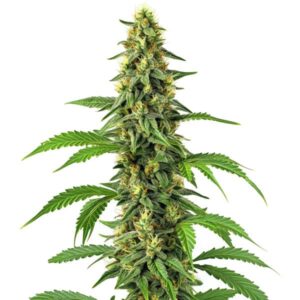
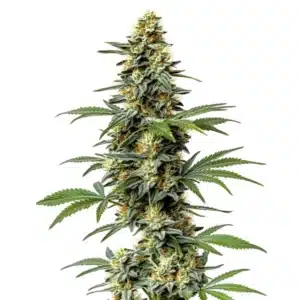
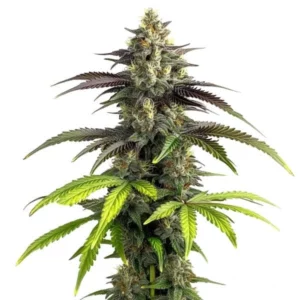
Bruce Banner #3
|
|
THC | 20% - 29% (High) |
|
|
Type | Feminized |
|
|
Yield | Medium |
|
|
Phenotype | 50% Indica / 50% Sativa |
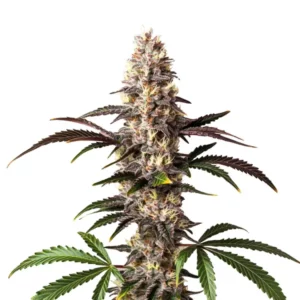
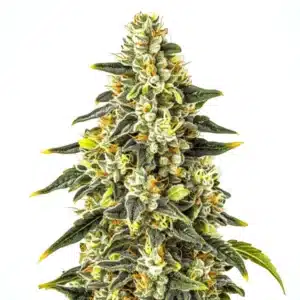
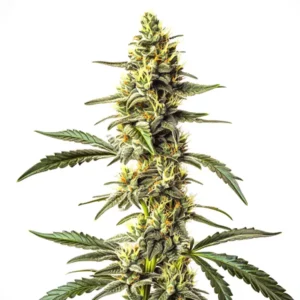
Bruce Banner 2.0
|
|
THC | 25% - 30% (High) |
|
|
Type | Feminized |
|
|
Yield | Medium |
|
|
Phenotype | 35% Indica / 65% Sativa |
pH Impact on Root Health
The root system lives at the front line of nutrient exchange. When pH stays stable, beneficial microbes thrive around roots, aiding nutrient breakdown. Healthy bacteria and fungi build a supportive network that shields roots from pathogens. In contrast, pH swings disrupt microbial colonies and weaken root hairs, undermining plant resilience.
Roots facing pH imbalance show sagging tips and discoloration. Swift action can reverse damage by rebalancing pH with safe amendments.
Signs of pH Imbalance
Leaves often hint at hidden pH issues. If you notice the plant’s upper leaves yellowing, this is a classic sign of a pH imbalance that is locking out immobile nutrients. Yellowing between veins signals iron lockout, while brown spots hint at calcium scarcity.
Aside from foliage, plants may display slow new growth and uneven internode spacing. When stems stretch more than usual, roots fight to secure nutrients. This drains energy, thinning stems.
Promos & Deals
Optimal Soil pH Levels
Target Range for Soil Media
The ideal soil acidity for cannabis falls between pH 6.0 and 7.0. Within this bracket, key nutrients dissolve evenly. It is important to know the initial pH of your soil before planting and to avoid using any medium that is naturally below pH 5.0 or above 7.0. Slightly acidic soil also supports beneficial bacteria.
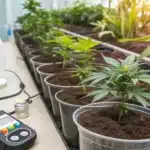
Beginners often skip soil tests, but mixes vary by brand. Field kits or handheld meters deliver quick results.
Testing Methods and Tools
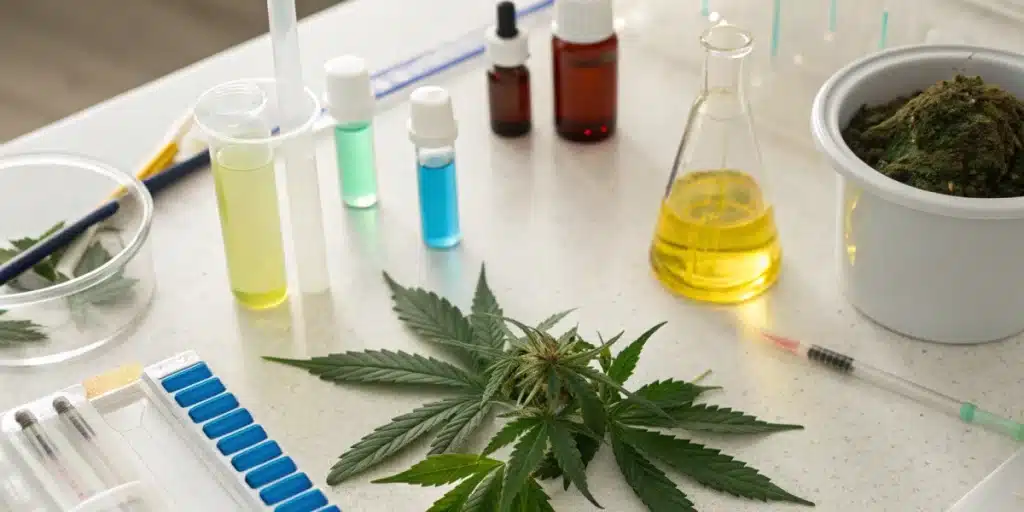
Accurate pH measurement starts with calibrated probes and quality test kits. Digital pH meters yield precise readings but need regular calibration. There are many simple and cheap pH test kits available that make it easy for any grower to measure the pH of their irrigation water. Simple paper strips offer a low-cost alternative. Regular checks, ideally weekly, catch trends early.
Adjusting pH with Amendments
To raise pH in soil, apply agricultural lime or dolomite. Lower soil pH by adding elemental sulfur or acid-forming organic matter. Commercial growers may use pH down solutions. To lower pH, these commercial acids are very effective, requiring only a few drops. Natural acids like vinegar or lemon juice can also be used, but they are less stable and impractical for the large volumes of water needed for daily irrigation.
Optimal Hydroponic pH Levels
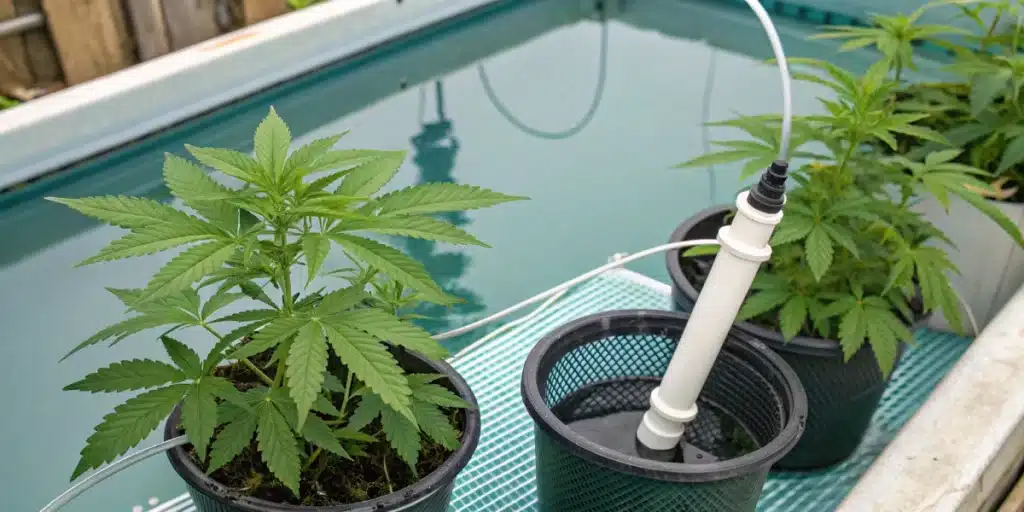
Hydroponic cannabis thrives in water with a pH between 5.5 and 6.5. This narrower band ensures nutrient ions remain soluble. Growers set reservoirs at mid-range, around pH 6.0. Many hydro growers install automated dosing pumps that adjust pH on the fly. Balancing Electroconductivity (EC) and pH is also key to avoiding overfeeding or starvation.
Managing Fluctuations
Daily Maintenance Practices
Effective pH management starts with daily checks. Dedicate a few minutes each morning to sample soil or reservoir solution and note readings in a log.
A critical part of this routine is knowing when to measure. You must always measure the pH of your water after adding any nutrients, as fertilizers will change the water’s pH. Always test your final solution right before you water.
Dealing with pH Drift
pH drift occurs when plants consume ions unevenly. To counter this, perform partial reservoir changes every week or two. For soil growers, prevent drift by rotating nutrient-free water flushes every couple of weeks.
Impact of Water Source
Water quality shapes baseline pH. You must always know the pH of the water you are going to use for irrigation. For context, rainwater and river water often have an ideal pH for plants, between 5.5 and 6.0. In contrast, tap water can have a pH of 7.0, 8.0, or even higher, and often contains chlorine added to kill bacteria. Testing untreated water reveals its starting pH and guides pre-treatment steps.
Troubleshooting Common Issues
Nutrient Lockout Symptoms
When pH strays outside the optimal range, nutrients lock out. Leaf yellowing (chlorosis) often appears first. You may also see brown spots and hardened leaf edges. These signals tell you that magnesium or calcium failed to reach tissues.
Remedies for Over-acidic Media
If roots face too much acidity, add base-building amendments to push pH up. In soil, garden lime works well. For soilless cultures, a gentle pH up solution brings quick relief. If you accidentally add too much pH down and make your water too acidic, a simple fix is to empty half of the container and refill it with your high-pH tap water, which will help raise the overall pH back toward your target.
Preventative Strategies
Planning ahead saves time and protects yields. Begin each crop with a full system test. Use pre-mixed nutrient reservoirs and invest in automation where possible. Routine care transforms pH management from a chore into a smooth practice.
FAQs about cannabis ph range
How often should I test pH?
Test pH weekly in soil grows and daily in hydroponics for stable root environments. Always measure after nutrient feeding or water changes. Soil setups may need two checks per week to catch gradual shifts. Quick tests after adding new solution ensure accuracy. Keeping a regular log gives you clear trends. That record helps you time adjustments and maintain optimal acidity consistently.
Can I use tap water without adjustment?
Tap water quality varies by region and can affect pH and mineral content. Always test untreated tap water before use. If pH falls within your ideal window, you may use it directly. Often, tap contains hardness minerals that push pH upward, requiring slight acid additions. To protect roots, filter out chlorine and chloramine. Simple carbon filters or letting water sit overnight can help prepare tap water safely.
What’s the fastest way to lower pH?
To lower pH quickly, use a pH down solution formulated for hydroponics or soil. Add small doses, then wait ten minutes and retest. This stepwise approach avoids overshoot. For organic grows, a splash of vinegar or citric acid works but offers short-term effect. Elemental sulfur acts slower yet provides lasting change. Always adjust in small increments and monitor over several hours to lock in target acidity.