How to Grow Weed in a Closet: A Beginner’s Indoor Guide

Setting Up Your Closet Grow Space
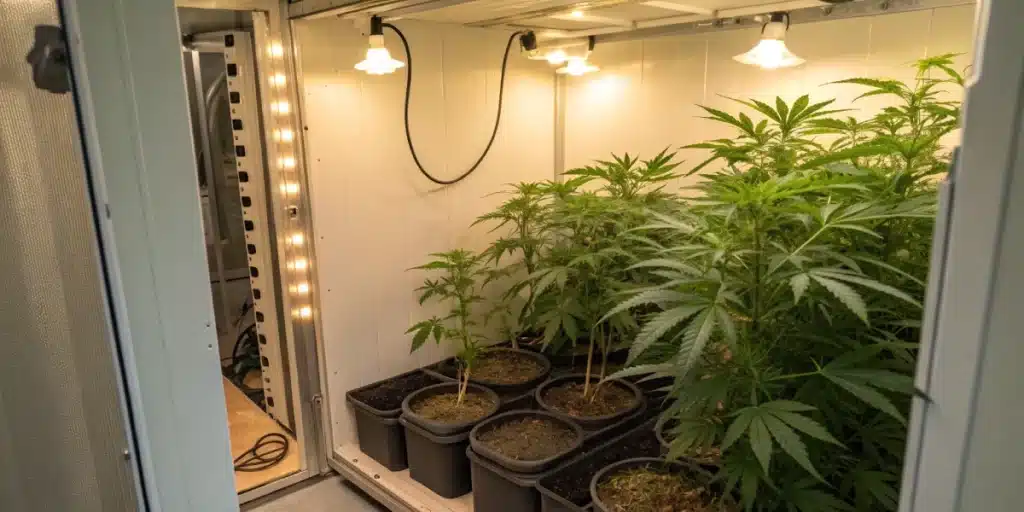
Choosing the Right Closet Environment
You need a clean, dry space to start. A standard closet offers walls to reflect light and enough room for pots and equipment. Also, pick a closet away from noisy or busy areas to protect plants from temperature swings and accidental damage. Also, consider logistics: make sure you have a convenient water source nearby, as you’ll be watering frequently. Placing your grow in an interior closet minimizes external temperature fluctuations.
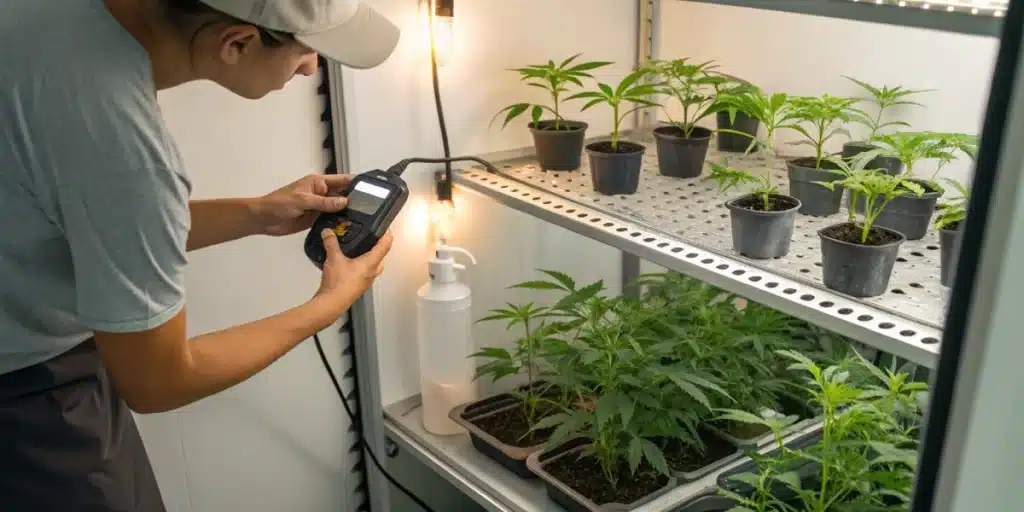
Seal any gaps around the door to limit light leaks, because stray light can stress plants. Use weatherstripping or blackout tape. Then, monitor temperature and humidity closely. Aim for 21–26 °C and 40–60 percent relative humidity during early stages.
Recommended Strains
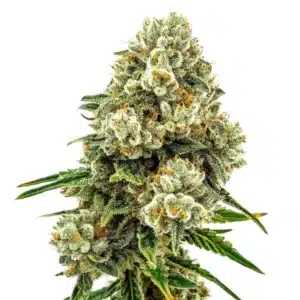
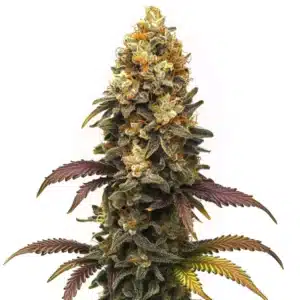
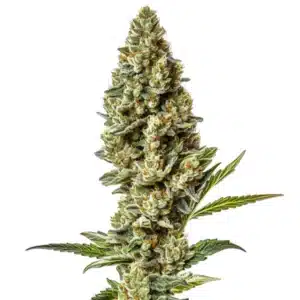
Acid Diesel
|
|
THC | 18% - 20% (Medium) |
|
|
Type | Feminized |
|
|
Yield | Low |
|
|
Phenotype | 60% Indica / 40% Sativa |
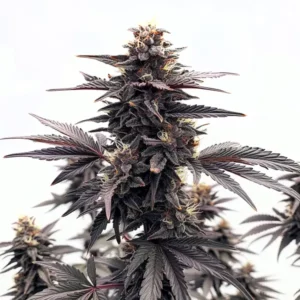
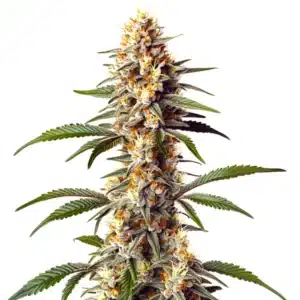
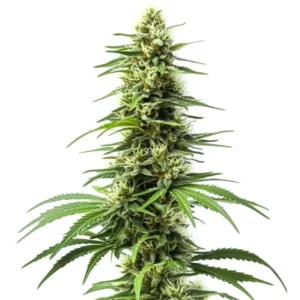
Black Runtz
|
|
THC | 30% - 32% (High) |
|
|
Type | Feminized |
|
|
Yield | Medium |
|
|
Phenotype | 55% Indica / 45% Sativa |
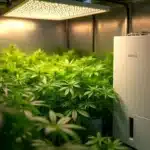
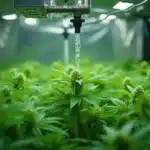
Installing Grow Lights and Ventilation
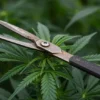
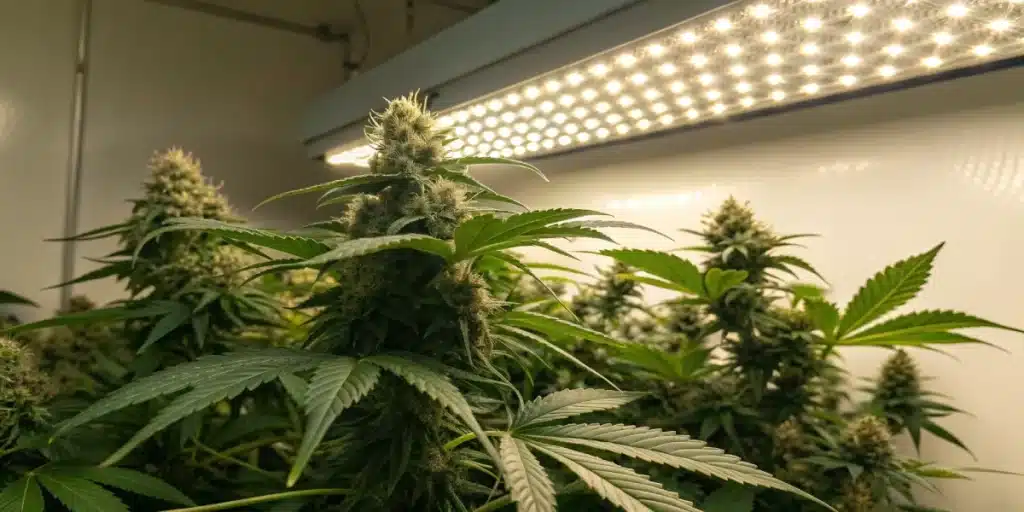
Choose full‑spectrum LED lights that fit your closet dimensions. LEDs run cool, save energy, and deliver wavelengths that boost photosynthesis. Hang lights with adjustable ratchet straps. Additionally, position reflective material like Mylar on closet walls to maximize light coverage.
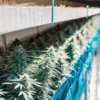
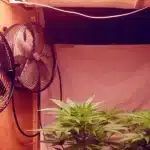
Next, add a small oscillating fan to circulate air and strengthen stems. Then install a compact exhaust fan or carbon filter system to clear stale air and control odor. For proper air exchange, the setup must have an air inlet and an air outlet. It is best to position the intake vent low to bring in cool, fresh air and the exhaust fan high to expel hot, stale air, allowing the space to ‘breathe’ efficiently.
Promos & Deals
Selecting Strains and Seeds
Autoflower vs. Photoperiod Varieties
If you want a quick harvest, autoflower strains bloom automatically in about eight to ten weeks from seed. They stay compact and handle small spaces well. In contrast, photoperiod plants give you full control over the bloom phase with a light timer, allowing you to train branches and maximize yield. Weigh your time, patience, and space.
Seed Quality and Genetic Considerations
Always buy seeds from a reputable supplier to reduce risks. Premium genetics offer consistent vigor and stable cannabinoid profiles. Investigate strain lineage to choose compact varieties based on your closet height. Investing in top-notch genetics pays off in bud density, resin production, and smooth smoke.
Nutrients and Soil Management
Soil vs. Hydroponic Mediums
Growing in soil offers a forgiving buffer against nutrient errors. Choose a light potting mix blended with perlite or coco coir to boost drainage and oxygen flow. Hydroponic systems deliver water and nutrients directly to roots for faster growth but require close monitoring of pH and nutrient strength.
Feeding Schedules and pH Control
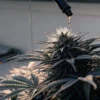
Follow a feeding chart that matches your strain’s life stage. Start with a low‑strength nutrient mix and gradually ramp up. Switch formulas at bloom onset, boost phosphorus and potassium. Always check water pH before feeding. Maintain a pH of 6.0–6.8 in soil and 5.5–6.2 in hydroponics.
Light Schedules and Growth Phases
Vegetative Light Timers
Set timers for 18 hours of light followed by six hours of darkness during the vegetative phase. This pattern encourages leafy growth and strong stems. Keep lights at 40–60 cm above the canopy to prevent leaf burn.
Flowering Phase Management
Switch to a 12 hours on, 12 hours off schedule to trigger bud development. Maintain complete darkness during the off cycle, because even small light leaks can confuse plants. Use blackout tape around gaps and cover vents. During bloom, monitor plant health closely and increase phosphorus and potassium levels.
Harvesting and Curing Techniques
Optimal Harvest Timing
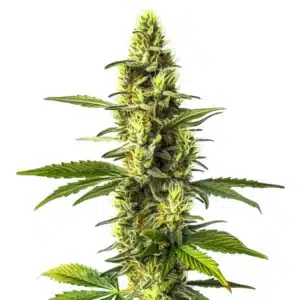
Inspect trichomes on buds with a magnifying loupe to determine peak potency. Harvest when about 70–80 percent of trichomes turn milky white and a small portion turn amber. Cut too early and buds lack potency; wait too late and THC converts into CBN, which offers more sedative effects.
Drying and Curing Processes
Cut branches and hang them upside down in a dark, cool room at 18–21 °C and 50 percent humidity for seven to ten days. Trim buds from branches and pack them loosely into airtight glass jars for curing. Open jars once a day for the first week, this “burping” releases moisture. Proper curing takes four to eight weeks but enhances taste, smoothness, and burn quality.
FAQs about How to Grow Weed in a Closet
How much space do I need for a closet grow?
You can fit two to four small plants in a standard 60 cm‑wide closet if you optimize vertical space. For a successful flowering phase, you should use pots that are a minimum of 7 to 11 liters (approx. 2-3 gallons). Proper spacing prevents overcrowding and mold risk. While most beginners will stick to a few plants, advanced growers using techniques like Sea of Green (SOG) might fit between 15 and 21 plants per square meter in smaller pots to maximize yield.
What’s the best lighting for a closet grow?
LED panels deliver full‑spectrum light in a low‑heat package, making them ideal for tight spaces. Choose units between 100–300 W depending on plant count. LEDs save energy and run cooler than HPS or CFL bulbs.
How long until harvest in a closet setup?
Expect ten to fourteen weeks from seed to harvest for most autoflower strains. Photoperiod plants require about six to eight weeks of vegetative growth followed by eight to ten weeks of bloom, for a total of 14–18 weeks.