How To Grow Shiskaberry Autoflower

What’s up, fellow cultivator! Are you ready to grow a strain that delivers a knockout punch of flavor and relaxation in record time? We are talking about Shiskaberry Autoflower the heavy-hitting, fruit-forward hybrid that proves you don’t have to wait months for top-shelf quality.
This is the plant you grow when you want a compact, “set-it-and-forget-it” legend that smells like a basket of fresh wild berries. It’s a favorite in our community for its extreme ease of use and its deeply soothing Indica soul. I’m here to educate you and help you nurture this bushy beauty from seed to a resinous, purple-tinted harvest. Let’s get to work!
Recommended Strains
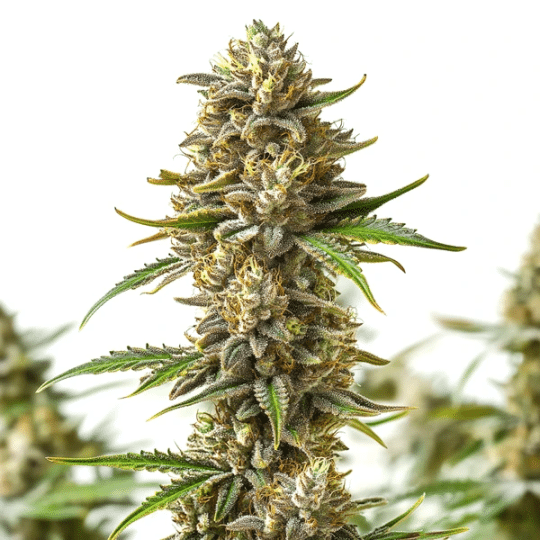
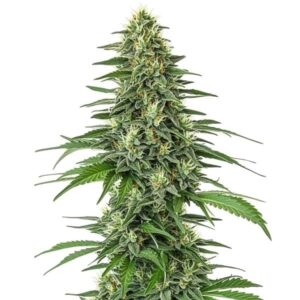
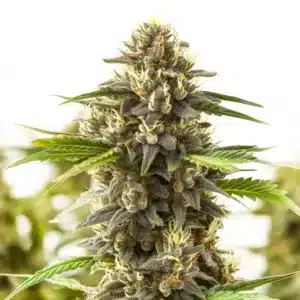
Shiskaberry Autoflower

|
THC | 18% - 20% (Medium) |

|
Type | Autoflowering |

|
Yield | High |

|
Phenotype | 85% Indica / 15% Sativa |
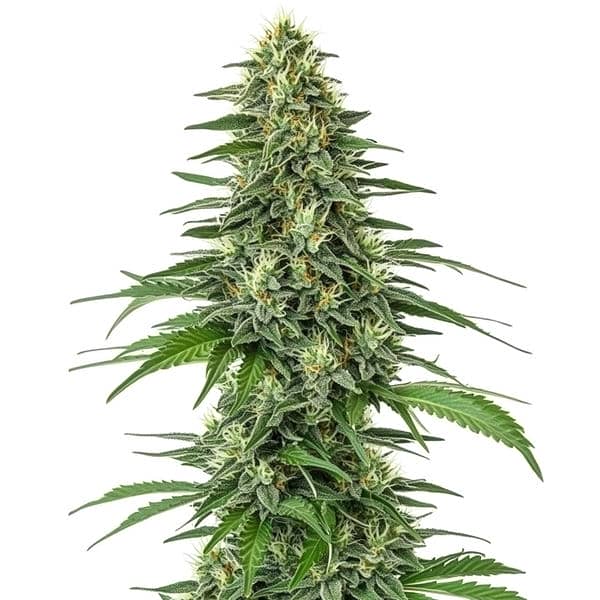
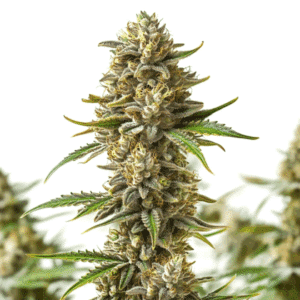
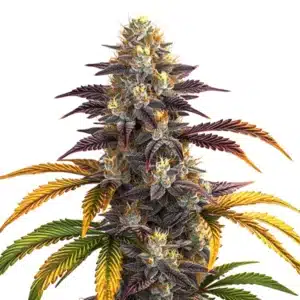
Shiskaberry
|
|
THC | 14% - 18% (Medium) |
|
|
Type | Feminized |
|
|
Yield | High |
|
|
Phenotype | 80% Indica / 20% Sativa |
From Seed to a Pungent, Berry Harvest: The Step-by-Step
Shiskaberry Autoflower is built for speed. Because its biological clock starts the moment it sprouts, every day counts!
Germination: The Fast Start
Quality starts with a strong sprout. Use the paper towel method for a reliable beginning.
- Soak: Drop your seeds in distilled water for 12–24 hours.
- The Sandwich: Move them to damp paper towels in a warm (72–78°F), dark spot.
- The Pop: Within 1–3 days, you’ll see the taproot.
Seed Hero Tip: Plant your germinated seed directly into its final 3-to-5 gallon pot. Autoflowers hate transplanting; the shock can stunt their short growth window and ruin your yield!
The Vegetative Stage: Building the Foundation
During the first 3–4 weeks, Shiskaberry focuses on rapid root and leaf development.
- Lighting: Keep your lights on an 18/6 or 20/4 cycle for its entire life. Full-spectrum LEDs are the best choice to keep the plant compact.
- Feeding: Use a light dose of Nitrogen (N) early on. Autoflowers are sensitive; start with 1/4 strength nutrients to avoid “nutrient burn.”
- Training: Stick to Low-Stress Training (LST). Gently bend the main stem to the side to allow light into the center. Avoid “topping” or heavy pruning, as the plant won’t have time to recover before it starts blooming!
The Flowering Stage: The Fruity Transformation
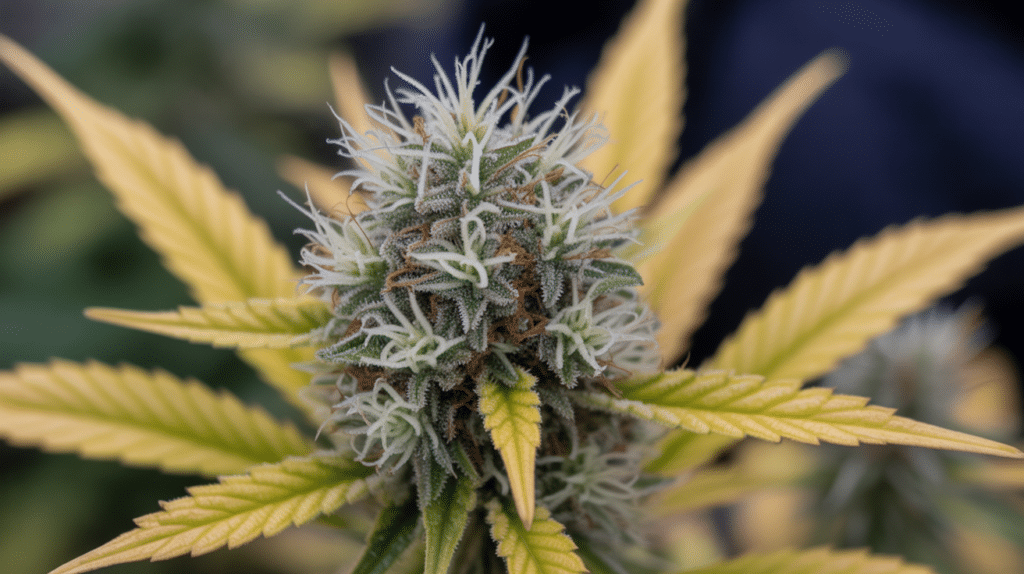
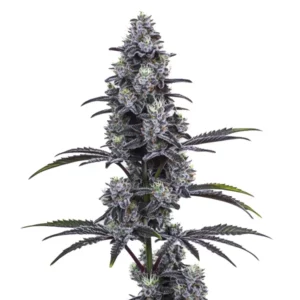
Around week 4, you’ll see white pistils appearing. The berry aroma will start to intensify as the buds swell.
- Nutrients: Switch to a “Bloom” formula high in Phosphorus (P) and Potassium (K).
- Humidity: Crucial! Drop your humidity to 40–50% to protect those dense, resinous colas from mold.
- Aroma: This strain is loud. Ensure your carbon filter is fresh if growing indoors!
Promos & Deals

Indoor vs. Outdoor: Choosing Your Arena
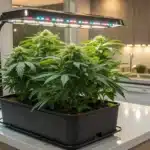
Growing Indoors
Indoor setups allow you to dial in the perfect “Berry Patch” climate.
- Height: Compact and stealthy, usually staying between 2 to 3 feet (60–100 cm).
- Yield: A rewarding 300–400 grams per square meter.
- Environment: Maintain a stable 70–78°F range.
Growing Outdoors
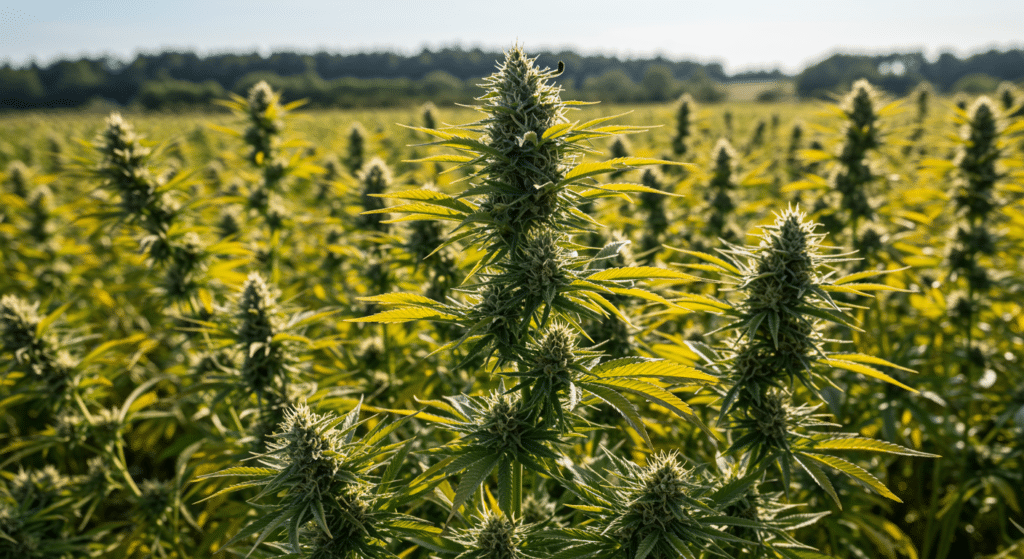
Under the natural sun, Shiskaberry Autoflower thrives in various climates thanks to its Ruderalis resilience.
- Sunlight: Needs at least 6–8 hours of direct sun.
- Harvest Window: Ready just 8–10 weeks after germination, allowing for multiple harvests in a single summer!
Best U.S. Climates:
- California (San Diego): The Mediterranean sun is perfect for high resin production.
- Oregon (Portland): Thrives in the moderate summer; its speed allows you to harvest before the autumn rains.
- Colorado (Denver): The high UV levels and dry air enhance the terpene profile and prevent bud rot.
Pro-Level Playbook: Sustainability and Extracts
What to Do With Your Trim?
A sustainable grower wastes nothing! Shiskaberry is famous for its massive trichome production, and even the “waste” is gold.
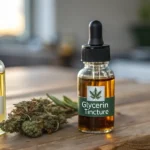
Use your sugar leaves and stems for Solventless Hash or Berry-Infused Tinctures. The heavy Indica terpene profile makes it perfect for making “sleepy-time” topicals or edibles that help with pain relief. You can also compost the stalks to return carbon to your garden soil.
The Grand Finale: Harvest, Dry & Cure
Don’t rush the finish line! Use a magnifying glass to check the resin glands. When they are mostly milky white with about 10–20% amber, you’ve hit peak Shiskaberry potency.
- The Chop: Cut the plant at the base and remove large fan leaves.
- The Slow Dry: Hang branches upside down in a dark, cool room (60–70°F) for 7–10 days. The stems should “snap” when bent.
- The Cure: Place buds in glass jars. “Burp” (open) them daily for the first two weeks. A 3-week cure will turn that raw berry smell into a smooth, connoisseur-grade dessert smoke.
Frequently Asked Questions
Is Shiskaberry Autoflower good for beginners?
Absolutely. It is one of the most forgiving strains available. Just avoid over-watering and heavy feeding!
What are the effects really like?
It is a “weighted blanket” for the soul. It starts with a happy mental lift and quickly melts into a deeply relaxing body high that’s perfect for battling insomnia or stress.
Does it need a special light cycle?
No! Because it’s an autoflower, it will flower based on age. You can leave the lights on for 18–20 hours from seed to harvest.
Can I clone an autoflower?
We don’t recommend it. A clone will be the same biological age as the mother. Taking a cutting from a 4-week-old plant results in a tiny clone that flowers immediately. Always start from fresh Blimburn seeds for the best yields!
How much space does it need?
Very little! Because it stays under 3 feet, it’s the perfect choice for small tents, balconies, or “closet grows.”