The Beginner’s Dilemma: Why You’re Burning Your Seedling’s Roots

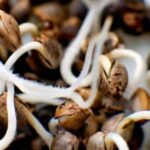
Let’s paint a picture. You’ve successfully sprouted your precious cannabis seed. You’ve babied it, given it light, love, and food. But now its tiny leaves are turning yellow and curling at the tips. In a panic, you give it more food, thinking it must be hungry. And then it gets even worse.
Sound familiar? My friend, you’re not alone. Welcome to the frustrating world of root burn. You’re not starving your plant; you’re accidentally scorching its foundation. But don’t worry, this is one of the easiest mistakes to fix once you understand what’s really happening.
Recommended Strains
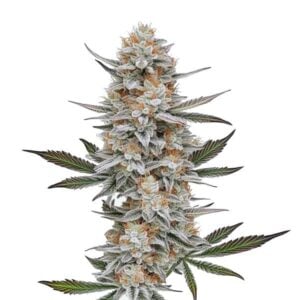
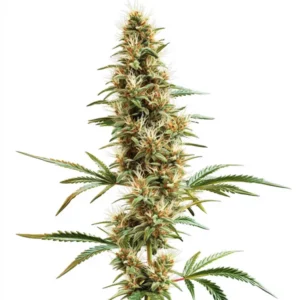
Chemdog #4
|
|
THC | 18% - 26% (Medium) |
|
|
Type | Feminized |
|
|
Yield | Medium |
|
|
Phenotype | 60% Indica / 40% Sativa |
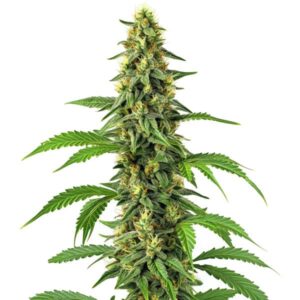
Chemdog Auto
|
|
THC | 18% - 20% (Medium) |
|
|
Type | Autoflowering |
|
|
Yield | Low |
|
|
Phenotype | 60% Indica / 40% Sativa |
Stop Looking at the Leaves: The Real Story is Underground
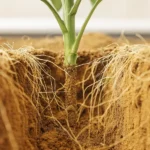
First rule of diagnosing a sick seedling: the leaves are liars. They can tell you something is wrong, but they rarely tell you what. The truth is buried in the soil. You need to look at the roots.
“But how,” you ask, “can I check the roots of a fragile little seedling without destroying it?” Easy. Don’t try to pull it out. Instead, take a thin stick, a pencil or a chopstick works perfectly and gently push it into the soil an inch or two away from the stem. Carefully lever up the soil just enough to get a little peek at the roots underneath.
What are you looking for? One simple thing: life. Healthy roots should be a beautiful, vibrant white color with a healthy shine to them. If what you see is brown, dull, or mushy… you’ve got root burn.
Promos & Deals
The Cause: Loving Your Seedling to Death
Nine times out of ten, root burn in seedlings is caused by one thing: overfeeding.
Think about it. You wouldn’t feed a newborn baby a full-sized steak. A seedling’s roots are incredibly delicate. When you hit them with a full-strength dose of chemical nutrients, you are literally burning them. That “nutrient solution” becomes toxic, and the roots can’t handle it. The plant stops eating, starts wilting, and the problem spirals.
How to Prevent This Nightmare (And How to Fix It)
Prevention is all about creating a gentle, stable environment for your young plant to Thrive.
Start your feeding schedule at 1/4 strength of what the bottle recommends. Seriously. You can always give more later, but you can’t take away a burn. Make sure your water pH is stable, and let the soil dry out a bit between waterings.
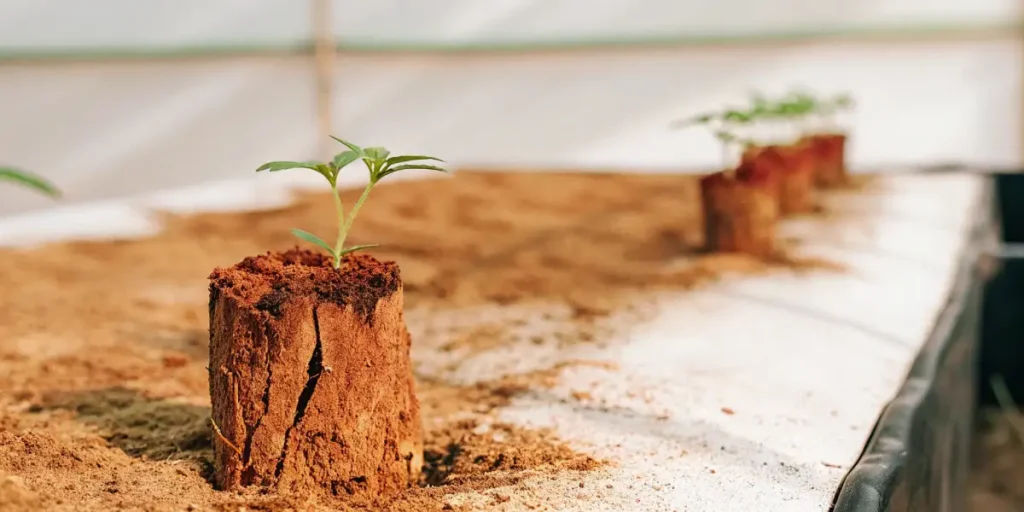
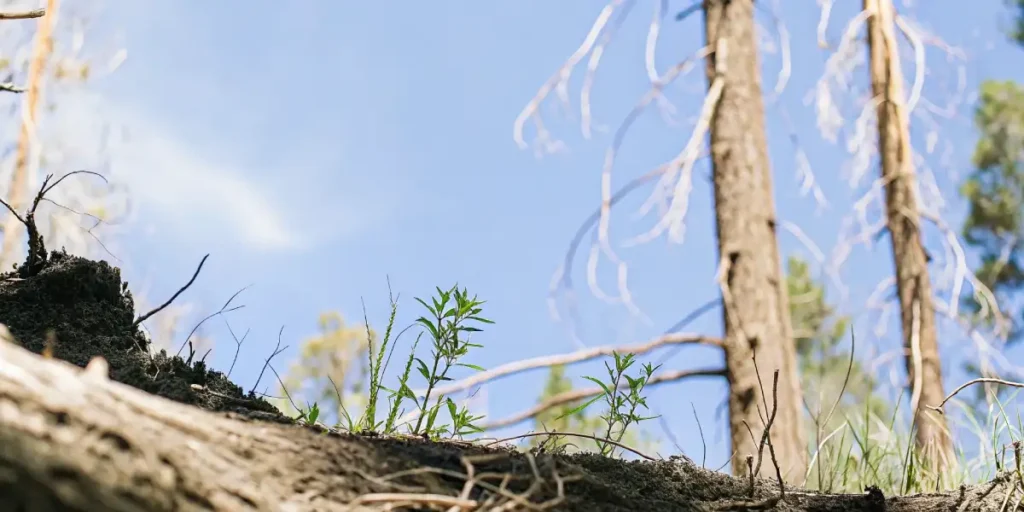
And here’s a pro tip that helps immensely: use a layer of mulch. A simple layer of organic mulch on your topsoil does two amazing things. It insulates the roots from temperature swings and, crucially, it helps retain moisture so you have to water less often. A more stable environment means less stress and a much lower chance of burning the roots. This is how you Nurture a plant from day one.
But what if it’s too late and the damage is done? You need to act fast. Flush the soil. Gently pour a large amount of clean, pH-balanced water through the pot. Let it drain completely. This will wash away the excess nutrient salts that are causing the burn. After the flush, do not feed the plant. Give it time to recover. Be patient. When you see new, healthy green growth, you’ll know you’ve succeeded.
Choosing a resilient strain like Chemdog #4 can also give you a bit of a safety net, as they tend to be more forgiving of these common beginner mistakes. It’s all part of the journey as you learn to Cultivate your Homegrown garden.
FAQs
What are the true signs of root burn in a seedling?
Forget the leaves for a second. The real proof is in the roots themselves. Healthy roots are a vibrant, shiny white. Burned roots will look dull, brown, and often feel mushy or slimy. That discoloration is the definitive sign that the roots have been damaged by excess nutrients.
How can I check my seedling’s roots without killing it?
Don’t pull it out of the soil! For a small seedling, take a thin stick or a pencil and gently push it into the soil about an inch away from the stem. Carefully pry up a small section of the soil to get a peek at the roots underneath. This lets you diagnose the problem without causing a fatal amount of stress to the fragile plant.
What is the number one cause of root burn in seedlings?
Overfeeding. Hands down. New growers often think “more food equals more growth,” but a seedling’s root system is extremely delicate and cannot handle high concentrations of nutrients. Starting with a very diluted, 1/4 strength nutrient solution is the safest way to prevent it.
How does mulch help prevent root burn?
Mulch creates a more stable environment, which is key for preventing stress on young roots. It insulates the soil from hot and cold swings and helps retain moisture evenly. This means you water less frequently, reducing the chances of creating a toxic buildup of nutrient salts that can lead to root burn.