Starting Plants Indoors Then Moving Outdoors: A Step-by-Step Guide to Thriving Gardens

Embarking on the journey of starting your plants indoors before moving them outside can be incredibly rewarding. It’s not just a gardening task; it’s a delightful experience where you nurture life from a tiny seed to a flourishing plant. This method allows you to create an ideal environment for your plants during their early stages, especially beneficial if you live in areas with shorter growing seasons or fickle weather patterns.
Benefits of Starting Plants Indoors
Growing your plants indoors before transitioning them to the outside world offers numerous advantages. First and foremost, starting your seeds indoors gives your plants a valuable head start. Imagine having a small garden plot ready well before the outdoor growing season officially begins! By germinating your seeds indoors, you benefit from the ideal conditions you create, leading to healthy, vibrant seedlings. This preparation means that by the time you move them outdoors, they can better withstand challenges like pests and unanticipated weather conditions.
Recommended Strains

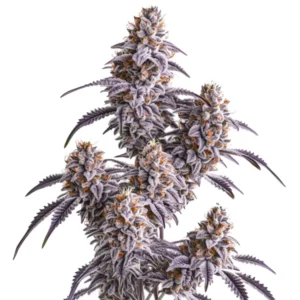
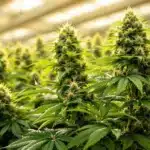
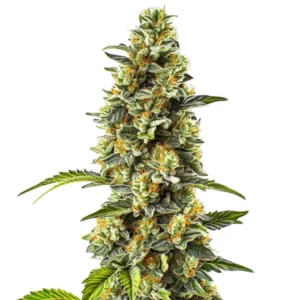
Slurricane
|
|
THC | 24% - 28% (High) |
|
|
Type | Feminized |
|
|
Yield | High |
|
|
Phenotype | 60% Indica / 40% Sativa |
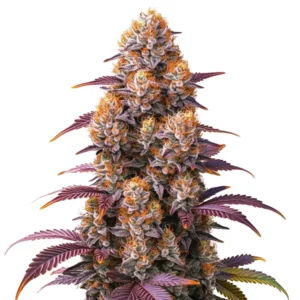
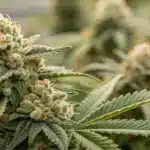
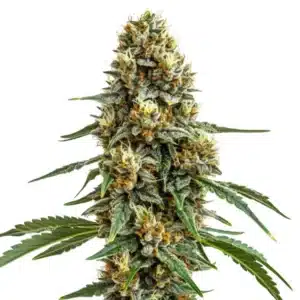
Slurty 3
|
|
THC | 19% - 23% (Medium) |
|
|
Type | Feminized |
|
|
Yield | High |
|
|
Phenotype | 90% Indica / 10% Sativa |
Moreover, this approach allows you to extend your growing season. How amazing would it be to savor the taste of fresh veggies, fruits, or flowers, even before your neighbors have had a chance to plant? When you start seeds indoors, you can often sow plants earlier than if you waited for the last frost. Consequently, you can enjoy a longer harvest period, particularly for those who love cultivating a variety of popular garden plants.
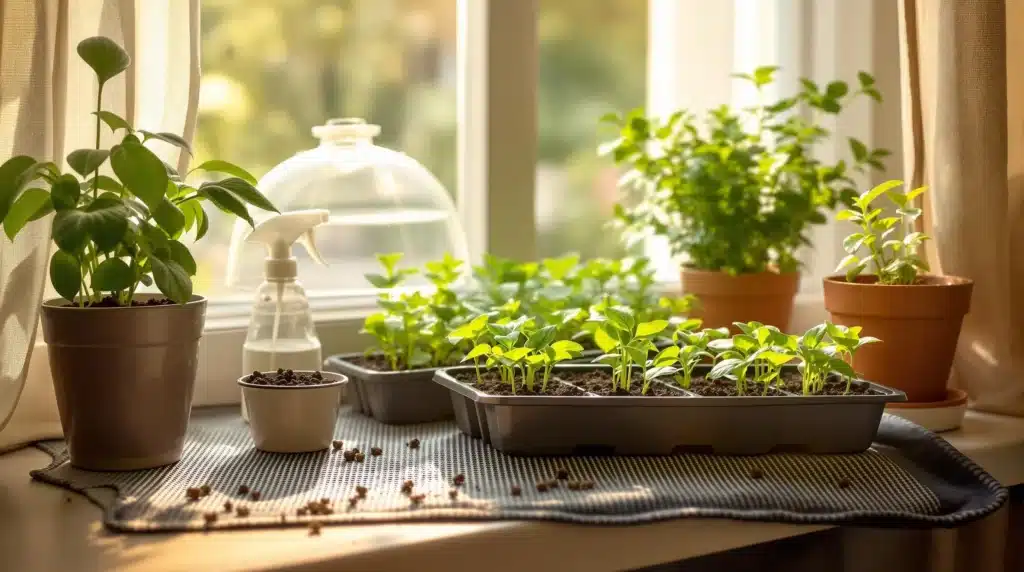
Ideal Indoor Conditions for Germination
To achieve successful germination, it’s essential to establish the right indoor conditions. Think of it as setting the perfect stage for your plants to thrive! Seeds generally thrive in a warm, humid environment. The majority of seeds thrive best at temperatures between 70°F to 80°F (21°C to 27°C). You can create this warmth by placing your seed trays near a sunny window or utilizing specially designed heating mats for seed germination.
Moisture is another vital factor, as seeds need to be kept damp yet not overly soaked. Think of using seedling trays with drainage holes as the ideal way to maintain just the right moisture levels. To enhance humidity, covering your trays with a lightweight plastic dome is an effective strategy until those tiny seeds sprout. Ensuring that they have a cozy environment will go a long way in helping them flourish.
Choosing the Right Containers
Picking suitable containers for starting your seeds is a significant step! Whether using traditional pots, seedling trays, or even biodegradable options that can be planted directly in the garden, the choice you make has implications for your plants’ success:
- Traditional pots provide ample space for larger plants and facilitate easy transplanting when the time comes.
- Seedling trays are economical and space-efficient, allowing you to cultivate multiple seedlings in a compact area.
- Biodegradable pots help to reduce transplant shock since they decompose within the soil.
Whichever option you go for, remember to ensure that each container has proper drainage. This vital step prevents excess water from stagnant pooling at the bottom, avoiding issues like root rot that can jeopardize your seedlings’ health. Your choice of container truly sets the tone for their early development!

Promos & Deals

Hardening Off Your Plants
Now that your indoor plants are thriving, the next important task is ‘hardening them off’ before moving them permanently outside. This essential step gradually acclimates your young plants to their new outdoor environment by slowly introducing them to direct sunlight, breezes, and temperature variations. Skipping this crucial phase could result in shocking your plants, which may lead to stunted growth or serious setbacks.
Start this hardening off process about a week prior to your planned outdoor transplanting. Begin by exposing your seedlings to outdoor conditions for just an hour or two, preferably on a cloudy day to ease them into their new environment. Each day, mean crossing a little further into longer exposure periods until they’re fully accustomed to the outside world, just like you might gradually get used to a new place!
Steps for Hardening Off
Let’s break down a simple guideline for the hardening off process, which is easier than you might think:
- Initially, place your plants outdoors in a shaded area for just a couple of hours.
- Gradually increase their sunlight exposure over the following week, starting with a few hours each day.
- Adjust the time outside according to the current weather conditions. For instance, if the wind is strong, limit their exposure for the day.
- Keep a close watch on your plants for any signs of stress, such as wilting or browning leaves, which are indicators they might need to go back inside for a bit.
At the end of this week, your seedlings should be well-adjusted and ready for their new outdoor life, making them significantly more resilient!
Choosing the Right Time to Transplant
When it comes to moving your indoor plants outside, timing is crucial. It’s essential to wait until the danger of frost has passed, as freezing temperatures can be disastrous for young seedlings. Make sure to diligently check your local frost dates and plan your transplanting efforts around them.
Another important consideration is the general weather conditions during this time. Ideal transplanting conditions often include cloudy weather or late afternoon timing, which help minimize stress for your plants due to intense sunlight. Furthermore, warm soil is optimal for transplanting, so pay attention to the temperatures in your region as spring emerges.
Transplanting Your Seedlings Outdoors
Once your seedlings have been properly hardened off and the timing aligns perfectly, it’s finally time to transfer them outdoors! Preparing your garden bed ahead of time is essential. Remember to loosen the soil and clear out any pesky weeds that might compete for nutrients. Enriching the soil with compost or organic fertilizers creates a nourishing environment, ensuring your plants have what they need for a wonderful start.
When you’re ready to plant, carefully remove each seedling from its container, ensuring that you don’t harm the roots. Create a hole in the garden bed that comfortably accommodates the root ball. Once in place, cover the roots with soil, making sure the base of the plant aligns with the surrounding soil level. This thoughtful transition is how your seedlings begin their growth journey in the wild!
Watering After Transplanting
Once the transplanting is all set, providing water to your young plants is critically important. Give them a thorough soak, ensuring that the water penetrates down to the roots. Thoroughly watering encourages the roots to stretch deeper into the soil, aiding in better establishment.
In the first few weeks after transplanting, it’s vital to keep a close eye on moisture levels. Young plants often require regular watering until their roots have fully established. A quick trick is to check the soil moisture by inserting your finger an inch deep; if it feels dry, it’s definitely time to water. Staying attentive during this crucial time fosters a healthy transition for your plants.
Common Transplanting Issues and Solutions
Like any journey, challenges can arise during the transplanting phase. One common hurdle is transplant shock, which often happens when a plant experiences stress due to relocation. To alleviate this, adherence to the hardening off process is essential, as it allows your plants to acclimate gradually.
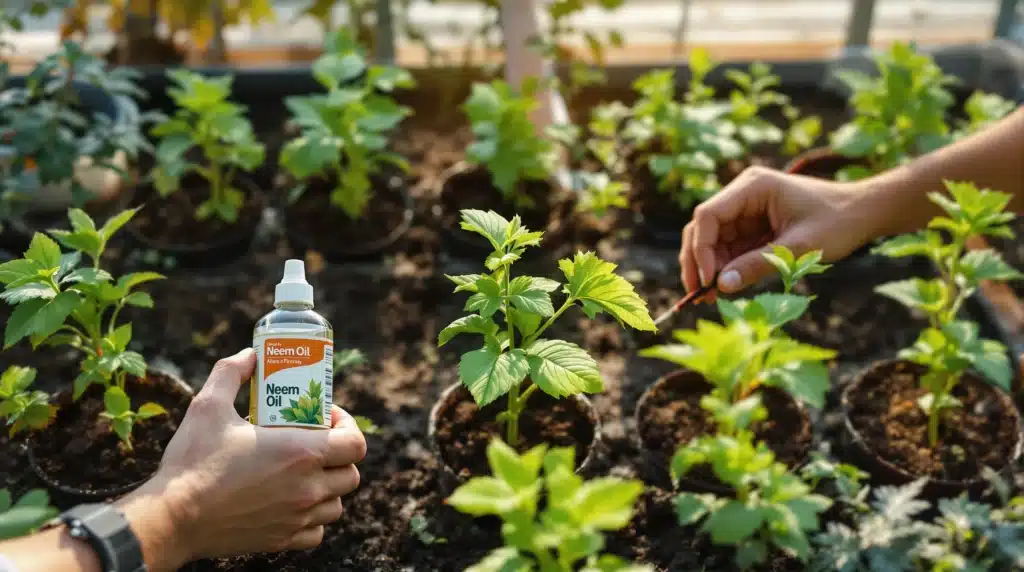
Furthermore, keep watch for potential pest issues. Young plants can be vulnerable during their initial outdoor adjustment, so diligent monitoring is key. Employing natural pest repellent methods, such as Neem oil, provides your plants with an extra layer of protection while they settle into their new habitat. Being proactive can really make all the difference!
Frequently Asked Questions
How long should I keep my plants indoors before moving them outside?
Generally, keeping your seedlings indoors for about 4 to 6 weeks works well, but the exact timing can depend on your plant variety and local climate conditions. Your patience will pay off!
What are the signs that my seedlings are ready to be moved outside?
Your seedlings should ideally possess several sets of true leaves and stand sturdy and robust. If they’ve outgrown their containers or are leaning towards the light source, it’s time for an outdoor adventure!
Can I plant directly into the garden instead of starting indoors?
Absolutely! Many seeds can be directly sown into the garden. However, starting seeds indoors gives you an earlier start, which is especially advantageous in cooler climates. Always be sure to check the unique seed requirements for the best outcomes.
What if the weather turns bad after I’ve transplanted my seedlings?
If adverse weather conditions strike after transplanting, consider providing them with temporary shelter. Row covers or garden cloches can effectively shield your plants from heavy rainfall, high winds, or sudden cold snaps. This little extra care can help them flourish.
By following these simple yet effective steps, you’ll be equipped to start your plants indoors and seamlessly transition them to a thriving outdoor garden. Remember, patience and attention to detail can significantly pave the way for a successful growing season filled with delightful blooms and bountiful harvests. Happy planting!