How to Start Seedlings in Rockwool: Easy Steps for Thriving Plants

Growing plants from seeds can be an immensely satisfying experience. Not only does it allow you to cultivate specific varieties, but it also gives you the joy of watching them grow from tiny seeds into thriving plants. One increasingly popular method among gardeners is starting seedlings in rockwool. This wonderful medium is excellent for germinating seeds and fostering healthy root growth. Let’s explore what rockwool is and how to make the most of it for your seedlings.
What is Rockwool?
Rockwool, also known as stone wool, is a natural product crafted from molten rock that is spun into fine strands, creating a sponge-like structure. As a growing medium, rockwool is particularly favored in hydroponics and greenhouse gardening. This is largely due to its exceptional retention of moisture and its ability to provide aeration to the roots. Moreover, rockwool is pH neutral, which means it won’t interfere with the acidity or alkalinity of the nutrient solutions you provide your plants.
Recommended Strains

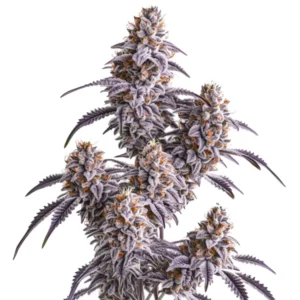
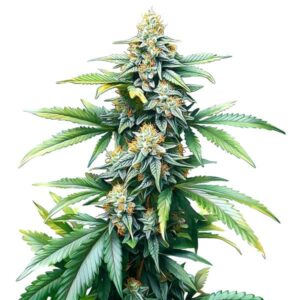
Afghan Kush
|
|
THC | 16% - 21% (Medium) |
|
|
Type | Feminized |
|
|
Yield | Medium |
|
|
Phenotype | 90% Indica / 10% Sativa |
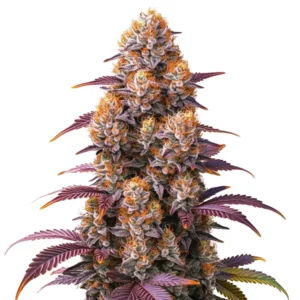
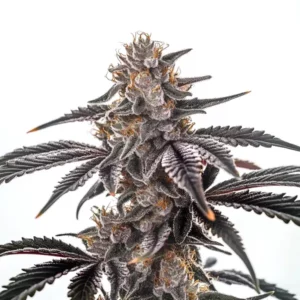
Afghan Kush Regular
|
|
THC | 18% - 22% (Medium) |
|
|
Type | Regular |
|
|
Yield | Low |
|
|
Phenotype | 90% Indica / 10% Sativa |
One of the great things about rockwool is its lightweight nature, making it easy to transport and handle. It has an incredible ability to retain moisture while allowing any excess to drain away, making it a top choice for promoting robust root systems. This combination is especially beneficial for seedlings, which need consistent moisture along with access to air to thrive.
Benefits of Using Rockwool for Seedlings
- Outstanding Water Retention: Rockwool can retain moisture efficiently while still providing proper drainage. This means you can avoid the common issue of overwatering, which can be detrimental to fragile young seedlings.
- Excellent Aeration: The structure of rockwool facilitates airflow, which is essential for young, developing roots.
- Convenient to Use: Rockwool cubes and blocks come in various sizes, making them simple to handle and fit into various plant systems.
- pH Neutral Quality: This ensures that you can effectively control the nutrient solutions without interference from the growing medium.
These advantages make rockwool a favored medium among those starting seeds, particularly for plants that require a delicate balance of moisture and air around their roots. Many gardeners have found that seedlings grown in rockwool tend to flourish better and develop stronger than those grown in some traditional soils.
Beyond its practical benefits, many growers appreciate the ease of monitoring rockwool conditions. It allows you to keep a close eye on moisture levels and adjust your practices as needed. With the proper care, seedlings can thrive beautifully in this medium, providing a rewarding experience as they transition to larger stages of growth.
Promos & Deals


How to Prepare Rockwool for Seedlings
Getting rockwool ready for planting is a straightforward process that involves a few simple steps. First, soak the rockwool cubes in clean water for about 30 minutes. This soaking is crucial, as it ensures that the cubes are fully saturated, providing an optimal environment for your seeds to germinate successfully.
While soaking, it’s a good idea to adjust the pH of the water to a slightly acidic level, ideally between 5.5 to 6.5. This adjustment will aid in nutrient absorption as your seedlings grow. You can use commercially available pH solutions or add a touch of vinegar to your soaking water to achieve the desired pH. After soaking, gently squeeze the cubes to remove any excess water; they should feel wet but not dripping, creating the perfect germination environment for your seeds.
Planting Seeds in Rockwool
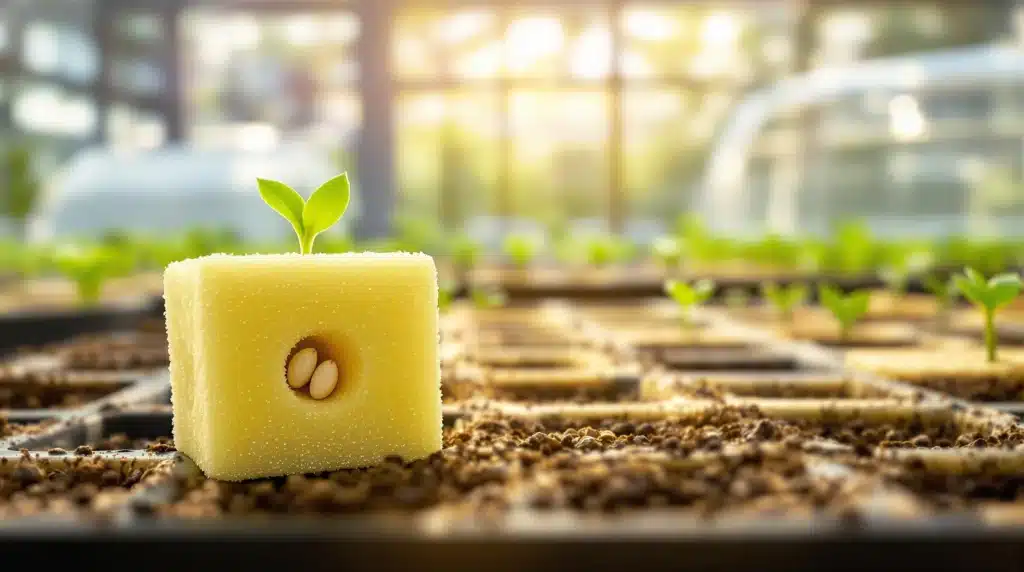
- Once your rockwool cubes are ready, use a pencil or small tool to create a small hole in the center of each cube. This hole should be deep enough to accommodate your seeds without leaving them too exposed.
- Place 1-2 seeds into each hole, ensuring they are covered lightly with rockwool. Make sure to bury them just enough to keep them out of direct light.
- Next, water the cubes with your pH-adjusted solution, giving the seeds a gentle push into their new home. You should notice a slight moisture on the surface of the cubes at this stage.
- Finally, position the cubes in a warm spot to promote germination, aiming for a temperature between 70-80°F (21-27°C), which is ideal for most seeds.
If you’re utilizing a tray or a hydroponic setup, consider using humidity domes or covers to help retain moisture around the seedlings. When you see tiny sprouts emerging from the surface, gradually remove these covers. This process allows the seedlings to acclimatize to their new environment, minimizing any stress they might experience from abrupt exposure.
As the seedlings begin to grow, keep in mind the importance of monitoring environmental conditions. Adequate warmth and moisture are essential to their successful establishment. This phase is exciting because you witness the fruits of your labor starting to grow, and with the right conditions, they will develop into strong plants.

Maintaining Moisture and Nutrients
As your seedlings begin to grow, it’s crucial to manage moisture levels and nutrients effectively. Rockwool retains a significant amount of water, but it can still dry out if not monitored regularly. To maintain humidity, lightly mist the cubes with water, especially during the early stages, before the seedlings have established a solid root system.
Once your seedlings have developed a few sets of true leaves, it’s time to introduce a nutrient solution. Use a diluted nutrient mix targeted at plants in their vegetative stage. Opt for a balanced formula that includes essential macronutrients like nitrogen, phosphorus, and potassium. Regularly check the pH of your nutrient solution to ensure it remains within the ideal range for your plants.
Common Challenges with Rockwool
Using rockwool can present certain challenges, especially for new growers. Common concerns include overwatering and nutrient build-up. Because rockwool retains moisture so well, it’s easy to overwater, risking root rot. To avoid this, establish a routine for checking the moisture levels in your cubes prior to watering.
- Overwatering: If your seedlings seem wilting or drooping, it may be a sign of too much water. Allow the cubes to dry slightly before you water again.
- Nutrient Build-Up: Pay attention to nutrient levels within the rockwool. Failing to flush the cubes regularly can lead to salt buildup, which hinders nutrient uptake.
- Temperature Variations: Consistent temperature is vital for healthy growth. Rockwool can cool down quickly, so consider insulating your growing area if necessary.
While these challenges may seem daunting, they are manageable with diligent monitoring and straightforward practices. As you learn to recognize signs of distress in your plants, you’ll be better equipped to provide a nurturing environment that leads to healthy seedlings ready for growth.
Transplanting Seedlings
Once your seedlings have developed a few true leaves and a robust root system, it’s time to consider transplanting them into a larger growing environment. This could be soil or another type of hydroponic system. Choosing the right timing for transplantation is crucial to minimize shock to the plants.
Before transplanting, ensure that their new living space is prepared and that the soil or medium is adequately moist. When you’re ready to proceed, gently remove the rockwool cube, being careful not to disturb the roots. Depending on the root growth, you might need to loosen the cube slightly to facilitate a smooth transition.
Steps for Successful Transplanting
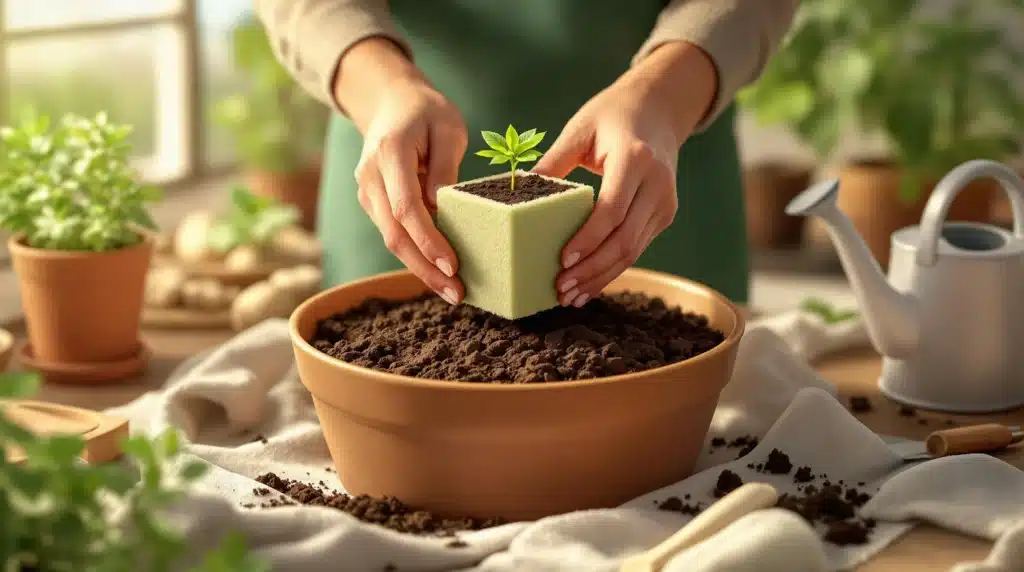
- Create a hole in your new growing medium that is deep enough to accommodate the entire rockwool block.
- Set the rockwool cube into the hole and surround it with soil to secure it properly.
- Lightly water the area surrounding the rockwool to help settle the medium and nourish the roots.
- Monitor the transplanted seedlings closely for a few weeks to ensure they adapt well to their new surroundings.
After transplanting, allow your seedlings some time to adjust. You might want to refrain from fertilizing for the first couple of weeks as they acclimate to their new home. Patience during this stage will pay off as your plants continue to grow and thrive.
FAQs About Starting Seedlings in Rockwool
How long do seeds take to germinate in rockwool?
On average, seeds will germinate within 3 to 10 days in rockwool, depending on the seed variety and the surrounding environmental conditions.
Can I reuse rockwool cubes?
Absolutely! Rockwool cubes can be reused after they’ve been properly cleaned and sterilized. Ensure you disinfect to minimize disease risks. However, it may sometimes be beneficial to replace them to avoid any leftover nutrients that could interfere with new seedlings.
What size rockwool cubes should I use for seedlings?
It’s advisable to use small cubes (approximately 1.5 to 2 inches) for starting seeds, as they provide adequate space for initial root development while remaining easy to manage.
Is rockwool biodegradable?
No, rockwool is not biodegradable, which means it’s essential to have a proper disposal plan to minimize environmental impact once you’re done using it.
How often should I water seedlings in rockwool?
Watering frequency will depend on humidity and temperature conditions, but checking the cubes daily is best. If they feel dry to the touch, give them a gentle watering.
Utilizing rockwool for starting seedlings can be tremendously beneficial, offering an effective avenue for cultivating healthy plants across all experience levels. By adhering to the steps outlined in this article and keeping a watchful eye on moisture and nutrient levels, you can ensure your seedlings grow strong and vibrant. Remember, the journey of nurturing plants from seeds is filled with learning opportunities. Embrace patience, and be open to adjusting your methods as you discover what works best for you and your plants.