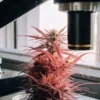
Best Way to Grow Autoflowers Outdoors

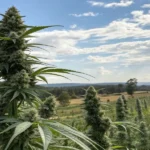
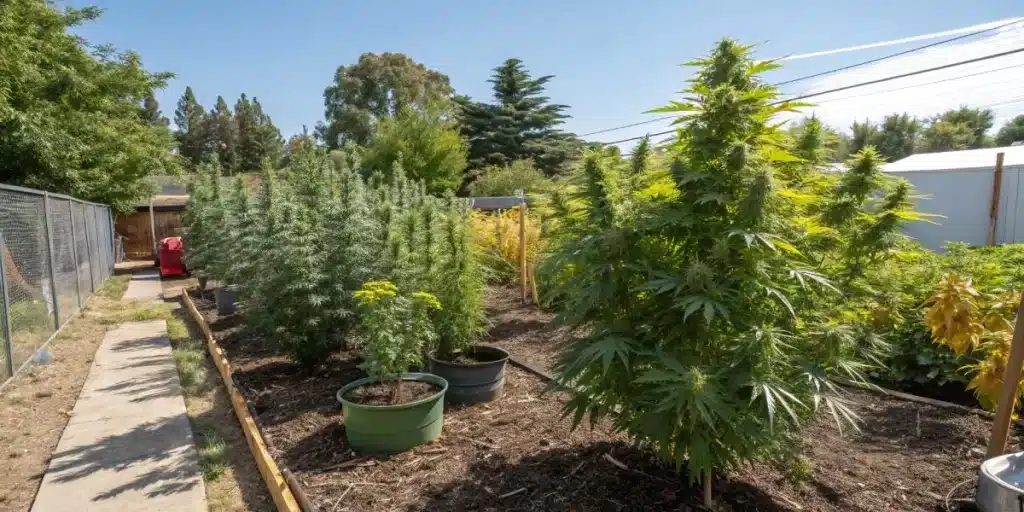
Growing autoflower cannabis seeds outdoors can be an enjoyable and rewarding experience. Whether you’re a seasoned grower or starting your first garden, knowing the best way to grow autoflowers outdoors can help you achieve the best possible results. Autoflower strains are popular because of their quick growth cycle and ease of care. This article outlines some of the best practices for cultivating these plants under the open sky.
Choosing the Right Strain
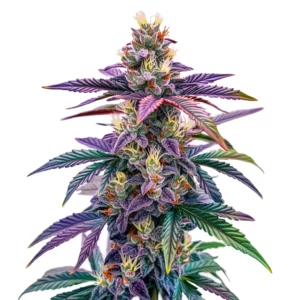
Picking the ideal strain is essential for successful outdoor cultivation. Autoflowers come in various types, each offering unique characteristics. Here are three strains that are particularly well-suited for outdoor growing:
Recommended Strains
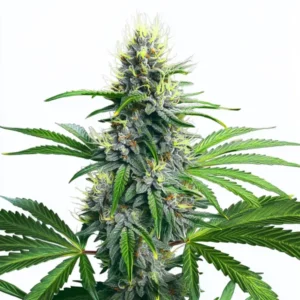
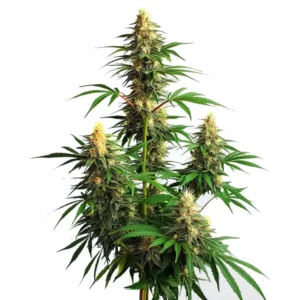
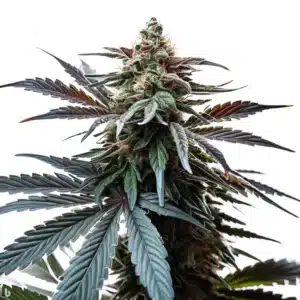
Lowryder Autoflower
|
|
THC | 12% - 14% (Low) |
|
|
Type | Autoflowering |
|
|
Yield | Low |
|
|
Phenotype | 60% Indica / 40% Sativa |
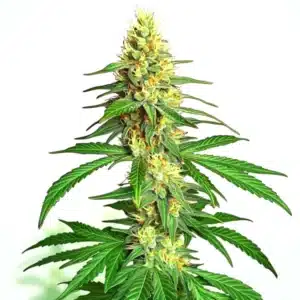
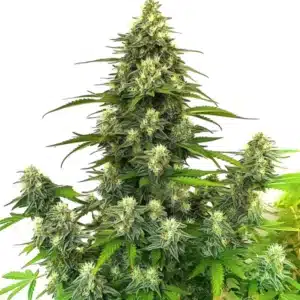
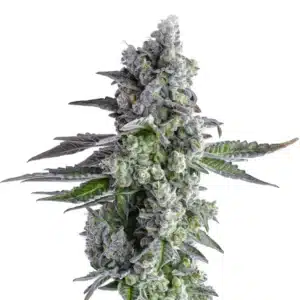
Ak59 Auto
|
|
THC | 18% - 24% (Medium) |
|
|
Type | Autoflowering |
|
|
Yield | High |
|
|
Phenotype | 50% Indica / 50% Sativa |
- White Widow: Known for its balanced effects and sweet flavor, White Widow is a reliable choice for both new and experienced growers.
- Lowryder Auto: This strain is compact and robust, making it perfect for growers with limited space. It’s a great option if you want discreet gardening.
- Amnesia Haze: With its refreshing citrus aroma and potent effects, Amnesia Haze performs well under sunny conditions and is cherished by many for its uplifting effects.
Selecting the right strain based on your local climate and growing conditions is critical. Always try to read grower reviews and consult local resources to make an informed choice. Different strains have distinct requirements for light, temperature, and humidity, so consider these variables when making your choice. A happy plant is a productive plant, and understanding the best way to grow autoflowers outdoors will help you maximize your yield in any environment.
Promos & Deals
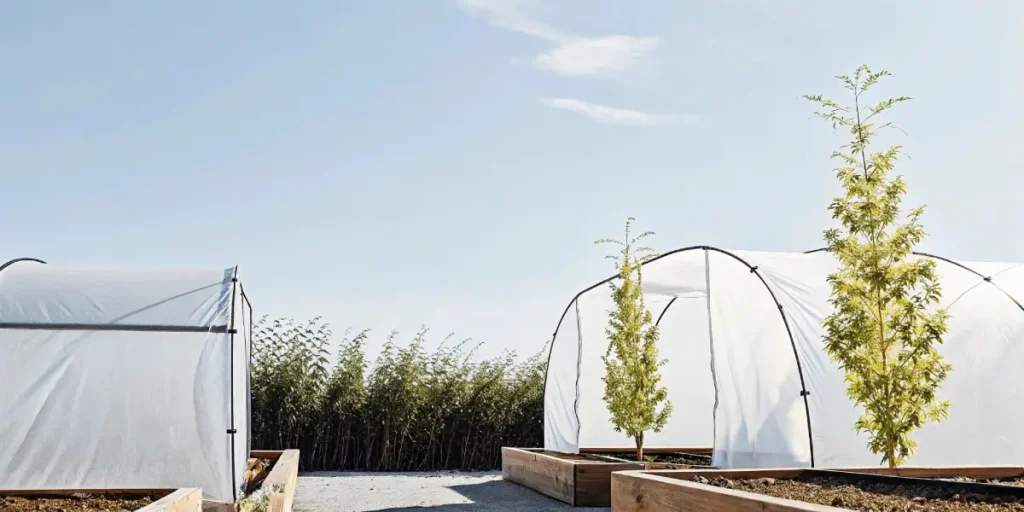
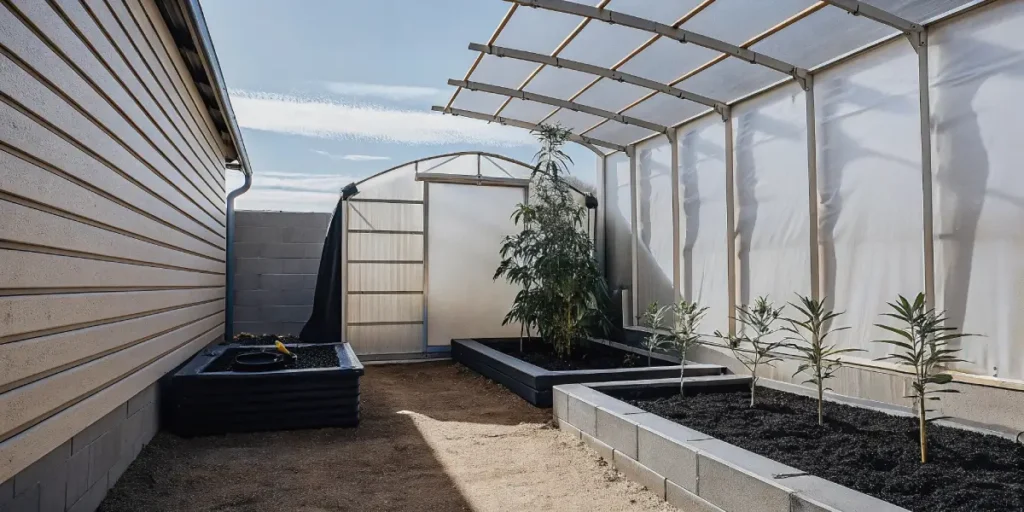
Preparing the Growing Site
Your growing location plays a key role in the success of your cannabis plants. Aim for an area that receives ample sunlight, ideally around 6 to 8 hours of direct exposure daily. If possible, choose a spot that is sheltered from strong winds, which can damage delicate plants. Clearing any surrounding debris and weeds can also minimize competition for nutrients.
Before planting, it’s advisable to test the soil. Soil fertility directly affects plant growth, so ensure your soil is well-draining and rich in nutrients. Adding organic matter, like compost or well-rotted manure, can significantly enhance soil quality. Remember, happy soil leads to happy plants!
Soil Preparation Tips
- Test soil pH and adjust if necessary. Keeping it between 6.0 and 7.0 is preferable, as this range optimizes nutrient availability.
- Incorporate amendments like perlite or vermiculite for improved drainage, which is especially important in rainy climates.
- Consider raised beds if your local soil is heavy clay or sandy; this allows for better control over soil quality and drainage.
Ensure the soil is adequately moist but not waterlogged when it’s time to plant. You can dampen it a day before planting for optimal conditions. Maintaining a balance between hydration and drainage promotes healthy root development and sets your plants up for success.
Planting Autoflowers
Once your site is prepared, it’s time to plant. Autoflowers can be grown from seeds or seedlings. If starting from seeds, plant them directly into the soil about half an inch deep. Germination usually takes place within a week. When using seedlings, plant them at the same depth they were growing in their pots for the best chances of surviving the transplant. This method is considered part of the best way to grow autoflowers outdoors, ensuring healthy establishment and optimal growth in an outdoor environment.
Pacing is important. Since autoflowers have a set lifecycle, timing your planting can influence yield. Aim to plant after the last frost date in your area, as this timing ensures that the plants receive enough light during their active growth phase. Don’t rush this process; nature has its own timeline.
Key Planting Considerations
- Space plants about 18 to 24 inches apart to allow for airflow and growth; too close together may lead to increased humidity and disease risk.
- Water gently after planting to avoid displacing the seeds or seedlings; a light spray can be very effective.
- Mark your planting dates to monitor growth and flowering cycles effectively, so you can anticipate when to make adjustments.
Keep an eye on your plants as they grow. Consistent care, including watering and light checks, will lead to vibrant and healthy autoflowers. Documenting your plants’ journeys can also help you learn what works best for future grows.
Watering and Nutrients
Proper watering practices are vital for the health of your cannabis plants. When exploring the best way to grow autoflowers outdoors, maintaining consistent moisture in the soil is essential. Aim to keep the soil consistently moist but not soggy. Depending on soil type and weather conditions, this may mean watering every few days. A good indicator of when to water is checking the top inch of soil; if it feels dry, it’s time to hydrate.
Nutrition is equally important for autoflowers. These plants thrive on a balanced nutrient diet, particularly during their vegetative and flowering stages. Look for fertilizers high in nitrogen during the vegetative stage and switch to phosphorus and potassium-rich formulas once they begin to flower. This may feel like juggling, but with a little practice, you’ll have it down to a science.
Fertilization Tips
- Start with a half-strength solution of balanced fertilizer to avoid nutrient burn—a common issue for many beginners.
- Monitor plants for signs of nutrient deficiencies, such as yellow leaves; this can indicate a need for more nitrogen or other specific nutrients.
- Follow product instructions closely to avoid over-fertilizing, which can cause more harm than good.
Using organic fertilizers can help improve soil health alongside providing the necessary nutrients. This practice not only benefits your plants but also the environment, ensuring that your gardening efforts support a healthier planet.
Pest Control
Pests can threaten outdoor cannabis plants significantly. Being proactive is key to keeping your plants safe. Regularly inspect your plants for any signs of infestation, such as holes in leaves or webbing from mites. By catching these pests early, you can prevent a minor issue from turning into a larger disaster.
Consider using natural remedies and techniques. For instance, introducing beneficial insects like ladybugs can help control aphid populations, while a simple spray of water can dislodge various pests without chemicals. Likewise, neem oil is a popular organic solution that deters various pests without harming the plants.
Effective Pest Management Techniques
- Keep the garden area clean and remove any dead plant matter, which can attract pests and diseases.
- Plant companions like marigolds or basil that can deter pests while adding beauty to your garden.
- Use insect traps to catch flying pests before they can reach your plants, providing an extra layer of protection.
Monitoring your plants regularly makes a difference. Early detection of pests can save your crop from significant damage, which is essential if you want to apply the best way to grow autoflowers outdoors and ensure a bountiful harvest later on.
Supporting Plant Growth
As your plants grow taller and heavier with buds, you may need to provide support. Outdoors, wind and rain can cause branches to bend or break. Employing stakes, cages, or trellises can help support these plants effectively and prevent them from toppling over, especially as they reach maturity.
Moreover, consider pruning or training your plants. Techniques such as Low-Stress Training (LST) involve bending branches to encourage bushier growth and even light distribution. Techniques like topping can also be beneficial. By taking these steps, you can maximize yield and maintain healthier plants while enjoying the therapeutic process of caring for your garden.
Practical Support Tips
- Use soft ties to avoid damaging branches when securing plants, which allows for flexibility as plants grow.
- Monitor your plants’ growth regularly to adjust support as needed; frequent check-ins ensure you catch any potential problems early.
- Remove dead or yellowing leaves to promote ventilation and health; this can improve light access and airflow around your plants.
Providing appropriate support can be the difference between successful harvests and loss due to environmental factors. Regularly assess how your plants are doing and make adjustments as needed, good gardening is all about adaptability!
Harvesting Your Autoflowers
Harvest time is critical for the flavor and potency of your cannabis. When considering the best way to grow autoflowers outdoors, it’s essential to remember that these plants usually reach maturity within 8 to 10 weeks after germination. Look for trichomes—small, crystal-like structures on the buds. When most are milky white, and some are amber, it’s time to harvest. Timing the harvest can significantly impact the flavor profile and potency of your yield.
Harvesting can be done by cutting the branches with scissors or using a sharp knife. It’s best to trim in cooler parts of the day to avoid the loss of potency due to heat. After harvesting, hang the branches upside down in a cool, dark, and well-ventilated area to dry. Proper curing enhances the flavor and smoothness of the final product, and it’s worth the wait!
Harvesting Tips
- Use gloves to prevent THC transfer and keep your hands clean during the process; this keeps the buds pristine.
- Trim larger leaves before hanging to improve airflow around the buds; this also helps in achieving a smoother smoke.
- Monitor drying conditions closely to prevent mold—ideal humidity is between 45-55%; invest in a hygrometer to check levels if required.
A meticulous approach to harvesting and curing can significantly enhance the quality of your final product. Remember, patience is key in this phase, as rushing to dry can ruin your hard work.
FAQs
What is the best time to plant autoflower seeds outdoors?
The best time to plant autoflower seeds is after the last frost date in your area. This timing allows the plants to benefit from longer days and plenty of sunlight, crucial for their growth. Depending on your location, this usually falls in late spring or early summer. Always consult local weather patterns if possible.
Do autoflowers require a specific light cycle?
Autoflowers do not require a specific light cycle like photoperiod strains. They will flower automatically based on their age, regardless of light exposure. However, providing them with 18-24 hours of light daily can lead to optimal growth and yield. In fact, many growers find that more light during the vegetative phase can lead to even bushier plants!
How can I tell if my autoflower plants are ready for harvest?
To determine if your autoflower plants are ready for harvest, look at the trichomes on the buds. When most of the trichomes are milky white and some appear amber, the plants are at peak potency and flavor. Using a magnifying glass or a jeweler’s loupe can help you see these details more clearly, ensuring you don’t miss that perfect moment!
What types of fertilizers should I use for autoflowers?
For autoflowers, start with a balanced fertilizer that is high in nitrogen during the vegetative stage, then switch to phosphorus and potassium-rich nutrients during flowering. Organic options are often preferred as they enrich the soil while nourishing the plants. If you’re opting for synthetic fertilizers, be mindful of application rates to avoid over-fertilizing.
How do I protect my plants from pests?
To protect your plants from pests, regularly inspect them for any signs of infestation. Utilize natural pest deterrents such as neem oil, introduce beneficial insects like ladybugs, and maintain a clean growing environment to reduce pest occurrences. Remember, prevention is often more effective than dealing with pests after they’ve arrived!