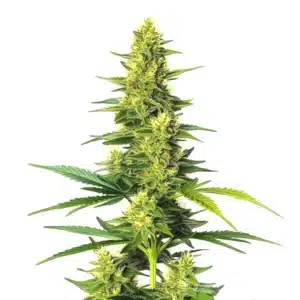
How to Grow Stardawg Regular

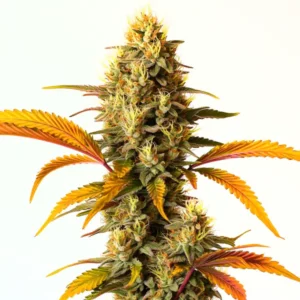
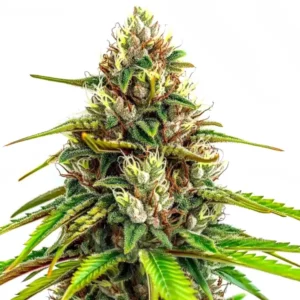
Stardawg Regular is a 55/45 sativa-leaning hybrid, a stabilised Stardawg x Stardawg line from the famous Chemdawg family. It pairs a pungent diesel, lemon and fruity flavor with a happy, relaxed, uplifted effect. THC runs from 18 to 24%, placing the Stardawg Regular strain in the medium to high range. This guide covers the full grow, from germinating the seeds to the final cure, including how to handle its regular genetics.
It grows to around 4.92 ft, finishes flowering in 8 to 10 weeks and gives a high yield of frosty, resin-caked buds. If you like these genetics, Blimburn also offers the feminized Stardawg, a cup winner, and the Stardawg Auto.
Recommended Strains
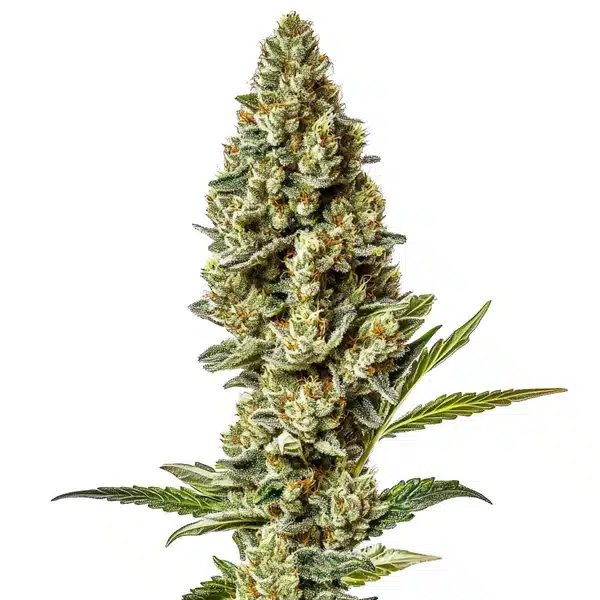
Stardawg Regular

|
THC | 18% - 24% (High) |

|
Type | Regular |

|
Yield | High |

|
Phenotype | 45% Indica / 55% Sativa |
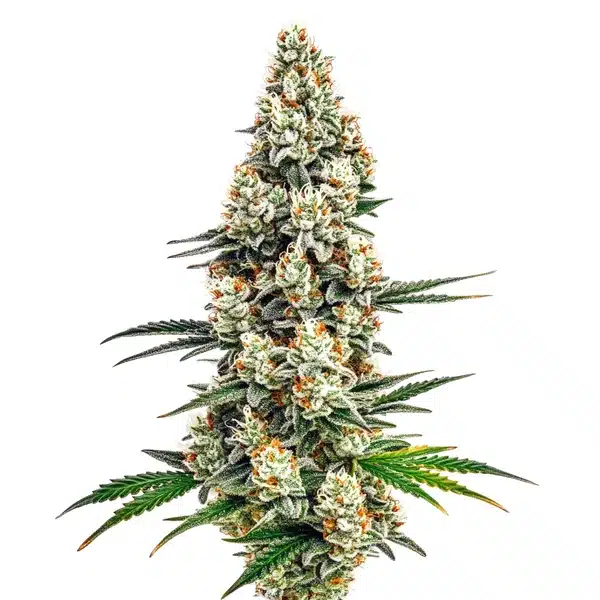
Stardawg
|
|
THC | 17% - 25% (High) |
|
|
Type | Feminized |
|
|
Yield | Low |
|
|
Phenotype | 45% Indica / 55% Sativa |
Stardawg Regular at a Glance
Before you plant anything, it helps to see the full picture in one place. Here is the quick profile for this regular sativa hybrid, taken straight from the strain’s grow data.
| Seed type | Regular |
|---|---|
| Genetics | Stardawg x Stardawg |
| Phenotype | 45% Indica / 55% Sativa |
| THC | 18–24% (medium to high) |
| Flowering time | 8–10 weeks |
| Outdoor harvest | October |
| Height | up to 4.92 ft (1.5 m) |
| Yield level | High |
| Yield indoor | 1.31–1.64 oz/ft² |
| Yield outdoor | 15.87–19.4 oz/plant |
| Climate | Temperate |
| Dominant terpenes | Limonene, Myrcene, Pinene, Terpinolene, Humulene, Linalool, and more |
| Flavors | Diesel, Fruity, Lemon |
| Effects | Happy, Relaxed, Uplifted |
| Difficulty | Beginner-friendly |
These are regular seeds, so you will get a natural mix of male and female plants, and its 55% sativa makeup places it with the sativa seeds for growers who want an energetic, diesel-forward classic.
Promos & Deals
How to Germinate Stardawg Regular Seeds
A healthy harvest starts at germination. The paper towel method is hard to beat: fold the Stardawg Regular seeds inside two damp sheets, slide them between two plates, and keep them somewhere dark at 70 to 79°F. A taproot usually appears in one to five days.
Once the root is a few millimetres long, move each seed into its starter pot with the root pointing down and cover it with about 2 cm of soil. Keep the medium lightly moist, not soaked, and hold humidity around 65 to 70% while the first true leaves open. Because these are regular seeds, germinate a few extra so you still have plenty of females once you remove the males later on.
Starter tips
- Use plain, lightly pH-balanced water (pH 5.5 to 6.5) for the first week.
- Give seedlings gentle light, not a full-power lamp pressed overhead.
- Hold off on nutrients until the second set of serrated leaves appears.
Growing Stardawg Regular in the Vegetative Stage
Stardawg Regular likes a temperate climate with warm, bright summers. Aim for day temperatures of 68 to 81°F and keep veg humidity in the 50 to 60% band so the leaves stay healthy. An airy substrate with perlite, peat or coco coir holds moisture without drowning the roots.
Its temperate nature suits a range of US regions:
- Northern California (Emerald Triangle): the long, mild season is ideal for this sativa and lets it finish comfortably for an October harvest.
- Southern Oregon: warm, dry summers give clean growth and sharp diesel-lemon terpenes, so finish and harvest before the autumn rains set in.
- Colorado Front Range (Denver): warm days and cool nights at altitude suit it; give it light and space, and start early so it finishes before the first hard frost.
At around 4.92 ft this is a moderate, sativa-leaning plant that can stretch. Top it once it has five or six nodes, and use low-stress training to even the canopy and spread the branches so every bud site gets light, which is how you reach its high yield.
Identifying the Sex of Your Plants
Because these are regular seeds, roughly half of your plants will be male and half female, and only the females produce the resinous, diesel-scented buds you are after. This is the one extra step that regular seeds add, and it is simple once you know what to look for.
Toward the end of veg, or within the first week or two after you flip to 12/12, check the nodes where the branches meet the main stem. Females show thin white hairs, called pistils, emerging from small tear-shaped calyxes. Males form small round balls, the pollen sacs, in little clusters. Remove the males promptly before those sacs open, because a single male can pollinate a whole room and turn your harvest to seed. If you want to breed or preserve this Chemdawg line, keep one healthy male isolated well away from the flowering females.
Flowering and Buds of Stardawg Regular
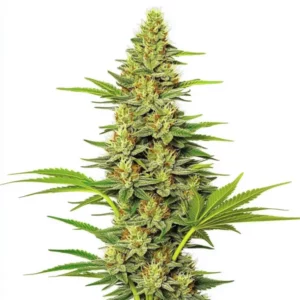
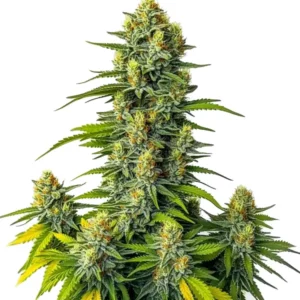
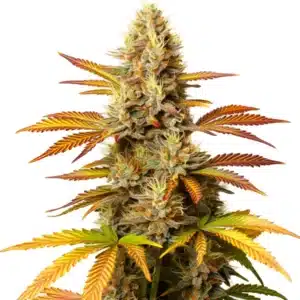
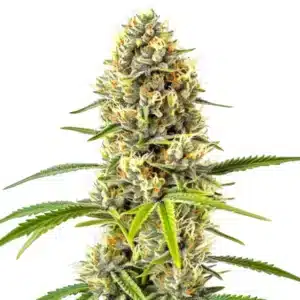
Once your females are under a 12/12 light cycle, Stardawg Regular finishes in 8 to 10 weeks. Expect noticeable stretch early on, typical of its sativa side, before it fills out with frosty, resin-caked buds that give off a pungent diesel, lemon and fruity aroma.
Drop humidity to 40 to 45% during flower and keep airflow moving through the canopy so the buds finish clean. Support the longer branches as they get heavy, and outdoors plan for an October harvest.
At 18 to 24% THC it frosts over with a heavy resin layer, a Stardawg hallmark, so judge ripeness by the trichomes rather than the calendar.
Common Problems and Pro Tips
Stardawg Regular is vigorous, but its sativa structure, loud aroma and regular genetics point to a few things worth watching.
- Missed males: the biggest regular-seed mistake is letting a male slip through; check every plant at the nodes before and just after the flip, and recheck, since the occasional late bloomer can appear.
- Stretch and smell: the sativa side stretches, so train early; and this is a loud, diesel-pungent plant in flower, so plan carbon filtration if you grow where discretion matters.
- Feeding and pests: it takes a moderate feed, and a light Cal-Mag supplement keeps the leaves clean; check leaf undersides weekly for spider mites.
Expert tip: Stardawg is prized for its heavy, sticky resin, so it is a top hash plant; save every scrap of frosty trim. The pungent diesel-lemon aroma lives in the trichome heads, so protect it with a slow dry and a long cure, and a touch of cool, dry air late in flower keeps it sharp.
Aroma, Flavor and Effects
The nose is loud and unmistakably Chemdawg: sharp diesel and fuel up front, lifted by a bright lemon-citrus and a hint of sweet fruit. It reads pungent and savory rather than sweet, and it only gets louder as the buds cure in the jar.
The flavor follows, diesel and lemon with a fruity edge on the exhale. On the effect side it is happy, relaxed and uplifted, a bright, energetic lift from its sativa side balanced by an easy body ease, which makes it a versatile daytime choice.
Terpene profile
This is a pungent, diesel-citrus profile. Limonene drives the bright lemon-citrus lift; Myrcene grounds it with a ripe, earthy depth; and Pinene adds a sharp, fresh pine note that sits behind the fuel. Terpinolene brings a fresh, fruity complexity, Humulene an earthy, woody edge, and Linalool a soft floral touch, with citral, camphene, nerolidol and more rounding out the blend. Together they explain the loud diesel-and-lemon Stardawg signature.
Nutrient Schedule
Treat the figures below as a starting map, not a rulebook. Stardawg Regular takes a moderate feed well, but read the plant first: tip burn means back off, while pale, slow growth means it wants a little more. All values use EC.
| Stage | EC |
|---|---|
| Seedling | 0.4–0.6 |
| Growth | 0.8–1.2 |
| Early flower | 1.2–1.4 |
| Full flower | 1.4–1.6 |
| Flush | 0.0–0.4 |
Keep the pH around 6.0 to 6.5 in soil and 5.5 to 6.0 in hydro so the roots can actually take up what you feed.
What to Do With Your Trim: Extracts and Hash
Stardawg is famous for heavy, sticky resin, so the trim from Stardawg Regular is well worth keeping. The frosty sugar leaves you take off while manicuring carry plenty of trichomes and suit Ice Water Hash, where cold water and agitation separate the resin heads into a clean, solventless concentrate. Pressing that hash into rosin keeps the pungent diesel-lemon flavor intact, and Stardawg is a classic choice for top-shelf hash, or you can run a solvent extraction if that is your setup. The bare stems will not extract, but chopped and composted they feed organic matter back into the soil for your next grow.
Harvesting, Drying and Curing Stardawg Regular
Timing the harvest comes down to the trichomes. Grab a loupe and watch the heads turn from clear to milky white; a scattering of amber signals peak ripeness. Outdoor plants usually reach that point in October, while indoor runs land at the end of the 8 to 10 week flowering window.
After the cut, hang the branches in a dark room at 59 to 68°F with humidity near 50% and gentle air movement. Slow beats fast: drying over 10 to 14 days protects the sharp diesel and lemon terpenes that define this strain. When the small stems snap instead of bending, move the buds into jars.
Cure in sealed glass, opening the jars daily for the first week to let moisture escape, then easing off as the aroma deepens. Two to four weeks of patience here is where the pungent diesel-lemon flavor really comes forward, and it is the step most first-time growers rush.

Frequently Asked Questions
Is Stardawg Regular easy to grow for beginners?
Yes, Stardawg Regular is beginner-friendly in the garden, growing to around 4.92 ft and taking a moderate feed well. The one extra task is that, being regular seeds, you need to identify and remove the male plants early. Once you learn that simple check, this resinous, diesel-forward classic is a forgiving, rewarding strain.
How long does Stardawg Regular take to flower?
Stardawg Regular flowers in 8 to 10 weeks indoors once your females are under a 12/12 light cycle. Outdoors it is usually ready in October. Expect noticeable stretch in the first weeks of flower from its sativa side, so train the canopy before you flip the lights to keep it even and productive.
How much does Stardawg Regular yield?
Stardawg Regular is a high yielder. Indoors it gives 1.31 to 1.64 oz/ft² under good light, and outdoors each plant produces 15.87 to 19.4 oz/plant. Training to an even canopy so light reaches every resinous bud site is the key to hitting the top of its range with this sativa.
How strong is Stardawg Regular?
Stardawg Regular has a medium to high THC level of 18 to 24%. The effect is happy, relaxed and uplifted, a bright, energetic lift from its 55% sativa side balanced by an easy body ease. It leans daytime and social, a versatile Chemdawg-family classic rather than an overwhelming one.
What does Stardawg Regular taste and smell like?
Stardawg Regular is loud and unmistakably Chemdawg: sharp diesel and fuel lifted by bright lemon-citrus and a hint of sweet fruit, driven by limonene, myrcene and pinene. It is pungent and savory rather than sweet, and that diesel-lemon character only gets louder as the buds cure slowly.
Why is Stardawg Regular sold as regular seeds?
Stardawg Regular comes as regular seeds, meaning they produce both male and female plants in a natural ratio. Growers who want to breed, preserve this Chemdawg line or select their own mother plants prefer regular seeds. You simply identify and remove the males early so only the female plants flower into buds.