Autoflower Week 6: Guide for Cannabis Growers

What to Expect During Week 6
In autoflower week 6, your plants should be well into the flowering phase. You’ll notice an increase in bud size and density, accompanied by a more pronounced aroma. The pistils, tiny hair-like structures on the buds, will become more abundant, indicating that the plant is focusing its energy on reproduction. This stage is marked by rapid changes, so daily monitoring is essential to catch any issues early.
It’s also common to see a slight yellowing of the lower leaves as the plant redirects nutrients to support bud development. However, widespread yellowing or spotting can be a sign of nutrient deficiencies or other problems that need immediate attention. Observing your plants closely during week 6 ensures you can address any potential problems promptly.
Recommended Strains
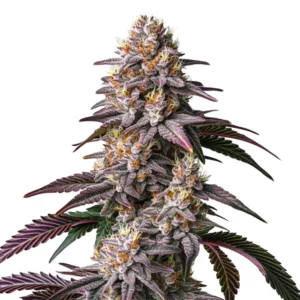
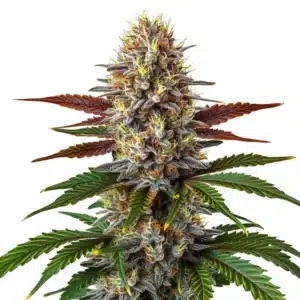
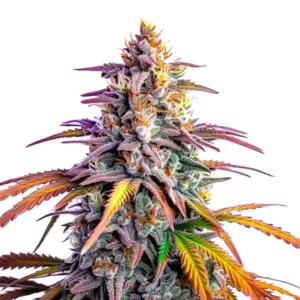
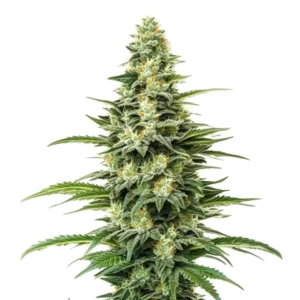
Motor Breath
|
|
THC | 30% - 33% (High) |
|
|
Type | Feminized |
|
|
Yield | Medium |
|
|
Phenotype | 70% Indica / 30% Sativa |
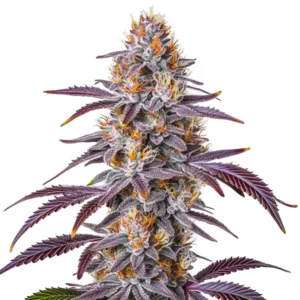
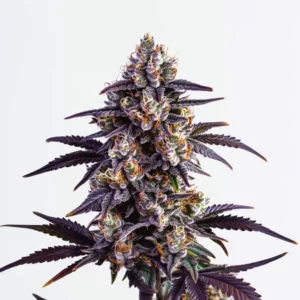
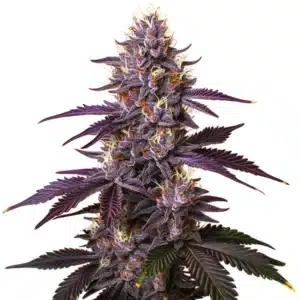
Motor Breath x Honey Drop
|
|
THC | 24% - 26% (High) |
|
|
Type | Feminized |
|
|
Yield | Medium |
|
|
Phenotype | 70% Indica / 30% Sativa |
Promos & Deals
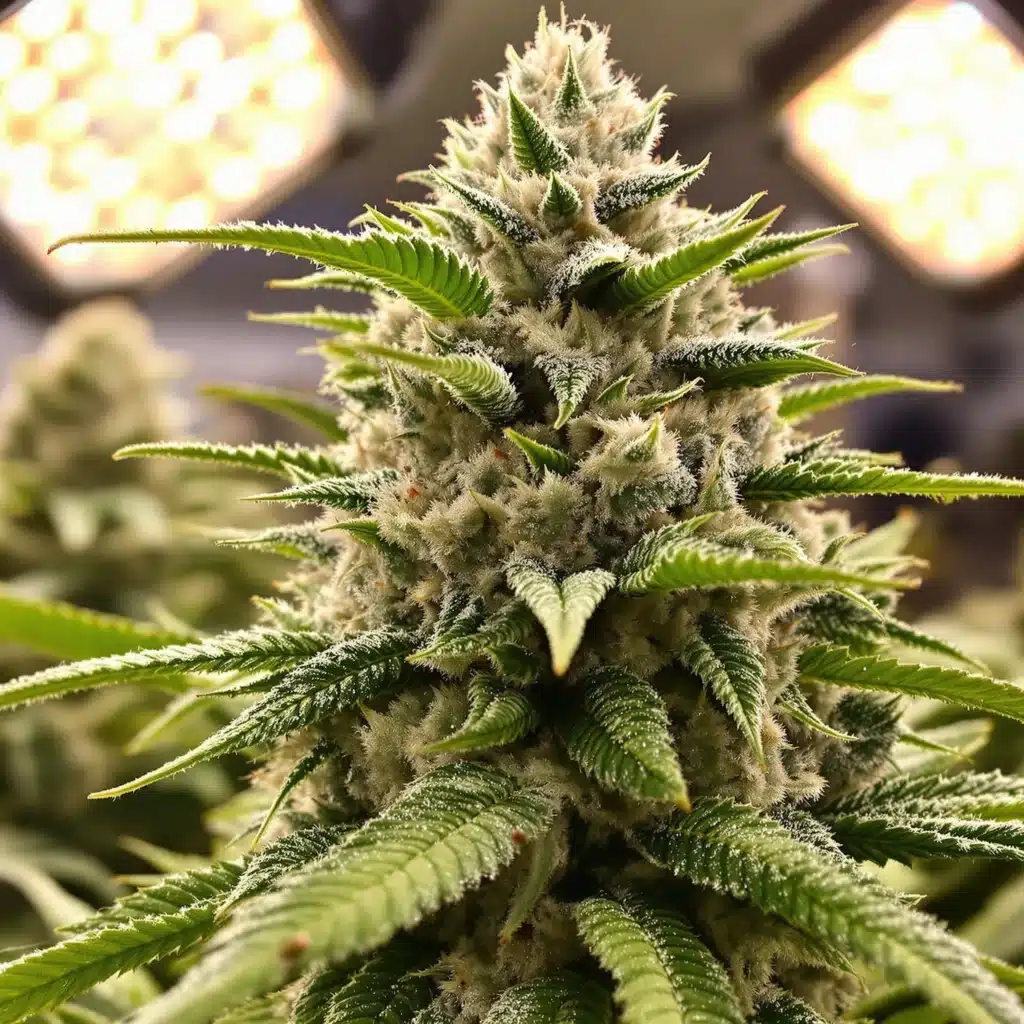
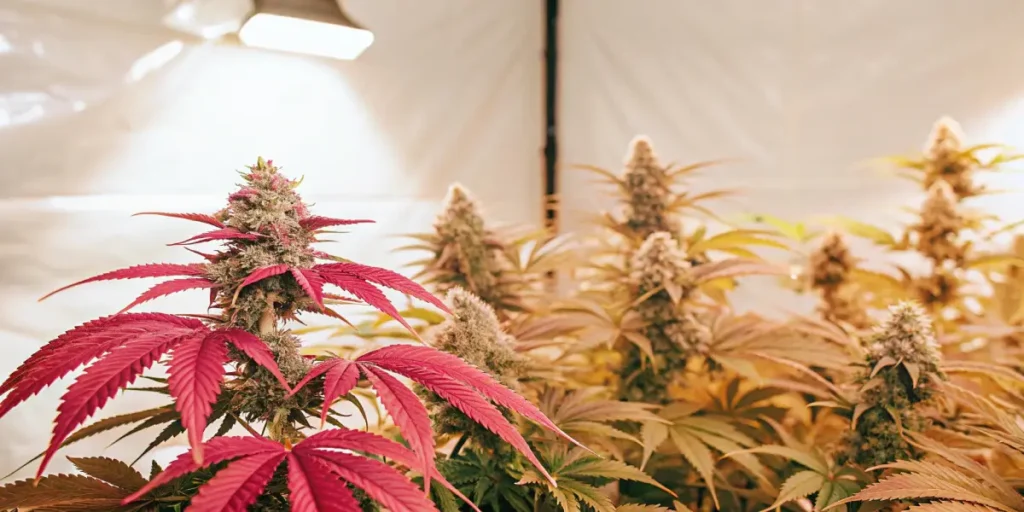
Signs of Bud Maturity in Autoflowers
During week 6, the buds will start to exhibit signs of maturity. Trichomes, the tiny, crystal-like structures covering the buds, will become more prominent. Initially clear, these trichomes will begin to turn milky white, indicating increasing cannabinoid content. Monitoring trichome development is crucial for determining the optimal harvest time.
Additionally, the pistils may start to change color, shifting from white to orange or brown hues. This color change is a natural part of the maturation process. However, it’s important to rely more on trichome appearance than pistil color when assessing readiness for harvest, as pistil color can sometimes be misleading.
Common Challenges in Week 6
One common issue during autoflower week 6 is nutrient imbalance. Overfeeding can lead to nutrient burn, characterized by brown or burnt leaf tips, while underfeeding may cause yellowing leaves and stunted growth. It’s essential to follow a balanced feeding schedule and adjust based on your plant’s specific needs.
Another challenge is maintaining optimal environmental conditions. High humidity levels can promote mold and mildew growth, especially as buds become denser. Ensure proper air circulation and consider using a dehumidifier to keep humidity in check. Addressing these challenges early can prevent significant problems down the line.
Optimal Temperature and Humidity Levels
Maintaining the right temperature and humidity is vital during week 6. Aim for daytime temperatures between 68-77°F (20-25°C) and slightly cooler nighttime temperatures. Humidity levels should be kept around 40-50% to prevent mold and mildew while allowing the plant to transpire effectively.
Sudden temperature fluctuations can stress the plant, leading to reduced yields and quality. Using a hygrometer and thermometer can help you monitor these parameters closely and make necessary adjustments promptly. Creating a stable environment is key to healthy bud development.
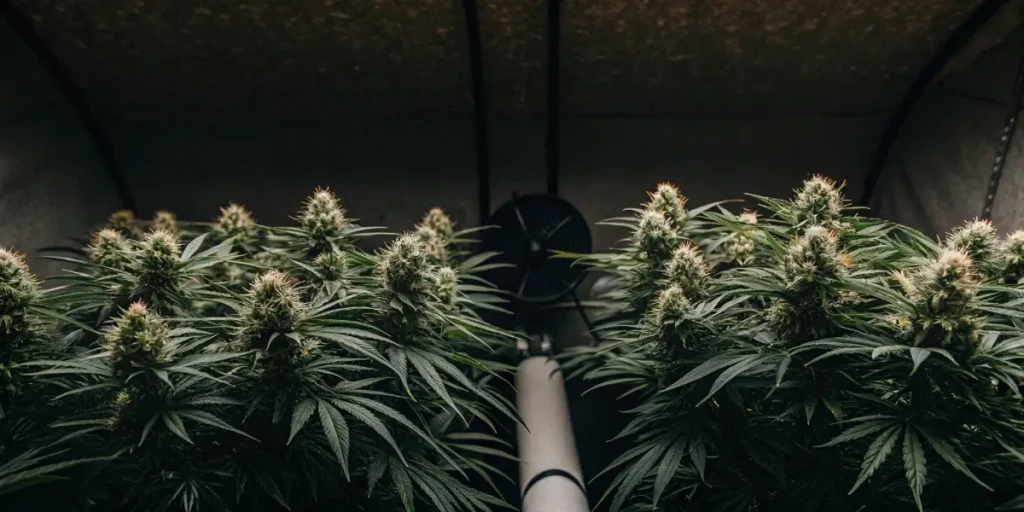
Maintaining Proper Air Circulation
Good air circulation is crucial in autoflower week 6 to prevent mold growth and ensure even CO₂ distribution. Use oscillating fans to keep air moving gently around the plants, ensuring that all parts of the plant receive fresh air. Proper ventilation also helps in controlling temperature and humidity levels, creating a stable environment for your plants to thrive.
Ensure that the airflow reaches the lower parts of the plant as well, as stagnant air in these areas can lead to mold development. Regularly inspect your ventilation system to ensure it’s functioning correctly and adjust as needed. Air circulation is a simple yet effective way to maintain plant health.
Adjusting Light Intensity
Light plays a crucial role in bud development during week 6 autoflower. Ensure your plants receive adequate light intensity to promote dense bud formation. However, be cautious of light burn, which can occur if the lights are too close to the canopy. Signs of light burn include bleached or yellowing leaves at the top of the plant.
Adjust the height of your lights to maintain an optimal distance from the plant canopy, typically around 18-24 inches, depending on your light source. Regularly monitor your plants for signs of light stress and adjust accordingly. Providing consistent, quality lighting ensures robust bud growth.
Transitioning to Full Bloom Nutrients
By autoflower week 6, it’s advisable to transition to a full bloom nutrient regimen. Bloom nutrients are formulated to support bud development, typically containing higher levels of phosphorus and potassium. Follow the manufacturer’s guidelines for dosing, but always start with a lower concentration to assess how your plants respond.
Over-fertilization can harm your plants, so it’s better to underfeed slightly than to overfeed. Observe your plants closely after feeding for any signs of nutrient burn or deficiencies and adjust your feeding schedule accordingly. Proper nutrient management is critical for maximizing yields.
Balancing pH Levels for Maximum Nutrient Uptake
Maintaining the correct pH level in your growing medium is essential for nutrient uptake. For soil grows, aim for a pH between 6.0 and 7.0. In hydroponic systems, a pH of 5.5 to 6.5 is ideal. Regularly test the pH of your water and nutrient solution, as well as the runoff, to ensure it stays within the optimal range.
pH imbalances can lead to nutrient lockout, where the plant cannot absorb essential nutrients even if they are present in the soil. This condition can cause various deficiency symptoms, hindering your plant’s development during this critical stage. Monitoring pH regularly can prevent such issues.
Avoiding Overfeeding During Mid-Flowering
While it’s important to provide adequate nutrients during autoflower week 6, overfeeding can be detrimental. Signs of overfeeding include dark green leaves, burnt leaf tips, and nutrient lockout. To avoid this, adhere to a feeding schedule and monitor your plants closely for any adverse reactions.
If you suspect overfeeding, consider flushing your plants with pH-balanced water to remove excess nutrients from the soil. After flushing, resume feeding at a reduced nutrient concentration and gradually increase as needed. Preventing overfeeding ensures healthy, vigorous plants.
Enhancing Resin Production with Light Adjustments
Cannabis plants produce the most resin during the flowering stage, making autoflower week 6 a prime time to optimize lighting. Increasing red spectrum light during this phase can stimulate resin production and enhance bud potency. Ensure your grow lights provide full-spectrum coverage to promote balanced plant development.
Adjust the intensity of your lights carefully to avoid light burn while still providing sufficient energy for resin production. Regularly monitor your plants for signs of stress, such as leaf curling or discoloration. Proper lighting adjustments will maximize resin production and overall bud quality.
Training Techniques to Improve Light Penetration
Training techniques like low-stress training (LST) or defoliation can improve light penetration during week 6. Gently bending branches to create an even canopy ensures that all buds receive equal exposure to light, promoting uniform growth and higher yields.
Defoliation involves removing excess fan leaves that block light from reaching lower bud sites. However, be cautious not to over-prune, as this can stress the plant. Implementing these training methods with care will help improve light distribution and enhance bud development.
Identifying and Fixing Nutrient Deficiencies
Nutrient deficiencies can hinder growth and affect bud quality during week 6. Yellowing leaves may indicate a nitrogen deficiency, while dark spots can signal a lack of calcium or magnesium. Regularly inspect your plants for these symptoms to catch and address deficiencies early.
To fix deficiencies, adjust your feeding schedule to include the missing nutrients. Ensure your nutrient solution is balanced and properly diluted to avoid overcorrecting. Monitoring plant health closely during autoflower week 6 will ensure optimal development and reduce the risk of long-term damage.
Inspecting Leaves and Buds for Issues
Inspecting your plants regularly during week 6 is essential for maintaining their health. Look for signs of pests, mold, or nutrient imbalances on the leaves and buds. Early detection allows you to take corrective measures before issues escalate. Pay close attention to the buds, as dense flowers are more susceptible to mold and mildew. Maintaining a clean grow environment and monitoring for problems will help you preserve the quality of your harvest.
Managing Pests and Mold in Week 6
Pests and mold can threaten your crop during autoflower week 6. Common pests include spider mites, aphids, and thrips, which can damage leaves and buds. Use organic pest control methods or neem oil to eliminate infestations safely.
Mold and mildew often develop in high-humidity conditions. Lower humidity levels to 40-50% and ensure proper airflow to minimize these risks. Regular inspections and preventative measures will keep your plants healthy and productive.
Recognizing Signs of Stress in Autoflowers
Stress can significantly impact plant growth and yield during week 6. Common signs of stress include drooping leaves, discoloration, or stunted growth. Environmental factors like extreme temperatures or light intensity can trigger these symptoms. To reduce stress, maintain stable growing conditions and provide consistent care. Monitor your plants daily and address any changes promptly to keep them thriving during this critical stage.
FAQs About Autoflower Week 6
Should I change my feeding schedule during week 6?
Yes, for a 6 week autoflower, adjust your feeding schedule to focus on bloom nutrients that support bud development. Reduce nitrogen levels and increase phosphorus and potassium to promote healthy flowering. Monitor your plants for signs of nutrient deficiencies or overfeeding and adjust as needed.
How do I know if my plants are on track for harvest?
Look for signs of bud maturity, such as milky trichomes and pistils changing color. Additionally, observe the overall health of your plants, ensuring they show no signs of stress or deficiencies. Healthy plants with robust buds are a good indicator that your grow is progressing well.
Can I still use training techniques at this stage?
Yes, but stick to low-stress methods like LST or light defoliation to avoid causing unnecessary stress to the plants. Training techniques can improve light penetration and bud exposure, enhancing overall yield and quality. Use these methods carefully to maximize your harvest during autoflower week 6.