If you’re looking for a fun, effective, and budget-friendly way to enhance your smoking experience, learning this method is a game changer. Whether you’re a seasoned cannabis enthusiast or just getting started, mastering this tool can take your sessions to the next level. In this guide, we’ll walk you through everything you need to craft a perfect DIY smoking device right at home.
When you hear about these types of devices, they might seem like just another smoking tool, but they’re unique in the way they use gravity. Unlike regular pipes or bongs, they work by creating suction to draw smoke into a chamber, delivering an intense hit in one smooth motion. The beauty lies in their simplicity and effectiveness.
What Exactly is a Grav Top?
This device stands out from many other smoking tools because it uses water to create a vacuum. While a standard pipe or bong might rely on manual inhalation, this method uses gravity to pull the smoke into the chamber. This results in more concentrated hits and gives users greater control over the size and intensity of each hit. If you enjoy powerful, full-bodied hits without wasting any product, this device is for you.
Promos & Deals
Materials You Need to Make One
Now that you know what this smoking tool is and how it differs from other devices, it’s time to get hands-on. The best part about making one is that you likely already have most of the materials at home. There’s no need for specialized equipment just a few simple items, and you’re ready to go.
Essential Tools
To make this tool, you’ll need:
- A plastic bottle (a 2-liter works great)
- A larger container (a bucket or sink)
- Aluminum foil (for creating a bowl)
- A pin or needle (for poking holes)
- A lighter or matches
Each of these items plays a key function in ensuring your homemade device functions smoothly, delivering the powerful hits you’re after. Don’t worry if you’re missing a specific item, there are plenty of household alternatives.
Household Substitutes
If you don’t have everything on hand, don’t stress. You can improvise with common household items. For example, instead of a traditional glass bowl, you can create one using a small piece of aluminum foil. If you don’t have a pin, a sharp object like a toothpick will do the trick.
Once you have all your materials, you’re ready to start building your smoking device.
Step-by-Step Guide to Making a Grav Top
Crafting one isn’t difficult, but following the right steps is essential to get it working just right. Below is an easy-to-follow guide to ensure success.
Preparing the Bottle and Bowl
Start by cutting the bottom off your plastic bottle. This bottle will act as the chamber for the smoke, so the size of the bottle will influence how large each hit is. Next, create the bowl. Take a small piece of aluminum foil and wrap it tightly around the mouth of the bottle, creating a small depression in the center. Use a pin or toothpick to poke tiny holes into the foil, allowing airflow without your product falling through.
Once the bowl is set, fill your larger container with water. Ensure the water level is high enough to submerge the bottle but still allows you to pull it out slowly.
Assembling the Device
Now, it’s time to assemble. Insert the bottle’s mouth into the water, holding the base of the bottle with your hand. Place your product in the aluminum foil bowl and light it. As you light the bowl, slowly lift the bottle out of the water, creating suction that draws the smoke into the bottle.
When the bottle is full of smoke, carefully remove the foil bowl and place your mouth over the top of the bottle. Slowly push the bottle back into the water while inhaling the smoke.

Tips for Using Safely
While making and using this device is relatively simple, there are a few key points to keep in mind to ensure you’re using it safely. Avoiding spills and maintaining airflow are important for an enjoyable experience.
Best Practices for Avoiding Spillage
Accidental spillage can be frustrating. To avoid it, make sure you have a steady hand when lifting and lowering the bottle into the water. Always use a container that’s wide and deep enough to prevent water from spilling.
Another useful tip is to use a bottle size that’s appropriate for the container you’re using. A 2-liter bottle might work well in a large sink or bucket, but if you’re working with a smaller container, downsizing the bottle can help prevent unnecessary mess.
Maintaining Airflow and Smoke Quality
Smooth airflow is the key to a great experience. If you notice that the smoke isn’t pulling correctly, check the holes in your foil bowl. Too few holes can restrict airflow, making it difficult to draw the smoke through. On the other hand, too many holes can cause your product to fall through, wasting it.
Regularly replacing the aluminum foil bowl ensures you’re always getting the best possible hits. Worn-out foil can affect airflow and the overall quality of the smoke.
Enhancing Your Grav Top Experience
Once you’ve mastered the basics of making and using a grav top, you can enhance your experience by making a few adjustments. These tweaks can make your sessions smoother, more enjoyable, and tailored to your preferences.
Adding Ice or Water for Smoother Hits
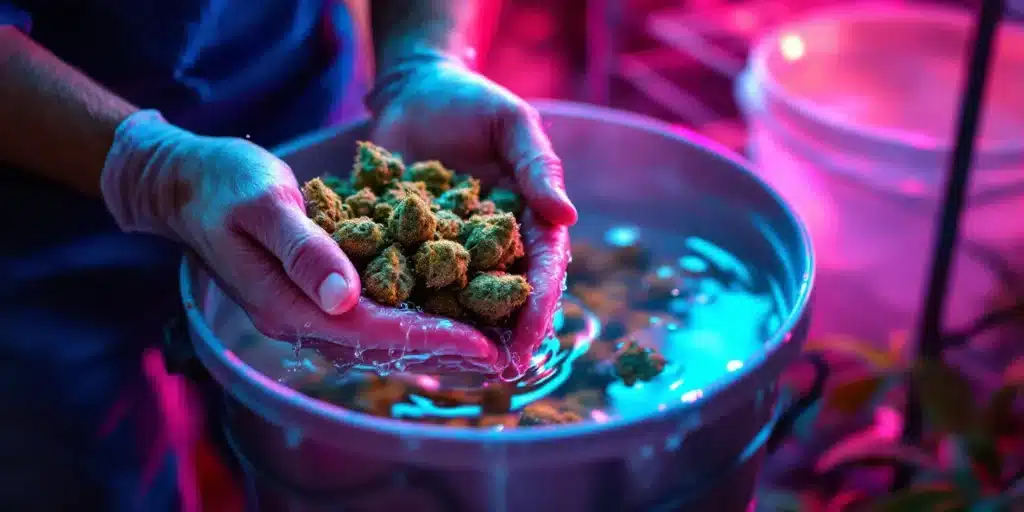
One of the simplest ways to improve your experience is by adding ice or chilled water to the container. This cools the smoke, reducing the harshness of each hit. By making the smoke smoother, it becomes easier to take larger hits without feeling overwhelmed.
To do this, just add a few ice cubes to the water before you start using the device. You can also fill the container with cold water from the fridge. This small adjustment can make a noticeable difference in the quality of your hits, giving you a more comfortable and enjoyable session.
Choosing the Right Strain
The strain of cannabis you choose can also impact your experience. Some strains produce heavier, denser smoke, while others offer a smoother, lighter hit. If you’re looking for a more intense session, opt for strains with high THC content, such as Gorilla Glue 4 or White Widow.
If you prefer a more mellow experience, a strain with a balanced THC-to-CBD ratio might be better. Harlequin or Cannatonic are excellent choices for those who want to enjoy a relaxing session without being overwhelmed. Trying out different strains can help you find the perfect match for your grav top sessions.
Customizing Your Grav Top
One of the benefits of a DIY device is its flexibility. Once you’ve built your basic grav top, you can experiment with different setups and accessories to create a custom experience that suits your style.
Experimenting with Different Bottle Sizes
While a 2-liter bottle is the standard, you can try different bottle sizes to adjust the intensity of your hits. A smaller bottle, such as a 1-liter or even a 500ml bottle, allows for more controlled hits, which is ideal for beginners or those who prefer smaller doses.
For more experienced users seeking a stronger session, a larger bottle can produce more intense hits. Keep in mind that a larger bottle will require more water to create proper suction, so ensure your container is large enough to accommodate the bottle size you choose.
Trying Different Bowl Types
Upgrading the bowl on your grav top can significantly improve your overall experience. While an aluminum foil bowl works in a pinch, switching to a metal or glass bowl will provide better airflow and durability. These materials are also easier to clean and can be reused without needing replacement as often.
If you have a spare bowl from another device, such as a bong or pipe, you can fit it onto your grav top for smoother, cleaner hits. This not only enhances the taste of the smoke but also helps you avoid burning your product too quickly.
Troubleshooting Common Issues
Even with the right setup, you might occasionally run into issues while using your grav top. Luckily, most problems are easy to troubleshoot once you know what to look for. Here are some common problems and their solutions to keep your device running smoothly.
Weak Smoke or Poor Suction
If you’re noticing that the smoke isn’t as dense as you’d like or that the suction is weak, the issue might be with the airflow in the bowl. Too few or too small holes in the aluminum foil can restrict the airflow, making it harder to pull smoke through the bottle. Try adding a few more holes or switching to a bowl that offers better airflow.
Another potential issue could be the water level in the container. If the water level is too low, the suction won’t be strong enough to pull the smoke into the bottle. Make sure the water is high enough to create a tight seal around the base of the bottle when you pull it out.
Harsh or Hot Smoke
If the smoke feels too harsh or hot, you can make a few adjustments to cool it down. Adding ice or cold water to the container, as mentioned earlier, is a great way to cool the smoke and reduce the harshness. Pulling the bottle more slowly can also help you get a smoother hit, as the smoke will have more time to fill the chamber.
If the harshness persists, your device might need cleaning. Residue buildup inside the bottle or on the bowl can affect the quality of the smoke, making it taste harsher. A quick rinse or deep clean can make a big difference in the smoothness of your hits.
Perfecting Your Technique
Beyond the materials and setup, your technique plays a huge function in getting the most out of your device. Refining how you use it will improve the intensity and quality of each session.
Practice Controlled Lifts for Better Hits
The speed at which you lift the bottle out of the water directly impacts the size and intensity of your hits. For a smoother, more enjoyable experience, practice lifting the bottle slowly and steadily. This allows the smoke to fill the chamber gradually, giving you a fuller, more controlled hit.
If you prefer stronger hits, you can pull the bottle more quickly. This will result in denser smoke, but be sure to manage your breath and inhale smoothly to avoid discomfort. Finding the right balance between speed and intensity is key to perfecting your grav top sessions.
Fine-Tuning the Water Level
The water level in your container is critical for the proper functioning of your device. Too little water can lead to weak suction, while too much water makes it difficult to pull the bottle up smoothly. Experiment with different water levels until you find the perfect balance that creates the ideal suction for your hits.
A good starting point is to submerge the bottle about halfway into the water. From there, you can adjust the water level as needed to achieve the right smoke density and suction for your grav top.
Cleaning and Maintaining
Proper maintenance is essential to keeping your device in good condition. A clean, well-maintained device not only produces smoother hits but also ensures your grav top lasts longer.
How Often Should You Clean It?
The frequency of cleaning depends on how often you use your device. For regular use, a quick rinse after each session can help prevent residue from building up inside the bottle. At a minimum, you should aim to give the device a thorough cleaning after every few sessions to ensure it continues working efficiently.
To clean the device, simply rinse it with warm water and mild soap. Scrub the inside of the bottle if necessary, and make sure to clean or replace the bowl. Keeping your device clean ensures proper airflow and better smoke quality.
Replacing Worn-Out Parts
While the bottle can last through multiple sessions, the aluminum foil bowl will need to be replaced regularly. Over time, the foil becomes brittle or develops too many holes, which can affect airflow and smoke quality. If you notice weaker hits or poor suction, it’s probably time to create a new bowl.
For those using a metal or glass bowl, routine cleaning will keep it in good shape. If you notice cracks or chips in a glass bowl, replace it immediately to avoid any potential hazards while using your grav top.
Enjoying the Full Potential
By now, you’ve learned how to make a grav top, troubleshoot common issues, and enhance your experience. With the right technique, materials, and care, this DIY smoking device can deliver powerful hits and a smooth, enjoyable session every time.
Whether you’re using household items or upgrading your setup with a better bowl or larger bottle, the versatility of this tool makes it a great addition to any smoking routine. With practice and experimentation, you’ll be able to fine-tune your grav top experience to suit your preferences perfectly.
FAQs About Grav Tops
Even after making your device and using it a few times, you might still have some questions about how to improve your experience. Below are answers to some of the most frequently asked questions to help you get the most out of your grav top.
Can You Use Different Bottle Sizes?
Yes! The size of the bottle you use will affect the size of the hit you take. A larger bottle, like a 2-liter soda bottle, will produce a much larger hit, while a smaller bottle, such as a 1-liter, will give you a more moderate hit.
If you’re new to using a grav top, starting with a smaller bottle can help you get used to the device before moving on to larger hits. More experienced users might prefer the stronger hit that a bigger bottle provides. It’s all about finding what works best for your preferences.
How Often Should You Clean It?
Like any smoking device, your grav top needs regular cleaning to ensure it continues to function properly. You don’t need to clean it after every session, but rinsing the bottle and replacing the bowl after a few uses will keep it working smoothly.
For a more thorough clean, use warm water and a bit of dish soap to scrub the inside of the bottle. Be sure to replace the aluminum foil bowl when it starts to wear out. Keeping everything clean and in good condition ensures better airflow, smoother hits, and an overall improved experience.

