From Blimburn Seeds, we bring you the best tips and tricks. Also, we are committed to all growers in the world to maximize their outdoor growing production. In other words, we will make you an expert in Growing OG Kush Outdoors and a true lover of our OG Kush seeds.
Why choose OG KUSH?
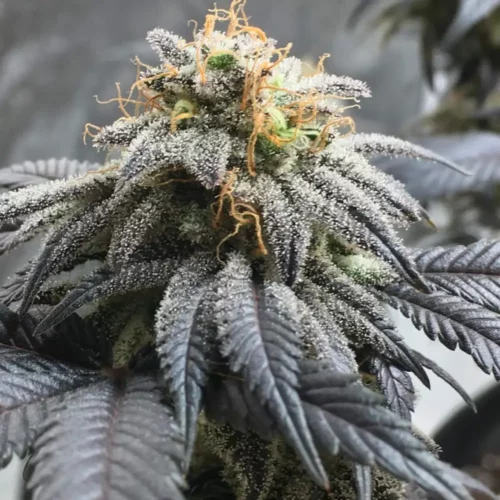
First, because it is mostly indica strain that represents the scene of cannabis of 90 because it is a super old school strain of the USA, West Coast. This strain was born from a cross of the native Hindu Kush per Chemdog. Secondly, these parents give to this variety heavy production yields at 800 gr/plant outdoors.
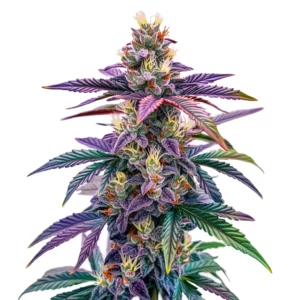
Recommended Strains

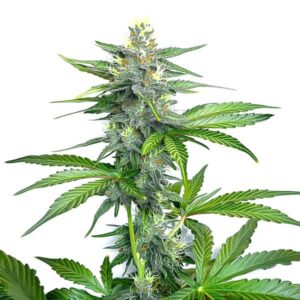
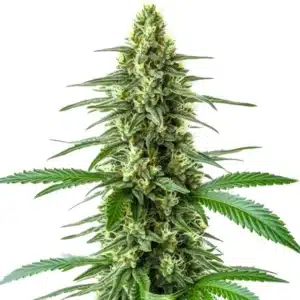
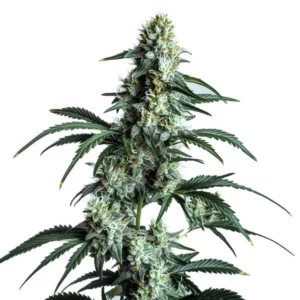
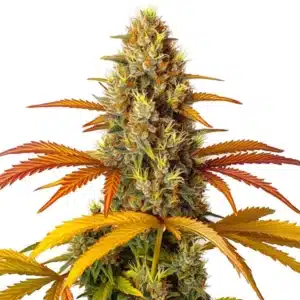
OG Kush
 THC: 20% - 24%
 Type of seed: Feminized
 Phenotype: Mostly Indica
 Day to flower: 8 - 10 weeks

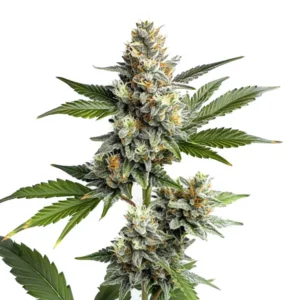
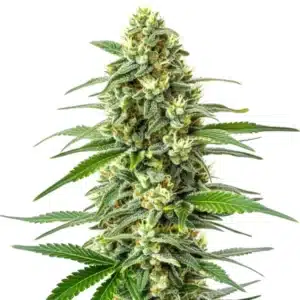
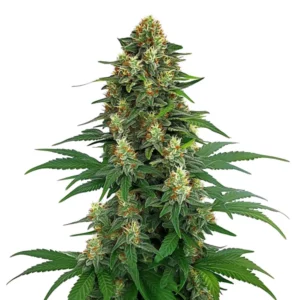
OG Kush Fast Version
- THC: 20% - 24%
- Type of seed: Fast Flowering
- Phenotype: Mostly Indica
- Day to flower: 7 - 9 weeks
Thanks to its genetics base, OG Kush seeds thrive indoors because the production is 500 g/m2 of flowers with lemon and citrus flavor.
However, we didn’t forget the most important thing. It has an indoor flowering period of 7 to 8 weeks, but we recommend 8 weeks for optimal maturation. Also, outdoors you can harvest your crop in the middle of April.
Promos & Deals
Do you think you can grow outdoors in AUSTRALIA?
Yes, you can grow outdoors in AUSTRALIA. Remember to always be aware of the legality of cannabis in Australia. First of all, please read our seven points carefully. Also, don’t hesitate to contact us with your questions or to place your seed order. Finally, after this introduction we start with the tips and tricks:
Outdoor Growing in North and South Australia
North Australia: Warm and Humid
Growing OG Kush seeds outdoors in northern Australia presents the challenge of high humidity and temperatures. OG Kush can be prone to mold in humid conditions, so managing airflow becomes vital. When planting, choose a location with plenty of sunlight, but ensure it’s an area where the wind can circulate freely. This natural breeze reduces moisture on the plant’s leaves, lowering the risk of mold development.
Consider placing your plants in pots or raised garden beds. This allows you to move them if conditions become too harsh. Mulching the soil around your plants helps retain moisture and keeps the roots cool during peak summer heat. Keep a close eye on weather patterns; thunderstorms can lead to overwatering, which stresses the plant. Be ready to cover your plants if prolonged rain sets in.
South Australia: Cooler, More Temperate
Southern Australia provides a more favorable environment for growing OG Kush seeds outdoors. The milder climate allows the plants to mature without the stress of extreme heat. However, you still need to prepare for sudden temperature drops, particularly as the season shifts to autumn. Using garden fabric or shade cloth can help protect your plants from unexpected cold snaps.
When planting in the south, aim for a sunny location that receives at least six hours of direct sunlight daily. The key to a successful grow here is to monitor soil moisture carefully. In cooler climates, overwatering can stunt growth and invite mold. Water your plants deeply but infrequently, allowing the soil to dry out between watering sessions. This encourages the roots to grow deeper and strengthens the plant.
Soil Preparation for Optimal Growth
OG Kush seeds prefer slightly acidic, well-draining soil. The right soil mix can make all the difference in your plant’s health and productivity. Start by using organic compost mixed with perlite or vermiculite to create an airy soil structure. This allows the roots to access oxygen while also draining excess water.
If you’re growing OG Kush Outdoors in Australia, native soils might need a bit of work. Add organic matter like aged manure or compost to boost nutrients and improve soil texture. If the soil is too sandy, mix in clay or loam to enhance water retention. If it’s too clay-heavy, increase the amount of perlite for better drainage.
Regular soil testing helps you maintain the optimal pH level (6.0-7.0) for OG Kush. In Australian outdoor conditions, soil pH can fluctuate, so adjusting it with dolomite lime or sulfur can keep your plants thriving.
Photoperiod: Timing Your Grow
Growing OG Kush Outdoors will follow the natural photoperiod of the sun. In Australia, this means planning your grow around the seasonal daylight changes. In the southern hemisphere, daylight hours start increasing around spring (September), making it the perfect time to plant your OG Kush outdoors.
To get the most out of your plants, start germination indoors in late winter. By the time spring arrives, they’ll be ready to transplant outdoors. As the days lengthen, the plants will enter their vegetative stage, allowing them to grow tall and bushy. In late summer (around February), the natural reduction in daylight triggers the flowering stage. Keep a close eye on your plants during this period; any interruption to their light cycle could affect bud formation.
Nutrients for Growing OG Kush Outdoors
OG Kush is a nutrient-hungry strain, especially when grown outdoors. To achieve large, dense buds, you need to provide a balanced nutrient mix throughout its life cycle. During the vegetative stage of growing OG Kush outdoors, focus on nitrogen-rich fertilizers. Nitrogen promotes robust leaf and stem growth, helping your plants to grow strong and bushy. Organic options like compost tea, fish emulsion, or blood meal work wonders in boosting your plant’s strength.
As your OG Kush transitions to the flowering stage, cut back on nitrogen and increase phosphorus and potassium. Phosphorus encourages bud development, while potassium improves overall plant health, including root and stem strength. Bat guano, bone meal, and liquid kelp are excellent organic sources for these essential nutrients. Always monitor your plants for signs of nutrient deficiencies, such as yellowing leaves or purple stems, and adjust feeding as needed to ensure optimal conditions when growing OG Kush outdoors.
Australian soil can vary in nutrient content. For sandy soils common in coastal regions, supplementing with extra nutrients is often necessary. For heavier clay soils, make sure to include amendments that aid drainage and root development. Adding mycorrhizal fungi to the soil can enhance nutrient absorption and root health, allowing your OG Kush to thrive even in less-than-ideal soil conditions.
Week-by-Week Care for Growing OG Kush Outdoors
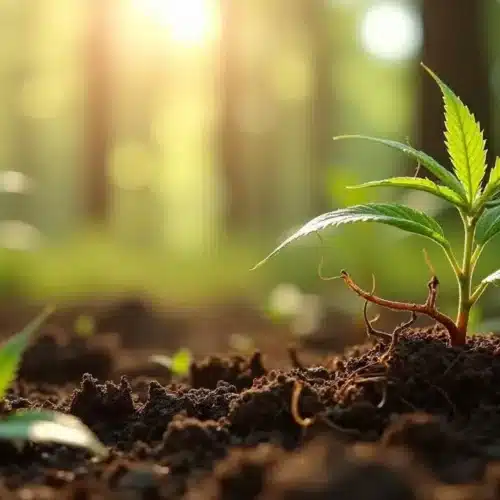
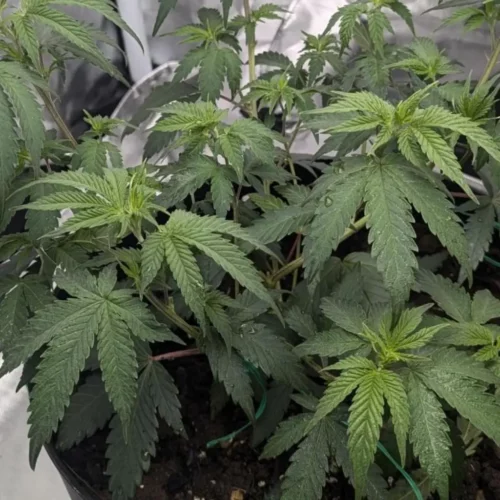
Week 1: Germination and Seedling Care
Start by germinating your OG Kush seeds indoors using the paper towel method or by planting them directly in small pots with a light, well-draining soil mix. Keep the seeds in a warm spot with indirect sunlight. Once the seeds sprout, transfer them to small pots and place them in a sunny area. Keep the soil moist, but avoid overwatering, as seedlings are fragile and sensitive to excessive moisture.
Week 2: Transitioning Outdoors
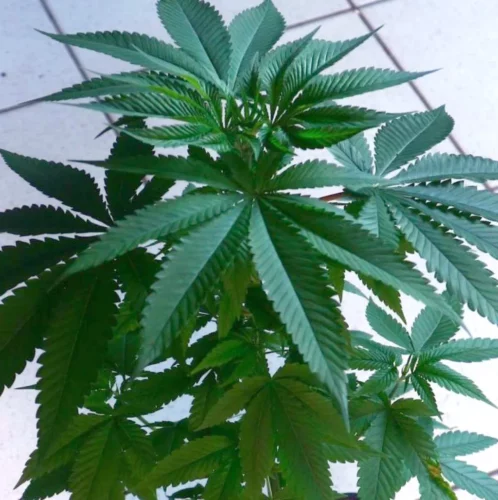
As your seedlings develop their first set of true leaves, start acclimating them to the outdoor environment. Place them outside for a few hours each day, gradually increasing the time. This process, known as “hardening off,” helps the young plants adapt to the harsher outdoor conditions. Keep the soil lightly moist and monitor for any signs of stress or pests.
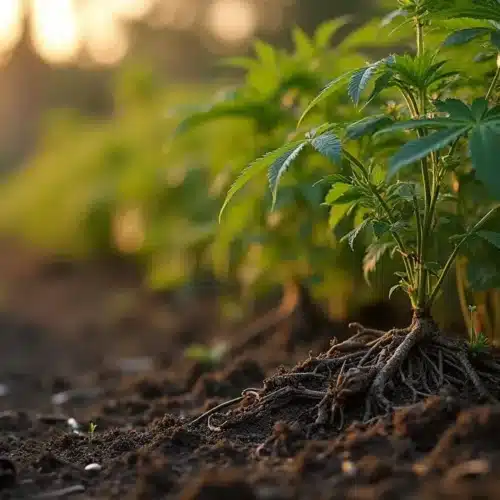
Week 3: Early Vegetative Stage
Transplant the seedlings into their final outdoor location. Choose a sunny spot with well-draining soil. Start feeding your plants with a mild, nitrogen-rich fertilizer to promote leaf and stem growth. Water deeply, allowing the soil to dry out slightly between waterings. At this stage, check the pH of your soil to ensure it falls between 6.0 and 7.0, which is optimal for OG Kush.
Week 4: Strengthening and Training
Your plants will start developing a stronger root system. To encourage bushier growth, consider using low-stress training (LST) by gently bending the stems and securing them with soft ties. This method increases light exposure to the lower branches, resulting in more bud sites. Continue feeding with nitrogen-rich nutrients and maintain consistent watering.
Week 5: Monitoring and Adjusting
As the plants grow, monitor their overall health. Look for any signs of pests, diseases, or nutrient deficiencies. Introduce organic pest control measures like neem oil if needed. You might notice the lower leaves starting to yellow as the plant focuses on new growth; remove these leaves to improve air circulation and prevent mold. Increase the feeding schedule slightly, but avoid over-fertilizing.
Week 6: Encouraging Vertical Growth
Your OG Kush plants will now begin to grow taller. Continue LST to maintain an even canopy and maximize sunlight exposure. At this point, switch to a balanced nutrient mix, reducing the nitrogen slightly and increasing phosphorus and potassium. These nutrients support the development of a robust root system and prepare the plant for the flowering stage.
Week 7: Expanding Nutrient Intake
Your plants will continue to grow rapidly. Increase the nutrient feed, focusing on a balanced mix. Ensure the soil stays evenly moist but not waterlogged, especially in Australia’s varying climates. Mulching around the base of the plants can help retain soil moisture and regulate temperature.
Week 8: Full Vegetative Growth
By now, your OG Kush plants should be full and bushy. Check for pests regularly and remove any dead or yellowing leaves to keep airflow optimal. You can also start pruning the lower branches that receive little light, which helps the plant focus its energy on the upper bud sites. This stage requires careful attention to watering and feeding. Slightly increase the phosphorus and potassium levels in the nutrient mix.
Week 9: Transition to Pre-Flowering
As your plants near the end of the vegetative stage, they will begin transitioning to pre-flowering. This is a good time to inspect the plants and support them with stakes or cages if needed. Switch to a nutrient mix designed for flowering, focusing on higher phosphorus and potassium levels while reducing nitrogen. Continue training and pruning as necessary to shape the plant.
Week 10: Start of Flowering Stage
The pre-flowering phase will become more noticeable, with small buds forming on the branches. Begin feeding with a bloom-specific nutrient mix, reducing nitrogen and boosting phosphorus and potassium to support bud development. Check your plants daily for signs of pests or mold, as the flowering stage is when they become more vulnerable.
Week 11: Early Flower Development
Your OG Kush will focus all its energy on producing buds. Maintain a consistent watering schedule and ensure the plants receive plenty of sunlight. Continue with a flowering nutrient mix, but avoid over-fertilizing. Watch for signs of nutrient burn, such as yellowing leaf tips, and adjust feeding as needed.
Week 12: Managing Bud Growth
The buds will start filling out, becoming denser and more aromatic. Regularly inspect the plants for mold, especially in humid conditions. Ensure airflow around the buds by gently spreading the branches if needed. Keep feeding your plants with bloom nutrients, but be cautious of overwatering during this critical stage.
Week 13: Mid-Flowering Care
In mid-flowering, the buds will become more resinous. Avoid disturbing the plants too much, as any damage can affect yield. Continue with the bloom nutrient schedule, but start gradually reducing the amount of fertilizer. This helps prepare the plants for the final flush. Keep monitoring the trichomes on the buds, as their color changes will signal when harvest is near.
Week 14: Late Flowering and Flushing
Your plants are almost ready for harvest. Begin flushing the soil with plain water to remove excess nutrients, enhancing the final flavor and smoothness of your OG Kush. Continue flushing for the next two weeks. Ensure that your plants remain dry and free of pests for final bud development, so minimize handling to avoid any damage.
Week 15: Final Preparations for Harvest
The buds should now be dense and covered in trichomes. Check the trichomes daily using a magnifying glass; they should appear milky white when the plant is at its peak potency. Avoid feeding the plants any more nutrients during this week, focusing solely on flushing with water. Harvesting during the right window ensures maximum flavor and potency.
Week 16: Harvest
It’s finally time to harvest your OG Kush. Cut the branches with sterilized scissors and hang them in a dark, well-ventilated area to dry. Proper drying and curing are essential for preserving the quality and potency of your crop. Dry the buds slowly over 7-14 days, then transfer them to jars for curing, opening the jars daily to release moisture.
Harvesting Tips for Maximum Yield
Knowing when and how to harvest is key to maximizing your yield. During the flowering stage, keep an eye on the color of the trichomes using a magnifying glass. If they’re clear, it’s too early; if they’re amber, the THC is starting to degrade. The sweet spot is when most trichomes are cloudy or milky, indicating peak potency.
Avoid harvesting during the early morning when moisture levels are high. Aim to cut the plants mid-morning, when the dew has evaporated, but the sun isn’t at its peak. This practice helps reduce moisture in the buds, speeding up the drying process.
Health and Maintenance
Keeping your OG Kush plants healthy throughout their outdoor grow cycle requires vigilance. Pests, mold, and environmental stress can threaten your plants at any stage. Regularly inspect both the tops and undersides of the leaves for signs of pests such as spider mites, aphids, or caterpillars. Using natural remedies like neem oil or insecticidal soap can help keep infestations in check.
In Australia’s varying climates, mold can be a real concern, particularly during the flowering stage. Maintain adequate airflow around your plants by trimming excess foliage and spacing them apart. In regions prone to sudden rains, consider building a simple canopy to shield the plants from excess water.
FAQs
Can I grow OG Kush outdoors in Australia?
Yes, you can grow OG Kush outdoors in Australia, but you’ll need to adapt your approach depending on the region. In Northern Australia’s warm and humid climate, focus on airflow and mold prevention. In Southern Australia’s cooler, temperate climate, protect plants from sudden cold snaps and monitor soil moisture carefully.
What is the best soil for growing OG Kush outdoors?
OG Kush thrives in slightly acidic, well-draining soil rich in organic matter. To optimize growth, mix compost with perlite or vermiculite for better aeration and drainage. If your soil is too sandy or clay-heavy, amend it to improve water retention and root health.
When is the best time to plant OG Kush outdoors in Australia?
The ideal time to start growing OG Kush outdoors in Australia is in early spring (September), as daylight hours increase. For the best results, germinate seeds indoors in late winter and transplant them outside once the risk of frost has passed.