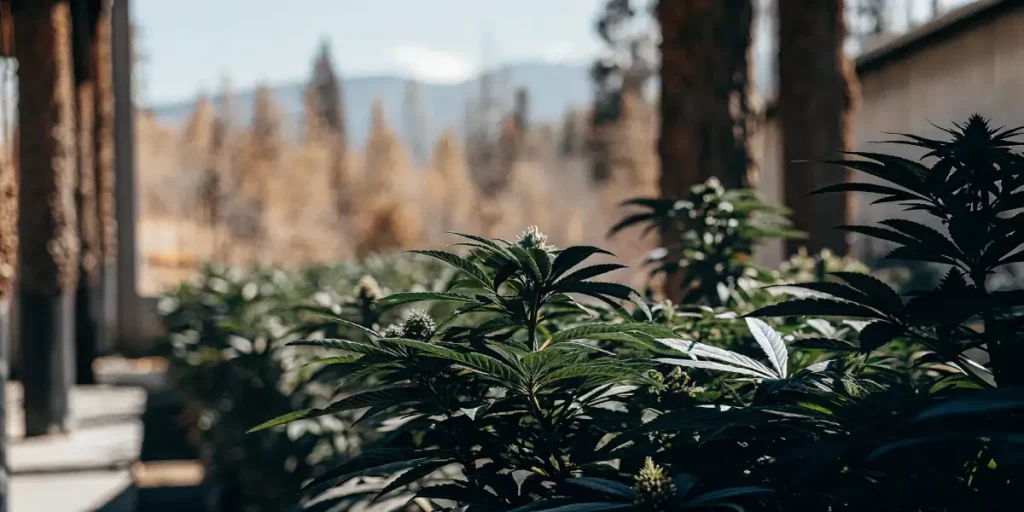
If you’re a cannabis grower in Canada looking to expand your garden with an exotic strain, growing guanabana outdoors might be the perfect challenge. Guanabana, a unique cannabis strain known for its fruity flavor and balanced effects, has been gaining popularity among cultivators. Although guanabana is typically associated with tropical regions, it’s entirely possible to cultivate this strain outdoors in Canada with the right techniques and care. This guide will walk you through everything you need to know to successfully grow guanabana outdoors, from selecting the perfect site to harvesting and curing your buds.
For those interested in growing guanabana outdoors, this cannabis strain offers a unique growing experience. Known for its high THC content and uplifting effects, guanabana combines the sweet, tropical notes of its sativa genetics with the calming properties of its indica heritage. While Canada’s climate presents some challenges, you can still cultivate this strain successfully with a little planning and the right approach.
Recommended Strains

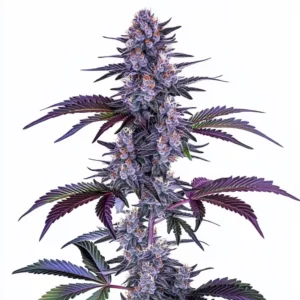
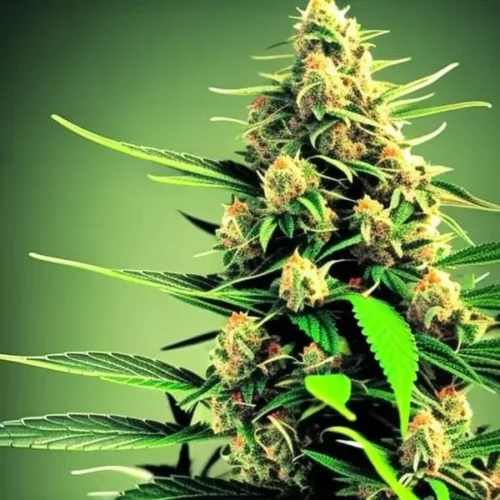
What is Guanabana?
Guanabana is a sativa-dominant hybrid strain that comes from the combination of powerful parent strains, delivering a balanced mix of euphoric and relaxing effects. It’s well-known for its sweet, tropical flavor, reminiscent of its namesake, the guanabana fruit (also known as soursop). With THC levels that can reach up to 20% or higher, guanabana is a favorite among recreational users looking for a mellow high that stimulates creativity while easing tension.
Growing guanabana outdoors provides the opportunity to cultivate a strain that thrives in both indoor and outdoor environments, with the right climate and care.
Why Grow Guanabana in Canada?
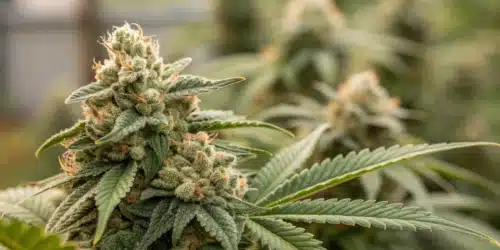
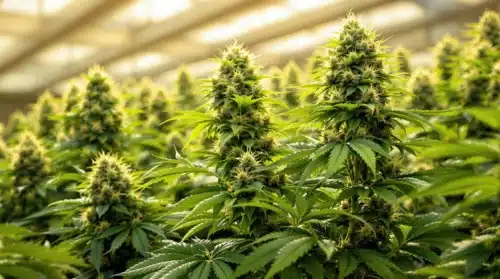
Despite Canada’s cooler climate, growing guanabana outdoors is achievable and offers multiple benefits for cannabis enthusiasts. Guanabana is known for its high yields, making it an attractive option for outdoor growers who want to maximize their harvest. Plus, the strain’s uplifting and calming effects make it a versatile choice for both medicinal and recreational use.
Guanabana’s resistance to common pests and molds also makes it a resilient strain, which is ideal for Canada’s often unpredictable weather. With proper care, guanabana can produce dense, resinous buds that are perfect for those looking to enjoy a flavorful, balanced high.
Climate and Conditions for Growing Guanabana Outdoors in Canada
When planning to grow guanabana outdoors in Canada, understanding the strain’s climate requirements is essential. While guanabana thrives in warmer climates, with some adjustments and attention to environmental factors, you can still create optimal conditions for this tropical strain.
Knowing Canada’s Growing Zones
Canada’s varying climates can present some challenges for cannabis growers, particularly when it comes to strains like guanabana that prefer warmer conditions. The best regions for growing guanabana outdoors are in southern areas, such as parts of British Columbia and Ontario, where the growing season is longer and temperatures remain warmer throughout the summer.
If you’re growing in cooler regions, you’ll need to adjust your approach by starting your plants indoors and moving them outside once the risk of frost has passed. This ensures your plants have the warmth they need to establish strong roots before transitioning to outdoor conditions.
Ideal Temperatures for Growing Guanabana Outdoors
To ensure success when growing guanabana, it’s crucial to maintain consistent temperatures during the growing season. Guanabana prefers temperatures between 70°F to 85°F (21°C to 29°C). If outdoor temperatures drop below 50°F (10°C), the plant may experience stress, leading to slower growth and reduced yields.
For Canadian growers, it’s important to monitor the weather closely and be prepared to protect your plants during colder nights. Using frost blankets or covering the plants during unexpected cold snaps can help keep your guanabana healthy and growing strong.
Managing Frost Risks and Cold Weather
One of the biggest challenges in growing guanabana outdoors in Canada is the risk of frost, especially in early spring and late fall. Frost can damage or even kill cannabis plants, so it’s crucial to take preventative measures. Many Canadian growers use portable greenhouses or cold frames to extend the growing season, particularly in regions with shorter summers.
By covering your guanabana plants during cooler nights or unexpected weather changes, you can protect them from frost damage and ensure they reach full maturity. Additionally, choosing a planting date that aligns with the warmest part of the year will help your plants thrive.
Promos & Deals

Selecting the Right Location for Guanabana in Your Garden
The success of growing guanabana outdoors largely depends on where you plant it. Choosing the right spot in your garden is crucial to ensure your plants receive the sunlight, nutrients, and drainage they need to flourish.
Sunlight Requirements for Guanabana
Like most sativa-dominant strains, guanabana thrives in full sunlight. Your plants will need at least 6 to 8 hours of direct sunlight daily to produce dense, resinous buds. When selecting a location in your garden, aim for an area that receives consistent sunlight throughout the day.
In northern parts of Canada where sunlight hours can be shorter, particularly in the late growing season, you may need to supplement with artificial lighting to ensure your plants receive enough light to develop fully.
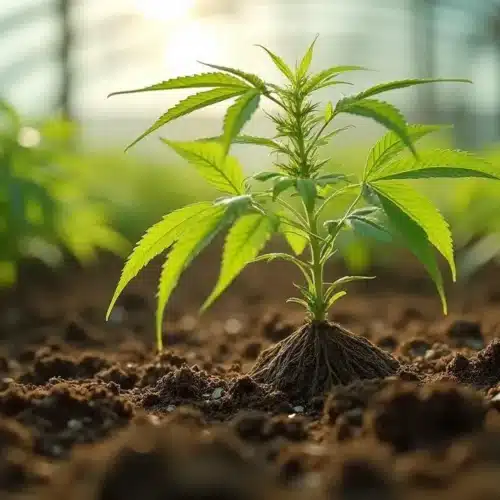
Soil Preparation for Optimal Growth
To successfully grow guanabana, preparing the soil is key. This strain prefers rich, well-drained soil that is high in organic matter. Start by mixing compost or aged manure into your garden soil to improve nutrient content and soil structure. This helps promote healthy root growth, which is essential for robust plants and high yields.
Additionally, guanabana prefers slightly acidic soil with a pH between 6.0 and 7.0. Regularly testing the soil and adjusting it as needed will help ensure optimal growing conditions.
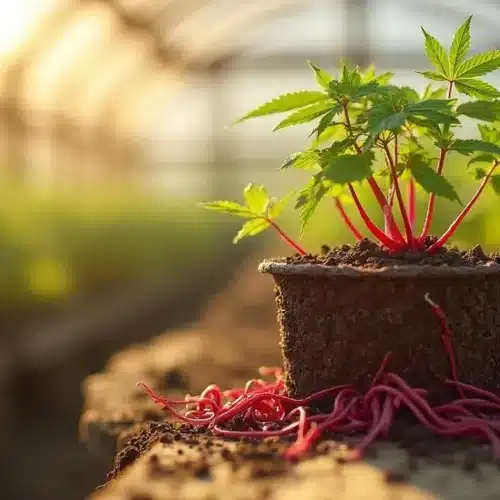
Ensuring Proper Drainage and Aeration
Cannabis plants, including guanabana, are susceptible to root rot if left in overly wet soil. Ensuring proper drainage is critical when growing guanabana outdoors. If your garden soil tends to retain water, consider planting your guanabana in raised beds or containers to improve drainage. Adding perlite or sand to your soil mix can also enhance aeration and prevent water from pooling around the roots.
Growing Guanabana Outdoors in Canada
Once you’ve prepared your site, it’s time to plant your guanabana. Whether you’re starting from seeds or using transplants, the proper planting techniques will set your crop up for success.
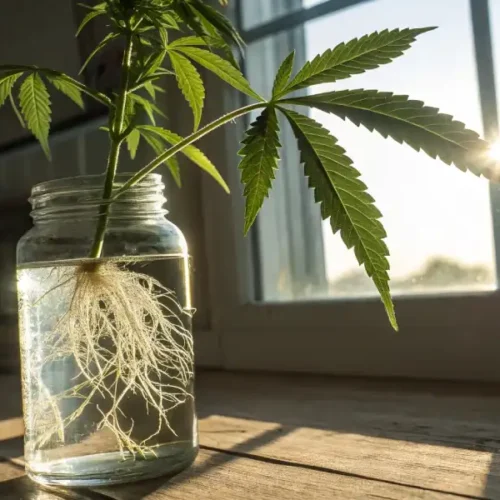
Starting with Seeds or Transplants
When growing guanabana outdoors in Canada, you can either start from seeds or young transplants. Starting with seeds is a more cost-effective option, but it will take longer for your plants to mature. Seeds should be germinated indoors in a controlled environment to ensure they sprout before being moved outdoors.
Transplants, on the other hand, give you a head start and can be moved outdoors once the weather warms up. This is particularly useful in regions with shorter growing seasons, where every week counts.
Best Time of Year to Plant Guanabana
Timing is everything when it comes to growing guanabana outdoors. In most parts of Canada, you’ll want to plant your guanabana after the last frost, typically in late spring or early summer. This ensures the plants have enough warmth and sunlight to establish strong roots before the growing season peaks.
Starting your seeds indoors 4 to 6 weeks before the last frost date can give your plants a head start. Once nighttime temperatures stay consistently above 50°F (10°C), you can begin transitioning your plants outdoors.
Spacing and Depth Guidelines for Guanabana Plants
Guanabana plants can grow tall, especially in optimal conditions, so proper spacing is essential to prevent overcrowding. When growing guanabana outdoors, space your plants at least 3 to 4 feet apart to allow for adequate air circulation and light penetration. This spacing helps prevent mold and mildew while giving the plants room to stretch.
Plant your seeds or transplants at a depth of about 1 inch, ensuring the roots are covered with soil. Water the plants gently after planting to help settle the soil around the roots and kickstart growth.
Caring for Your Outdoor Guanabana Plants
Once your guanabana plants are in the ground, your job as a grower shifts to maintaining and nurturing them through the growing season. Growing guanabana outdoors requires consistent care, especially when it comes to watering, feeding, and keeping the plants healthy. By following best practices, you can ensure your guanabana plants thrive in Canada’s outdoor environment and deliver the high-quality harvest you’re aiming for.
Watering Needs for Growing Guanabana Outdoors
Proper watering is critical when growing guanabana outdoors. Guanabana plants need consistent moisture, but overwatering can be detrimental, particularly in cooler Canadian climates. The goal is to keep the soil evenly moist without allowing it to become waterlogged, which can lead to root rot.
During the warm summer months, guanabana plants should be watered deeply once or twice a week, depending on the weather conditions. Make sure to water at the base of the plant to reach the root zone, avoiding wetting the foliage, which can encourage mold and mildew. A good rule of thumb is to water when the top inch of soil feels dry to the touch. During cooler months, reduce the watering frequency to avoid waterlogging the roots.
Fertilization and Nutrient Requirements
To maximize growth and yields, fertilizing your plants regularly is essential when growing guanabana outdoors. Like most cannabis strains, guanabana is a heavy feeder, requiring plenty of nutrients to develop robust foliage and buds. Start feeding your guanabana plants with a balanced fertilizer early in the growing season, focusing on products that contain nitrogen, phosphorus, and potassium (N-P-K).
In the early stages of growth, your plants will benefit from higher nitrogen levels to encourage leafy growth. As the plants enter the flowering stage, switch to a bloom fertilizer that is higher in phosphorus and potassium to support bud development. Organic fertilizers like compost tea or fish emulsion can also provide a gentle nutrient boost.
Apply fertilizer every 3 to 4 weeks during the growing season, being careful not to over-fertilize, as this can lead to nutrient burn. Additionally, keep an eye on the leaves of your guanabana plants for signs of nutrient deficiencies, such as yellowing or browning, and adjust your feeding schedule accordingly.
Pruning and Training Guanabana Plants
Pruning and training your guanabana plants are key to maximizing their potential when growing guanabana outdoors. Pruning helps improve airflow and light penetration, which can prevent mold and mildew, especially in Canada’s humid regions. In addition, pruning promotes more bud sites, leading to higher yields.
Begin pruning your guanabana plants in the early vegetative stage by removing lower leaves and branches that don’t receive much light. This encourages the plant to focus its energy on the top buds, which get the most sunlight. As the plant grows taller, use techniques like topping or fimming to control its height and encourage bushier growth. These methods involve cutting the top of the main stem, which forces the plant to grow more lateral branches, resulting in a larger canopy.
Training techniques like low-stress training (LST) are also effective for improving yields. Gently bending the branches to spread them out allows more light to reach the lower parts of the plant, creating more bud sites and increasing overall production. Regularly monitor your plants and make adjustments as needed to ensure they grow strong and healthy.
Protecting Guanabana from Pests and Diseases
Although guanabana is a resilient strain, it is still vulnerable to pests and diseases, especially when grown outdoors. Keeping your plants healthy requires constant vigilance and prompt action at the first signs of trouble. By maintaining a clean growing environment and using natural pest control methods, you can minimize the impact of pests and diseases on your crop.
Common Pests in Canadian Gardens
Several pests can threaten the success of growing guanabana outdoors, including aphids, spider mites, caterpillars, and whiteflies. These insects can damage your plants by sucking sap from the leaves, leaving holes, and spreading disease. To prevent infestations, regularly inspect your guanabana plants for signs of pests, such as sticky residues, yellowing leaves, or visible bugs.
If you notice pests, you can use natural insecticides like neem oil or insecticidal soap, which are effective without harming the plants. Ladybugs and other beneficial insects can also be introduced to your garden to help control pest populations naturally. Creating a diverse ecosystem in your garden is an excellent way to reduce the risk of harmful pests.
Preventing and Treating Diseases
Cannabis plants, including guanabana, are susceptible to fungal diseases, particularly in humid climates. Powdery mildew, mold, and root rot are common issues that can arise when growing guanabana outdoors. Preventing these diseases begins with good growing practices, such as proper spacing, pruning, and avoiding overhead watering.
If your plants develop fungal infections, remove the affected leaves and branches immediately to stop the spread. Organic fungicides can be applied to treat mild infections, but prevention is always the best strategy. Ensuring your plants have good airflow, especially in dense foliage, can reduce the likelihood of mold and mildew developing.
Additionally, make sure the soil is well-drained and doesn’t stay too wet for long periods. Waterlogged roots are prone to rot, so adjust your watering routine as needed to keep the soil at the right moisture level.
Natural Methods for Pest Control
Many growers prefer to use natural pest control methods when growing guanabana outdoors. Companion planting is a great way to deter pests without the use of chemicals. Planting pest-repellent herbs like basil, marigold, or garlic near your guanabana plants can help keep insects at bay. These plants not only deter pests but also attract beneficial insects that prey on harmful bugs.
Maintaining a clean garden is also crucial for keeping pests and diseases under control. Remove any fallen leaves or plant debris from the growing area, as they can harbor pests and fungal spores. Regularly check your plants for signs of stress and address any issues immediately to prevent more significant problems later on.
Harvesting and Enjoying Your Guanabana in Canada
After months of care and attention, your guanabana plants will be ready for harvest. Harvesting guanabana at the right time is essential to ensure you get the best quality buds with optimal potency and flavor. While the exact harvest time depends on various factors, there are several signs you can look for to determine when your plants are ready.
Signs Your Guanabana is Ready to Harvest
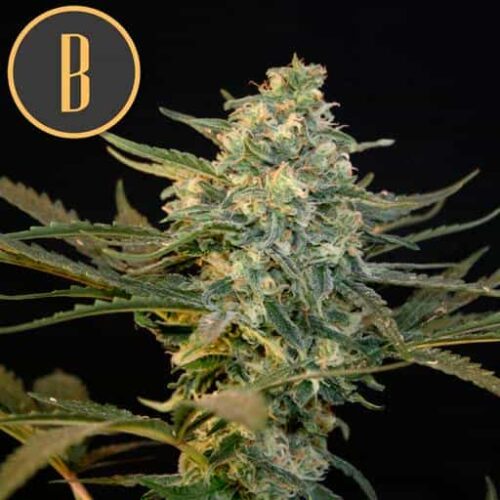
The first sign that your guanabana plants are ready to harvest is the appearance of the trichomes, the tiny crystal-like structures on the buds. As the plants mature, the trichomes will change from clear to cloudy, indicating that the THC levels have reached their peak. When most of the trichomes are cloudy, and some have turned amber, your plants are ready to harvest.
In addition to the trichomes, pay attention to the pistils, the small hair-like structures on the buds. When the pistils turn from white to orange or brown and begin to curl inward, it’s a good indication that your guanabana is nearing harvest time. Timing is crucial, as harvesting too early can result in lower potency, while waiting too long can degrade the THC levels.
Best Practices for Harvesting
When it’s time to harvest your guanabana, it’s essential to do so carefully to avoid damaging the buds. Use sharp, clean scissors to cut the buds from the plant, leaving a small portion of the stem attached. Handle the buds gently, as the trichomes are delicate and can easily be knocked off if you’re not careful.
After harvesting, the next step is drying and curing the buds, which is critical for developing the best flavor and potency. Hang the branches upside down in a dark, well-ventilated room with humidity levels between 45% and 55%. The drying process usually takes 7 to 10 days, depending on the environmental conditions. Once the buds are dry, trim off any remaining leaves and store them in airtight containers to cure.
FAQS
Can I grow Guanabana outdoors in Canada?
Yes, it is possible to grow Guanabana outdoors in Canada, but it requires the right care and attention to environmental factors. Guanabana thrives in warmer climates, so it’s best suited for regions with longer, warmer summers, such as parts of British Columbia and Ontario. Growers in cooler regions can start the plants indoors and move them outdoors after the risk of frost has passed.
What are the ideal temperatures for growing Guanabana outdoors in Canada?
Guanabana grows best in temperatures between 70°F and 85°F (21°C to 29°C). For Canadian growers, it’s important to monitor the weather closely, especially during colder months. If temperatures drop below 50°F (10°C), the plant may experience stress. Protective measures such as frost blankets or portable greenhouses can help mitigate cold weather risks.
How much sunlight does Guanabana need to grow outdoors?
Guanabana plants require at least 6 to 8 hours of direct sunlight per day to thrive and produce dense, resinous buds. If you’re in a region with shorter daylight hours, especially in northern Canada, consider supplementing with artificial lighting to ensure the plants get enough light for full development.
What is the best time of year to plant Guanabana outdoors in Canada?
The best time to plant Guanabana outdoors is after the last frost, usually in late spring or early summer. Starting seeds indoors 4 to 6 weeks before the last frost date gives the plants a head start. Once nighttime temperatures remain consistently above 50°F (10°C), you can transition your plants outdoors.
How can I protect my Guanabana plants from pests and diseases?
Guanabana plants can be vulnerable to pests like aphids, spider mites, and caterpillars, as well as fungal diseases like powdery mildew. Preventative measures include regular inspection, using natural insecticides like neem oil, and encouraging beneficial insects such as ladybugs. Ensuring proper spacing, pruning, and avoiding overhead watering can also help prevent mold and mildew.